JELLO PAINTINGS

I love taking things and using them in new ways. These projects were a big hit with the neighborhood kids. Jello is easy to find and cheap = win, win! Let your child’s imagination go wild!
This is a 2 part activity. You can do both parts or just one or the other. The first activity is drawing with crayons/painting with Jello paint and the second activity is making raised images with glue & Jello.
Notes: Best to do this activity outside, because it can get messy & sticky. If doing on a table, place a plastic table cloth underneath for easy clean up (grab at dollar store). Earlier in the day is the best time to do this activity, then it has all day to dry outside.
Materials:
- Jello packets (red, yellow, blue)- label them before begin
- paint brushes
- muffin pan
- hot water
- white cardstock
- crayons
- glue
- plastic tablecloth
Step #1 (Background):
Give each child a white sheet of cardstock. Have them put their name on the back or front and color anything they want their paper. Explain to them that crayons are made out of wax and wax is water resistant. When you paint on top of your crayon drawings, they will not disappear. Once their drawings are done – make the paint.
Paint/Color Mixing:
Start by reviewing the primary colors (colors of Jello). Put about 1/4 of the Jello powder packet into one muffin tin. Then add hot water and let them mix it with a paint brush. The more powder you add, the stronger the color. Repeat this for the next 2 colors.
Review secondary colors. How do you make them? In a muffin tin mix 2 primary colors to make the secondary colors (same as above, but with 2 colors). Combinations:
red + blue = purple
red + yellow = orange
blue + yellow = green
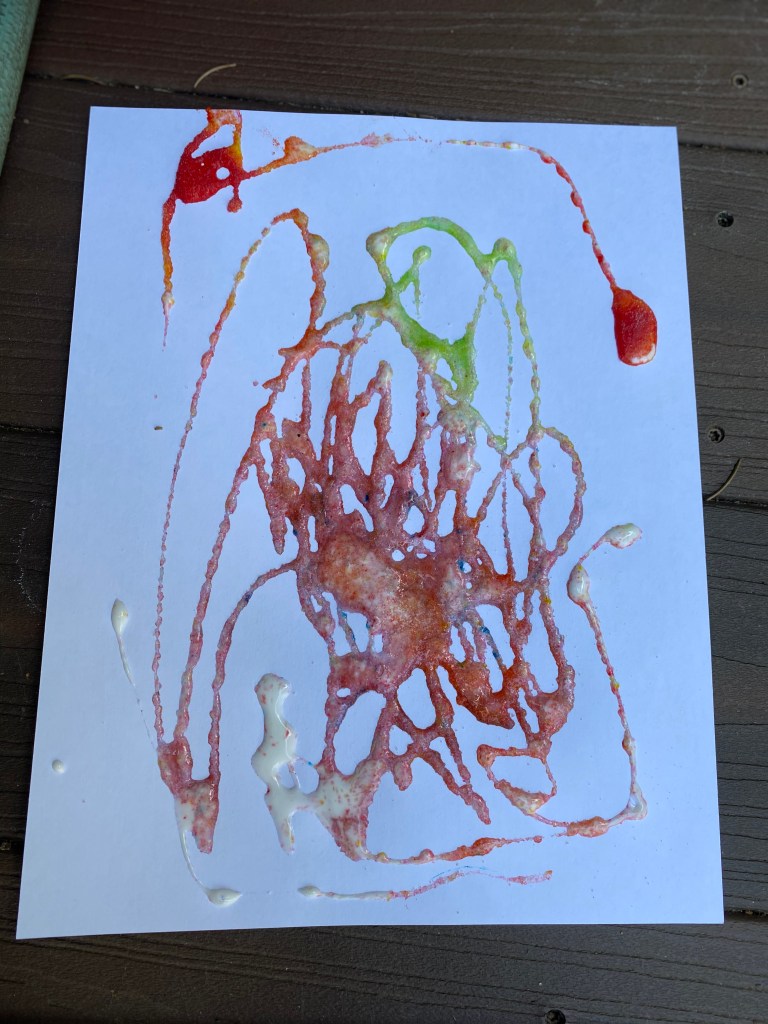
There should be 6 colors now (3 primary, 3 secondary). Now, let your children paint their drawings. After they painted their first few crayon drawings, they went back and made more drawings.
Let dry once complete (a few hours). They will be a little sticky due to sugar base in Jello.
White crayon example background
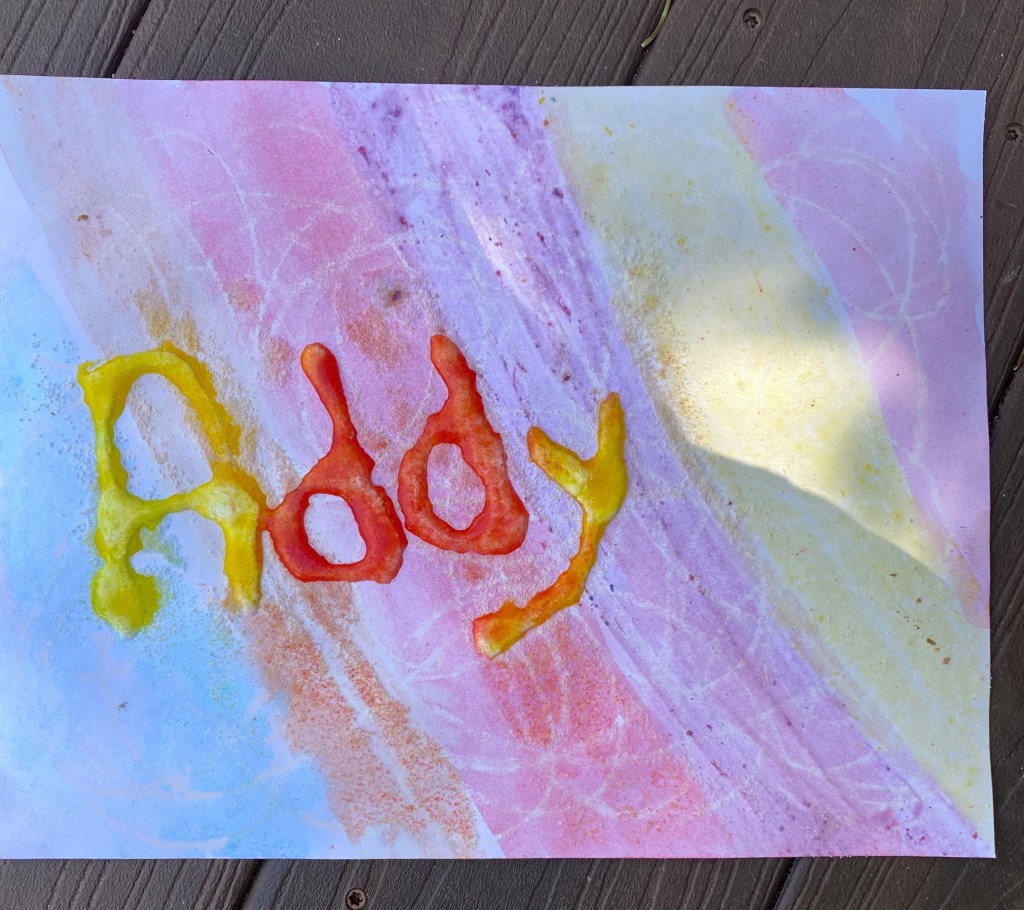
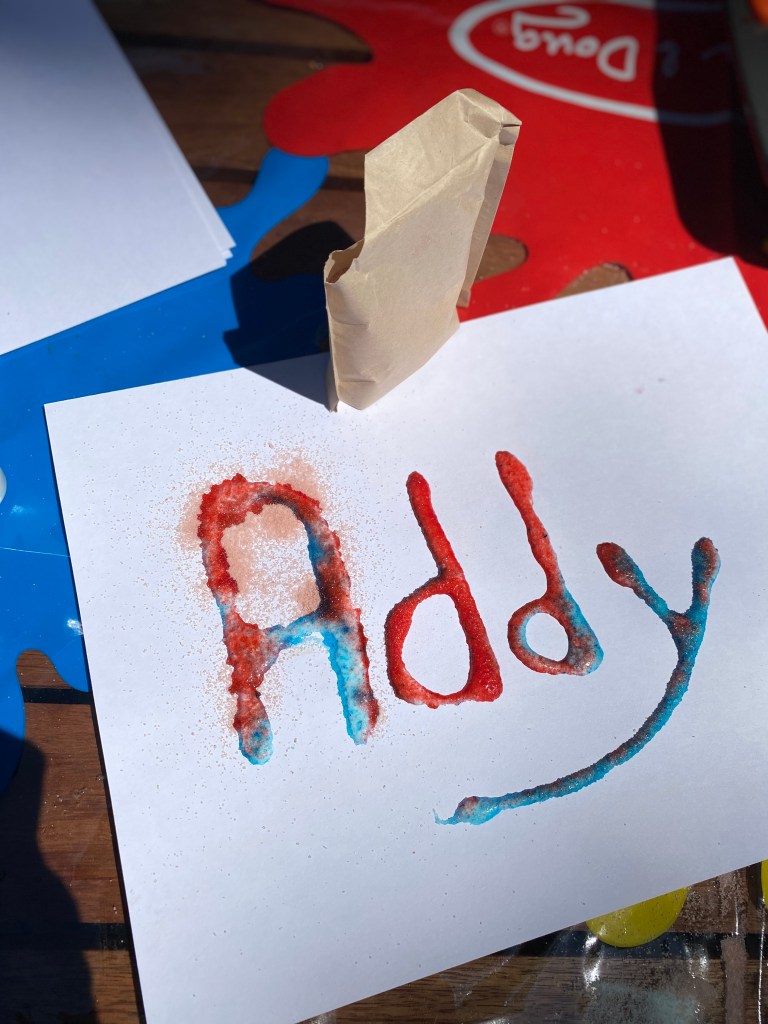
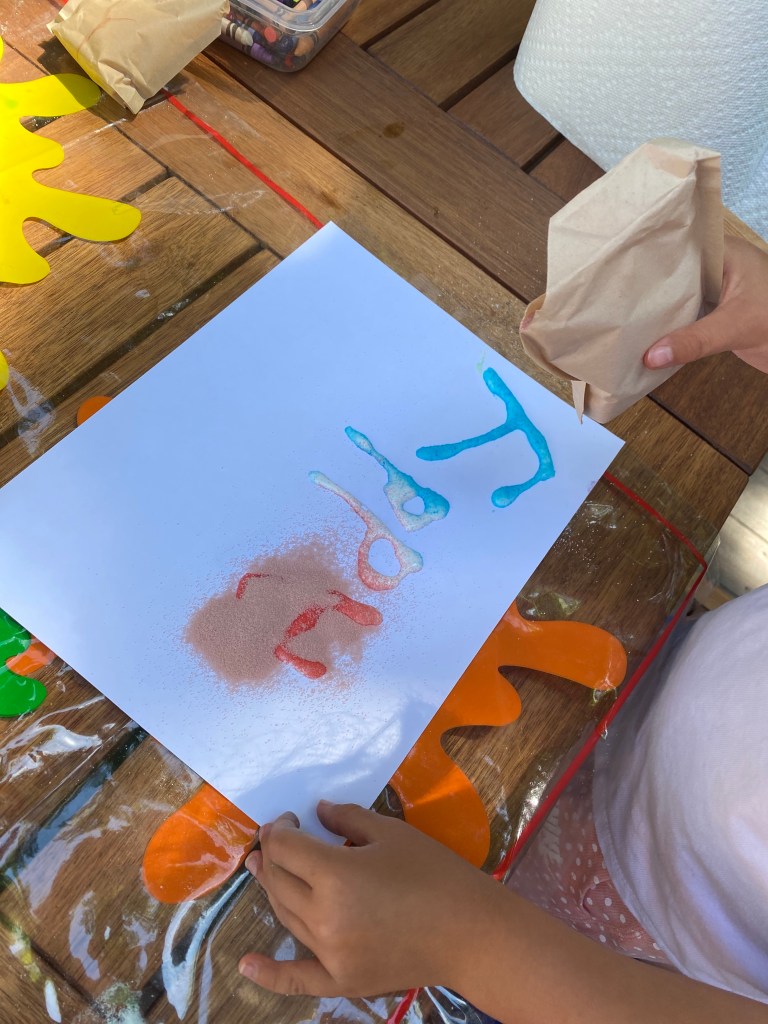
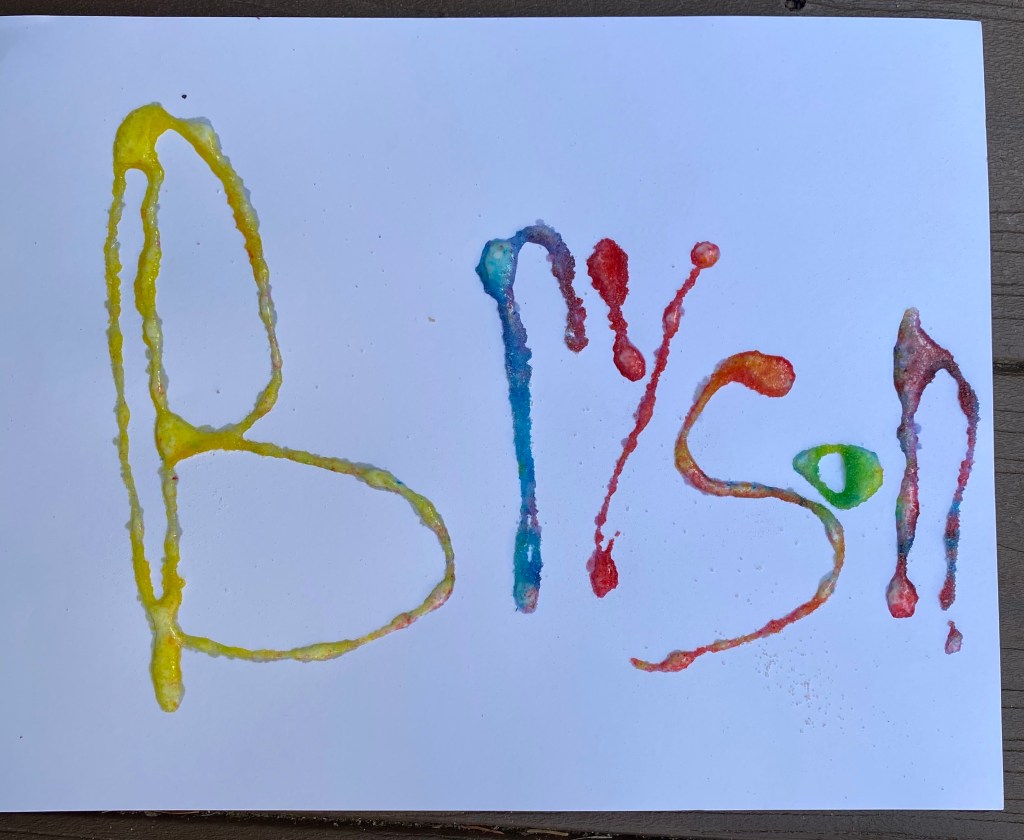
Step #2 (Elevated design in glue):
Once your pictures are dry (you want to wait until dry or the glue will run) draw on top of them with glue. You can do your name or create a design. Younger kids may need help with the glue (adults can do for them). Then the magic happens! With the rest of the Jello powder, sprinkle it lightly on top of the glue. As the powder hits the glue, it changes from white powder to either red, blue, or yellow (depending on what color using). Experiment- use all 3 of the Jello powder packets. Try to make secondary colors too, by mixing powders on top of the glue.
*We tilted our paper to make sure all of the powder got on the glue. If extra powder on your picture place on a clean sheet of cardstock. Then fold in half and reuse on another piece of artwork,.

We placed rocks on the artwork while drying, so that they wouldn’t blow away.
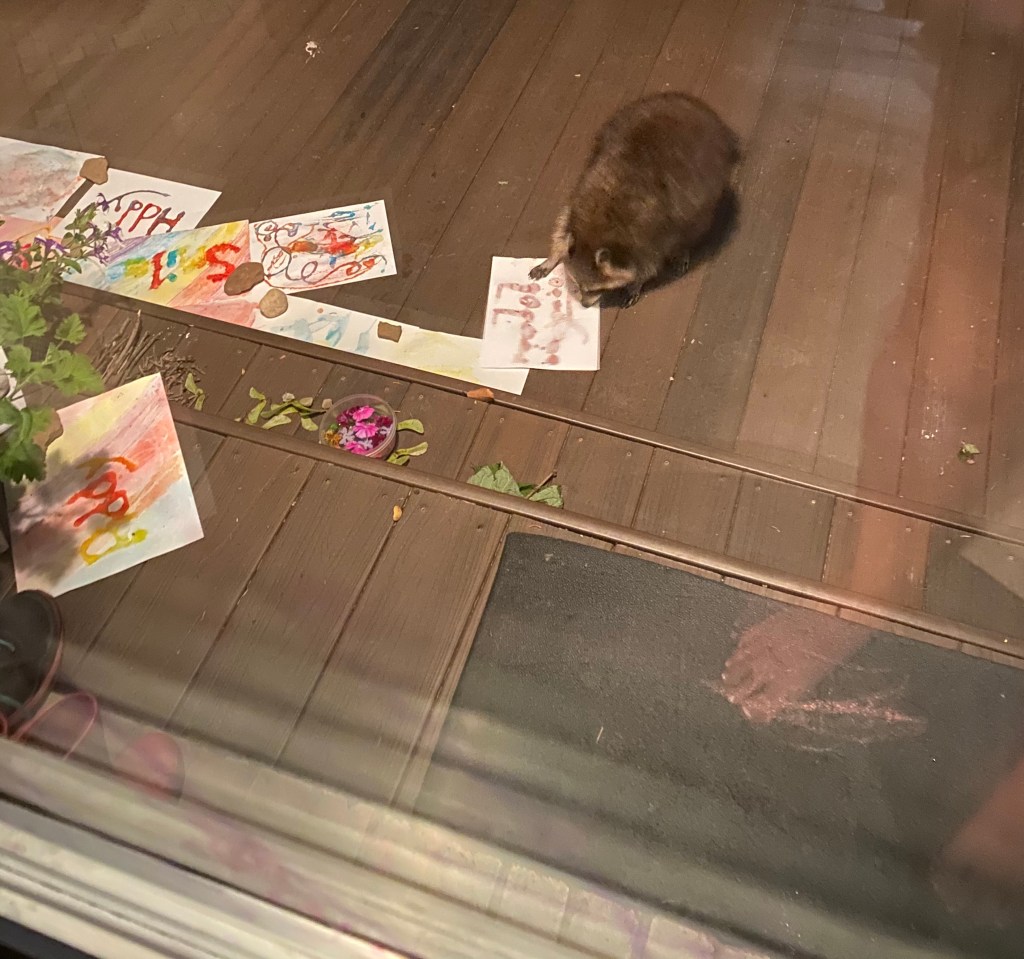
Note: Do not leave outside over night if you live in the woods. The artwork will attract wildlife & you’ll have sugar high raccoons. Lesson learned the hard way.
Happy Creating!
