JACK-O-LANTERN PRINTS

Time to get festive! Make simple jack-o-lantern prints with an apple. Fun and cute craft to decorate your home or share with others!
Materials:
- apple (cut in half)
- orange tempera paint
- paper plate
- white cardstock
- paintbrush
- green construction paper or green marker
- scissors
- glue stick or glue
- black marker (we used a dry erase marker, more fluid)
- string/twine/yarn/ ribbon (optional to hang)
To Create:
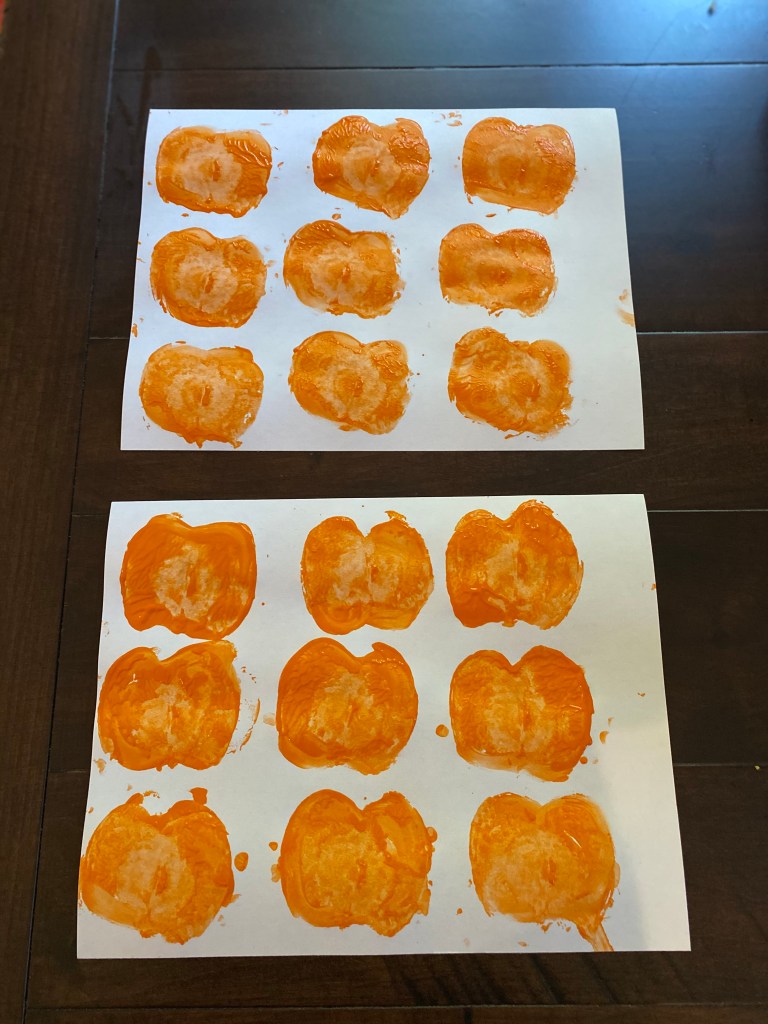
1.) Cut apple. Begin by cutting an apple in half (down the center). Spread out orange paint on a paper plate (easy clean up). Then rub the apple in the paint. Make sure entire inside of apple is covered with paint (just lift up to look). Or you can paint the apple inside with a paintbrush. Then, use the apple like a stamp. Press/stamp it onto the white cardstock. If not enough paint, add more and re-stamp the same spot. Complete several times. We did two sheets with 9 on each sheet see below). Let dry.
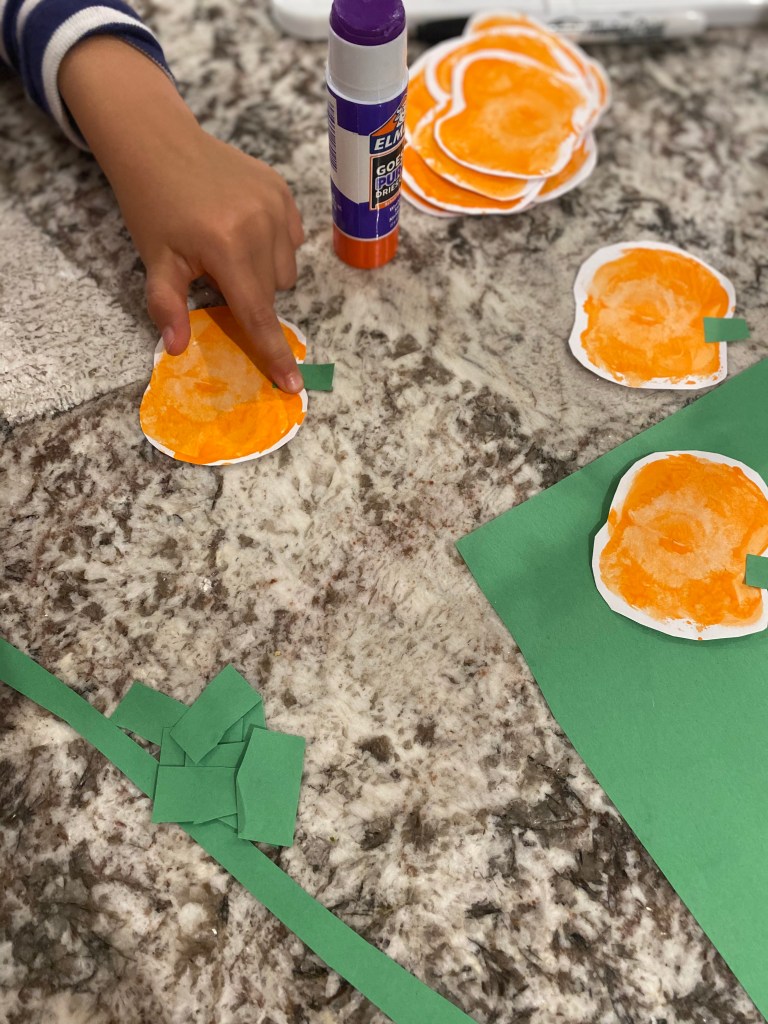
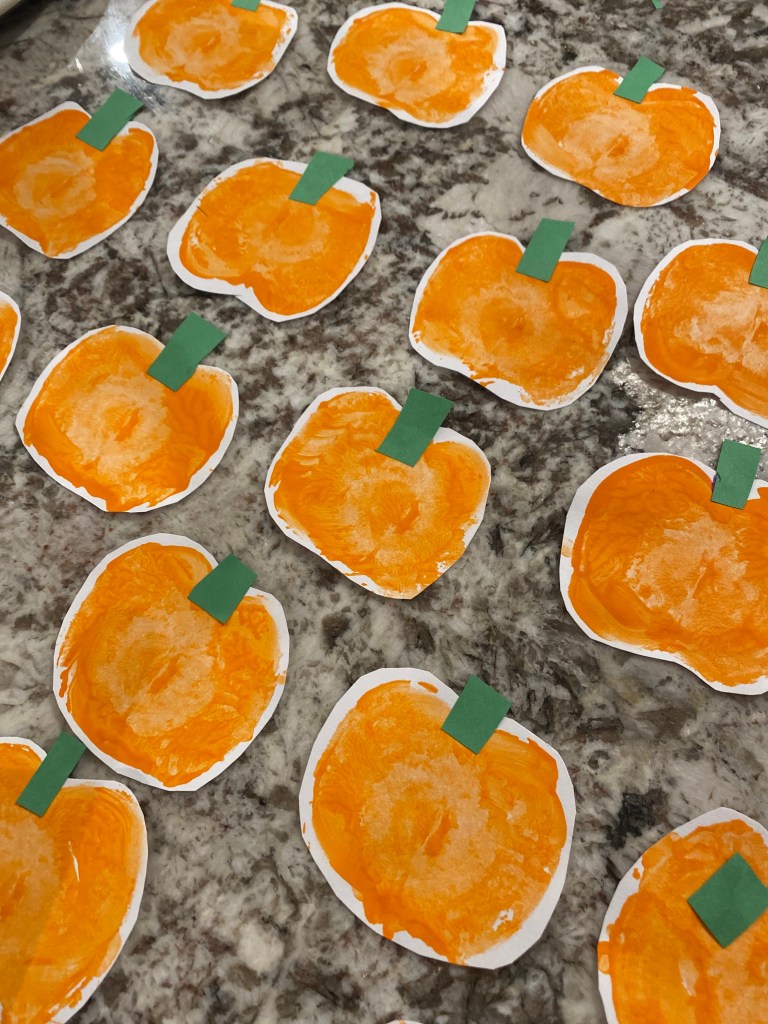
2.) Cut out! Once dry, cut out pumpkins. Either an adult can cut out or older children. Then, from a full size sheet of construction paper, cut thin strips lengthwise. Cut small rectangles then out of the strips (small kids an do this). With a glue stick or glue, place one stem on each pumpkin (see below).
Note: You can add the stem with a green marker before you cut out instead of using construction paper & draw faces first before cutting out.

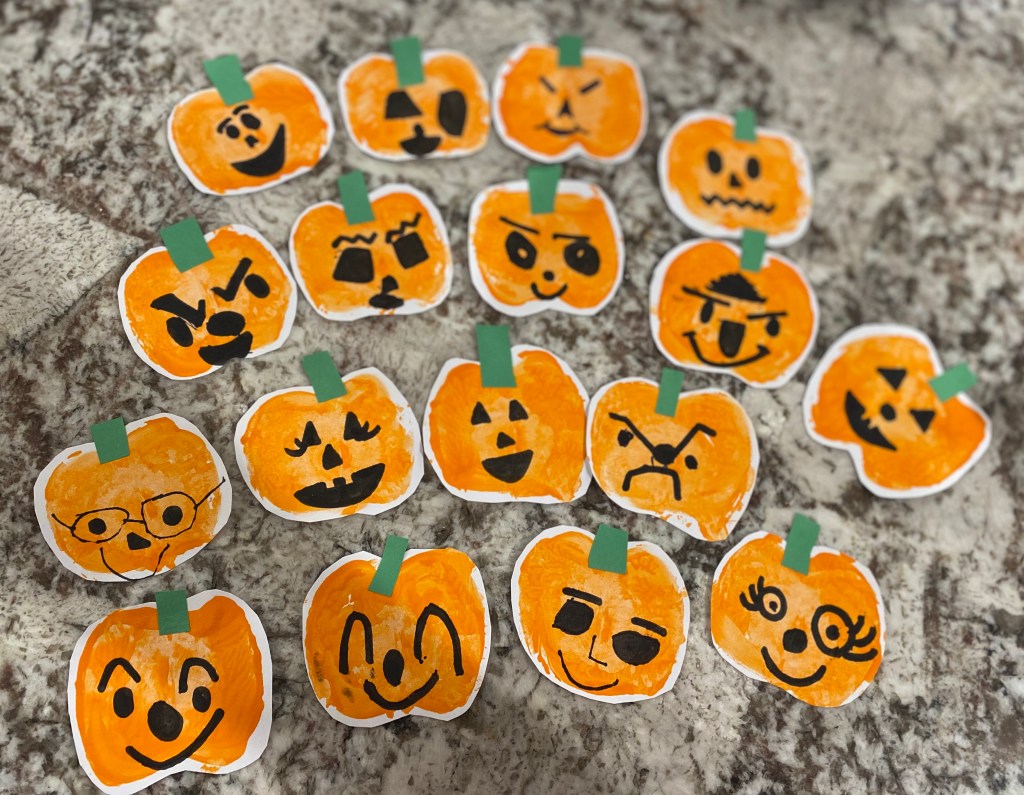
3.) Add faces! Create Jack-O-Lanterns out of the pumpkins by adding faces. Use a black marker to draw on the faces. Older kids can cut out the eyes, nose, and mouth from black construction paper as another option. This is a great time to review feelings through expressions. Children can make the pumpkin faces showing lots of different feelings. Some examples- happy, sad, mad, silly, confused, scared, excited. You can also add accessories- bows, glasses, etc.. Great opportunity to review shapes as well & talk about what shapes could be used for the eyes, nose, and mouth.

Finished Ideas:
- Halloween cards for family & friends. Make a card out of construction paper and glue a pumpkin onto the front and have them sign their name and decorate inside of the card. Or see option below.
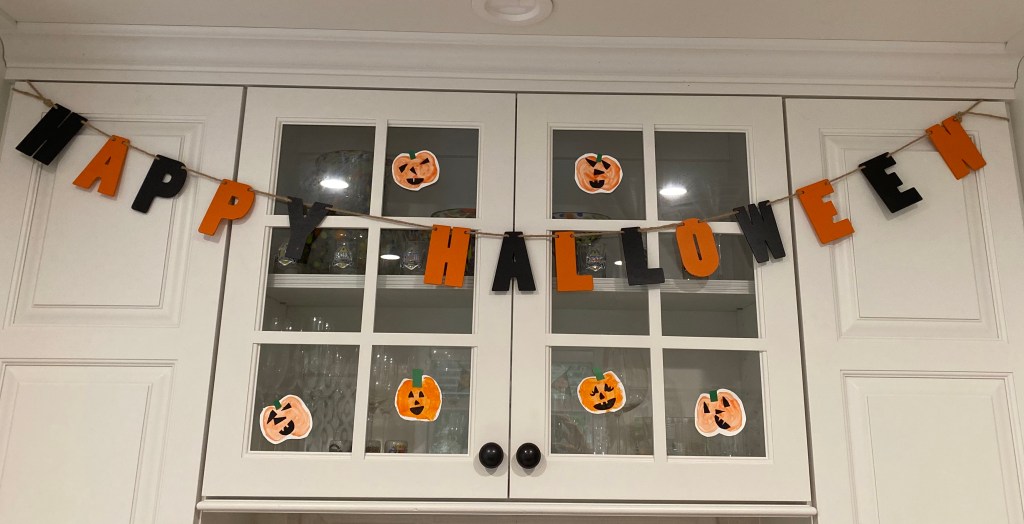
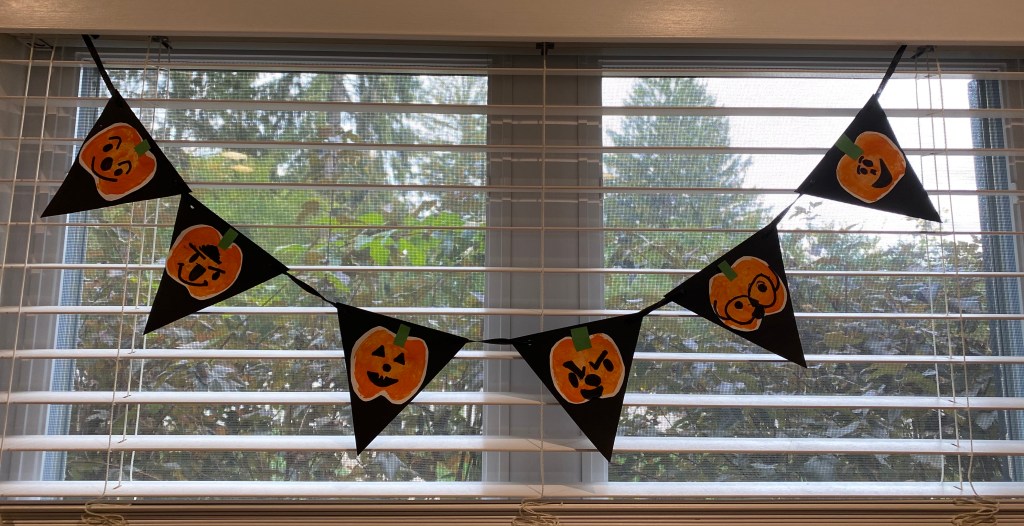
- Make a Jack-O-Lantern garland and hang in your house.
- Decorate a room or your entire house in them- hang all over.
- Play a game! Hide the Jack-O-Lanterns in your house and have someone else find them.
Examples:

*For the cards, we simply printed the apples on top of each other. The top pumpkin we just made with a paint brush (didn’t have an apple small enough). After dry, we added grass, created the faces, and outlined the pumpkins in sharpie.

