DIY Pumpkin Rocks

Create little pumpkin rocks to decorate for halloween and/or to share with friends. Simple easy craft that kids love! How many silly, spooky, and happy faces can you draw?
Materials:
- rocks (I used these) any size works
- bucket with water
- orange spray paint or acrylic orange paint
- black paint pens
- green acrylic paint
- plastic table cloth or cardboard box (flat)
- glue
- acrylic sealant
To Create:
1.) Find rocks by going on a rock hunt. Look for big round rocks for the pumpkins and small rectangular rocks for the stem. Or buy a bags at a home improvement store if making several.
2.) Wash rocks off. I just use a bucket of water. Lay out the plastic table cloth (cut in half) or a cardboard box on a flat outdoor surface. Then lay the rocks out on top, a few inches each apart. Let air dry.
3.) Paint Pumpkins. Spray paint them all orange. Be sure to get sides. Leave bottoms unpainted. Let air dry.
*If only making a few you can hand paint them with acrylic paint (just remember paint will stain clothes).
3.) Paint stems. Using green paint, paint the small rocks. Let air dry.
4.) Glue. Once all rocks are dry, using glue, attach the green stem rocks to the orange pumpkin rocks. Let dry overnight.
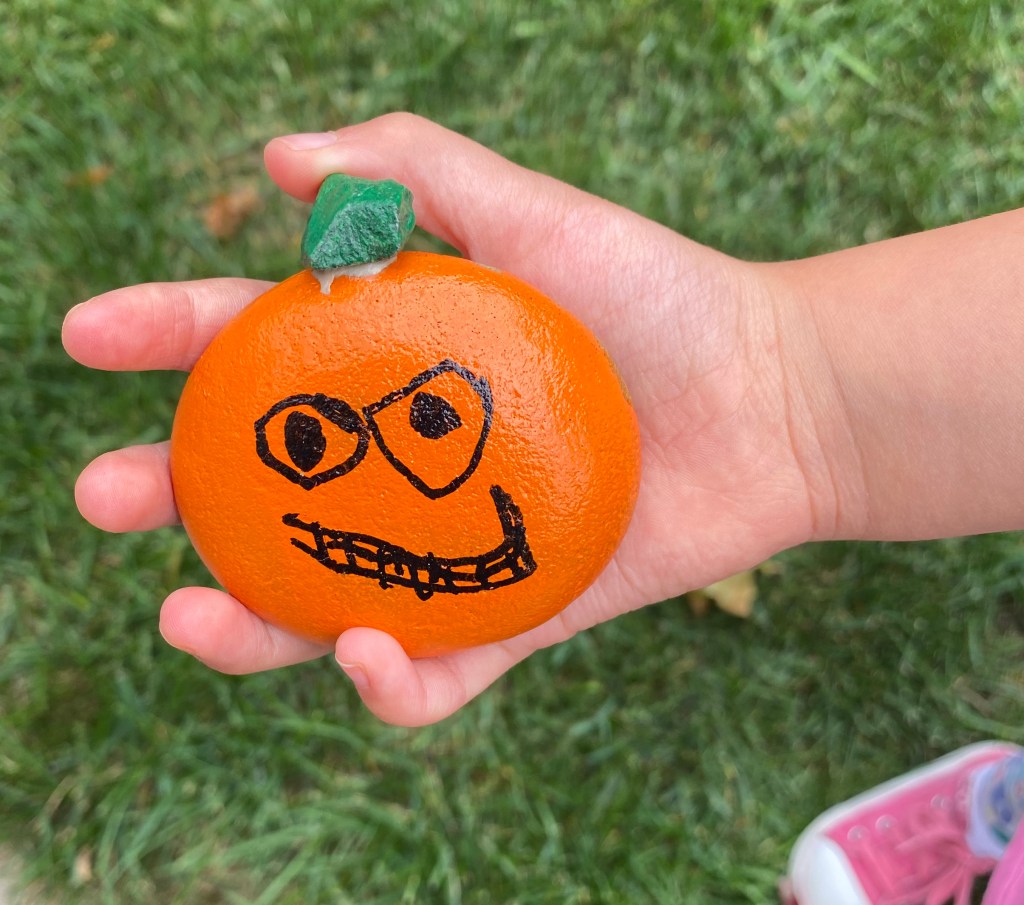
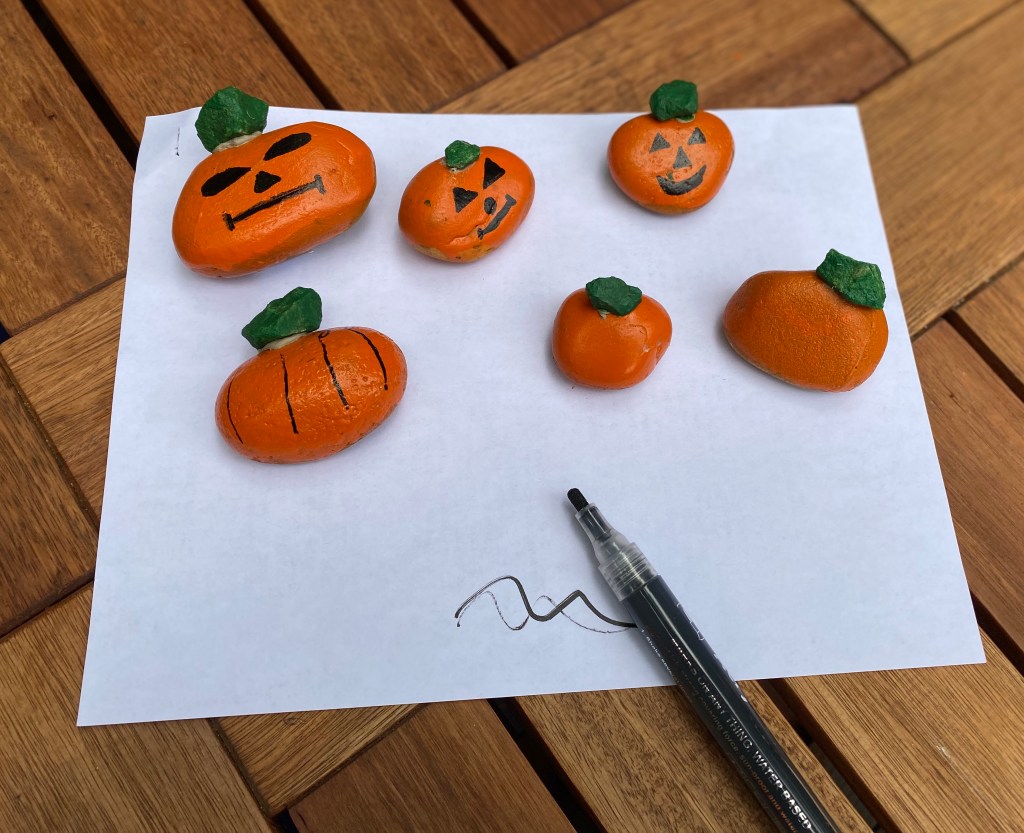
5.) Create Faces. Using paint markers, draw faces on your pumpkin rocks. You can review different shapes to use for the nose, eyes, and mouth. Talk about different emotions you could show as well (happy, sad, silly, scared, mad). You can always search google images for ideas too.
6.) Seal. Spray all of the rocks with acrylic sealant to seal the paint. Let dry. The sealant leaves a residue, so best to use cardboard again underneath.
Once complete, you can place them around your house, inside or outside. Give to friends- as a surprise put in their yard or give directly to them.