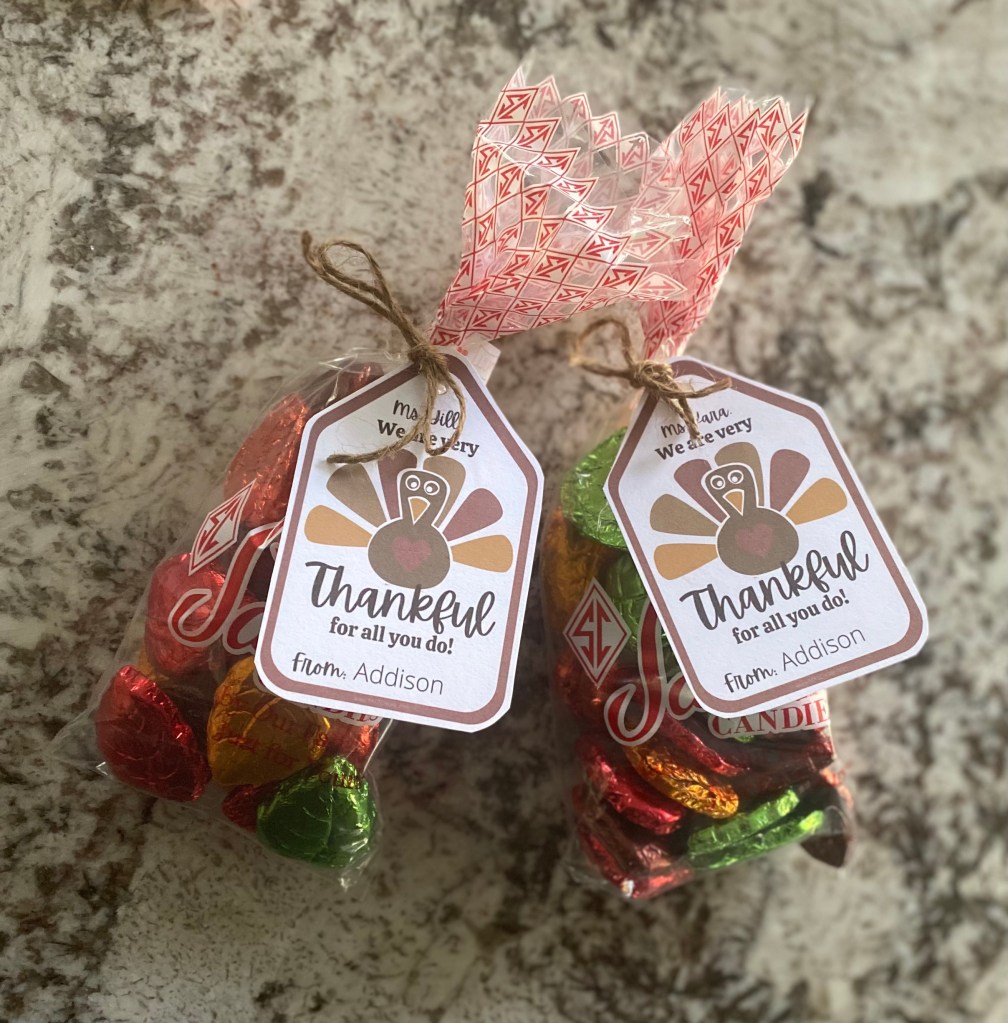
THANKFUL TAG

Have someone you want to show your appreciation for? Neighbors, relatives, teachers, or friends? Attach this tag to a gift and all set to thank them!
In our house we are very thankful for teachers. Being a former teacher I know how much teachers appreciate small gestures. It would make my day when a family went out of their way. I designed this tag for my daughter’s teachers. It can be used for many different people and with gifts.
Materials:
- tag template
- white cardstock
- ribbon/string/twine
- gift (see ideas below)
Gift ideas: chocolates, flowers, wine, popcorn, nuts, candy, tea assortment, hot coco mix
Notes:
- When printing, if want smaller or larger, change the scale in print setup.
- In the past I made Harvest Chex Mix . I then put the mix in small clear bags & attached the tags. It was a favor for everyone at Thanksgiving to take home and enjoy later. It was a big hit!

Happy Gifting!
OCTOBER DOODLE BINGO CHALLENGE
Challenge yourself every week in October by trying to get Bingo! Complete 5 drawings to win! Make 5 different drawings or make one big drawing combining 5 squares each week. Challenge friends or family to join you!


SIMPLE BIRD FEEDER

Appreciate nature and feed the birds! Easy craft to do with materials you already have.
Materials:

- empty toilet paper or paper towel tubes
- peanut butter
- bird seed
- baking sheet (place bird seed on)
- twine or yarn
- paper plates
- plastic knives
How to make:
Prep work: If using a paper towel roll, cut into thirds. Give each child a paper plate, plastic knife, and peanut butter on their plate (about 1/4 cup). Cut the yarn or twine about 2 feet each.
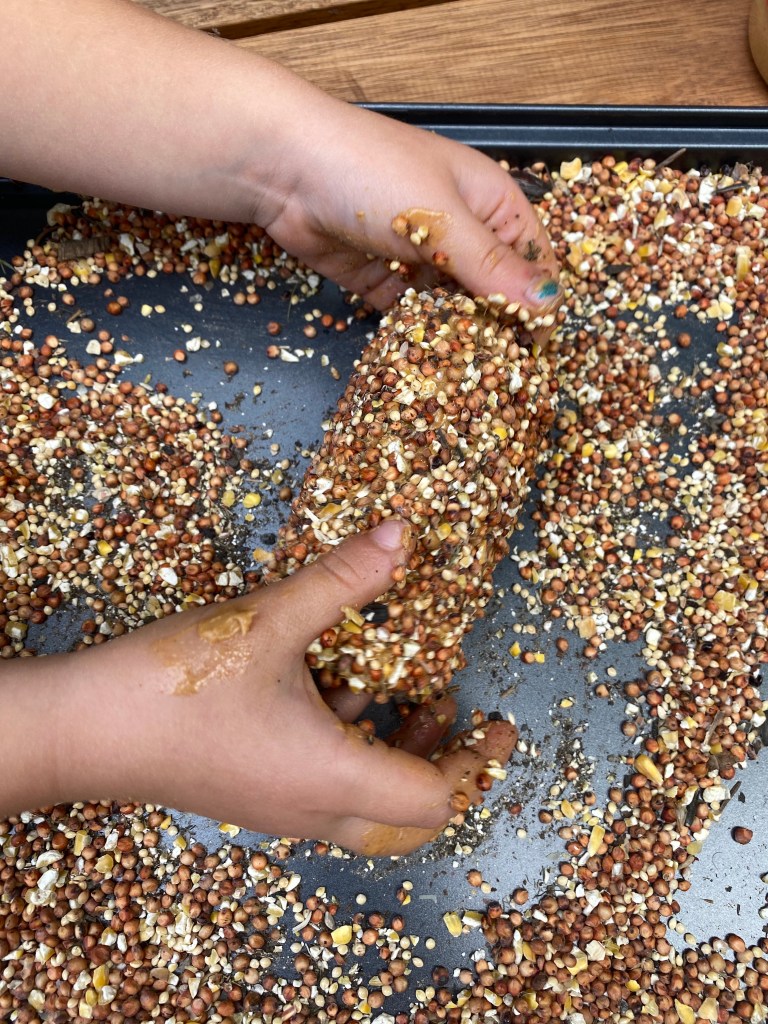
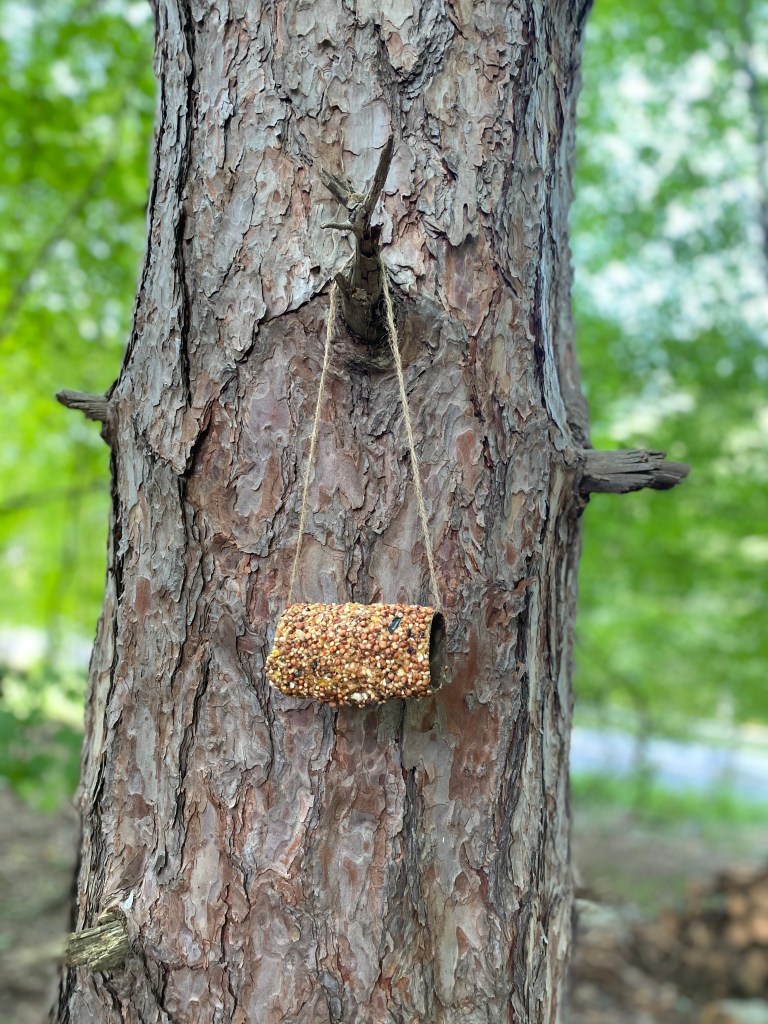
Spread the peanut butter all over the paper tube. Once done, roll the paper tube through the bird seed. Once done, if any empty areas, recover that area with peanut butter and roll again in the bird seed. Then slip the twine or yard through the tube and tie a knot at the top. Clean up is easy- throw away plate & knife. Save the extra bird feed for another future activity.
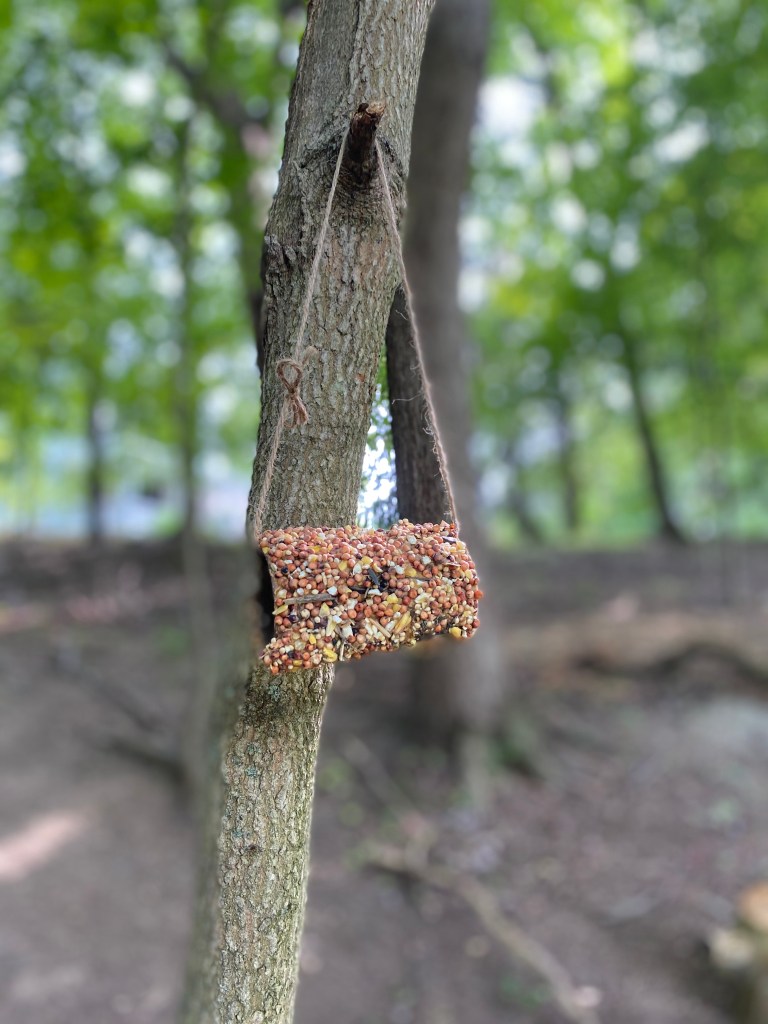
Now go exploring on a nature hike! Where do birds like to go? Where do you often see birds? Hang your bird feeder when you find the perfect spot. If spring/fall/ winter (too cold out), try to place your bird feeder close to a window, so your child can look out the window and see the birds enjoying their creation.

Include reading about birds in this activity too! Click on the picture to the left for lots of book options. Don’t have time to run to the library to check them out? See if you can find them as a read aloud on YouTube!
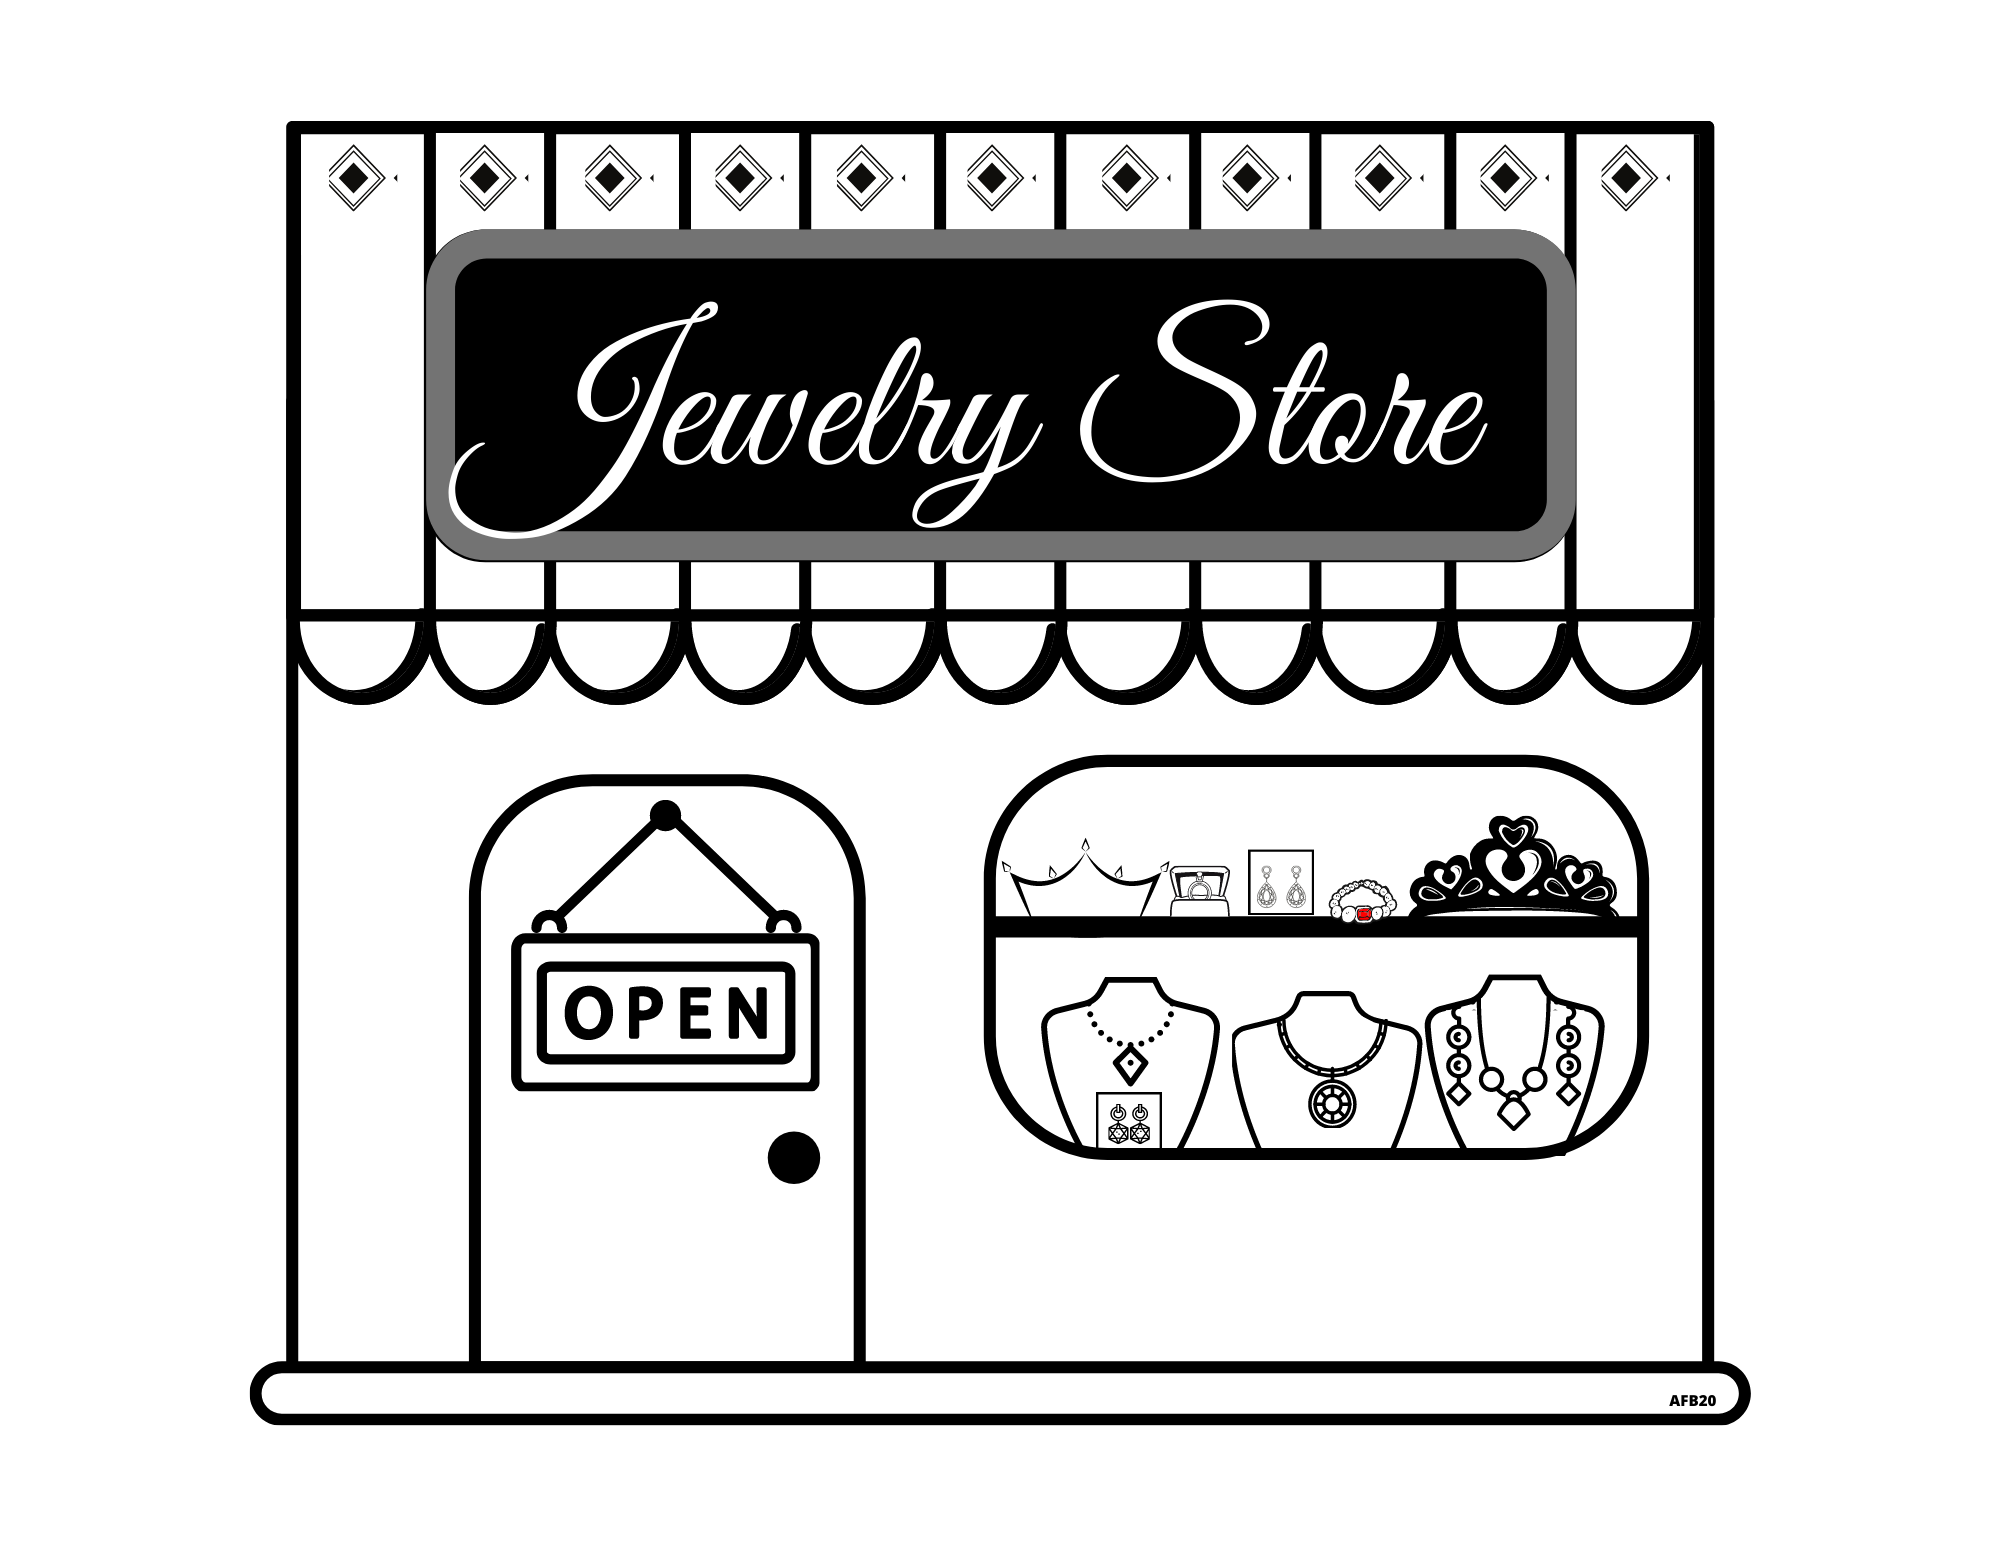
JEWELRY STORE

Rainy days or cold days outside are the perfect days for pretend play! Today we created a Jewelry Store on our basement couch. It was simple, fun, and of course educational! Reviews letter and number identification, math (addition, dollar/cent recognition), practice writing, how a business works.
Materials:
- Handouts (see below)
- White paper
- Printer
- Poster board
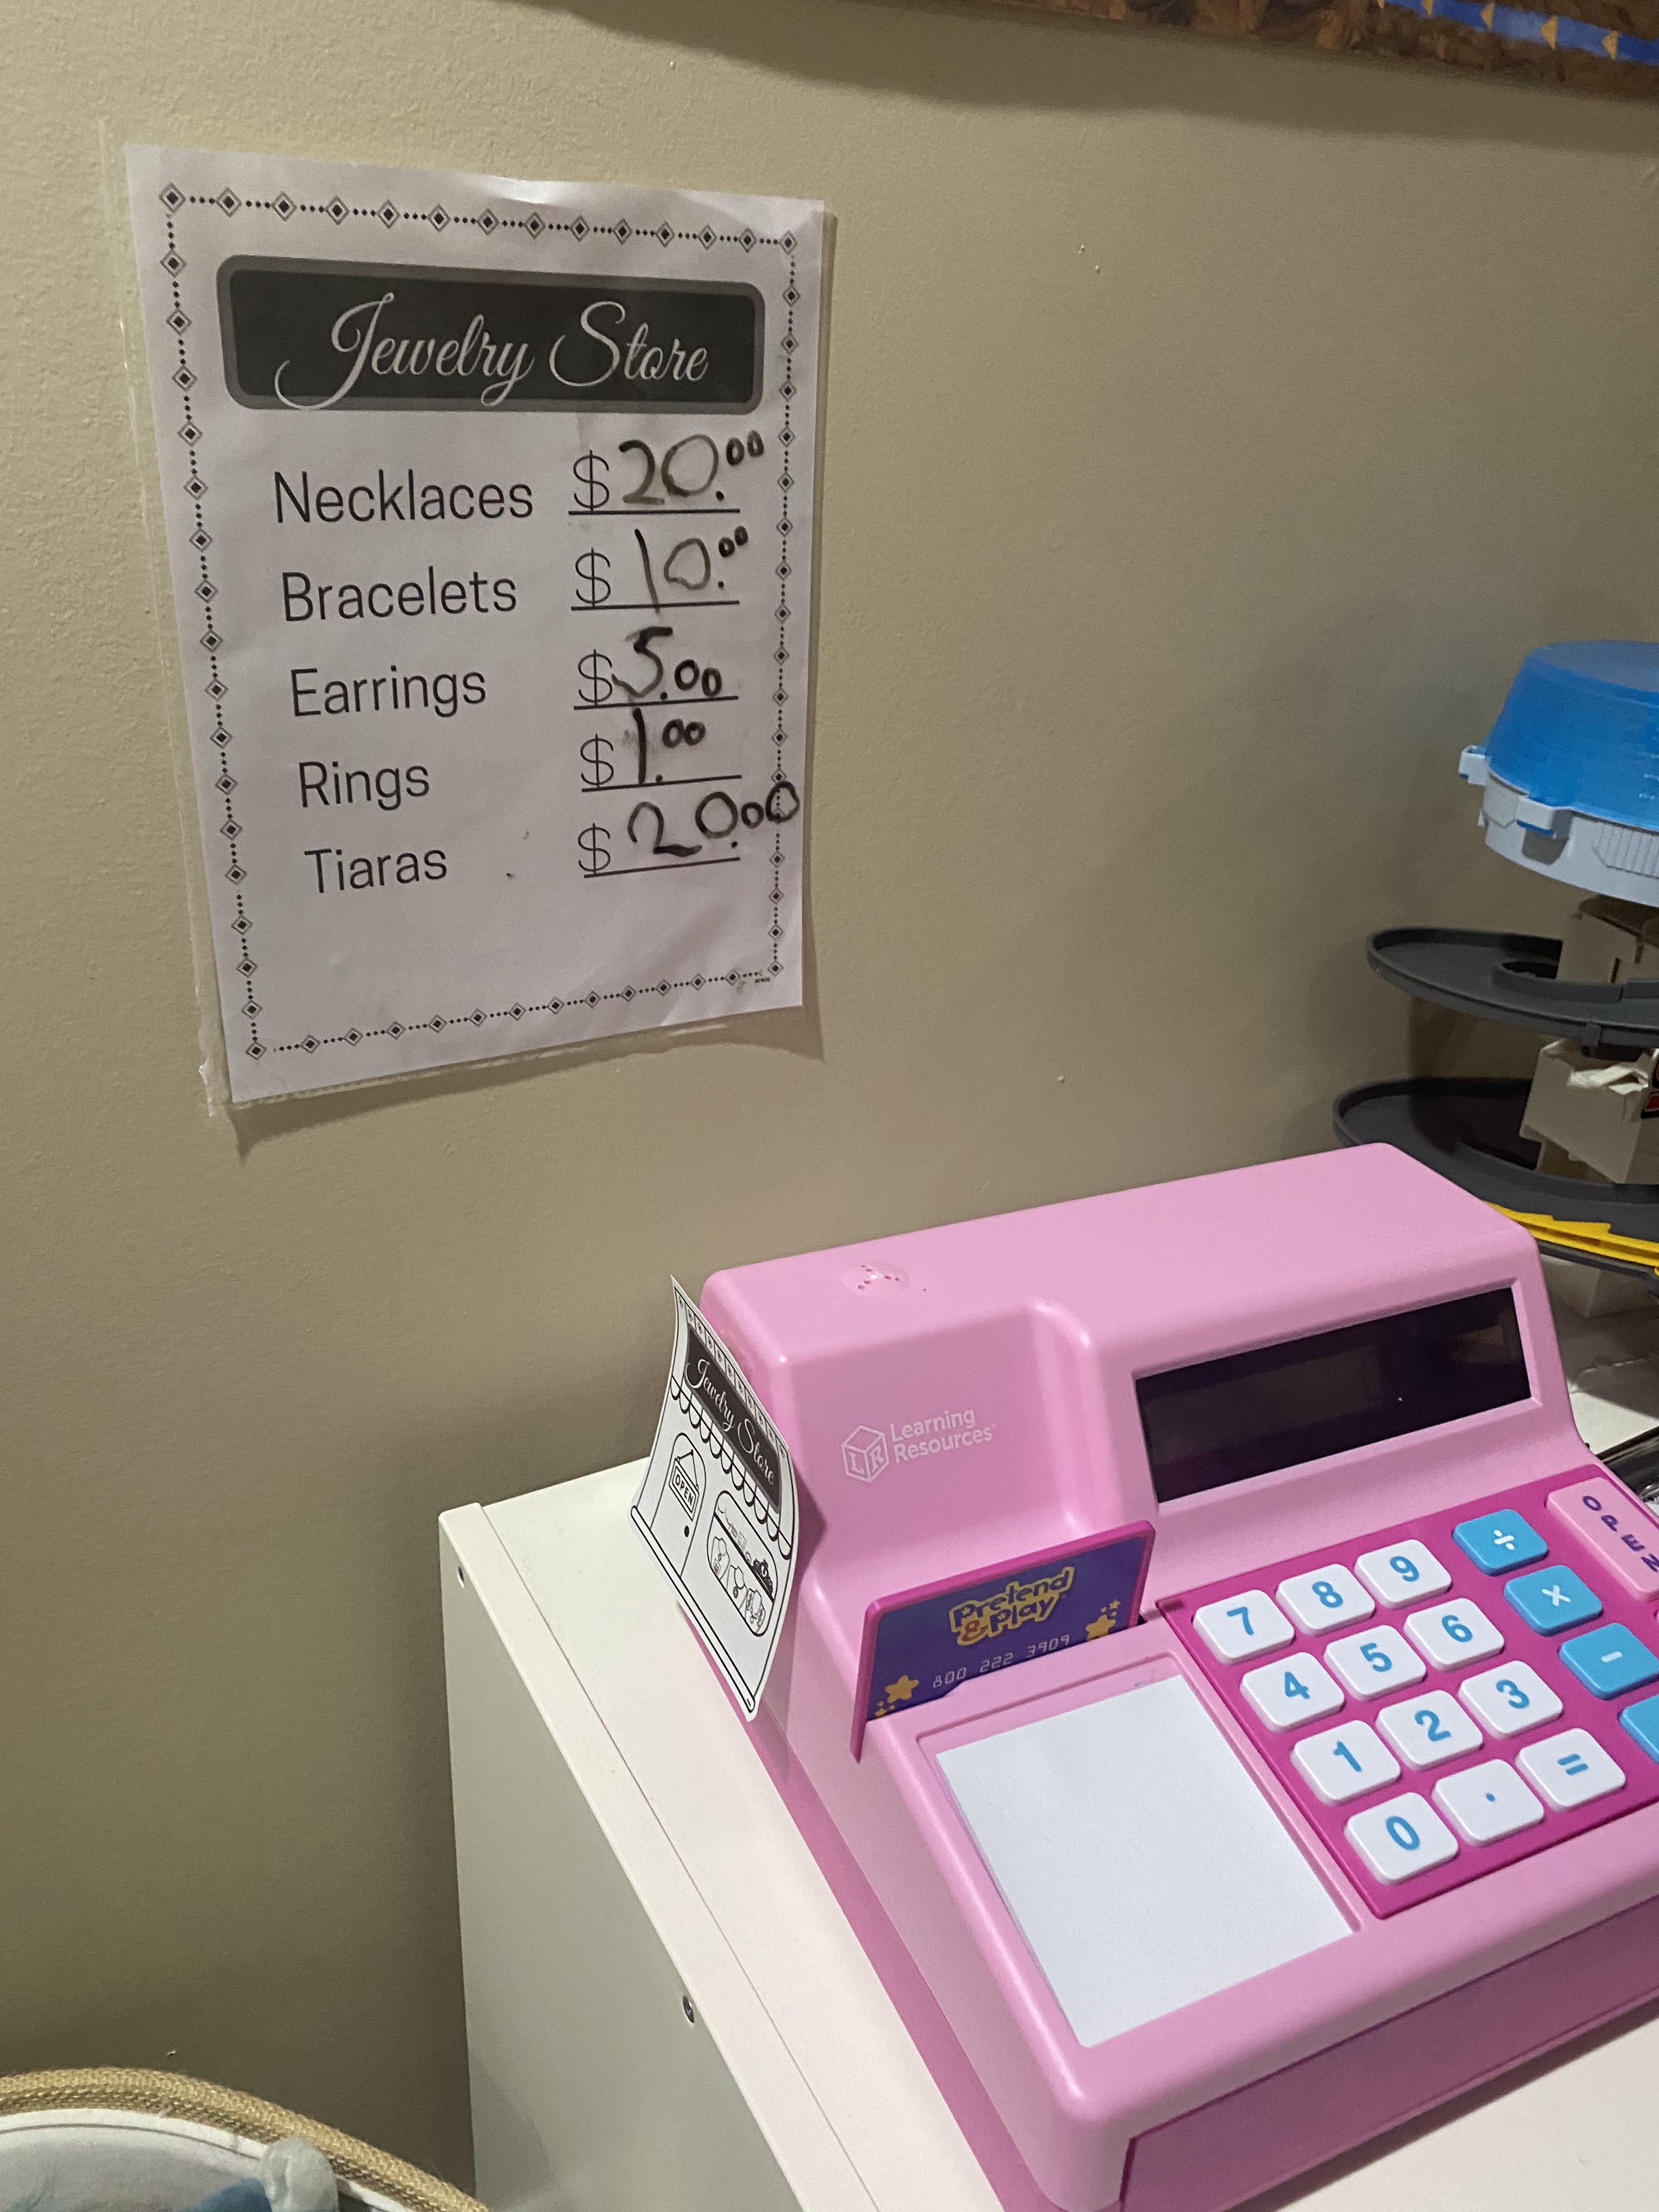
- Cash register (optional) We love this one!
- Assortment of jewelry (necklaces, bracelets, rings, earrings, tiaras)
- Dry erase marker
- Page protectors or laminate sheets
- Clip board (optional)
- calculator (optional)
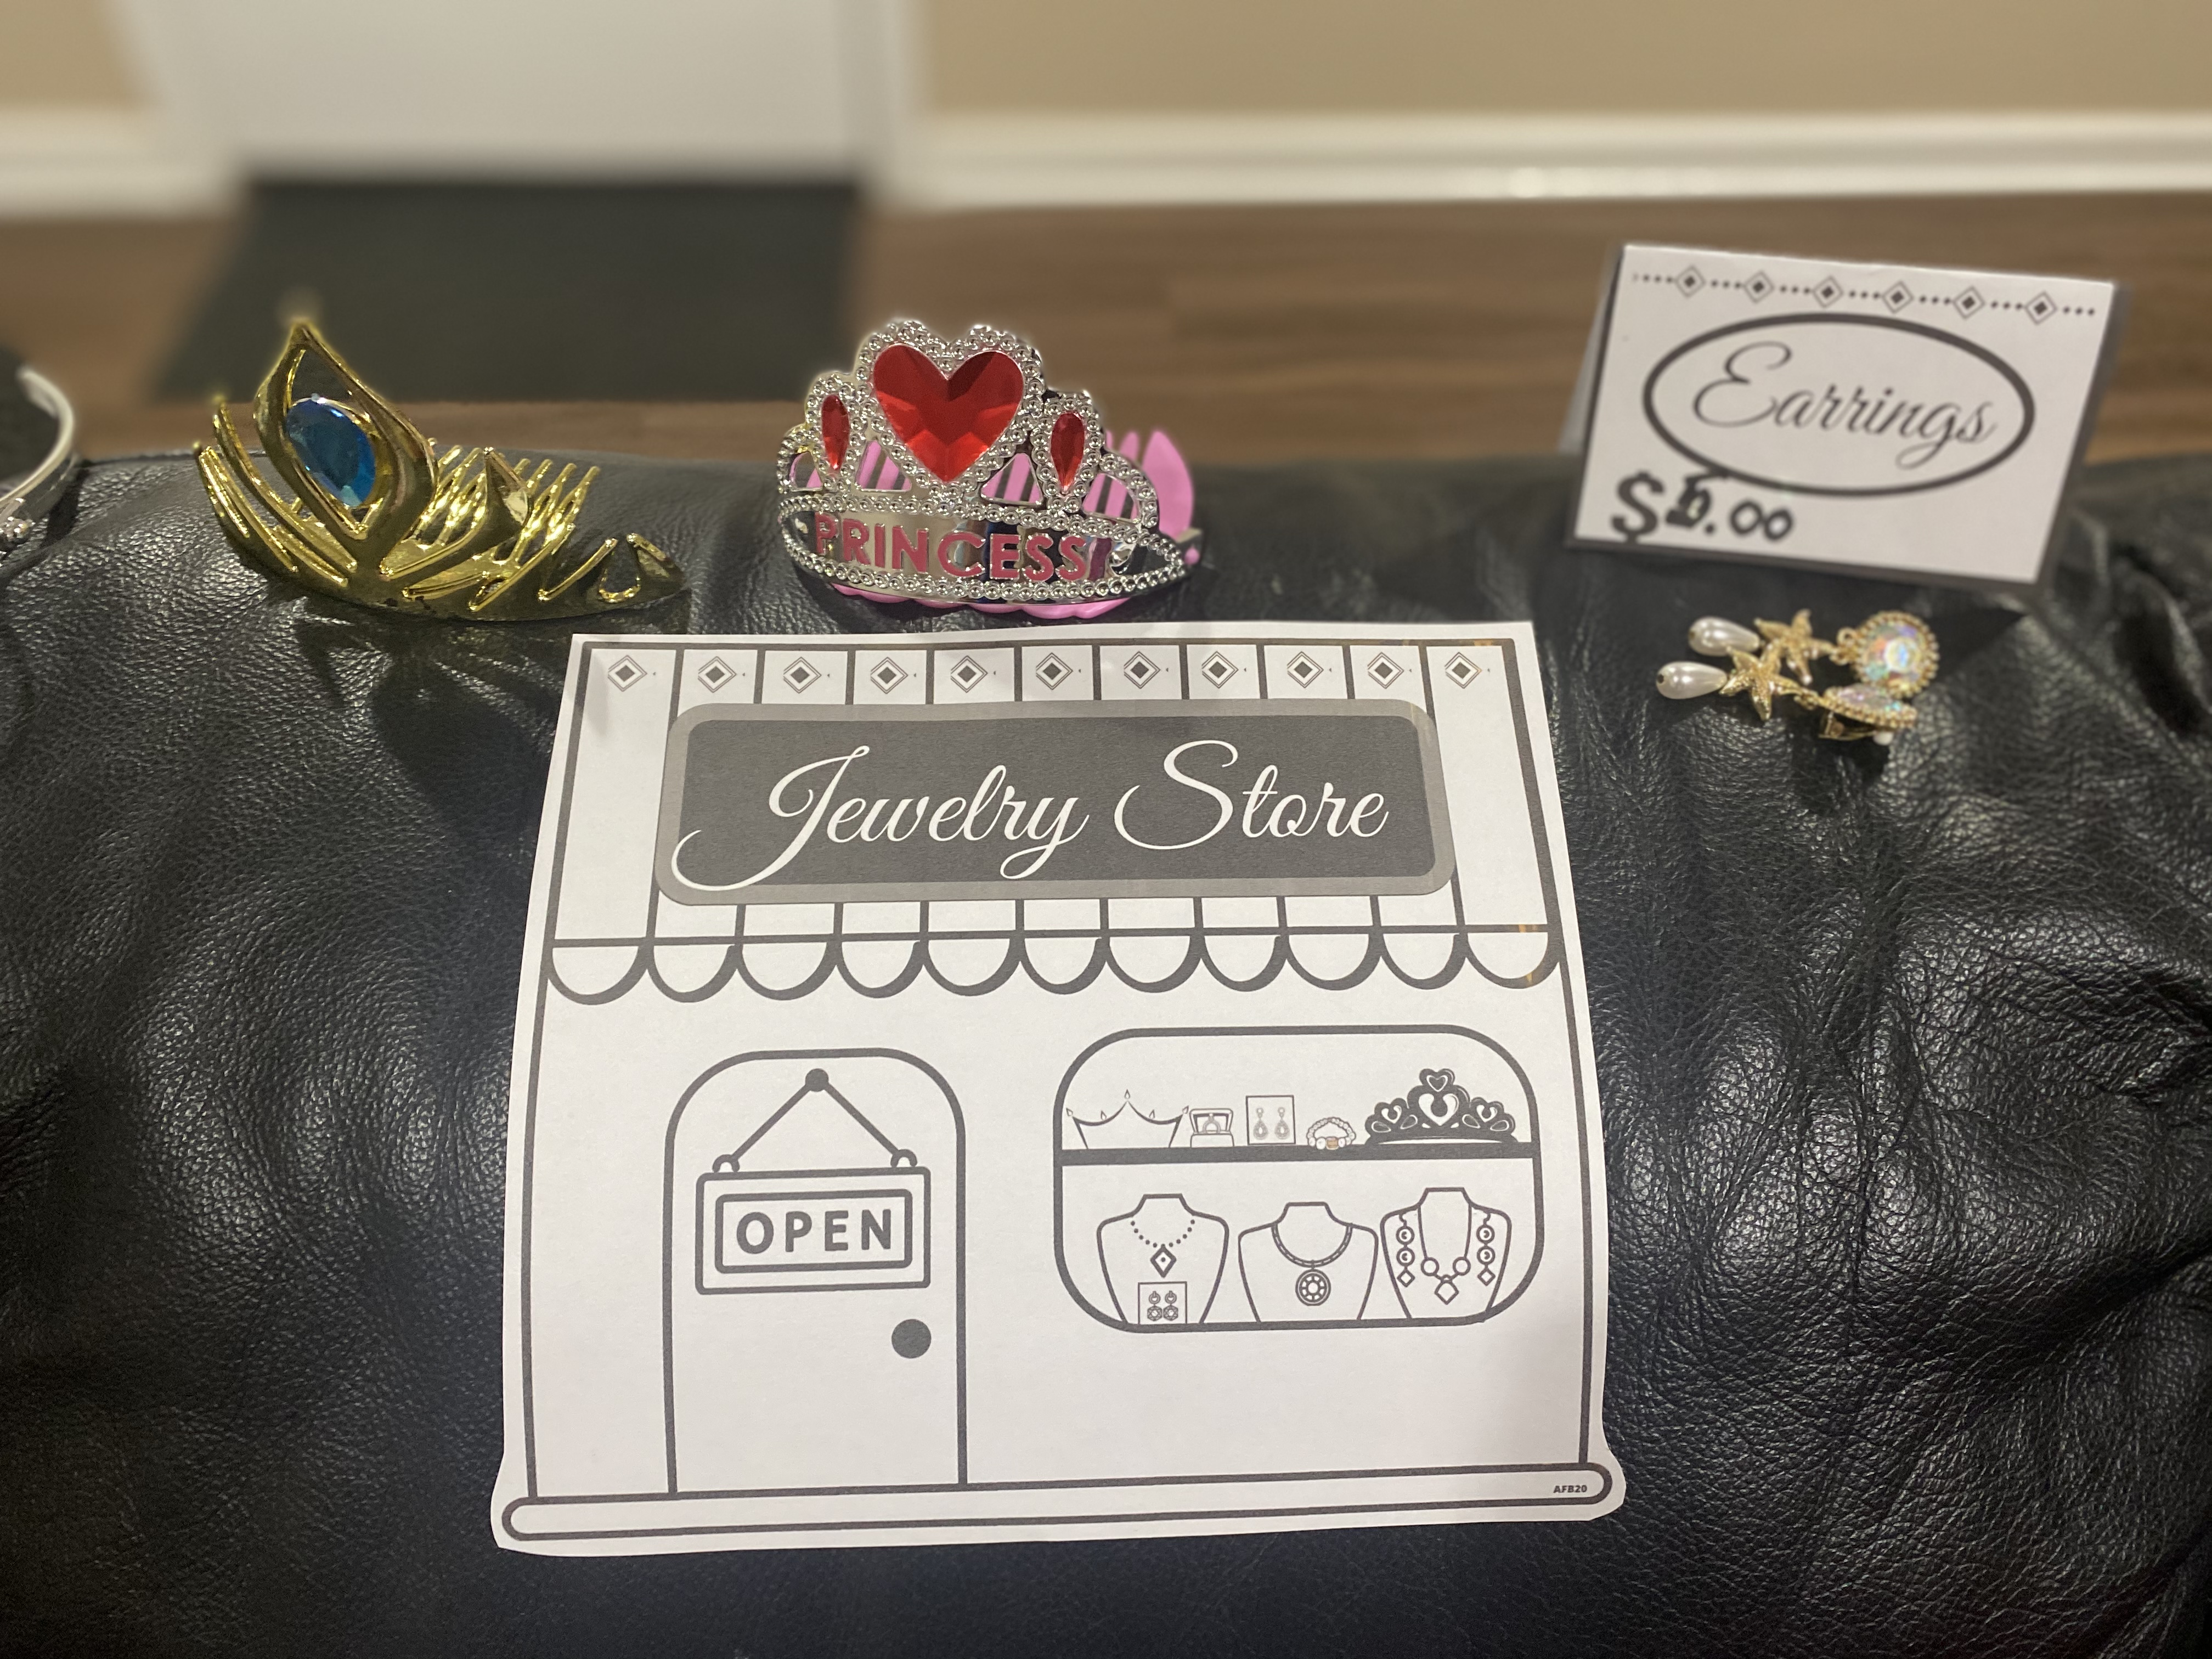
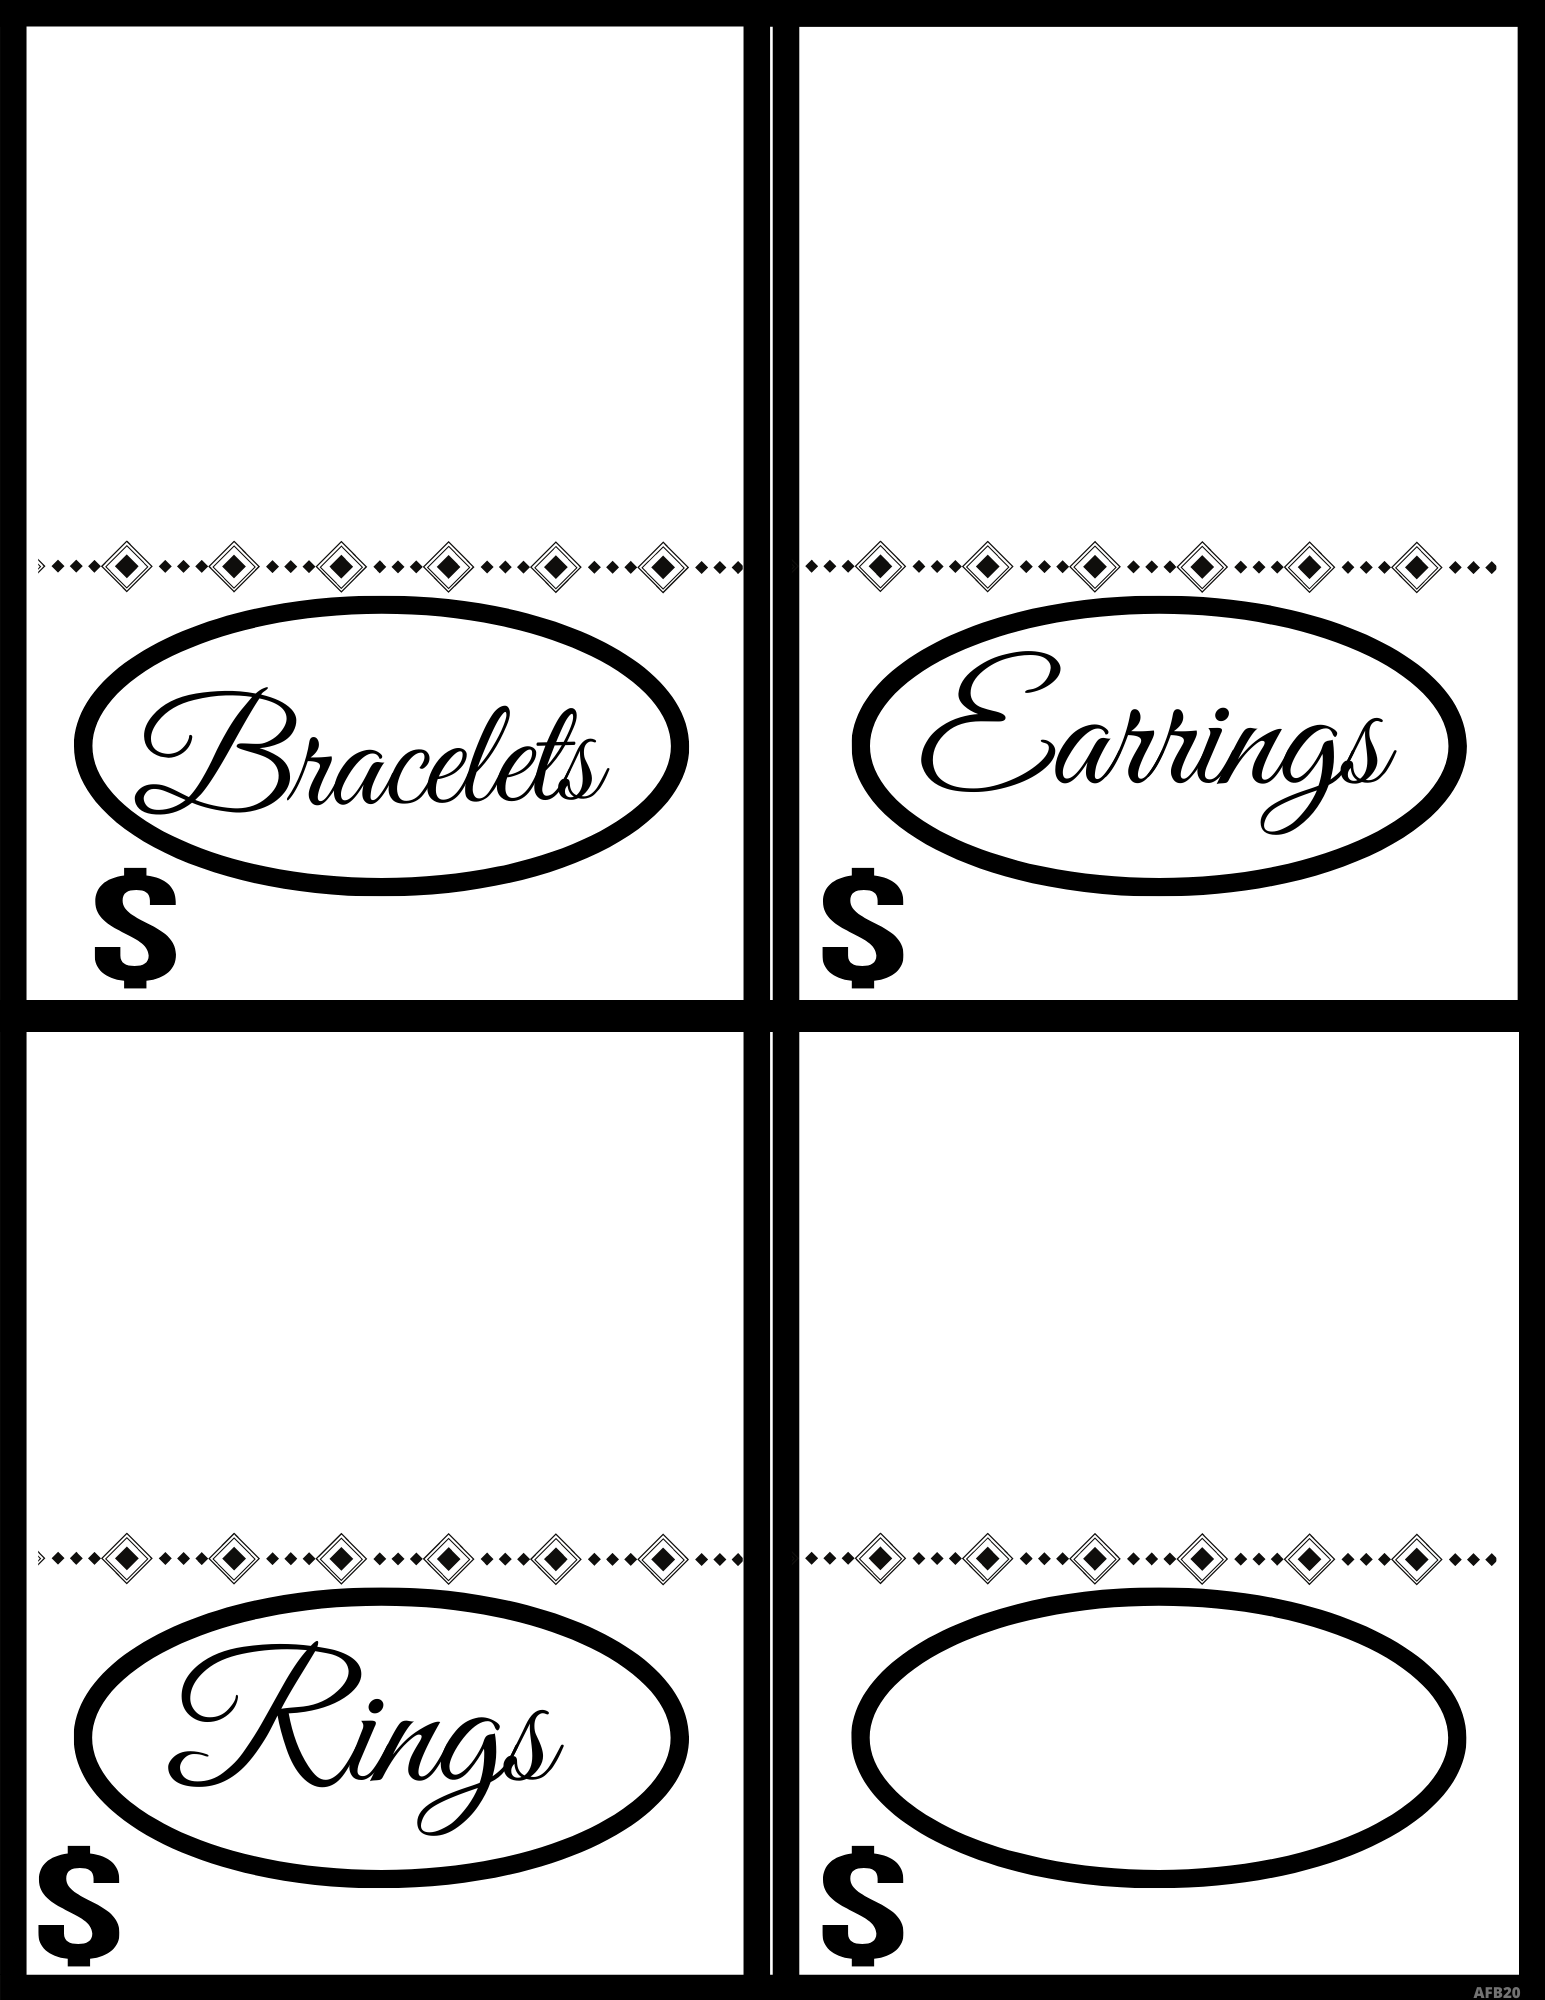
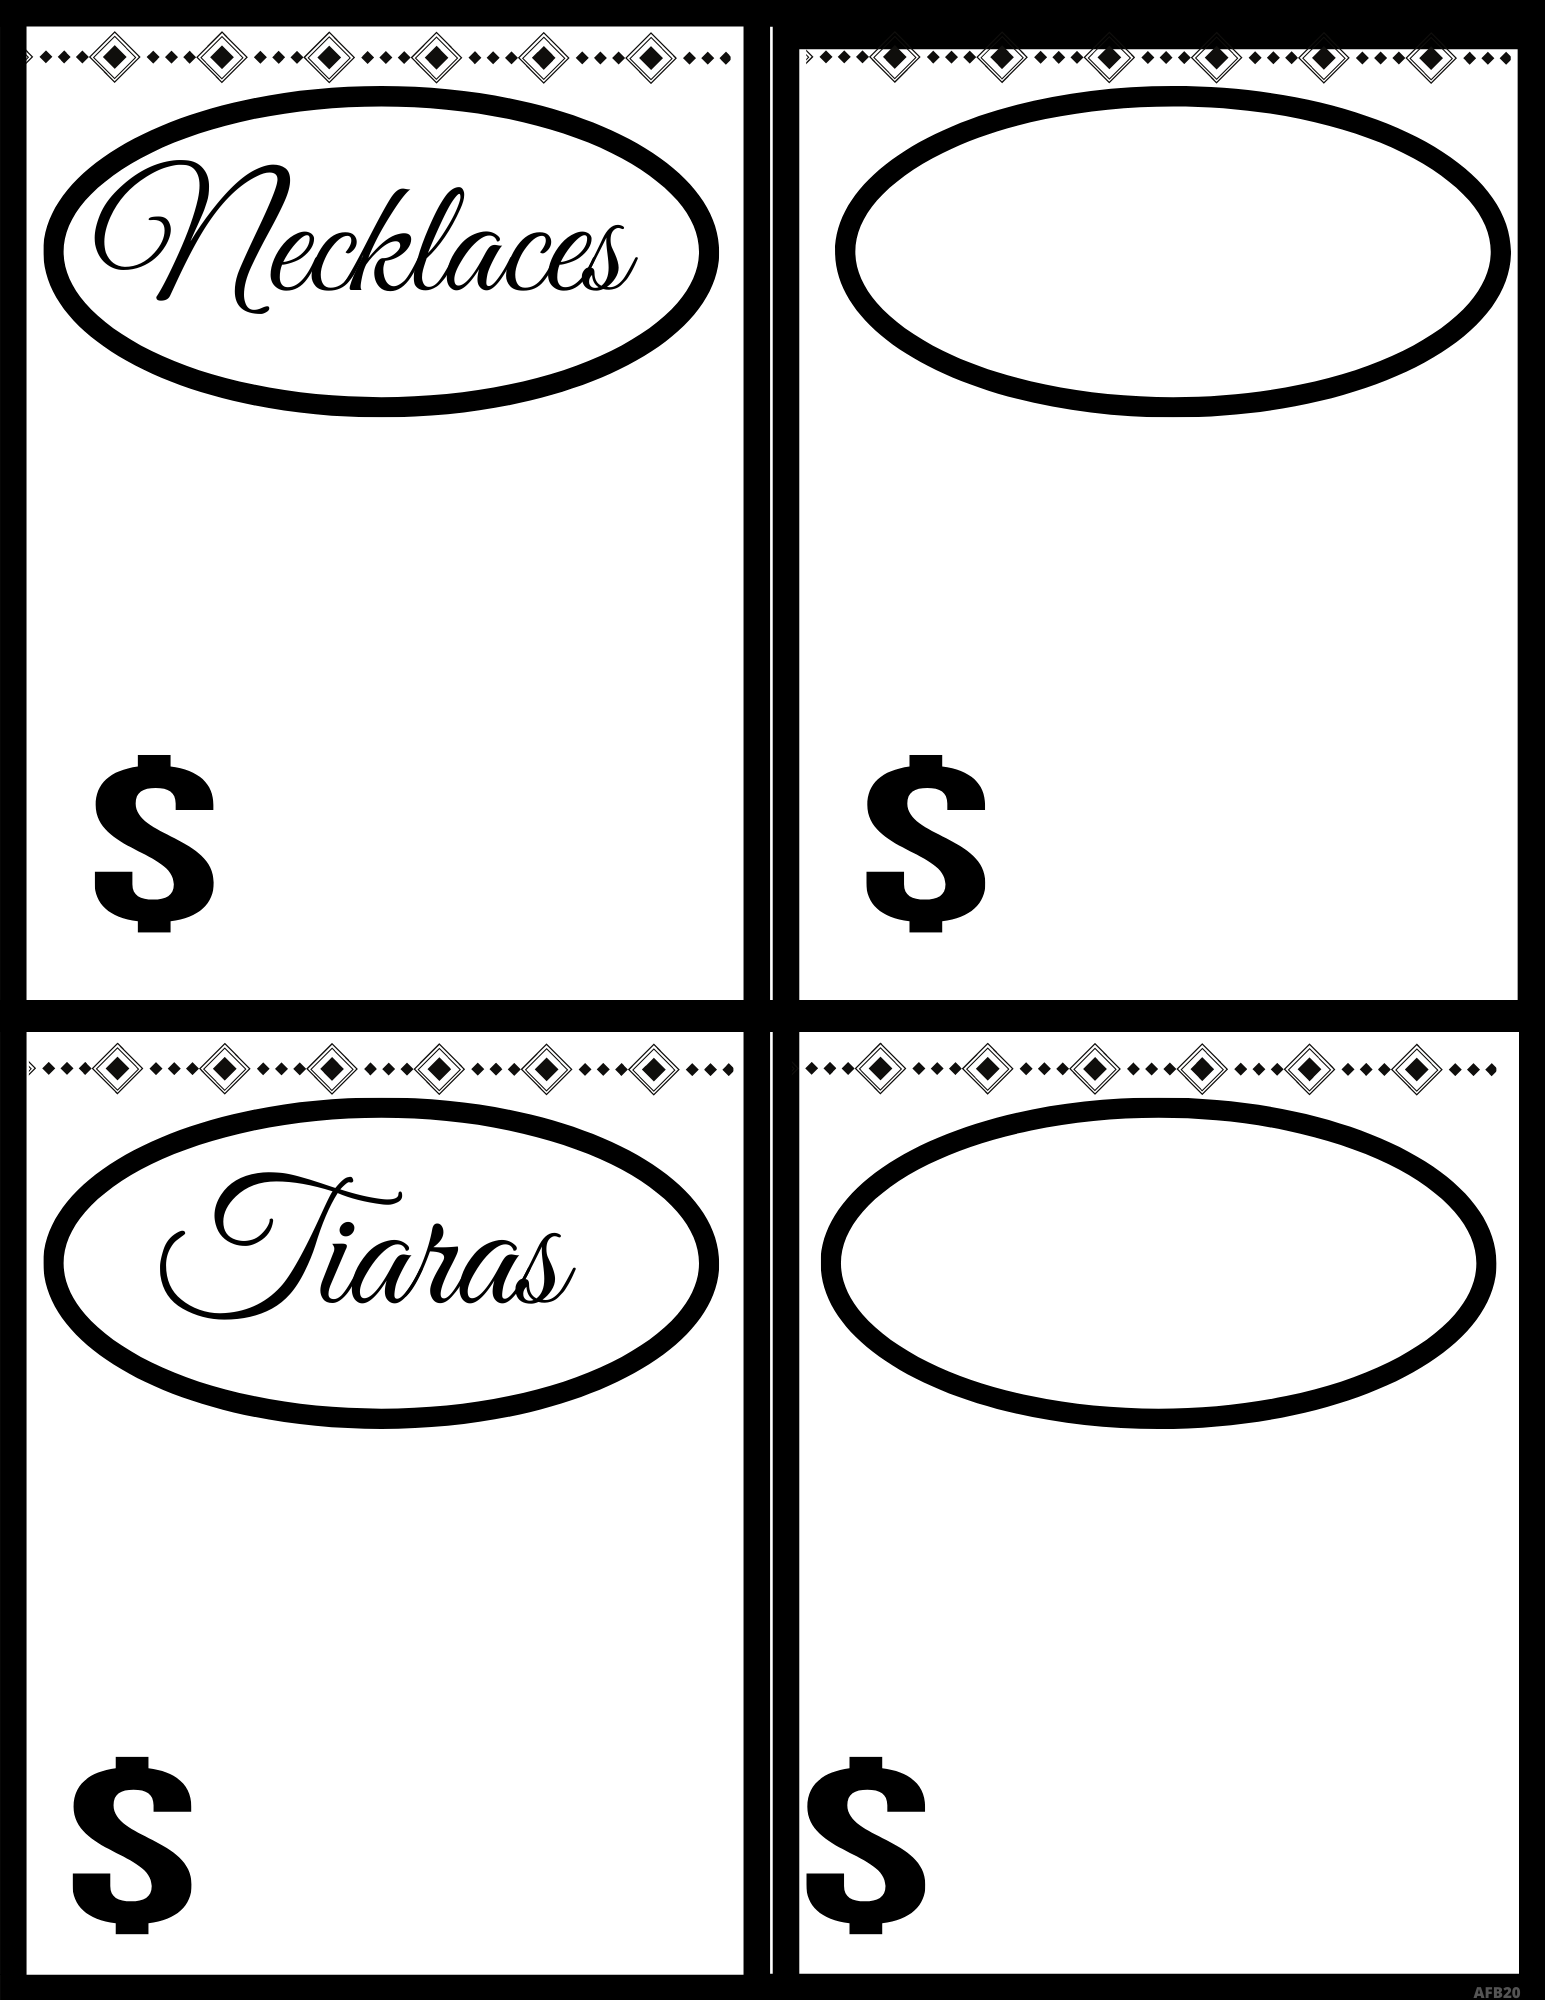
To start we gathered all of the play jewelry we could find in the house. Then we decided what signs we needed. There are blank signs, so you have other options for items besides the ones we used.
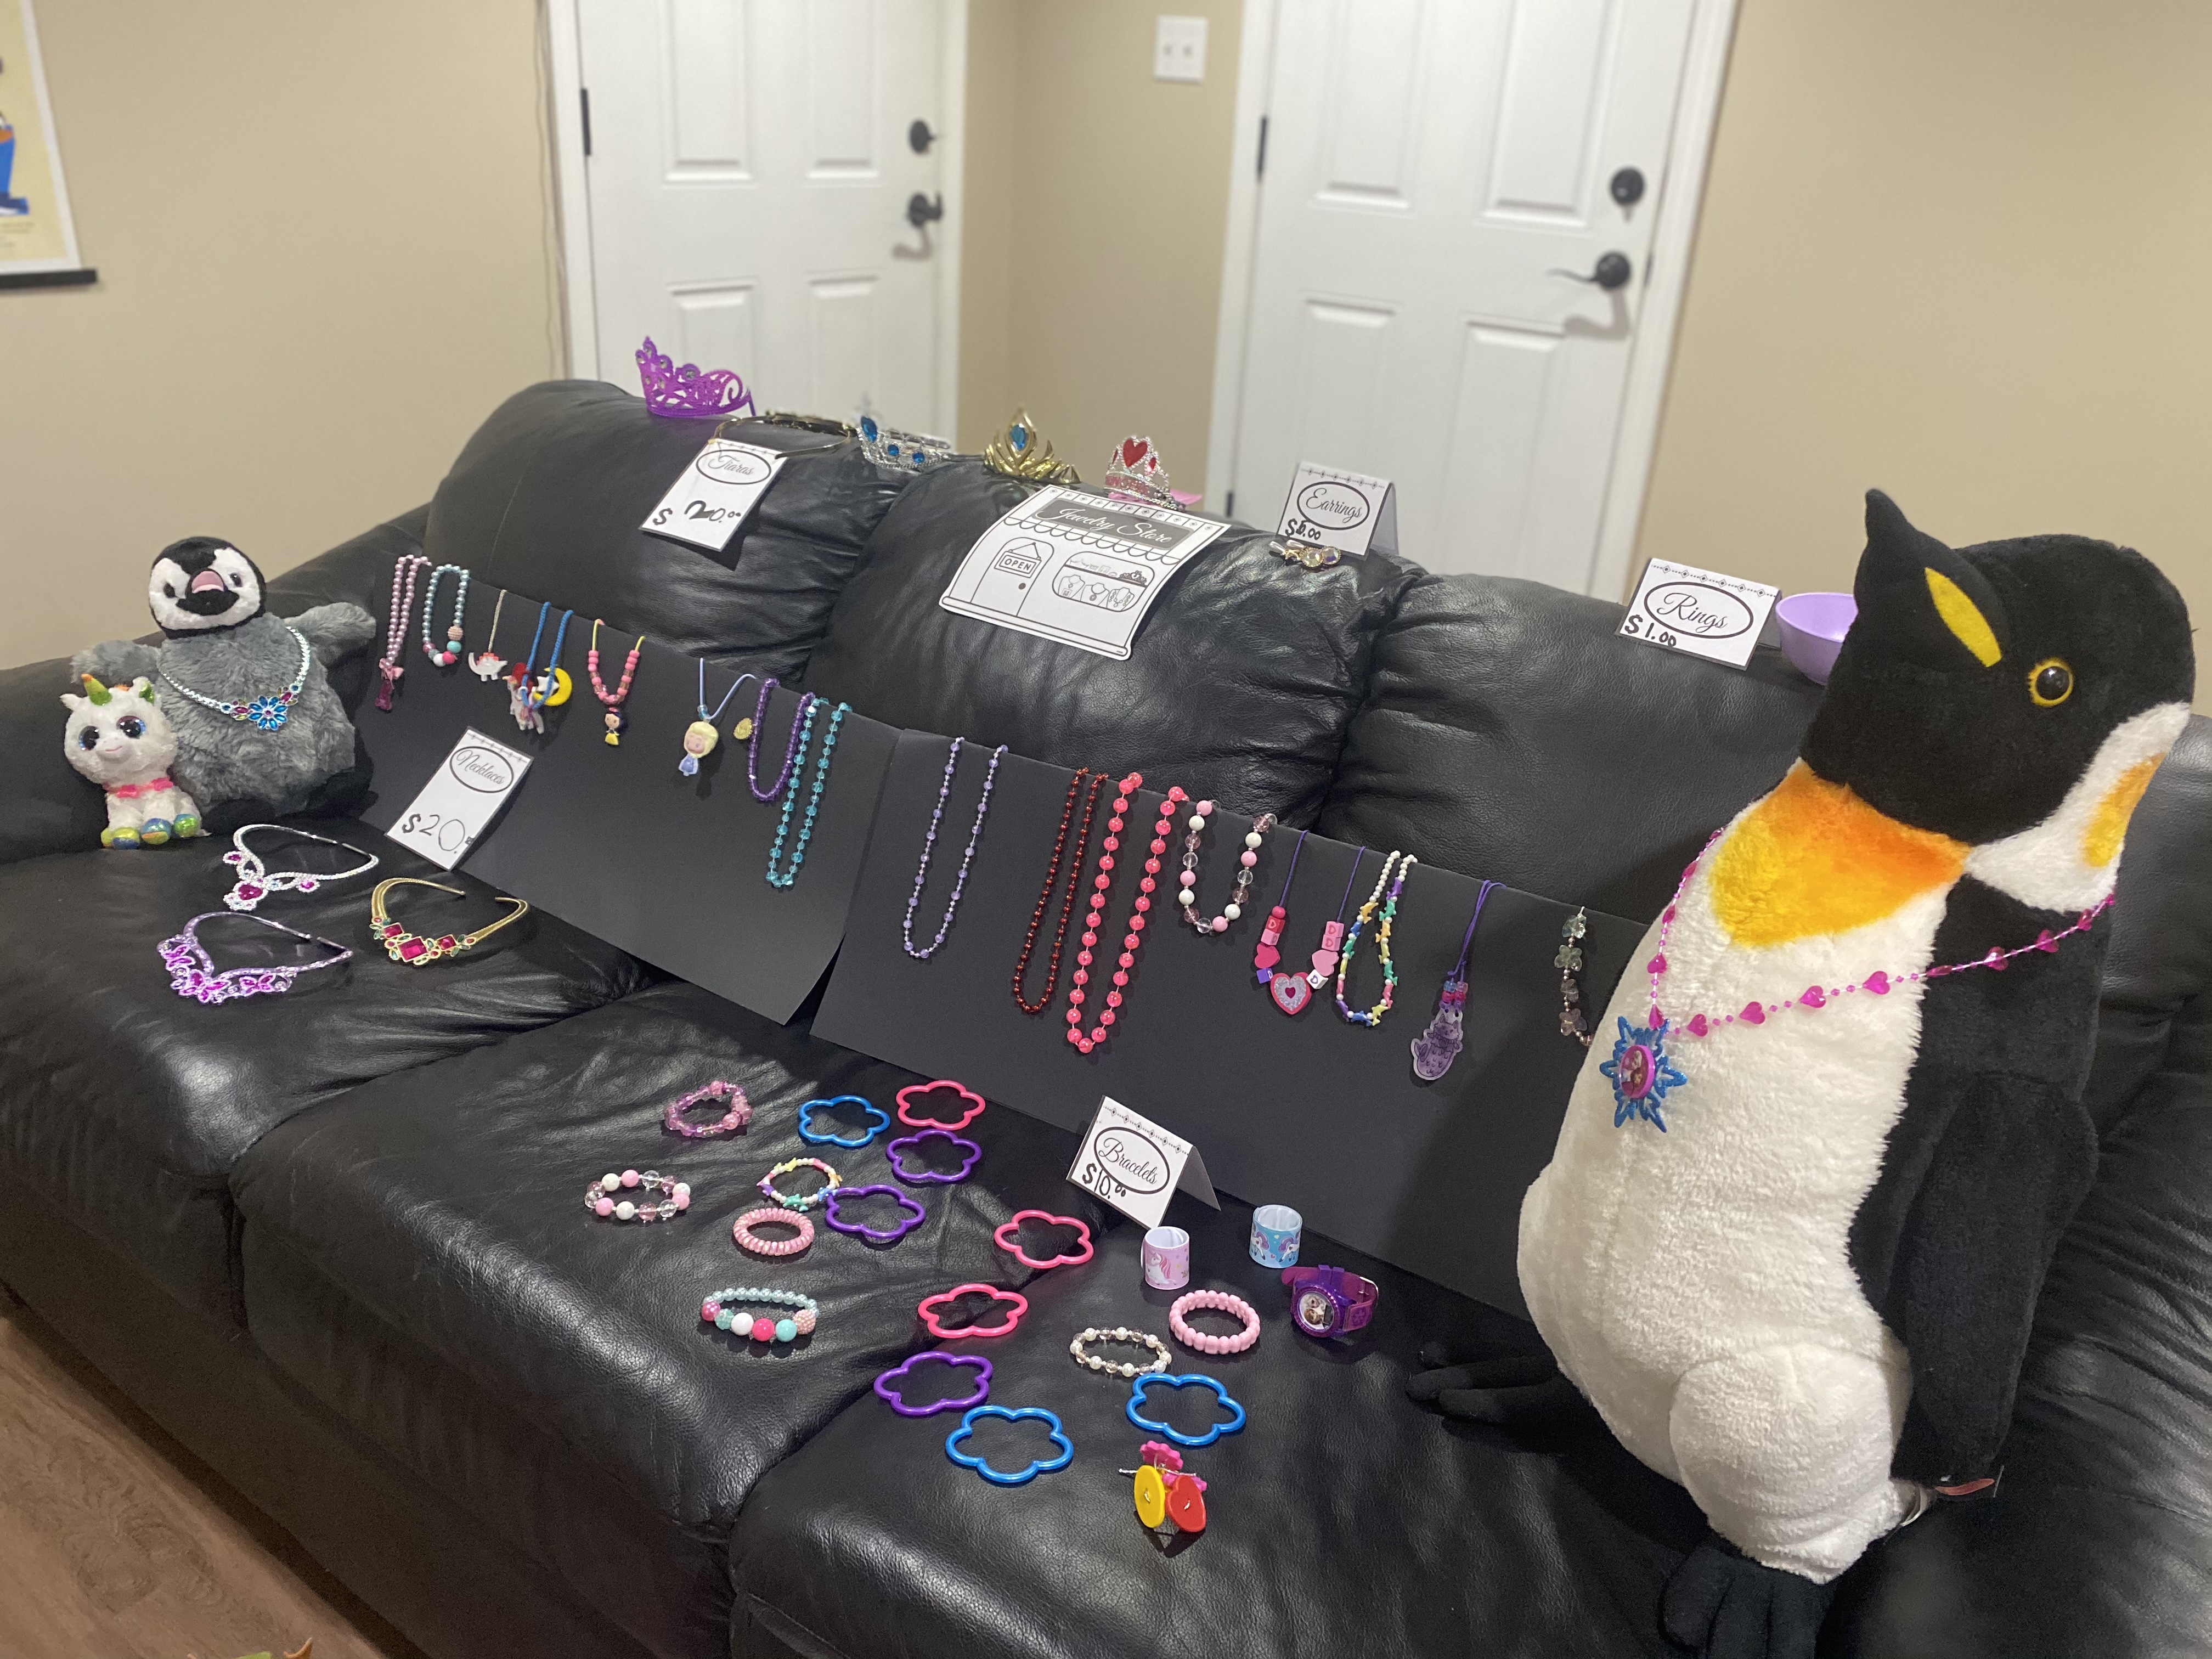
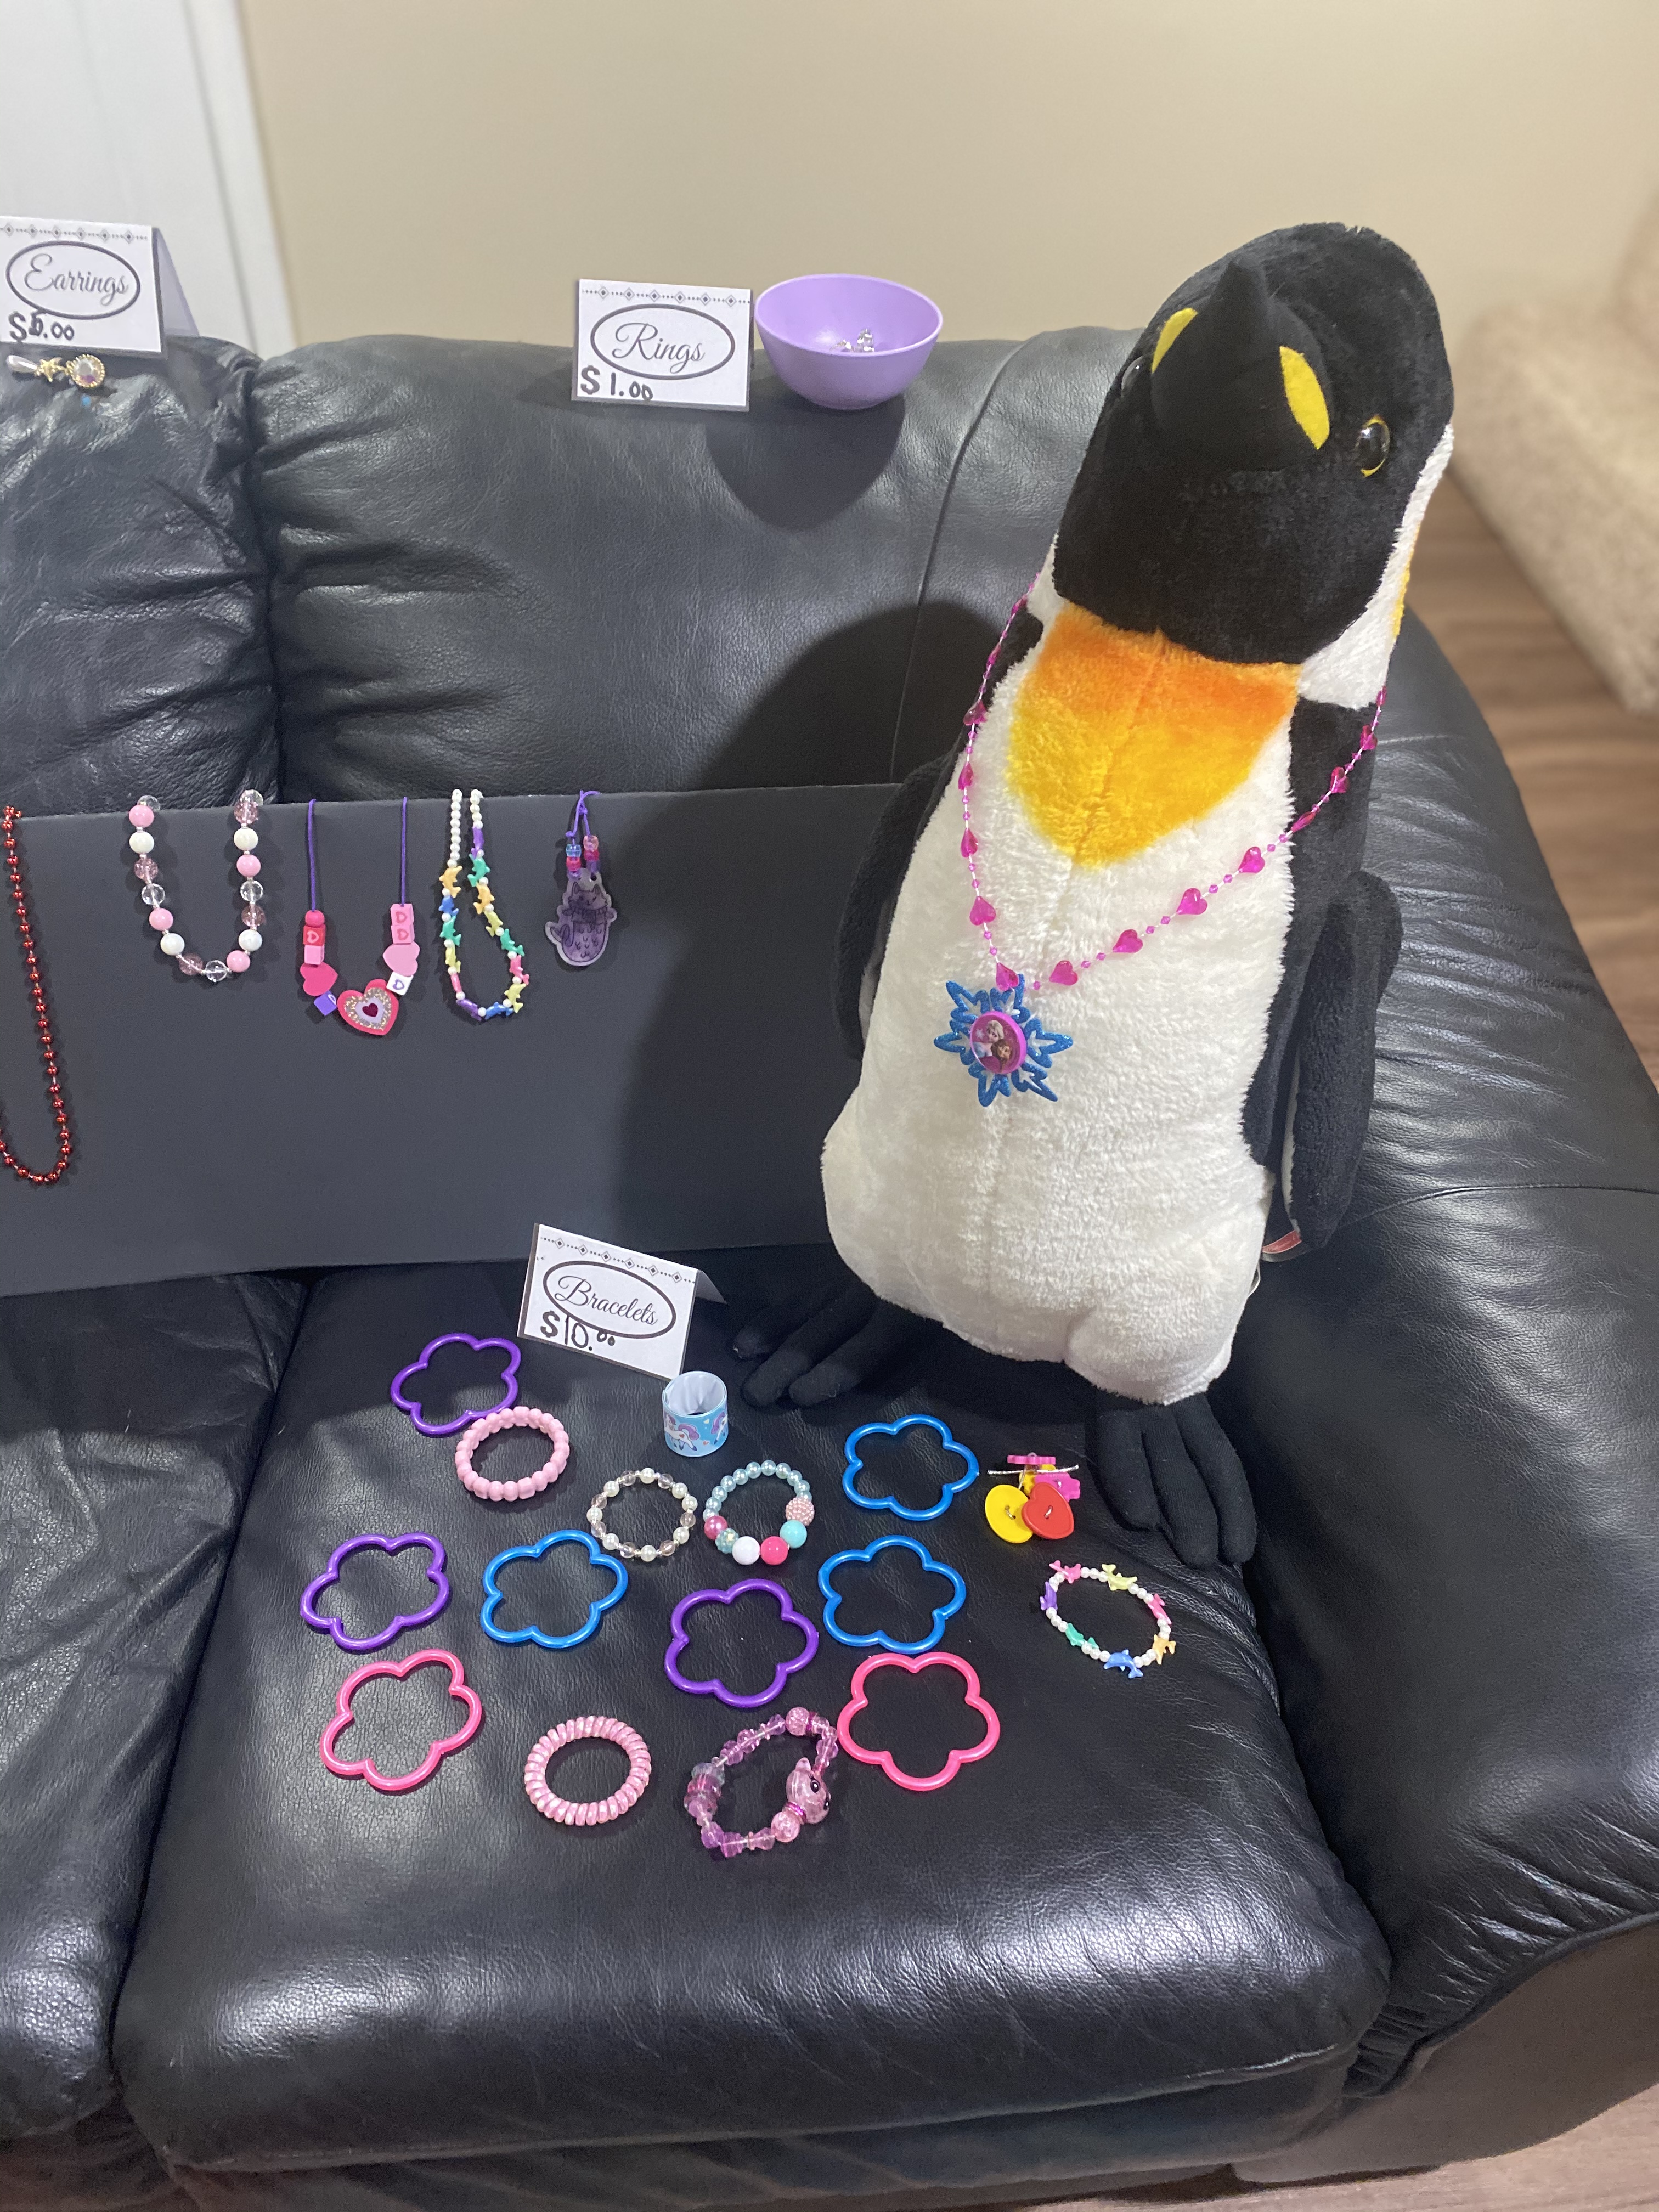
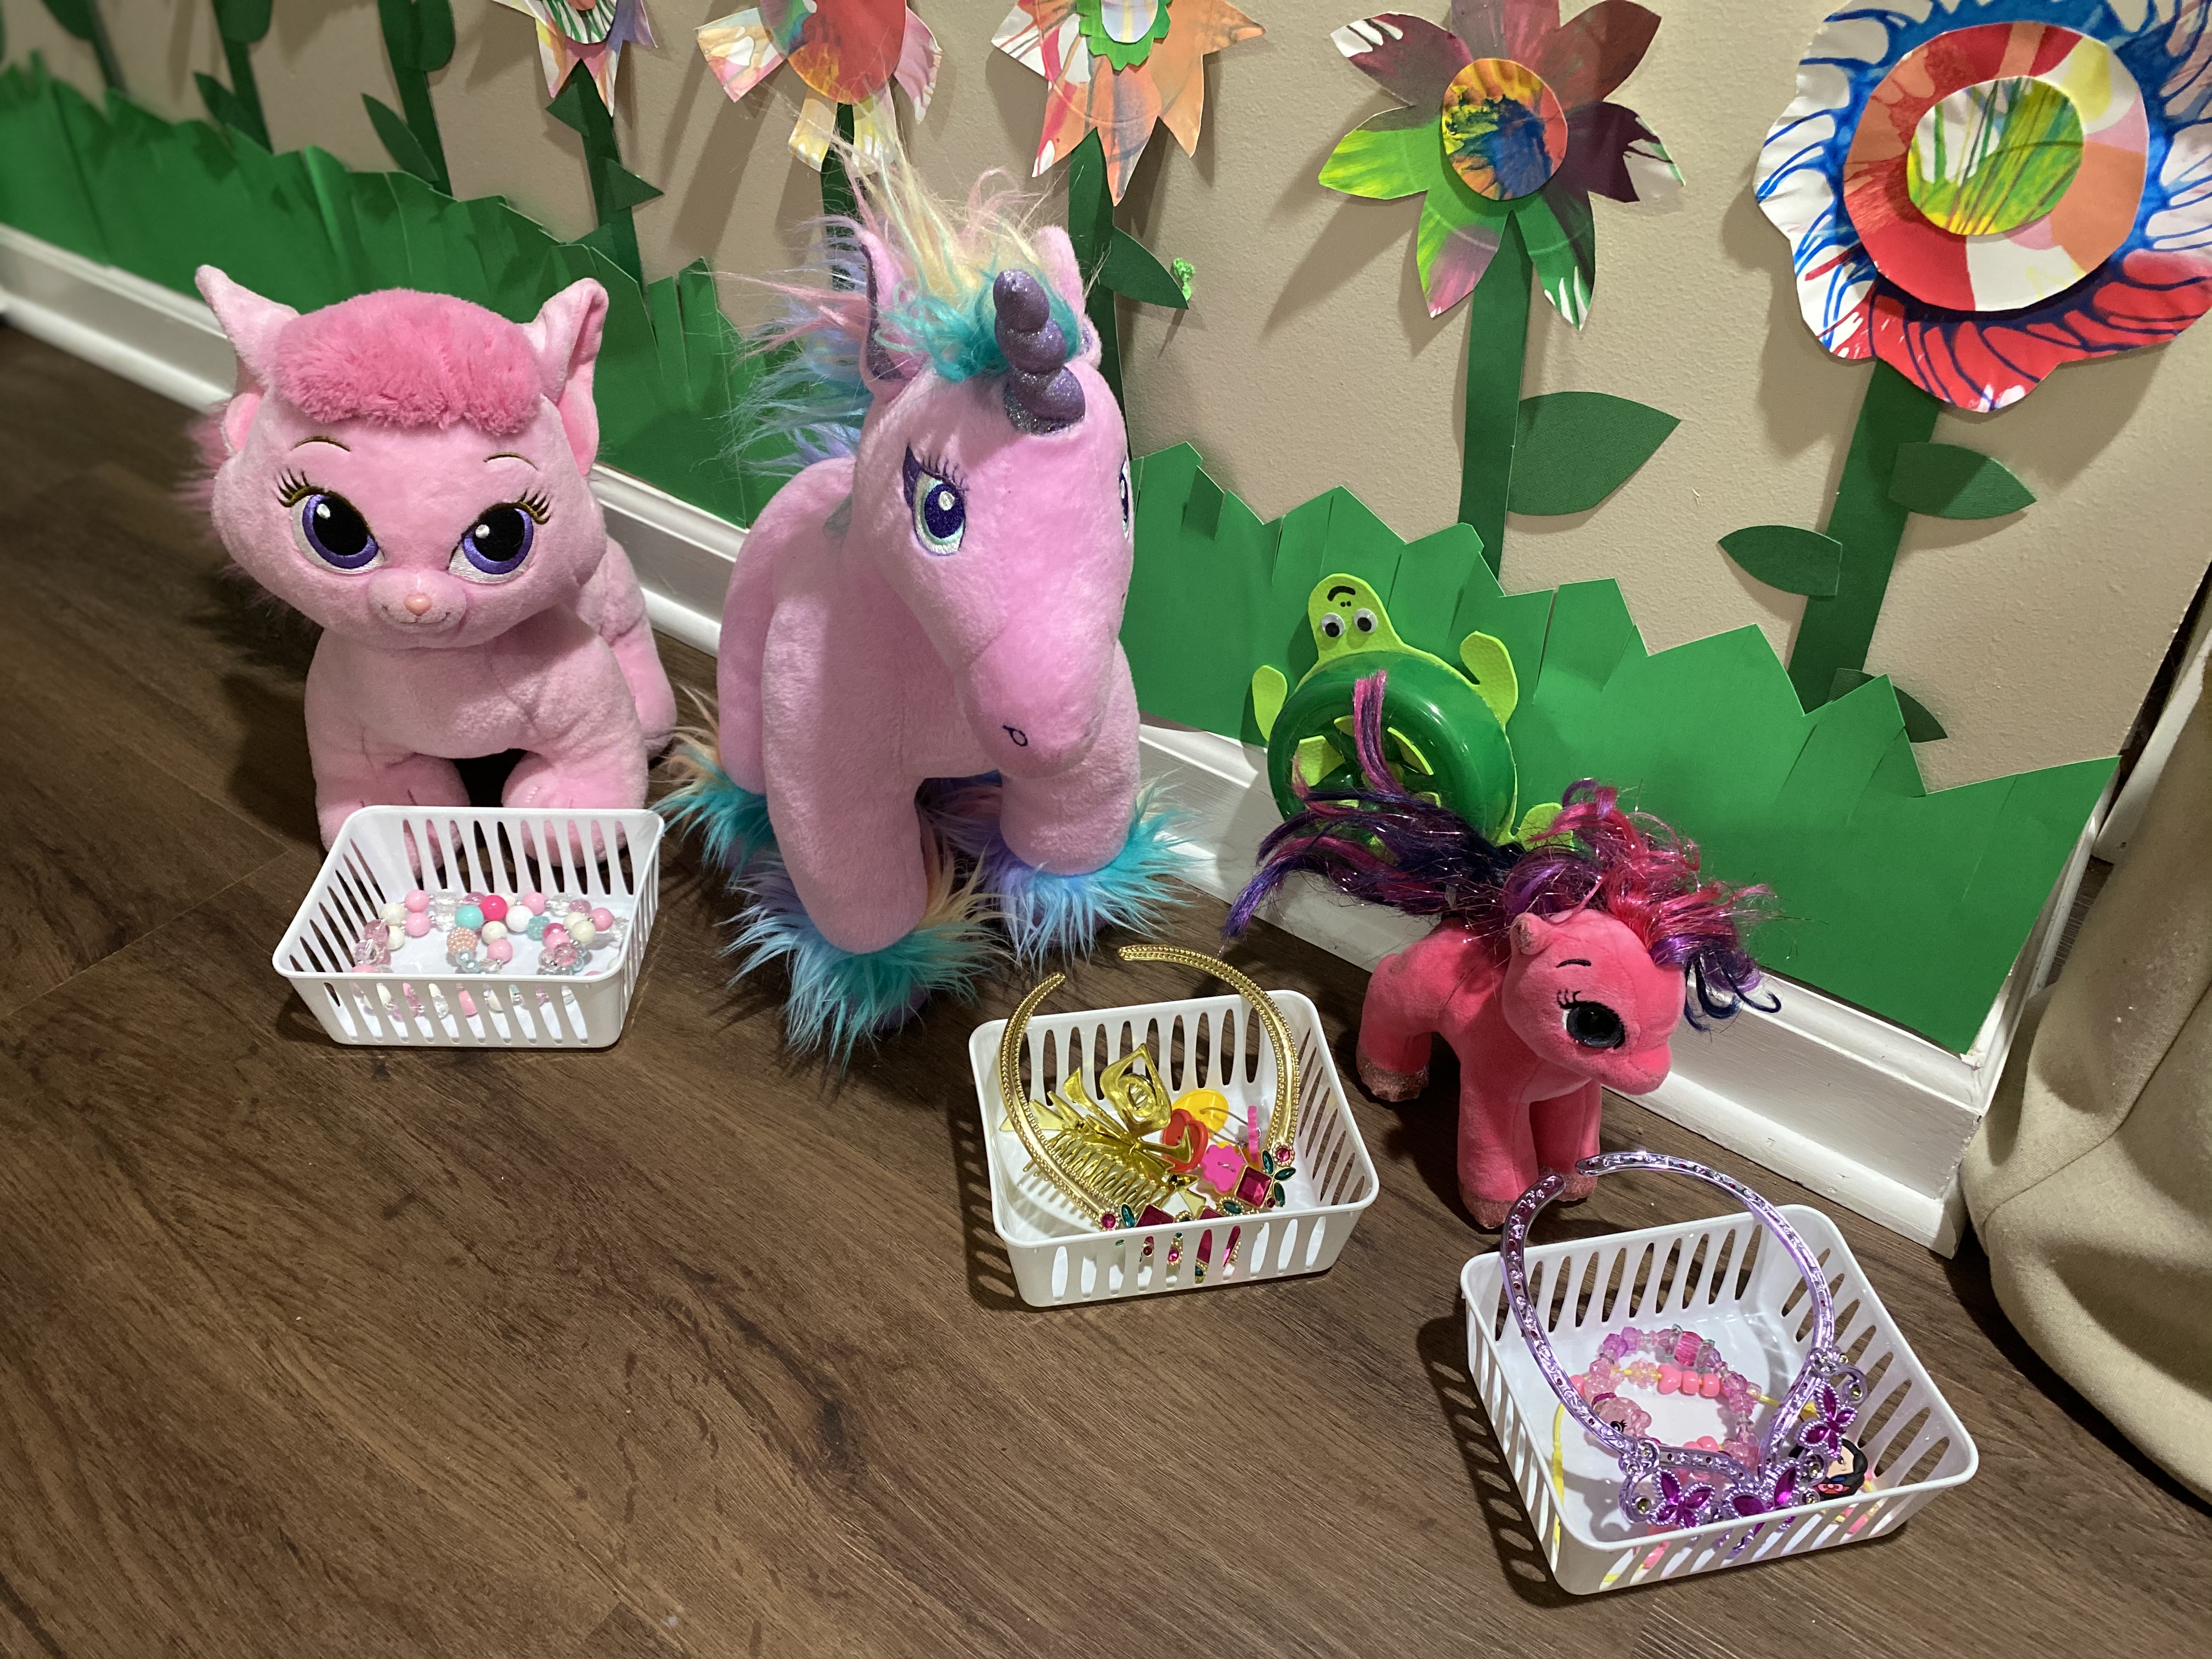
Display:
How to display all of the jewelry? The couch seemed to be a great place to display it all. We folded poster board in half to display the necklaces on. We just placed all of the other jewelry on the couch except for the rings, which we put in a bowl. Of course, we had to add a few models in the store.
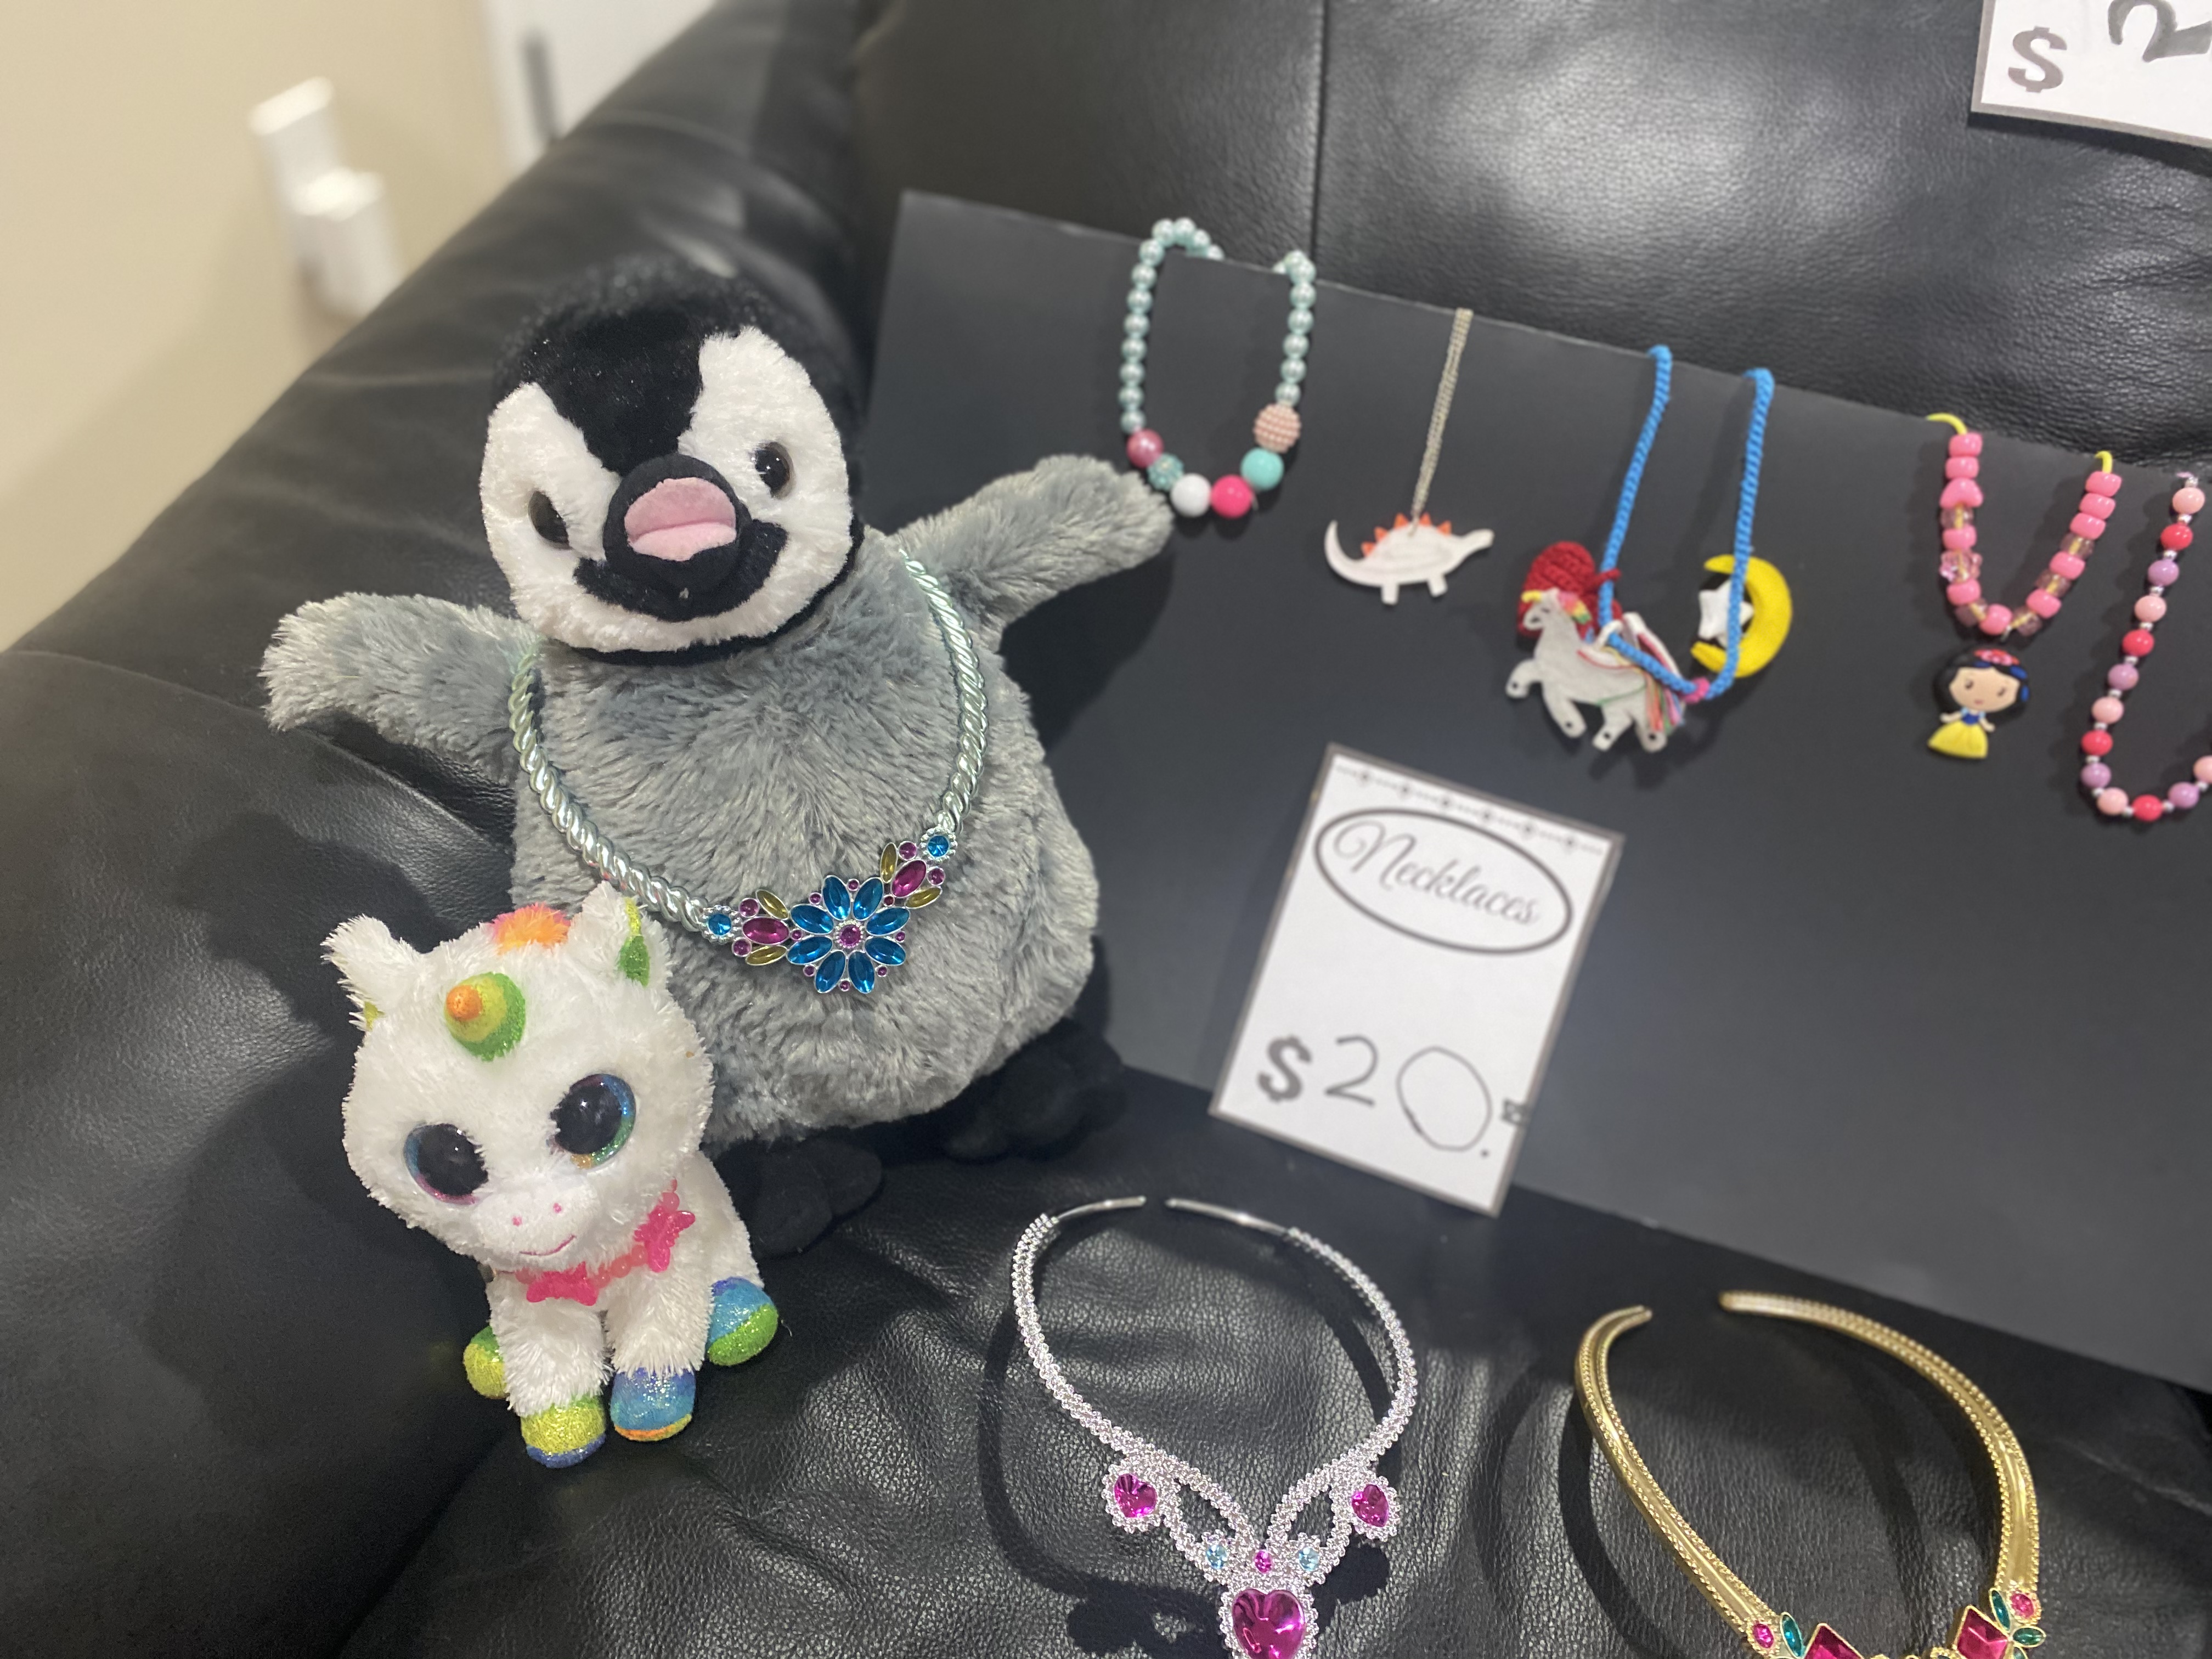

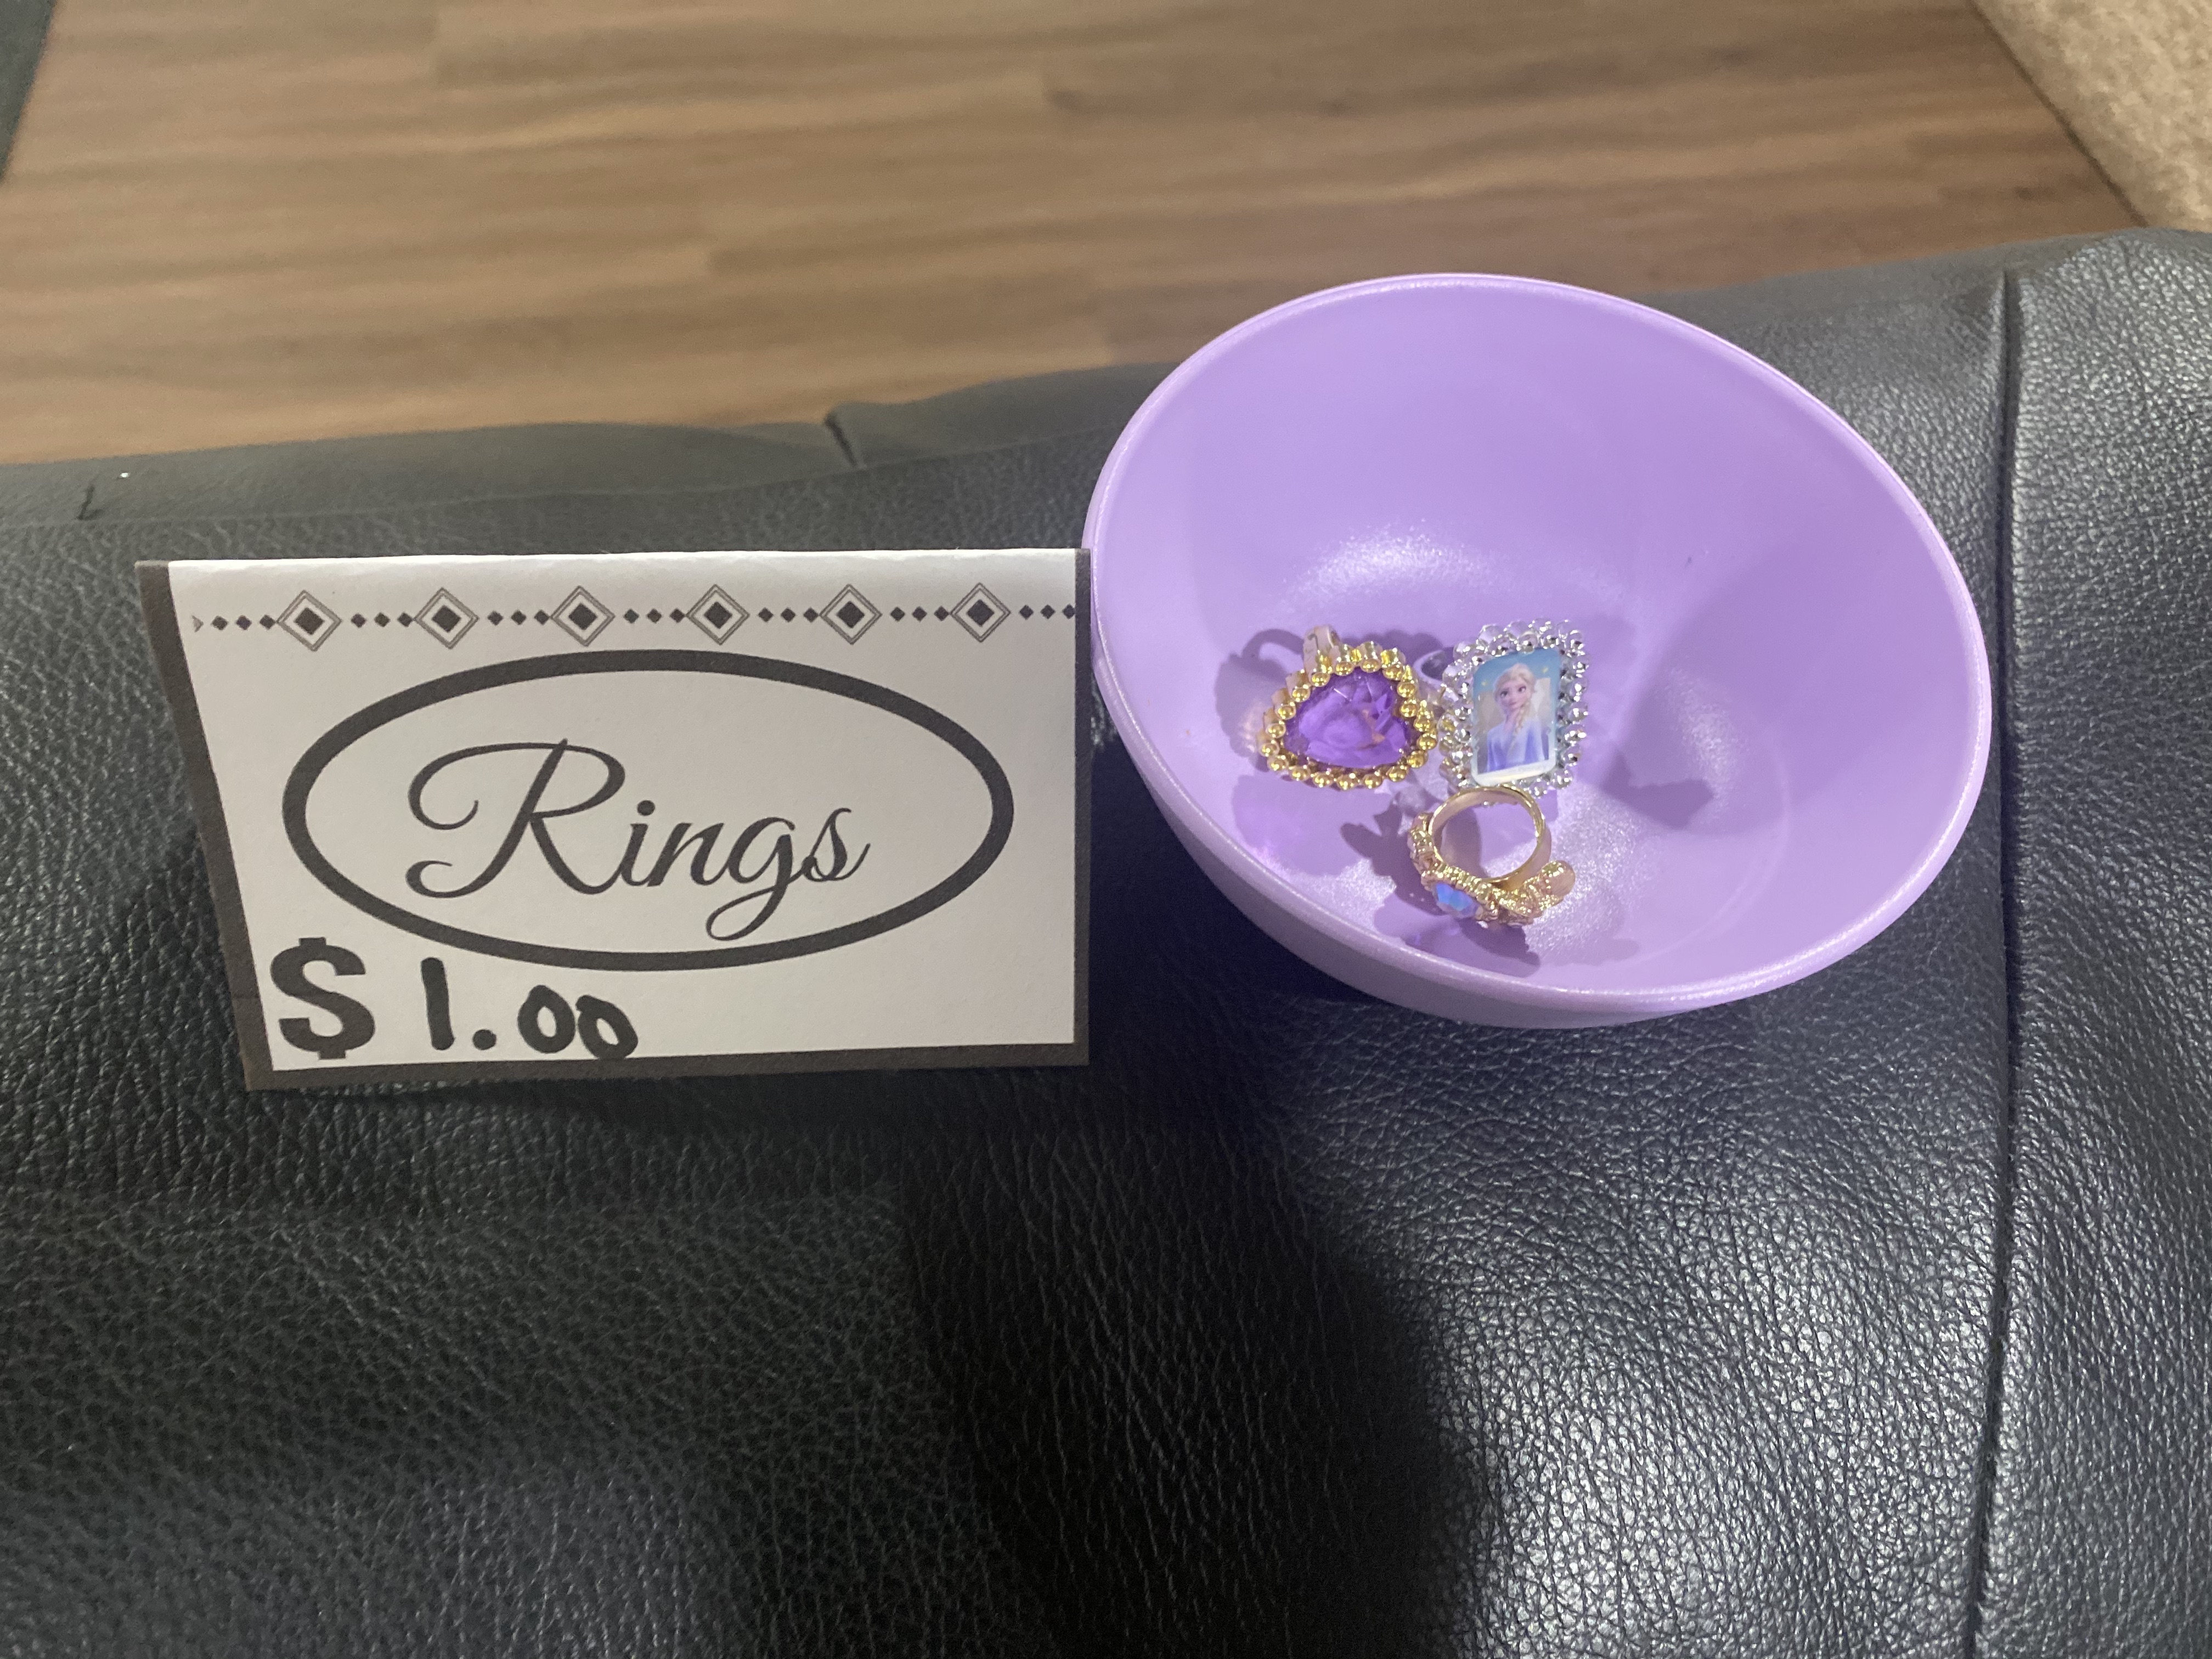
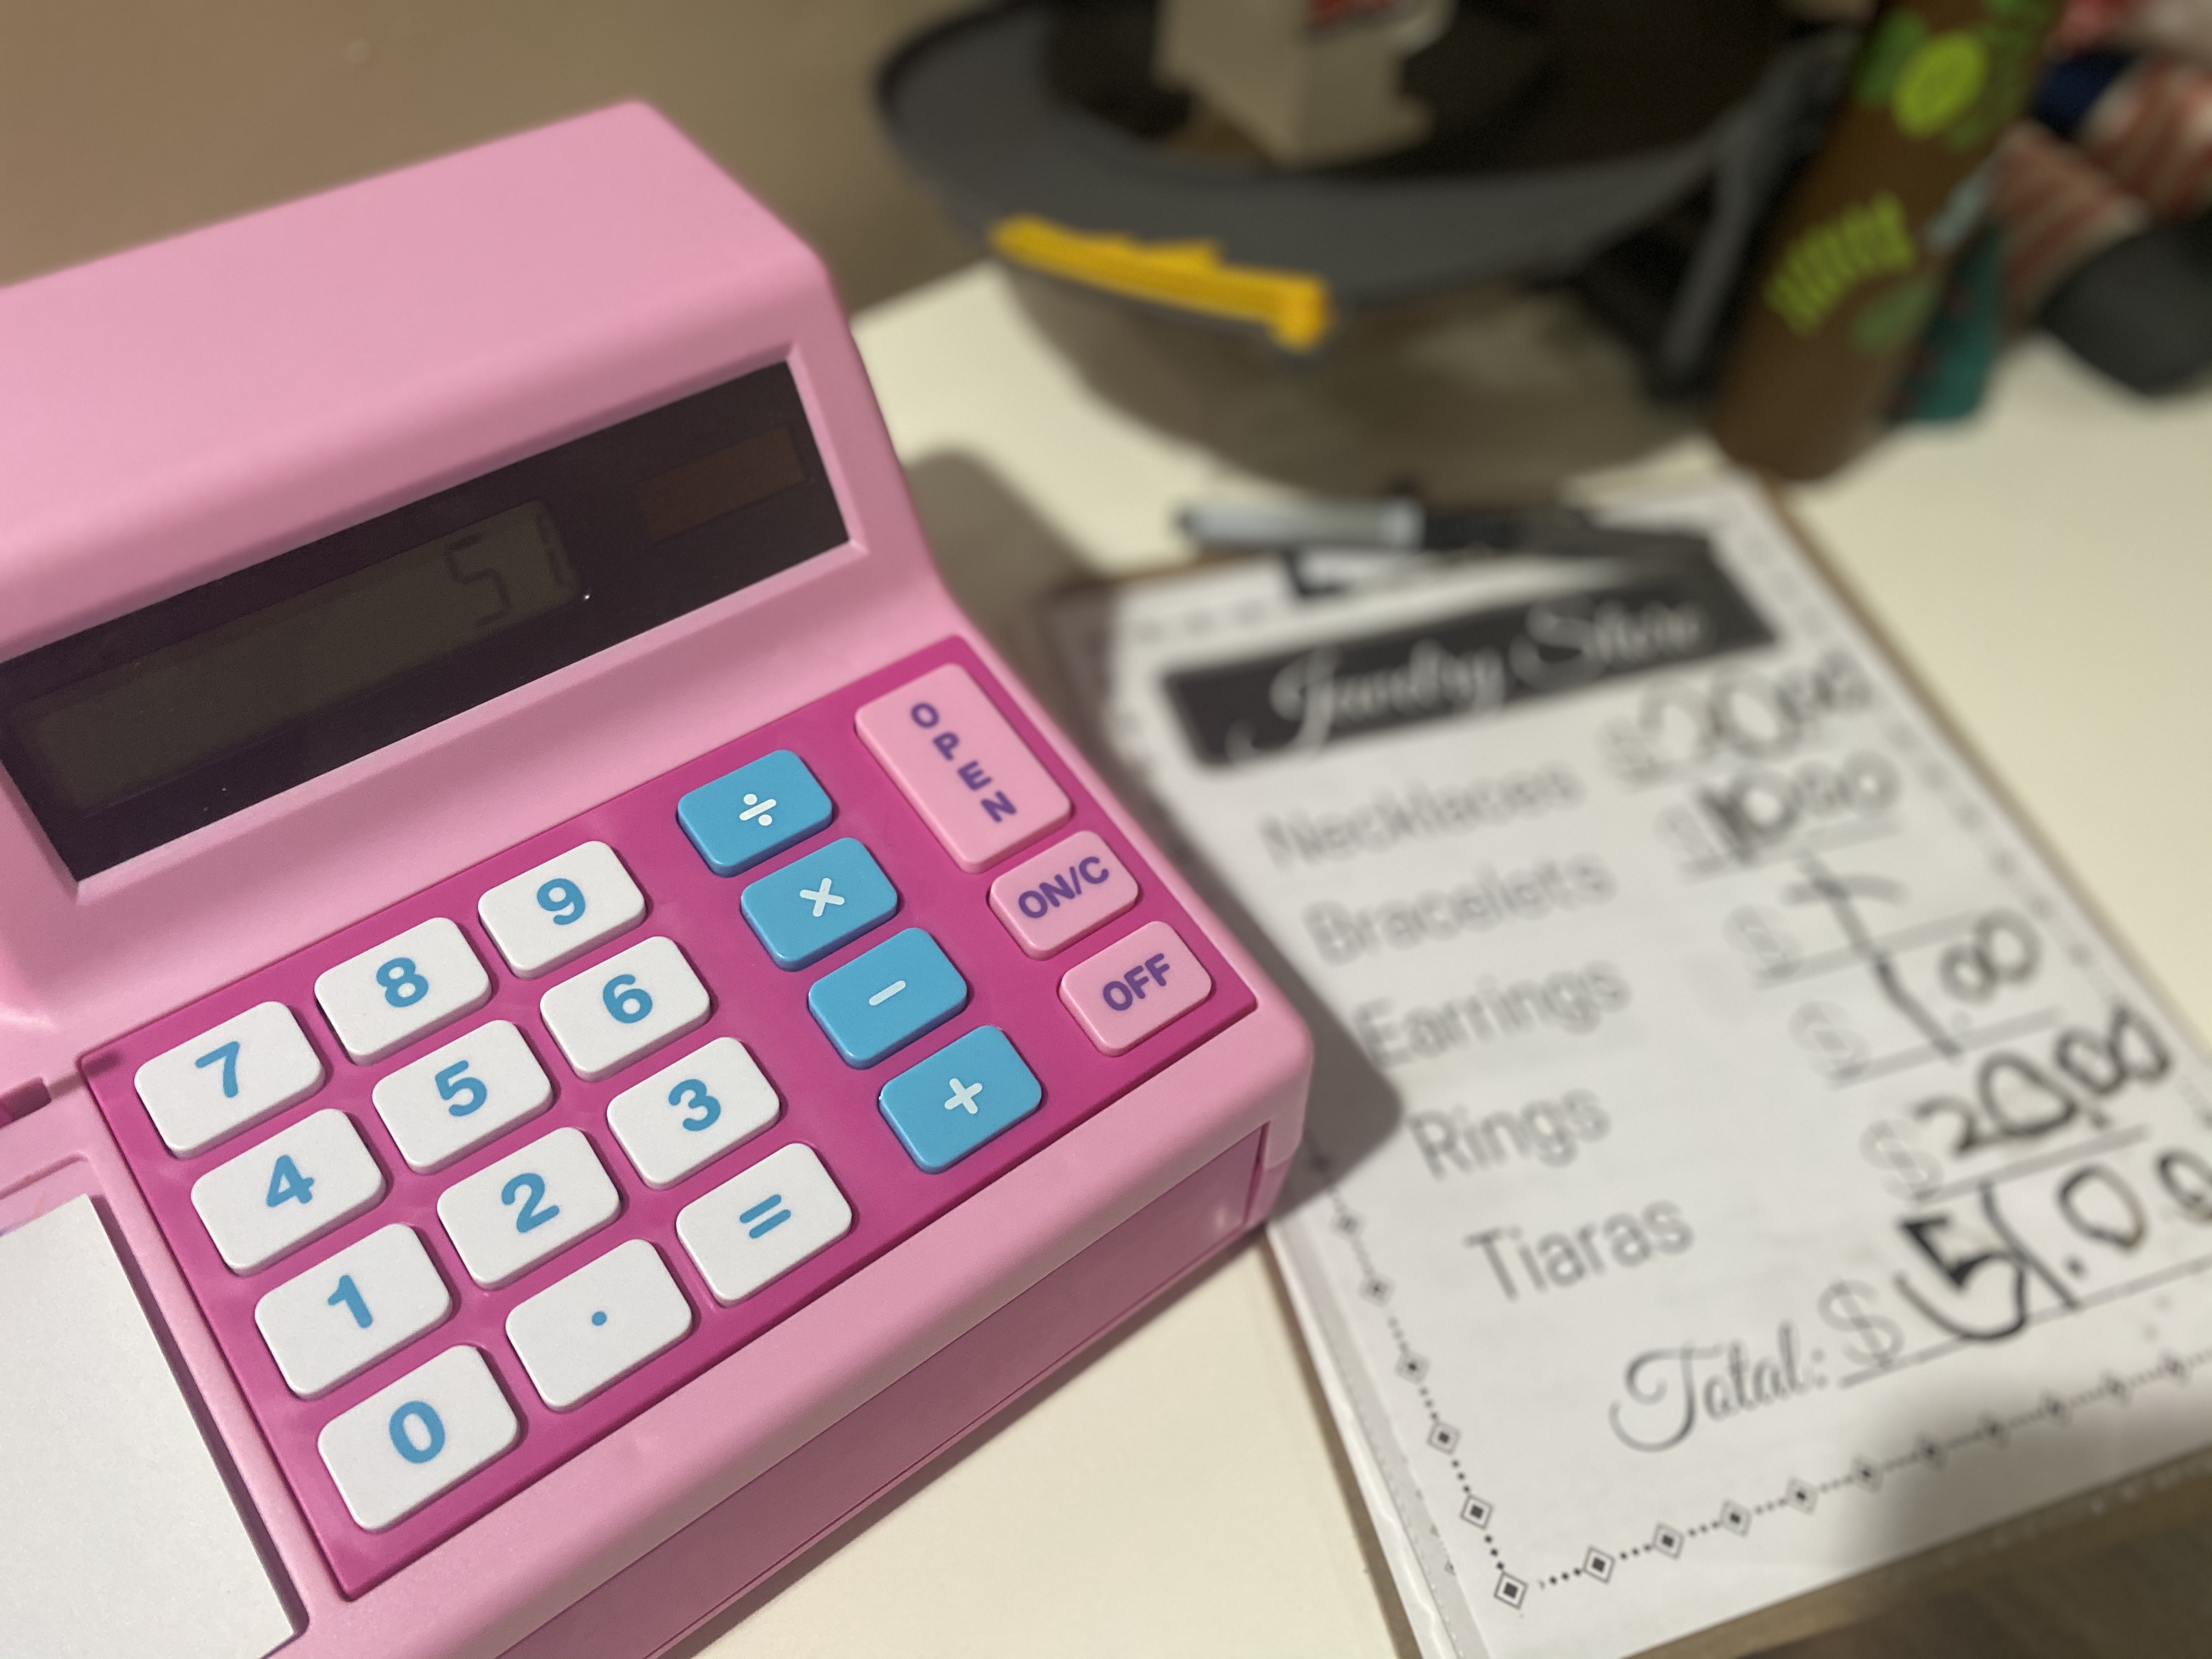
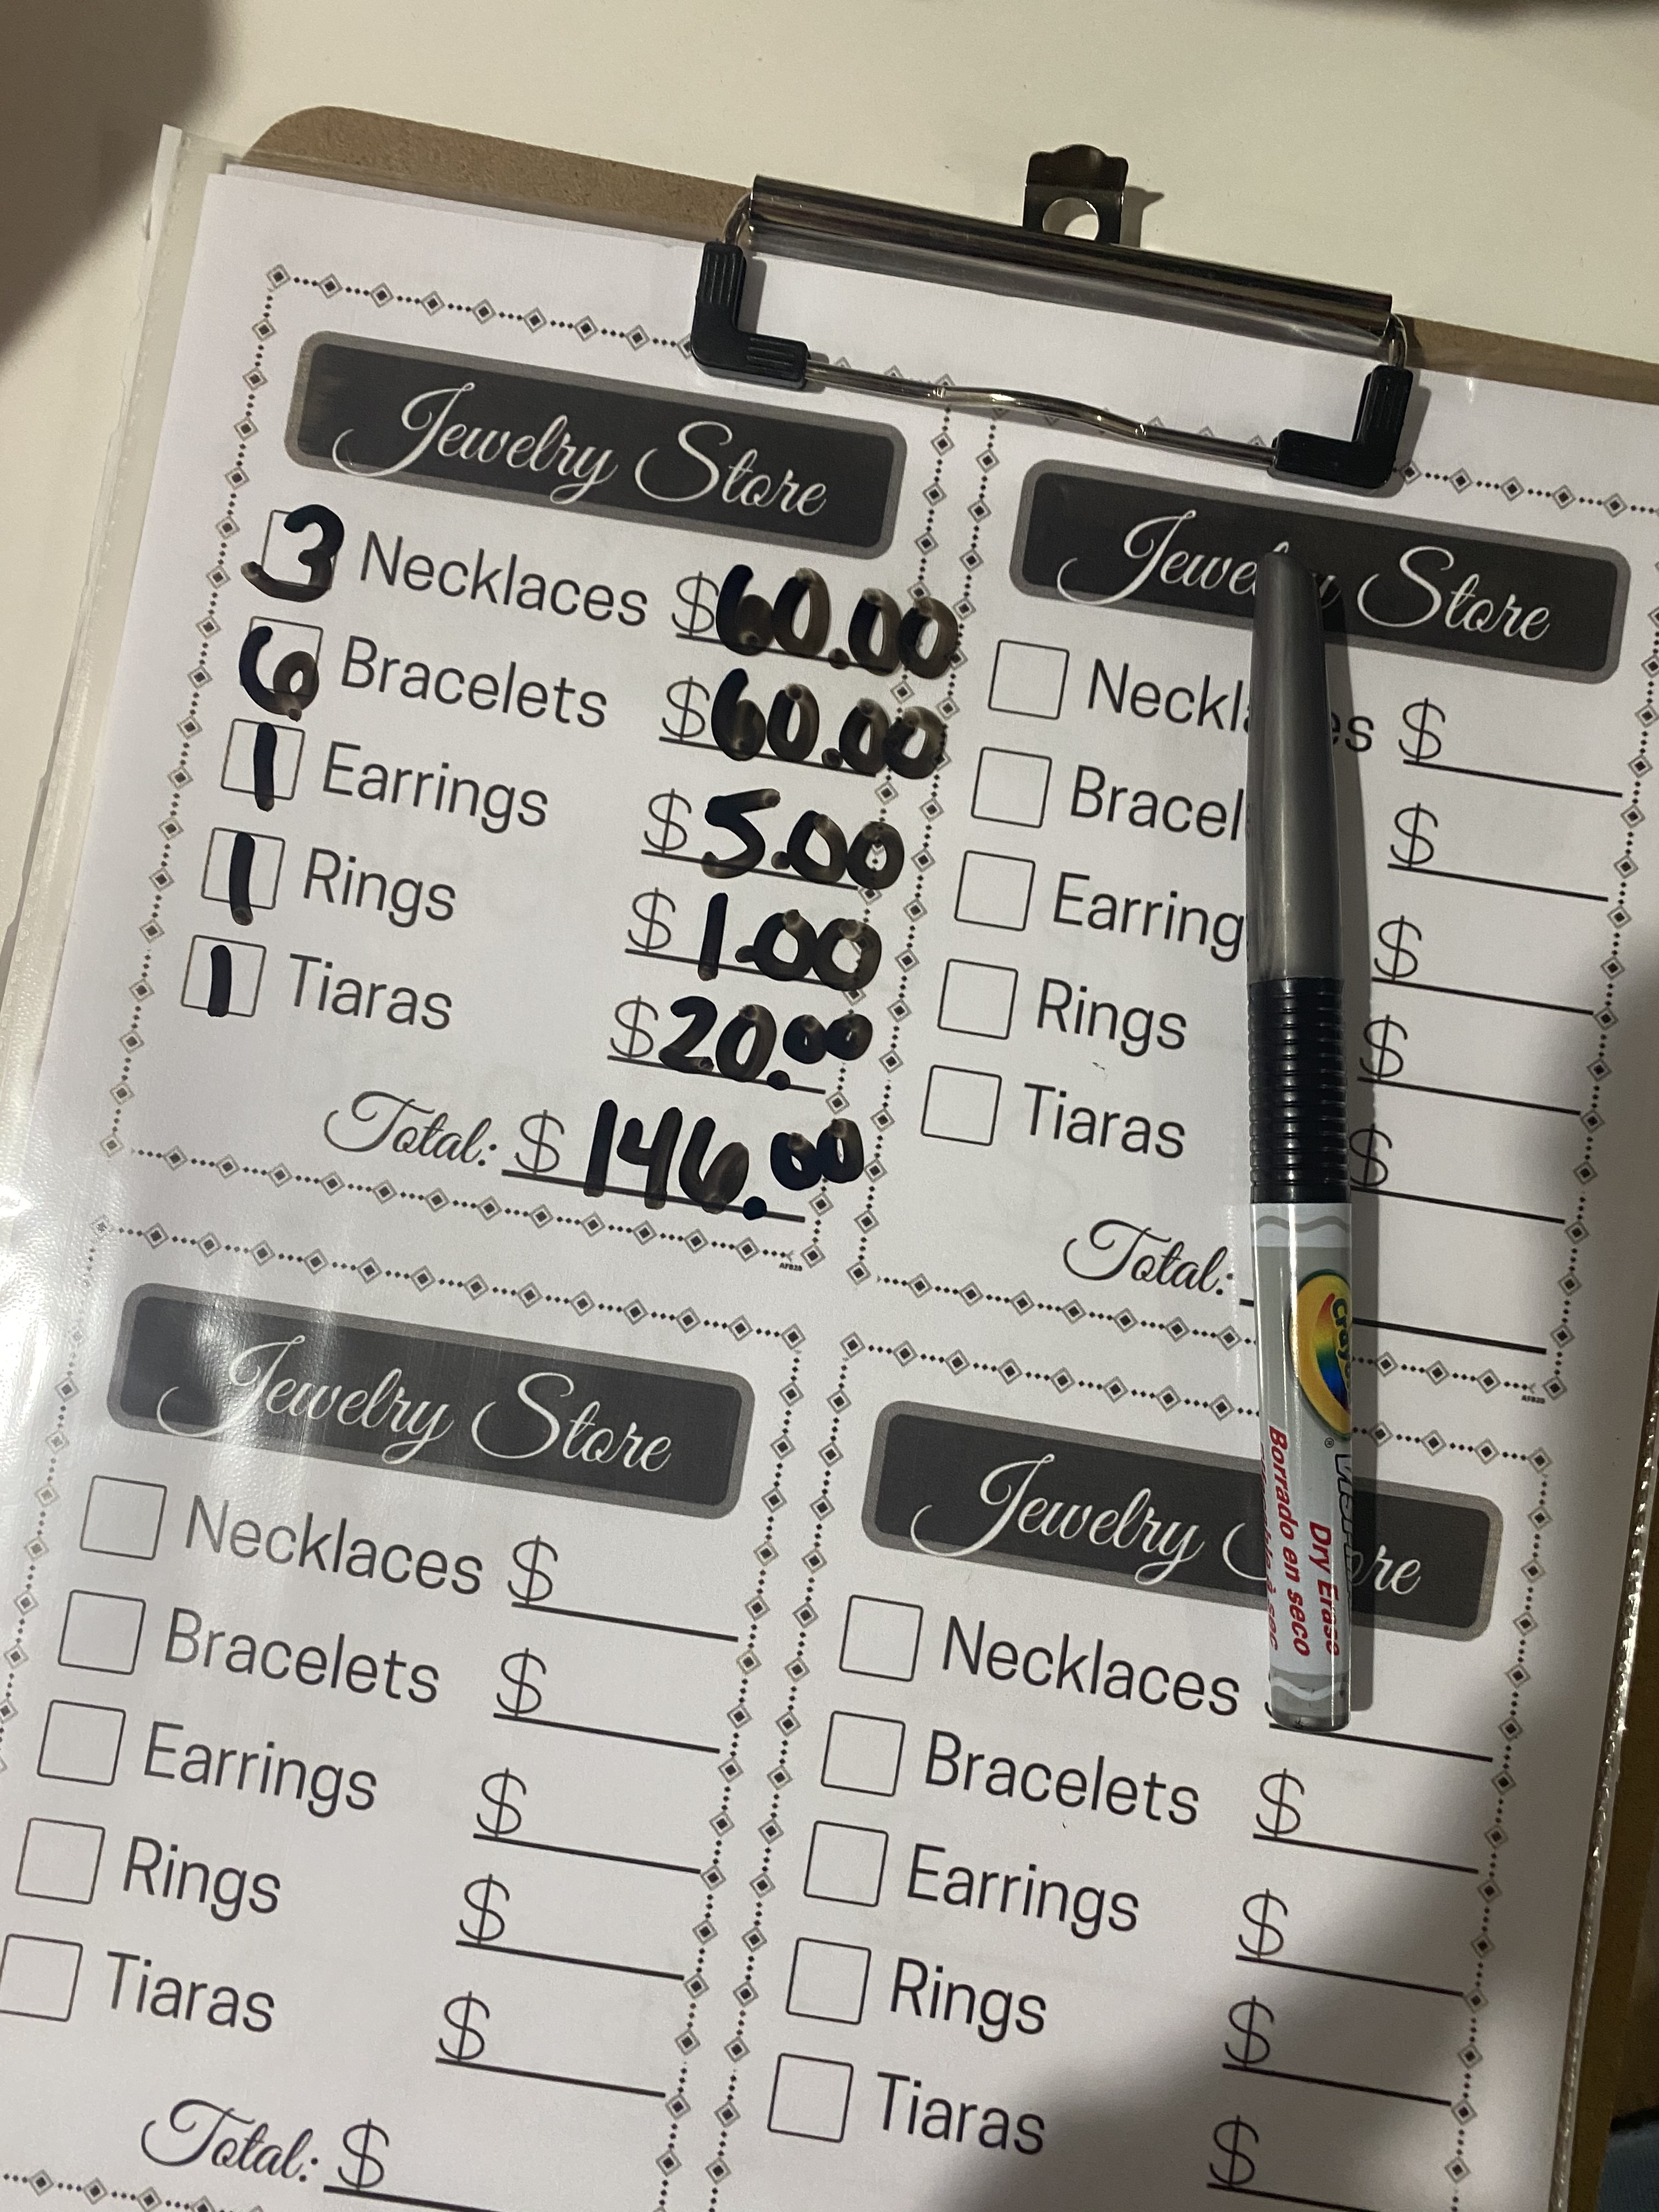
Cost (Math):
After all of the jewelry was set up. We printed all of the signs out and decided how much each item should cost. You can make it as simple as you want or hard. The numbers we chose are the dollar bills that came with our cash register. You could focus on dollars only or cents only or dollars and cents- depending on age/skill level. Our goal today was different dollar bill identification and simple math with calculator (cash register).
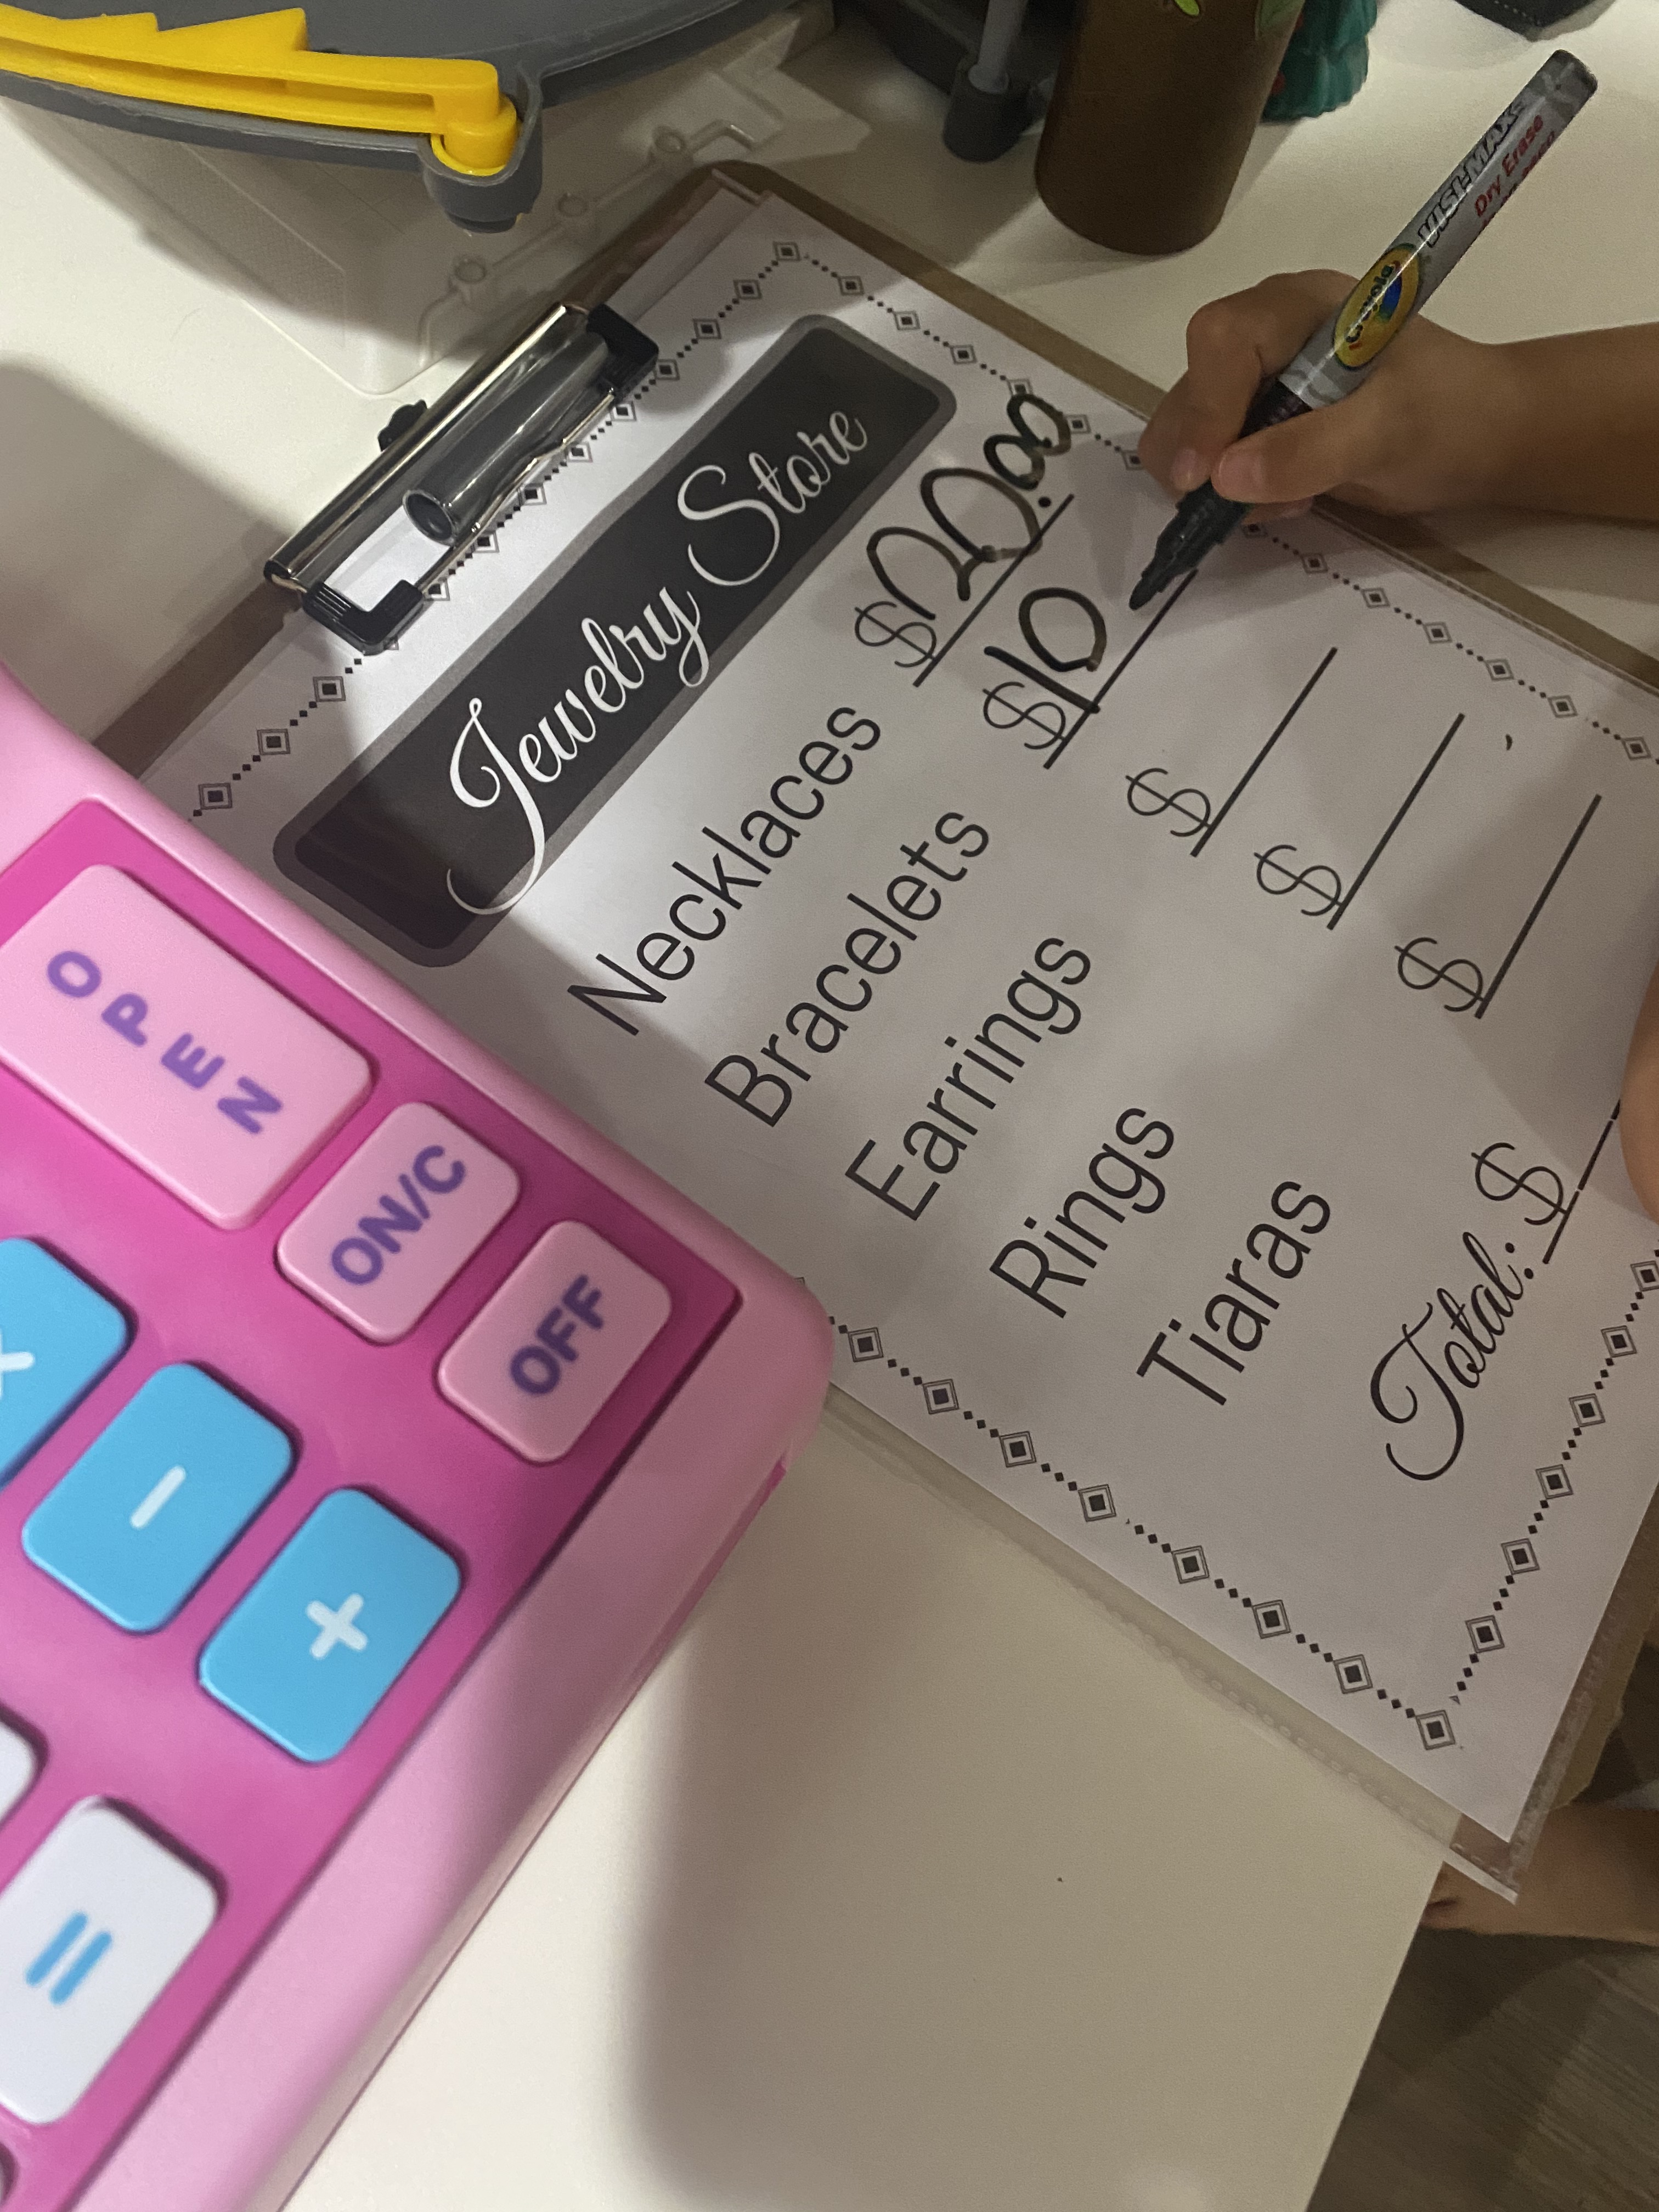
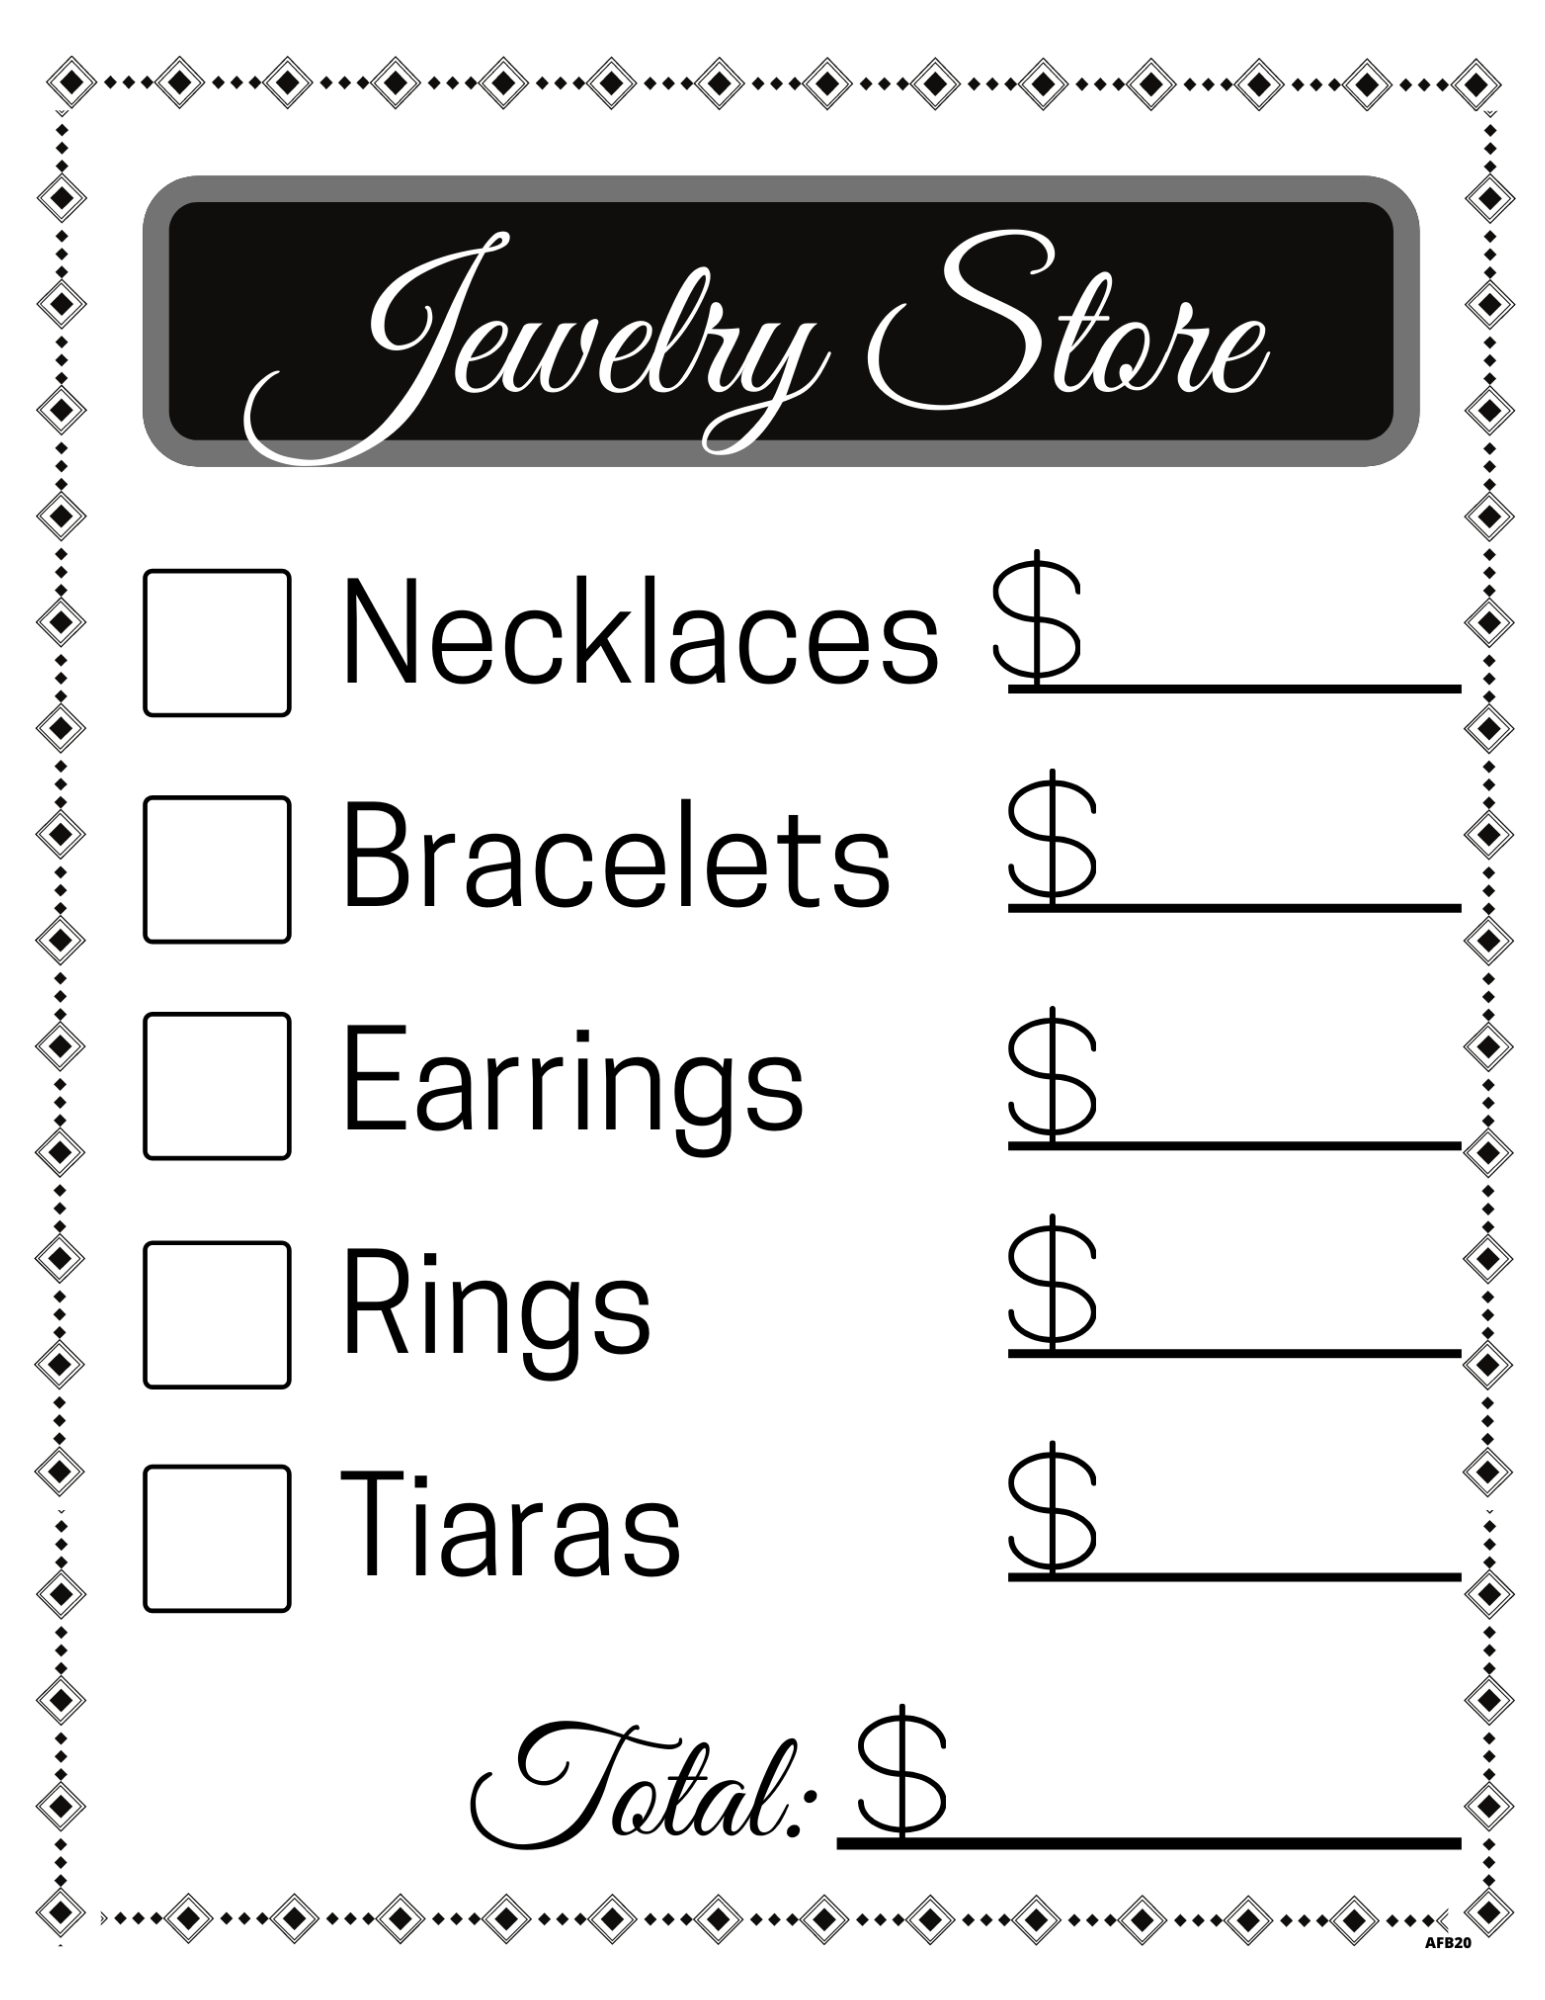
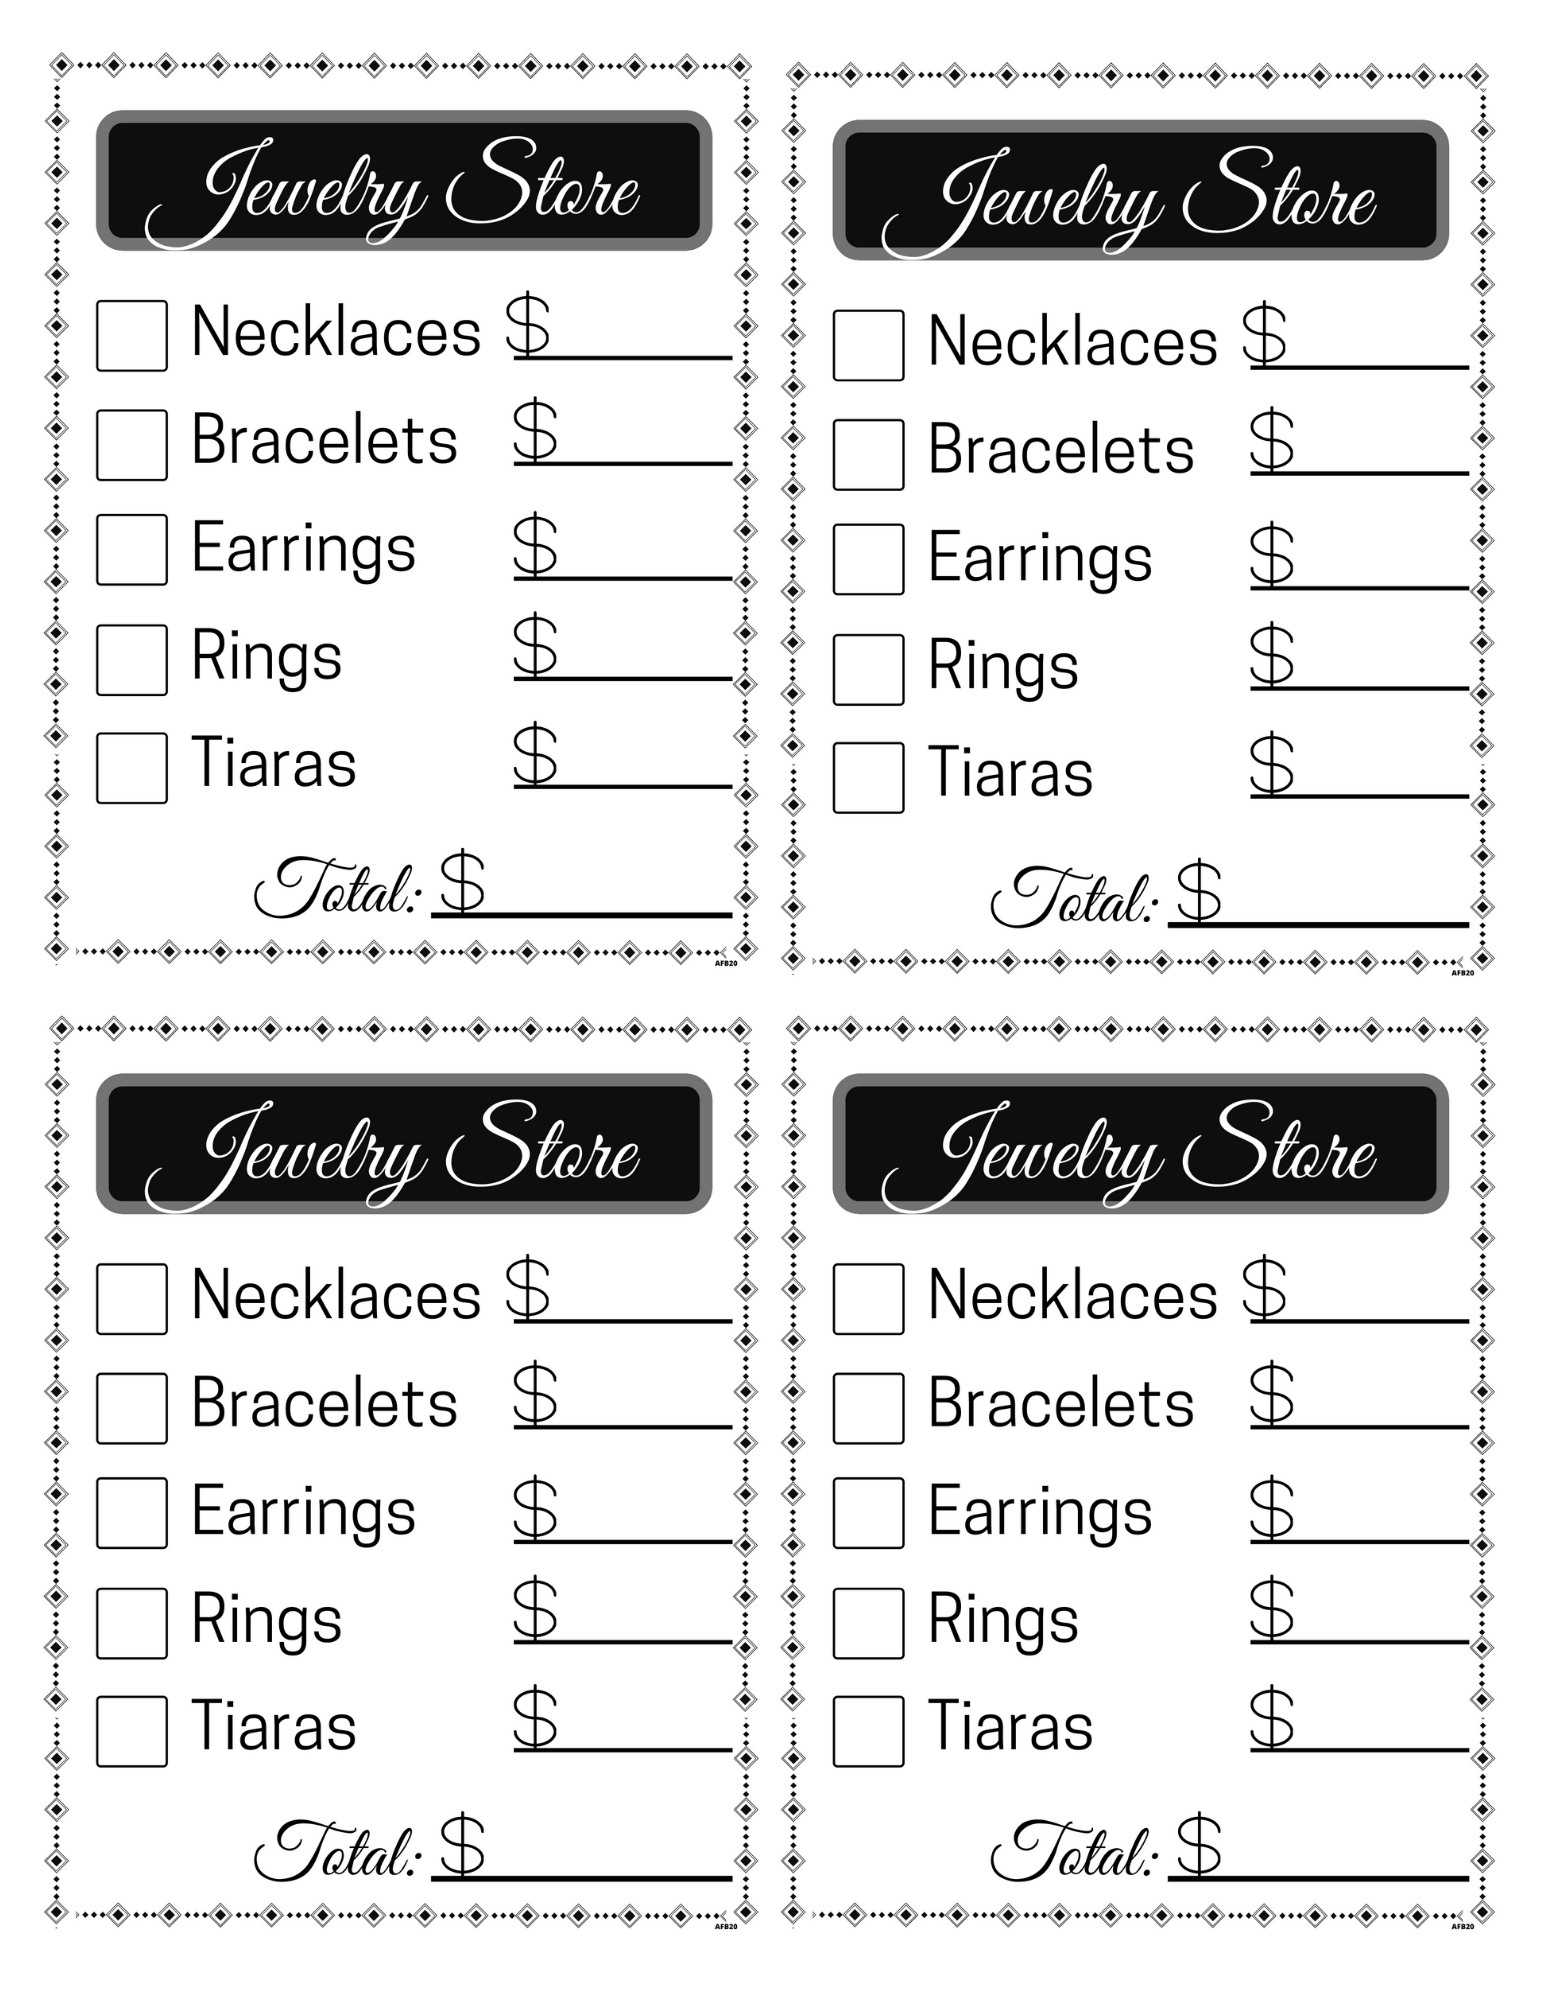
Checking out– there are two options for receipts. I put a page protector over them, so that they can be used multiple times. You could also print out multiple copies and use like real receipts. The large receipt is for smaller children, and the smaller (4 per page) receipt is for older kids. The box to the left is where you put the amount of each item. To help with pricing, I put a copy of the big receipt above the cash register to reference. We used the calculator on our cash register to figure out totals. If small bills, could be a great way to practice addition. Each time you play, you can change the cost amount to review more ways!
Let the fun begin!
We used little white baskets for the customers in the store (bought at DollarTree). Since it was only my daughter and me, we took turns playing customer and employee and also had some studded animals as customers. This is also a great activity to do with a group of kids and they can take turns playing different roles. The best part about this activity is that it can be great for multiple ages- can be made harder or easier by cost of jewelry.
Before & After- Customers checking out & then happy stylish customers!


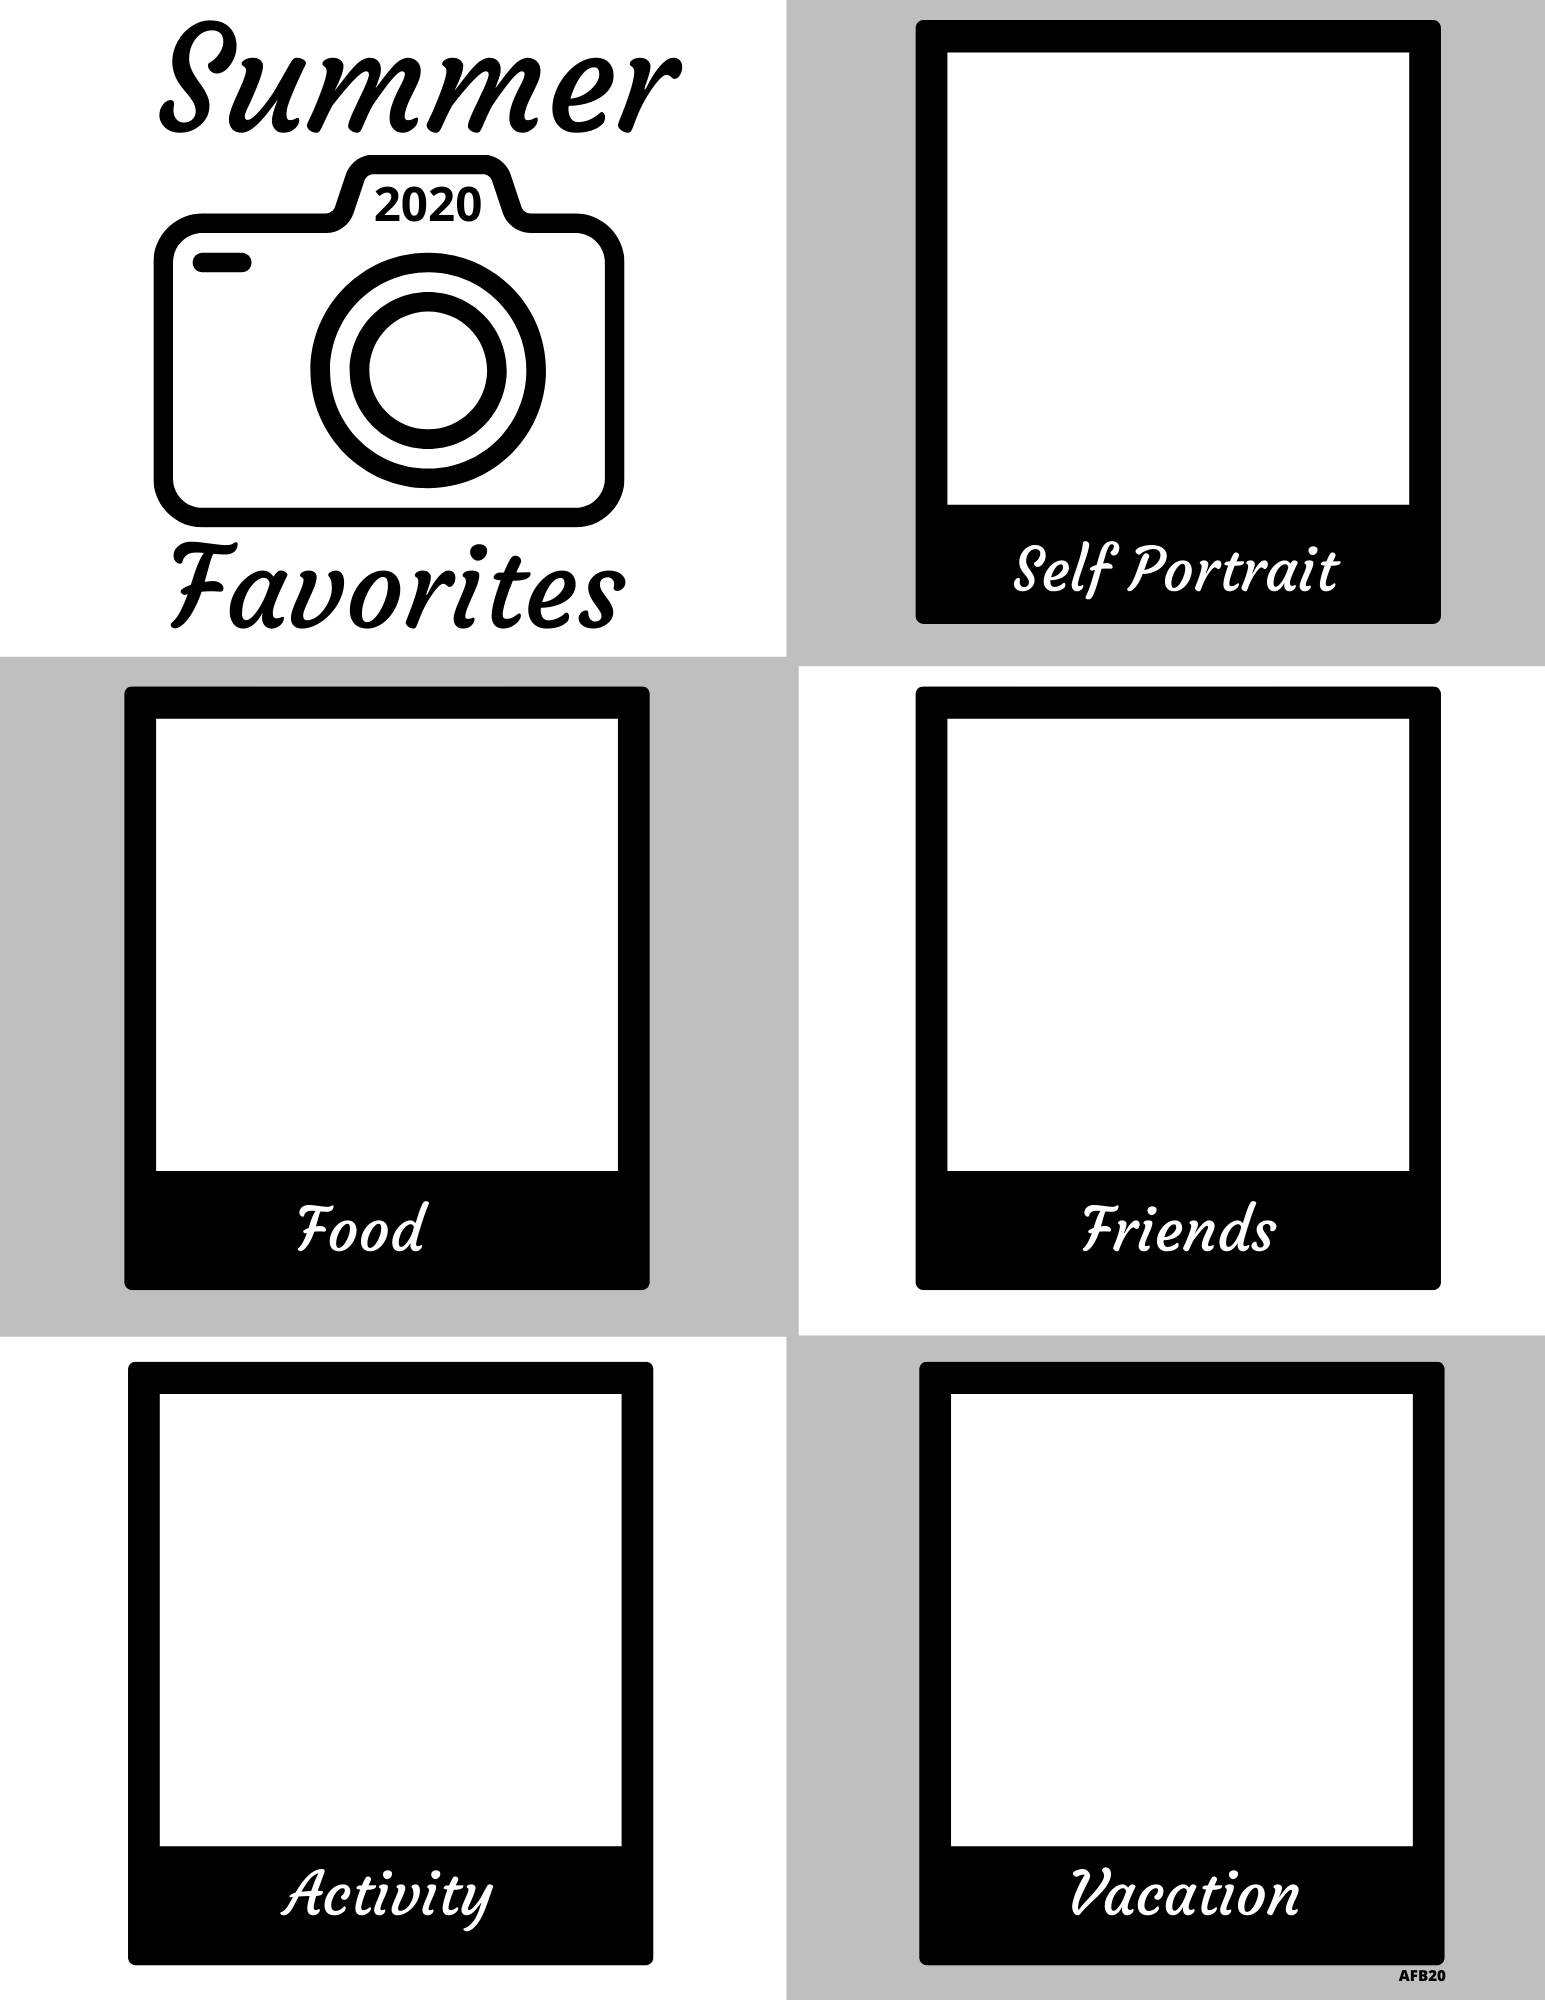
SUMMER FAVORITES

Summer is coming to an end. Draw a few of your favorite things from Summer 2020 in this worksheet & keep to remember!
Click on the button below for a PDF copy or simply drag the image below into a word document.
Happy drawing!
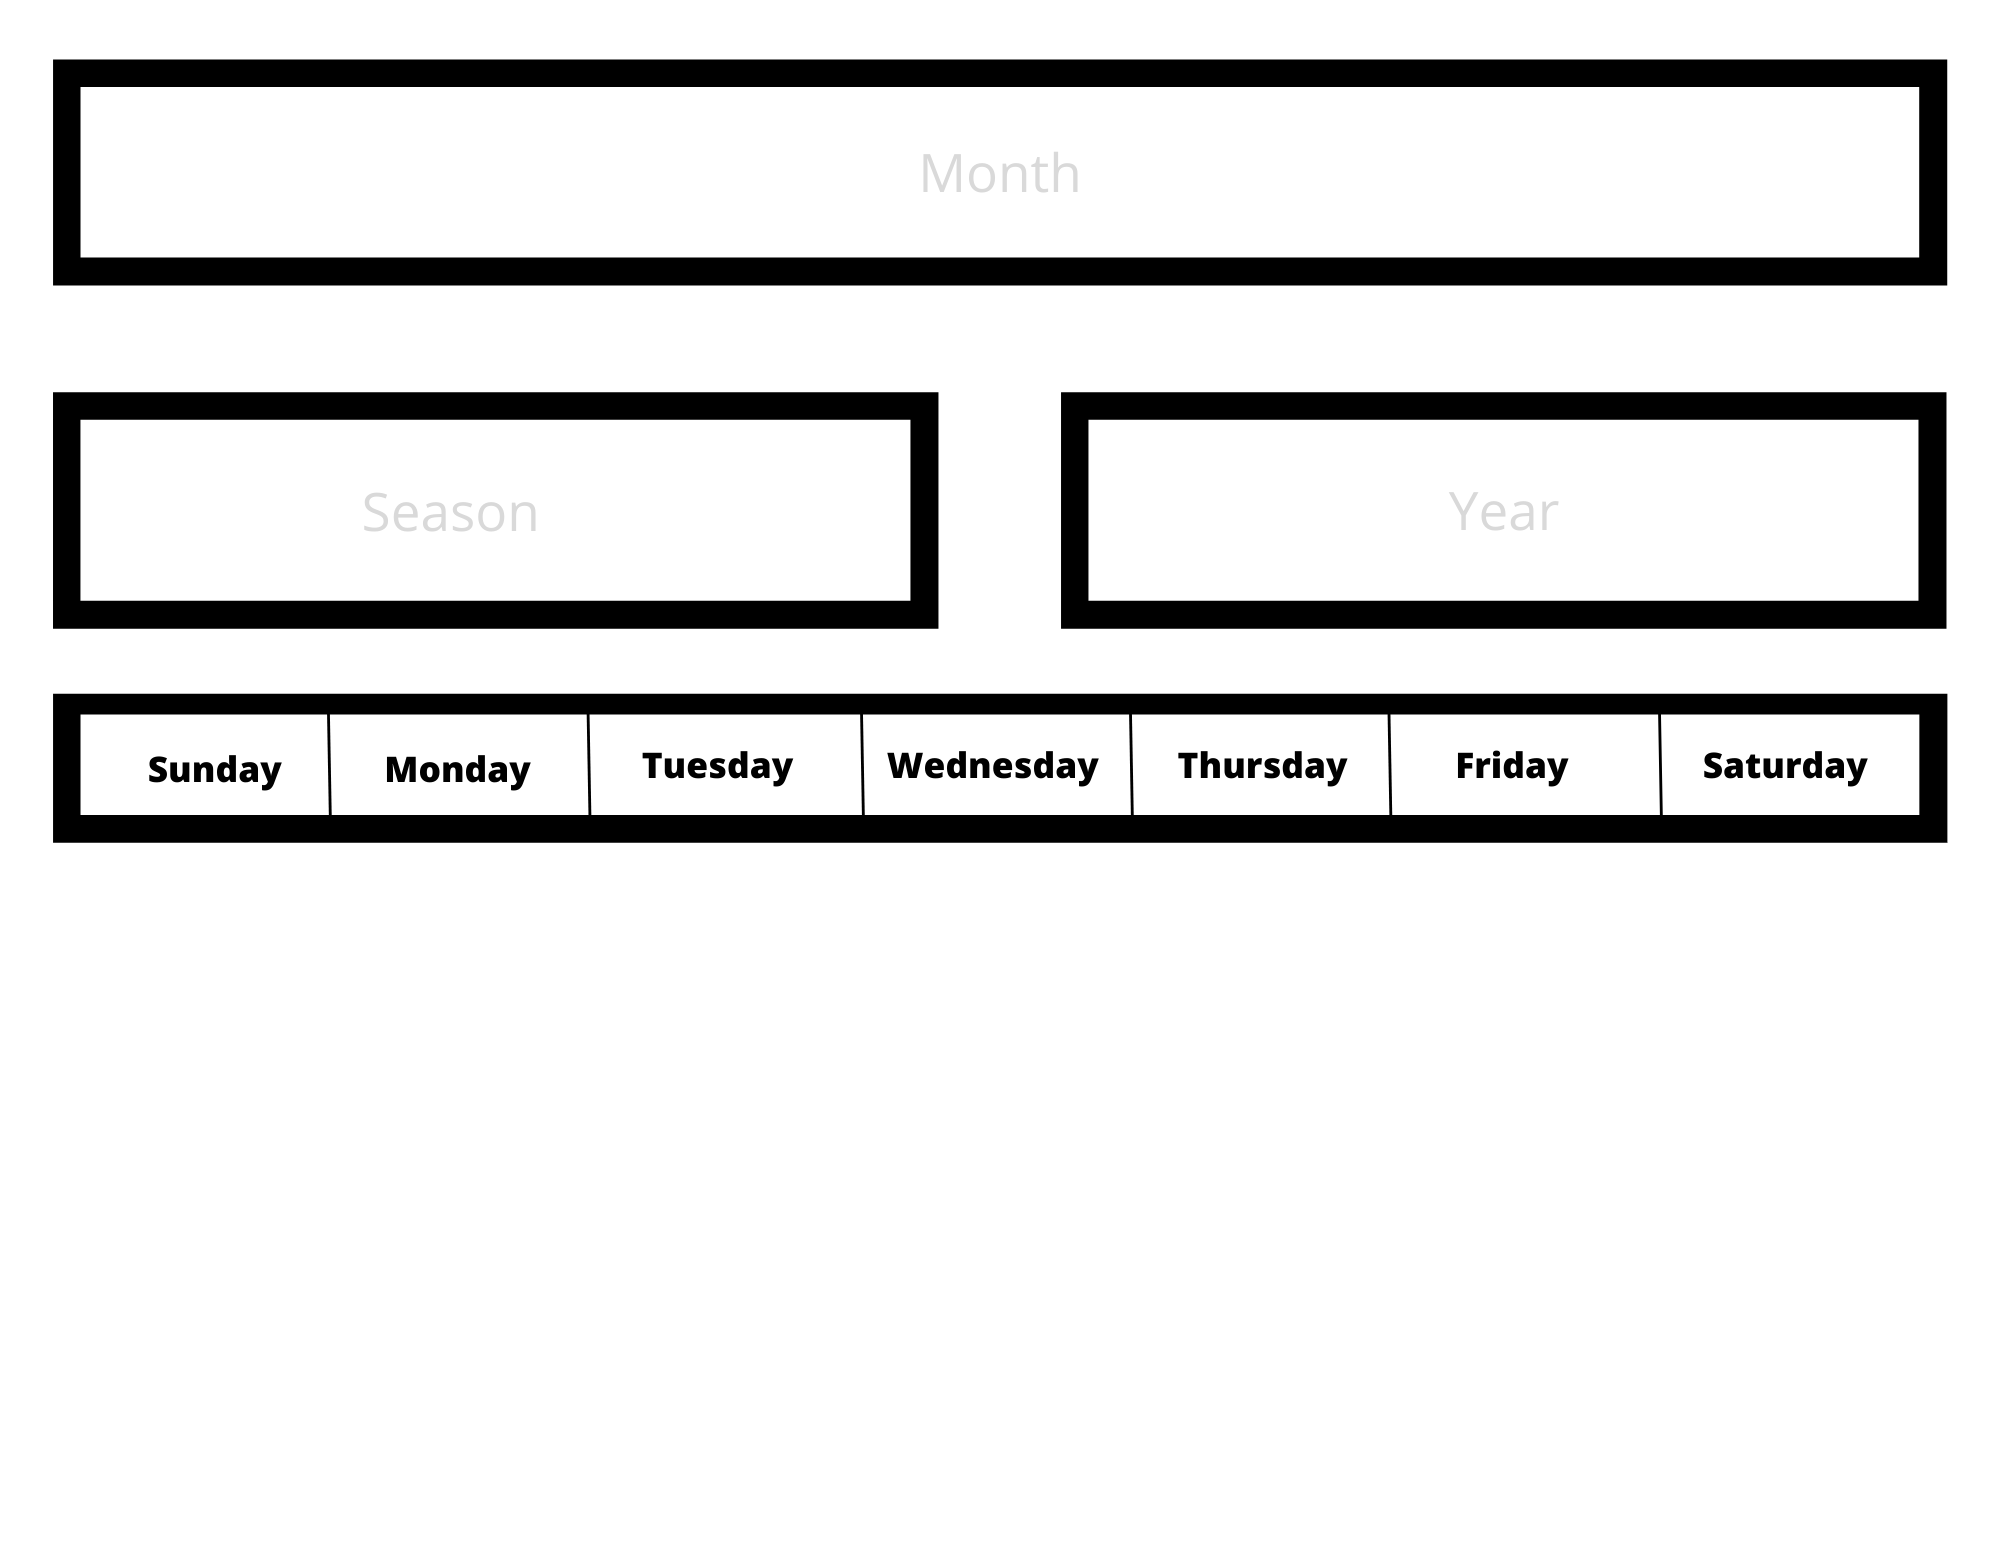
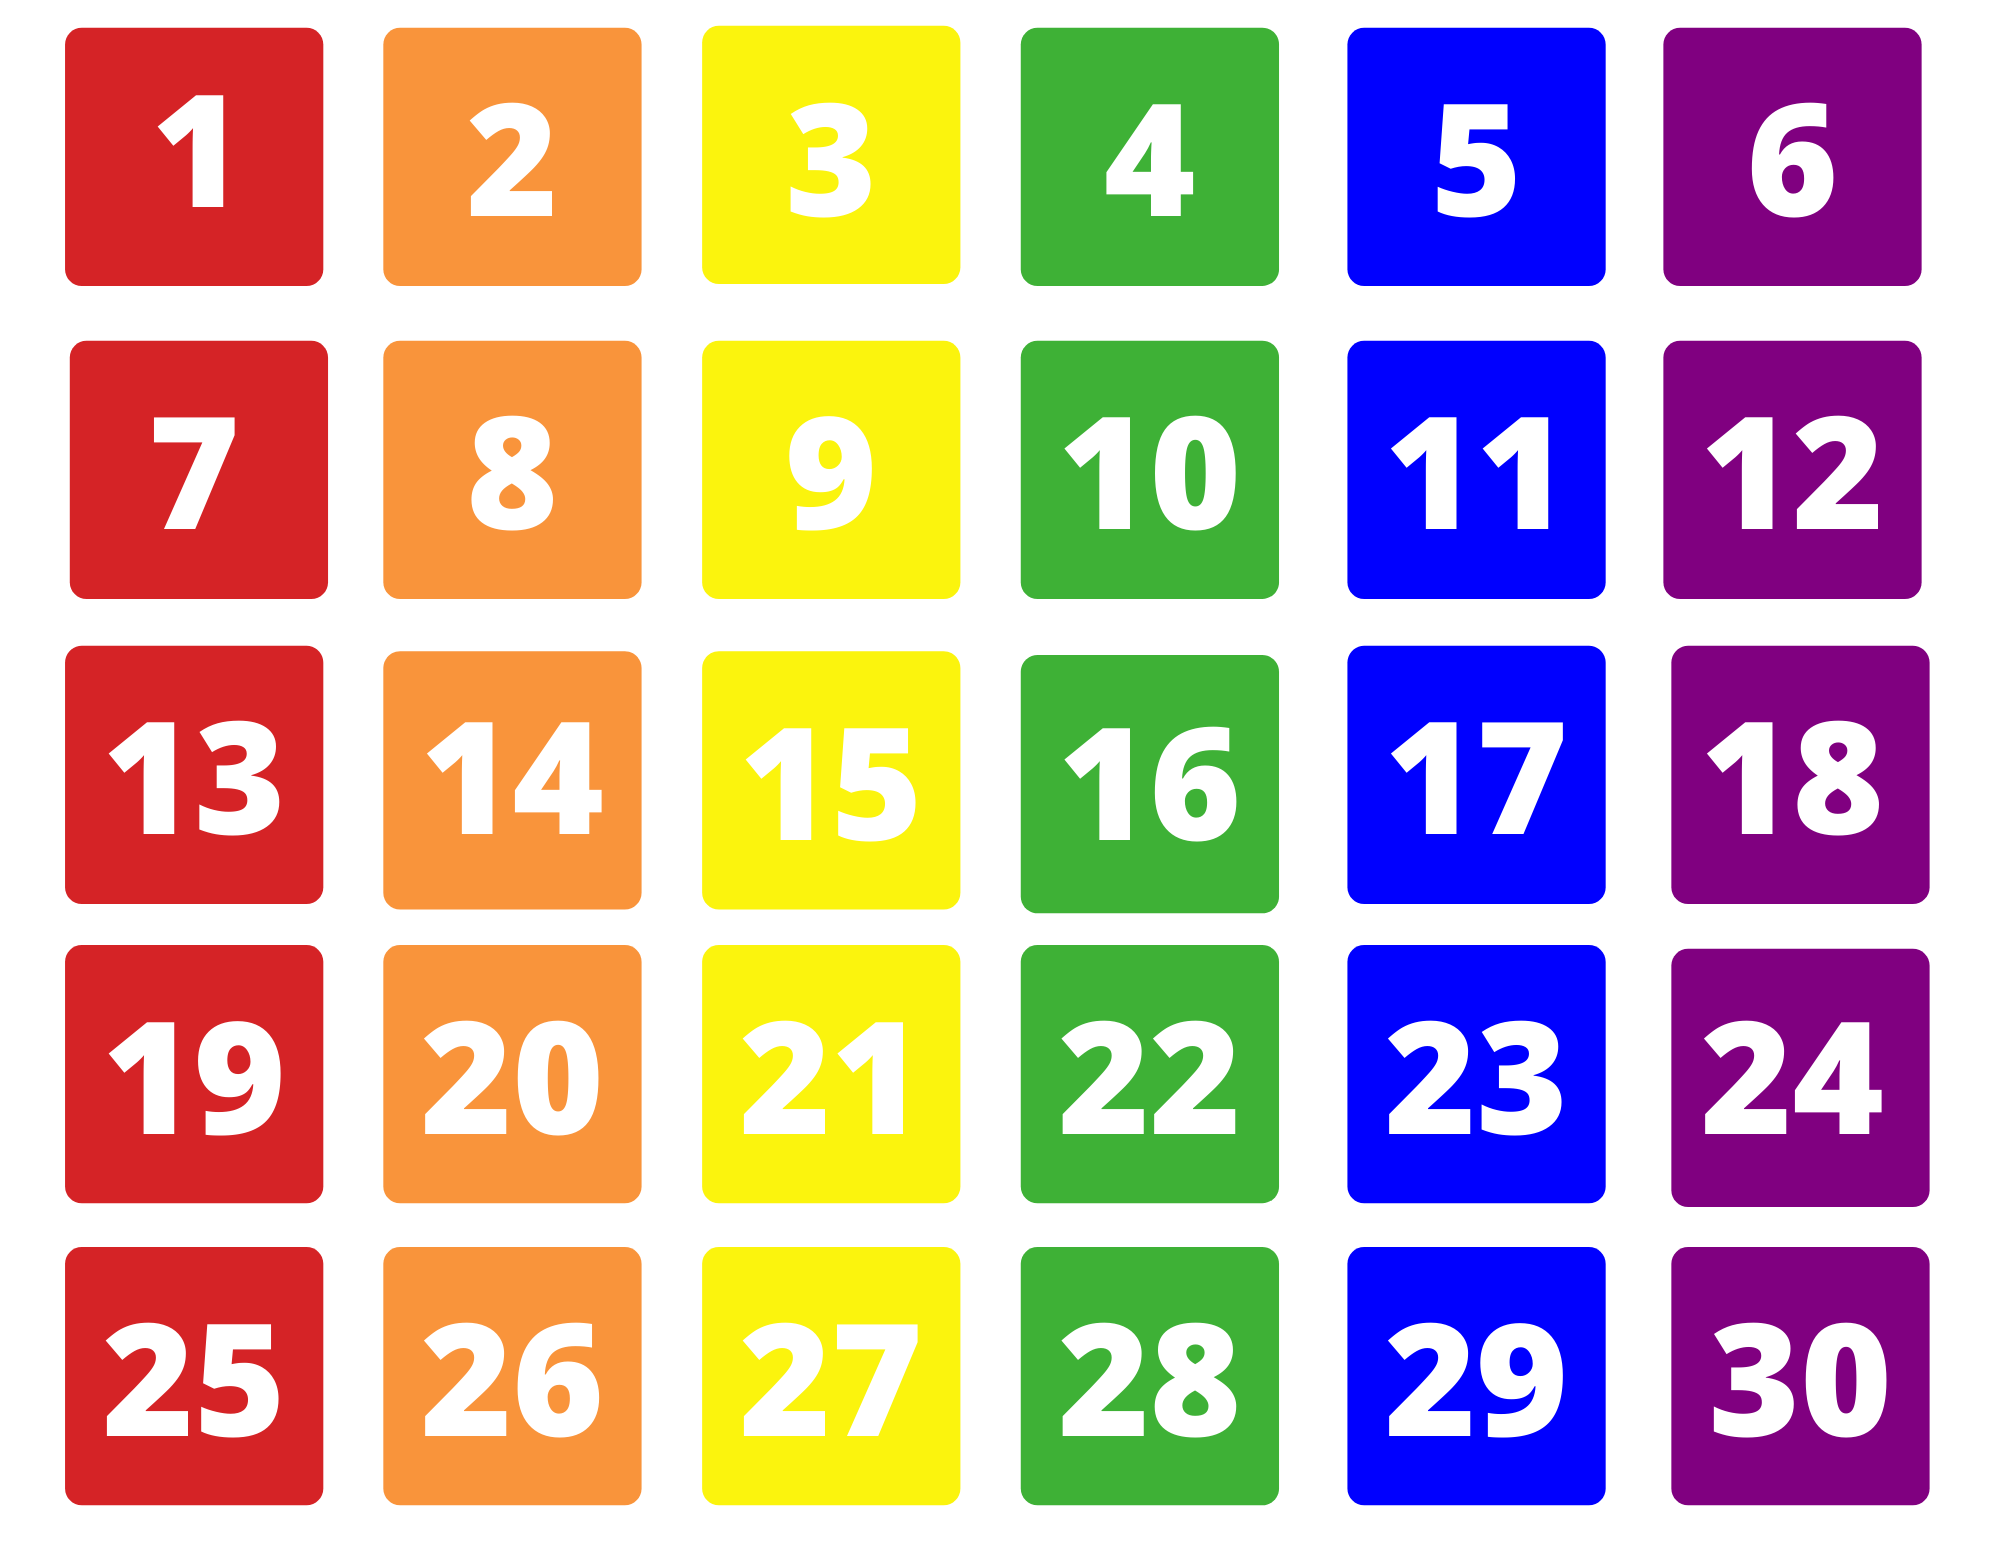
DAILY CALENDAR CENTER

Trying to have some structure during this crazy time? Every morning start your day out by completing the calendar. We keep ours in the kitchen. While breakfast is being made, my daughter completes it.
This activity is best for age 3+. For the younger kids you may need to write for them, but it will still utilize fine motor skills (velcro placing, weather circling, or moving fastener), recognizing letters/numbers, and weather symbols.
Reviews:
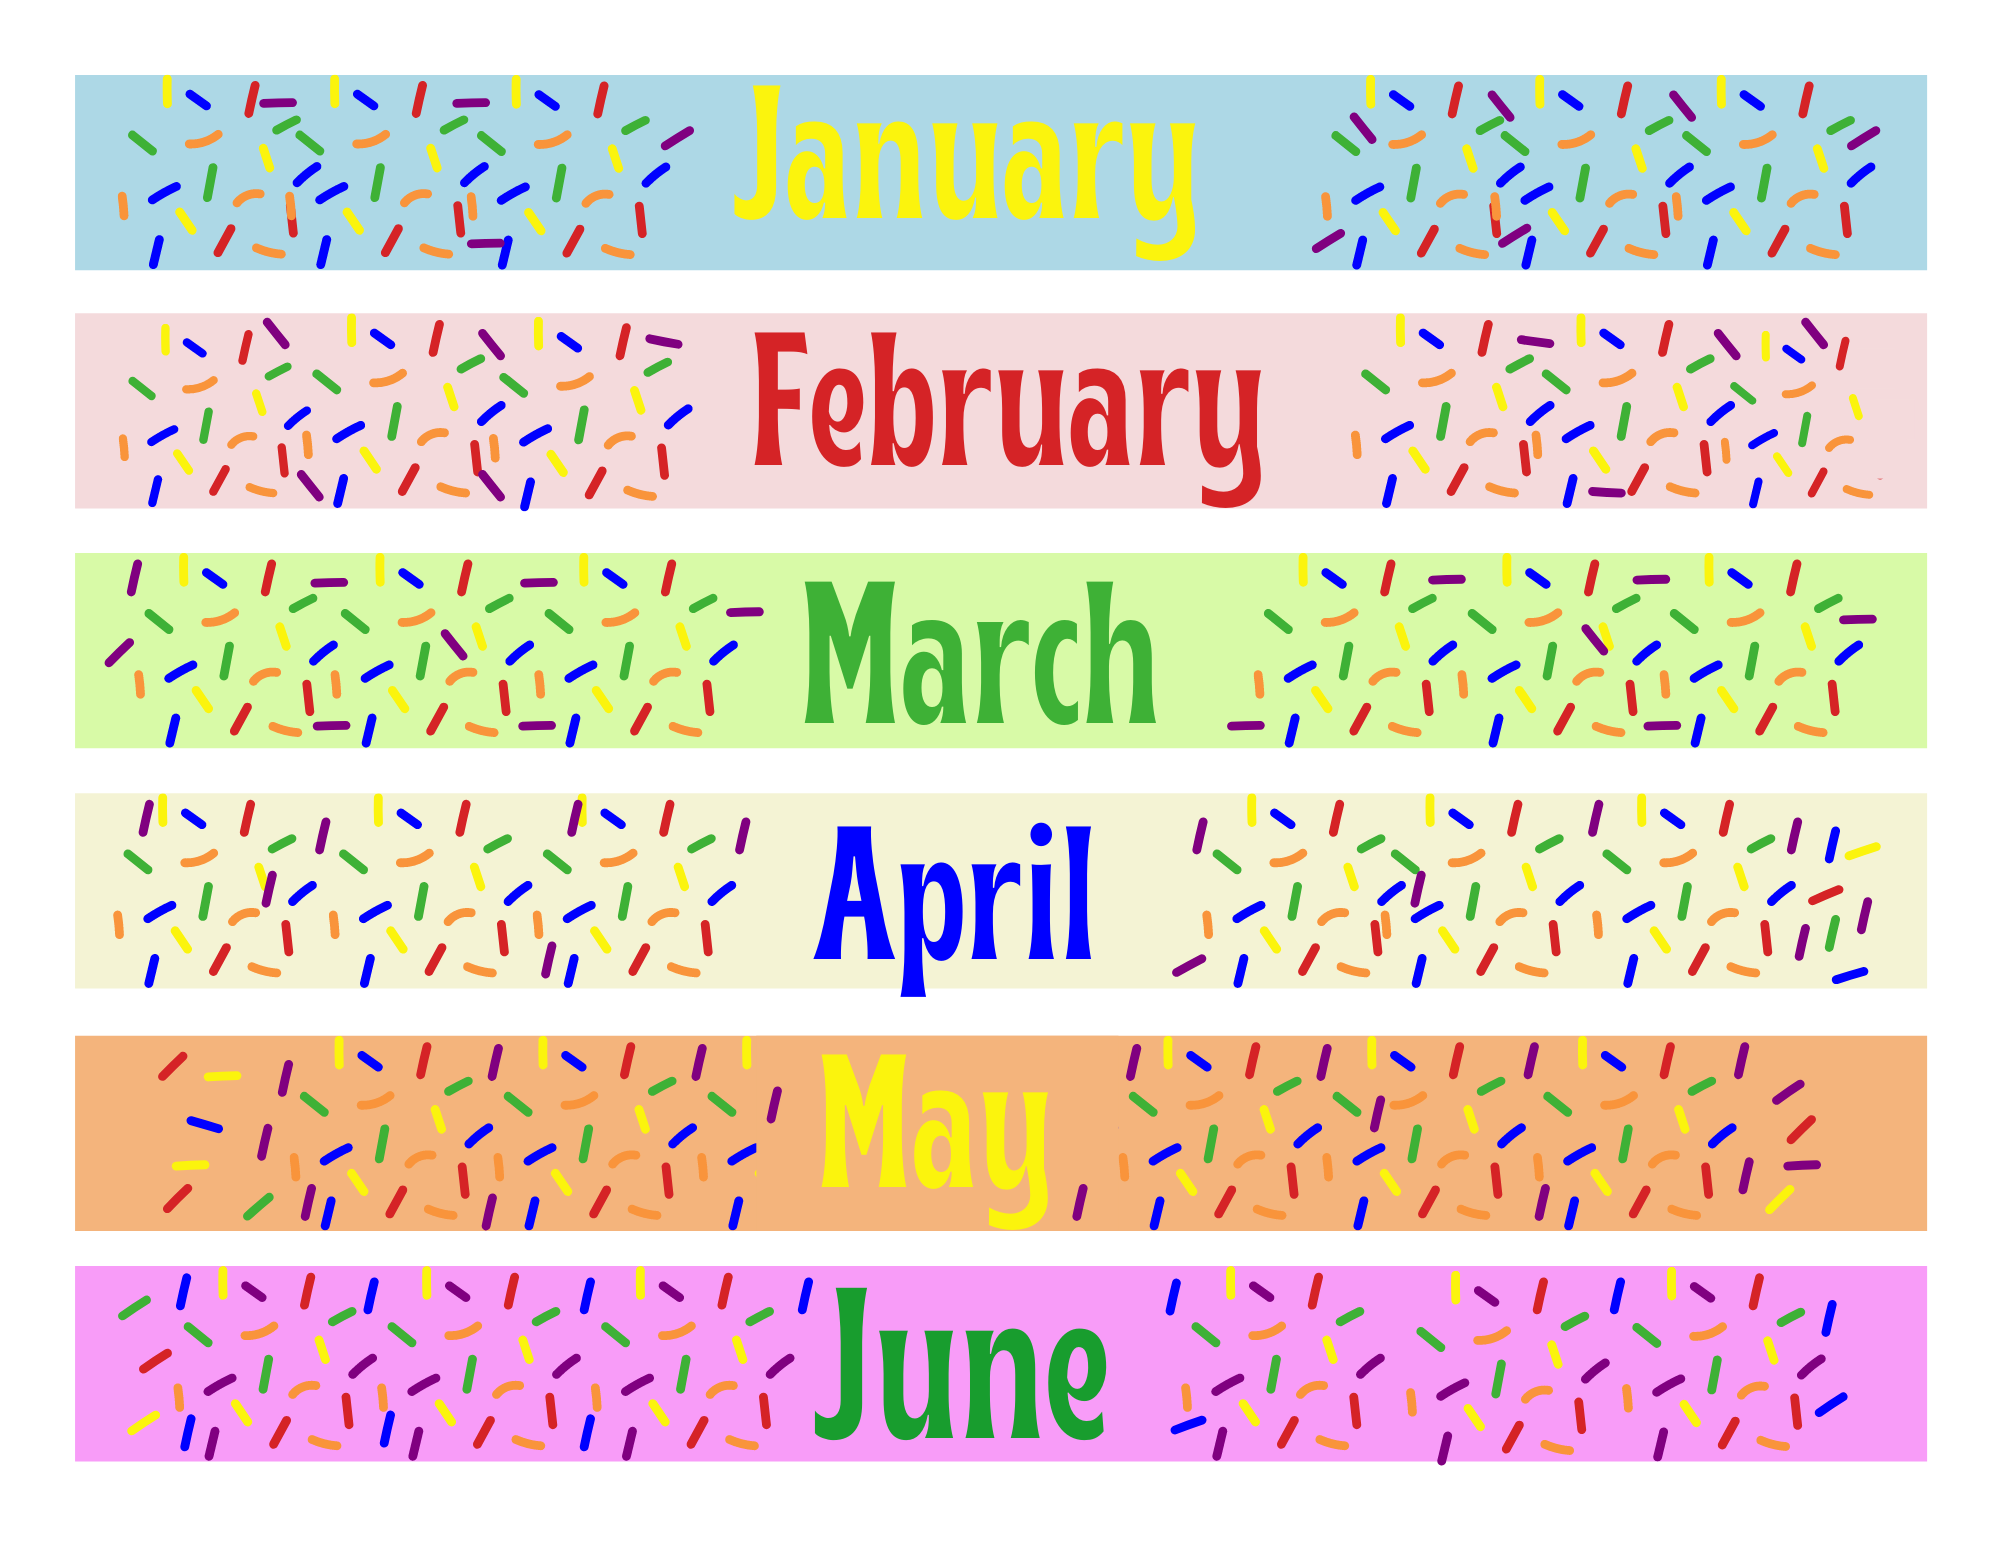
- Months
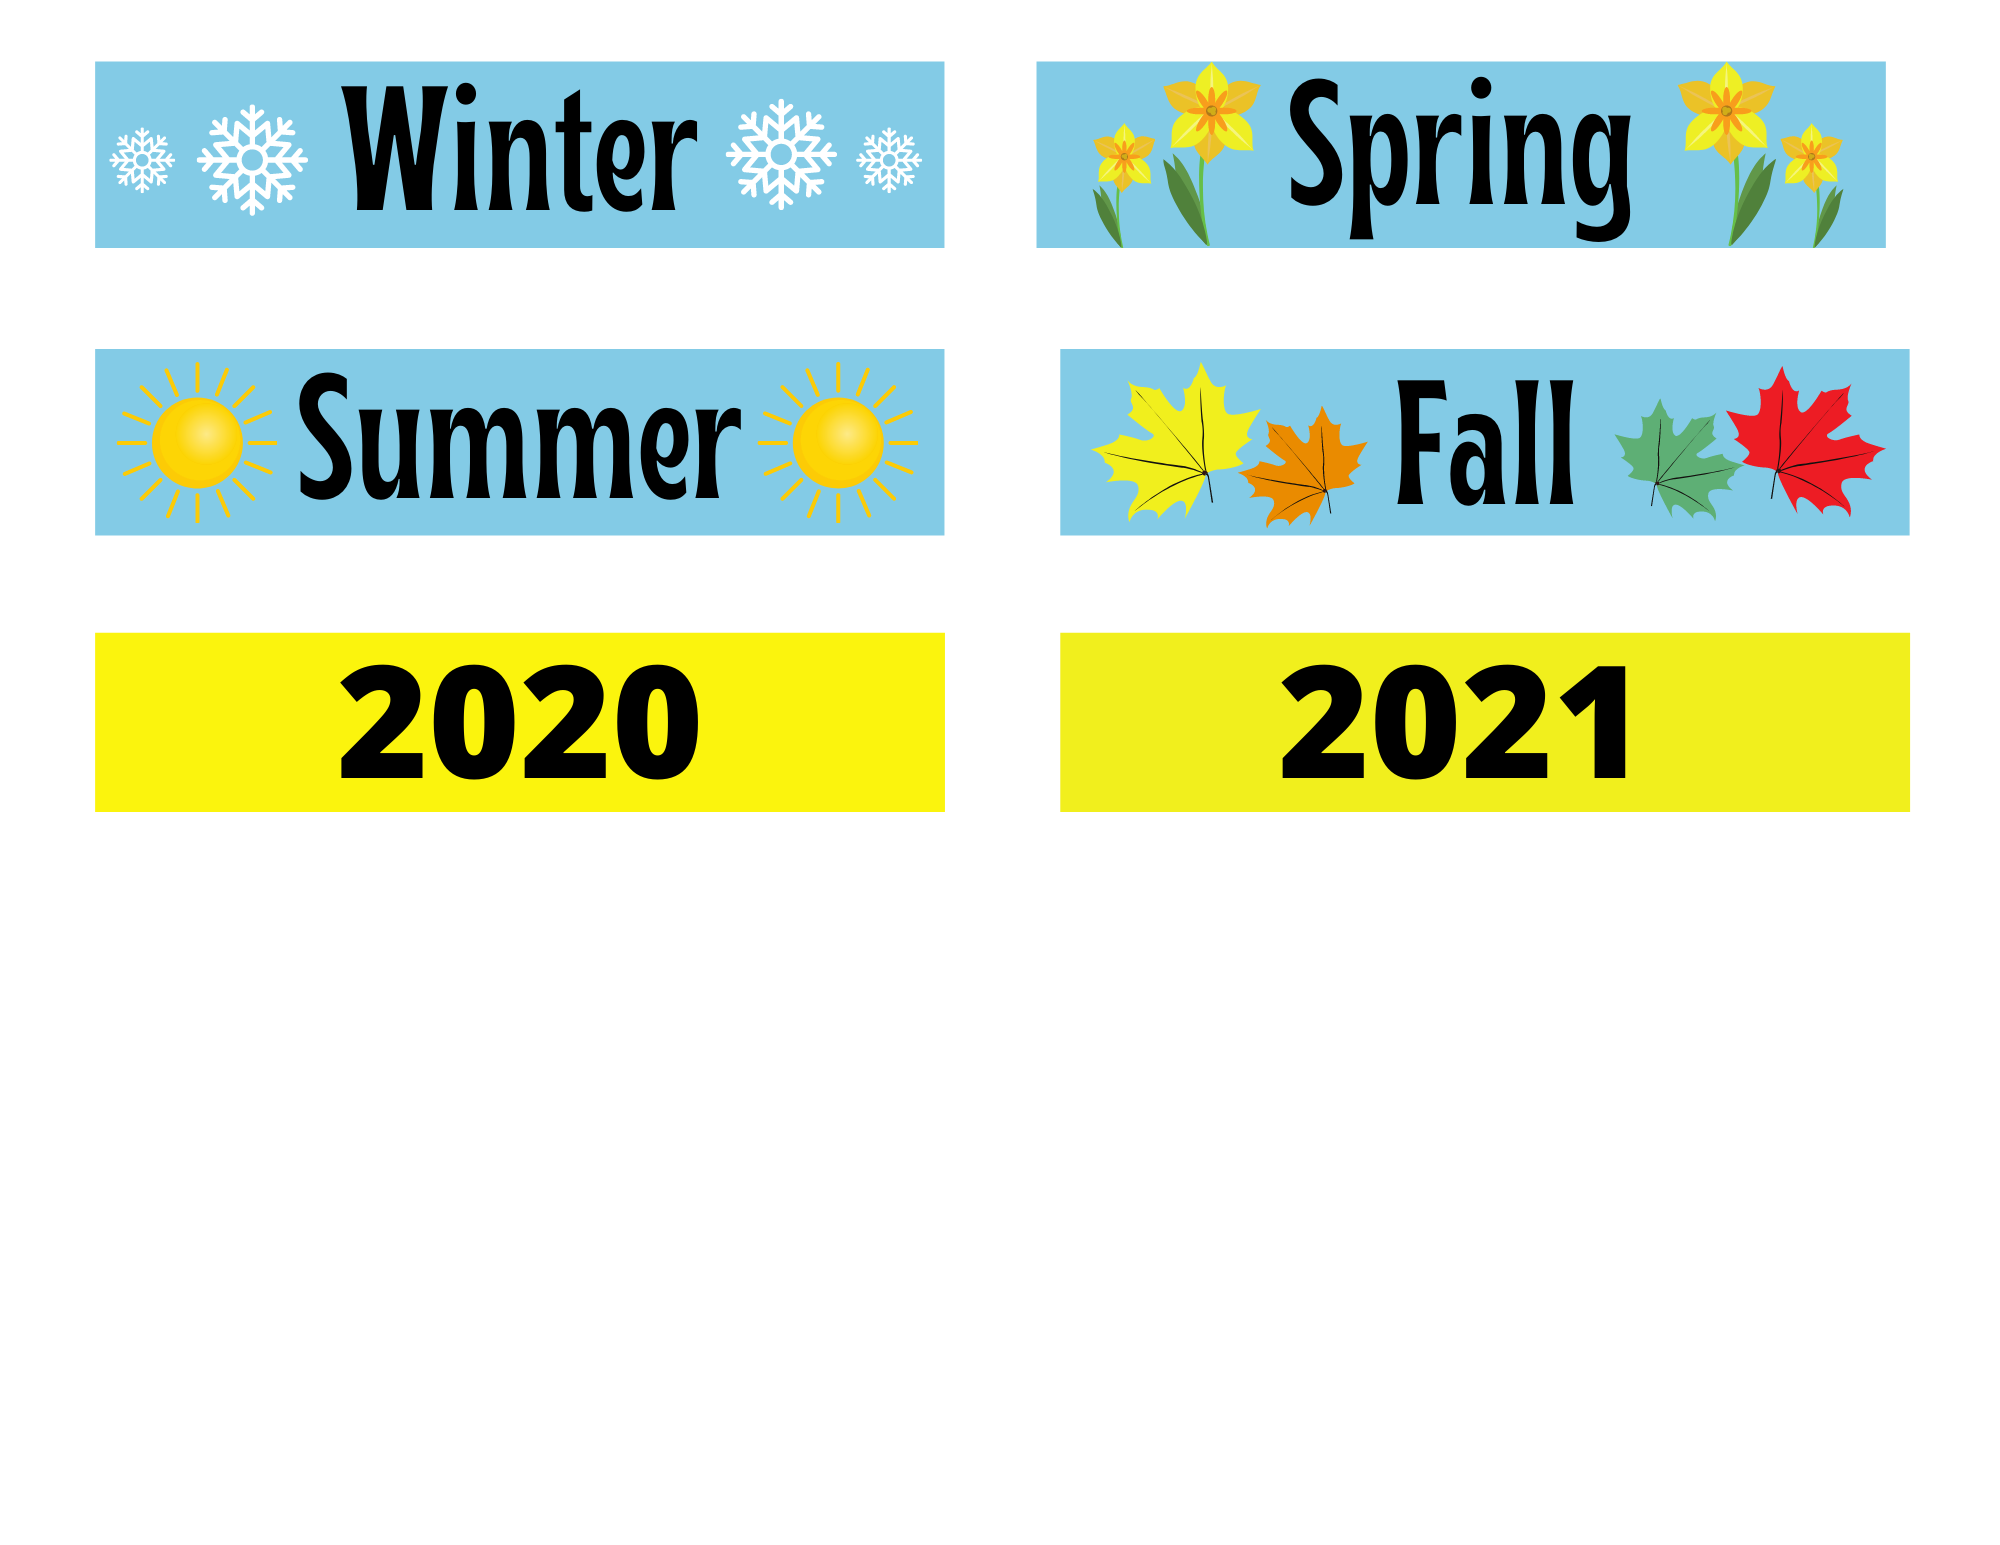
- Seasons
- Year
- Days of the Week
- Date (numbers)
- Weather
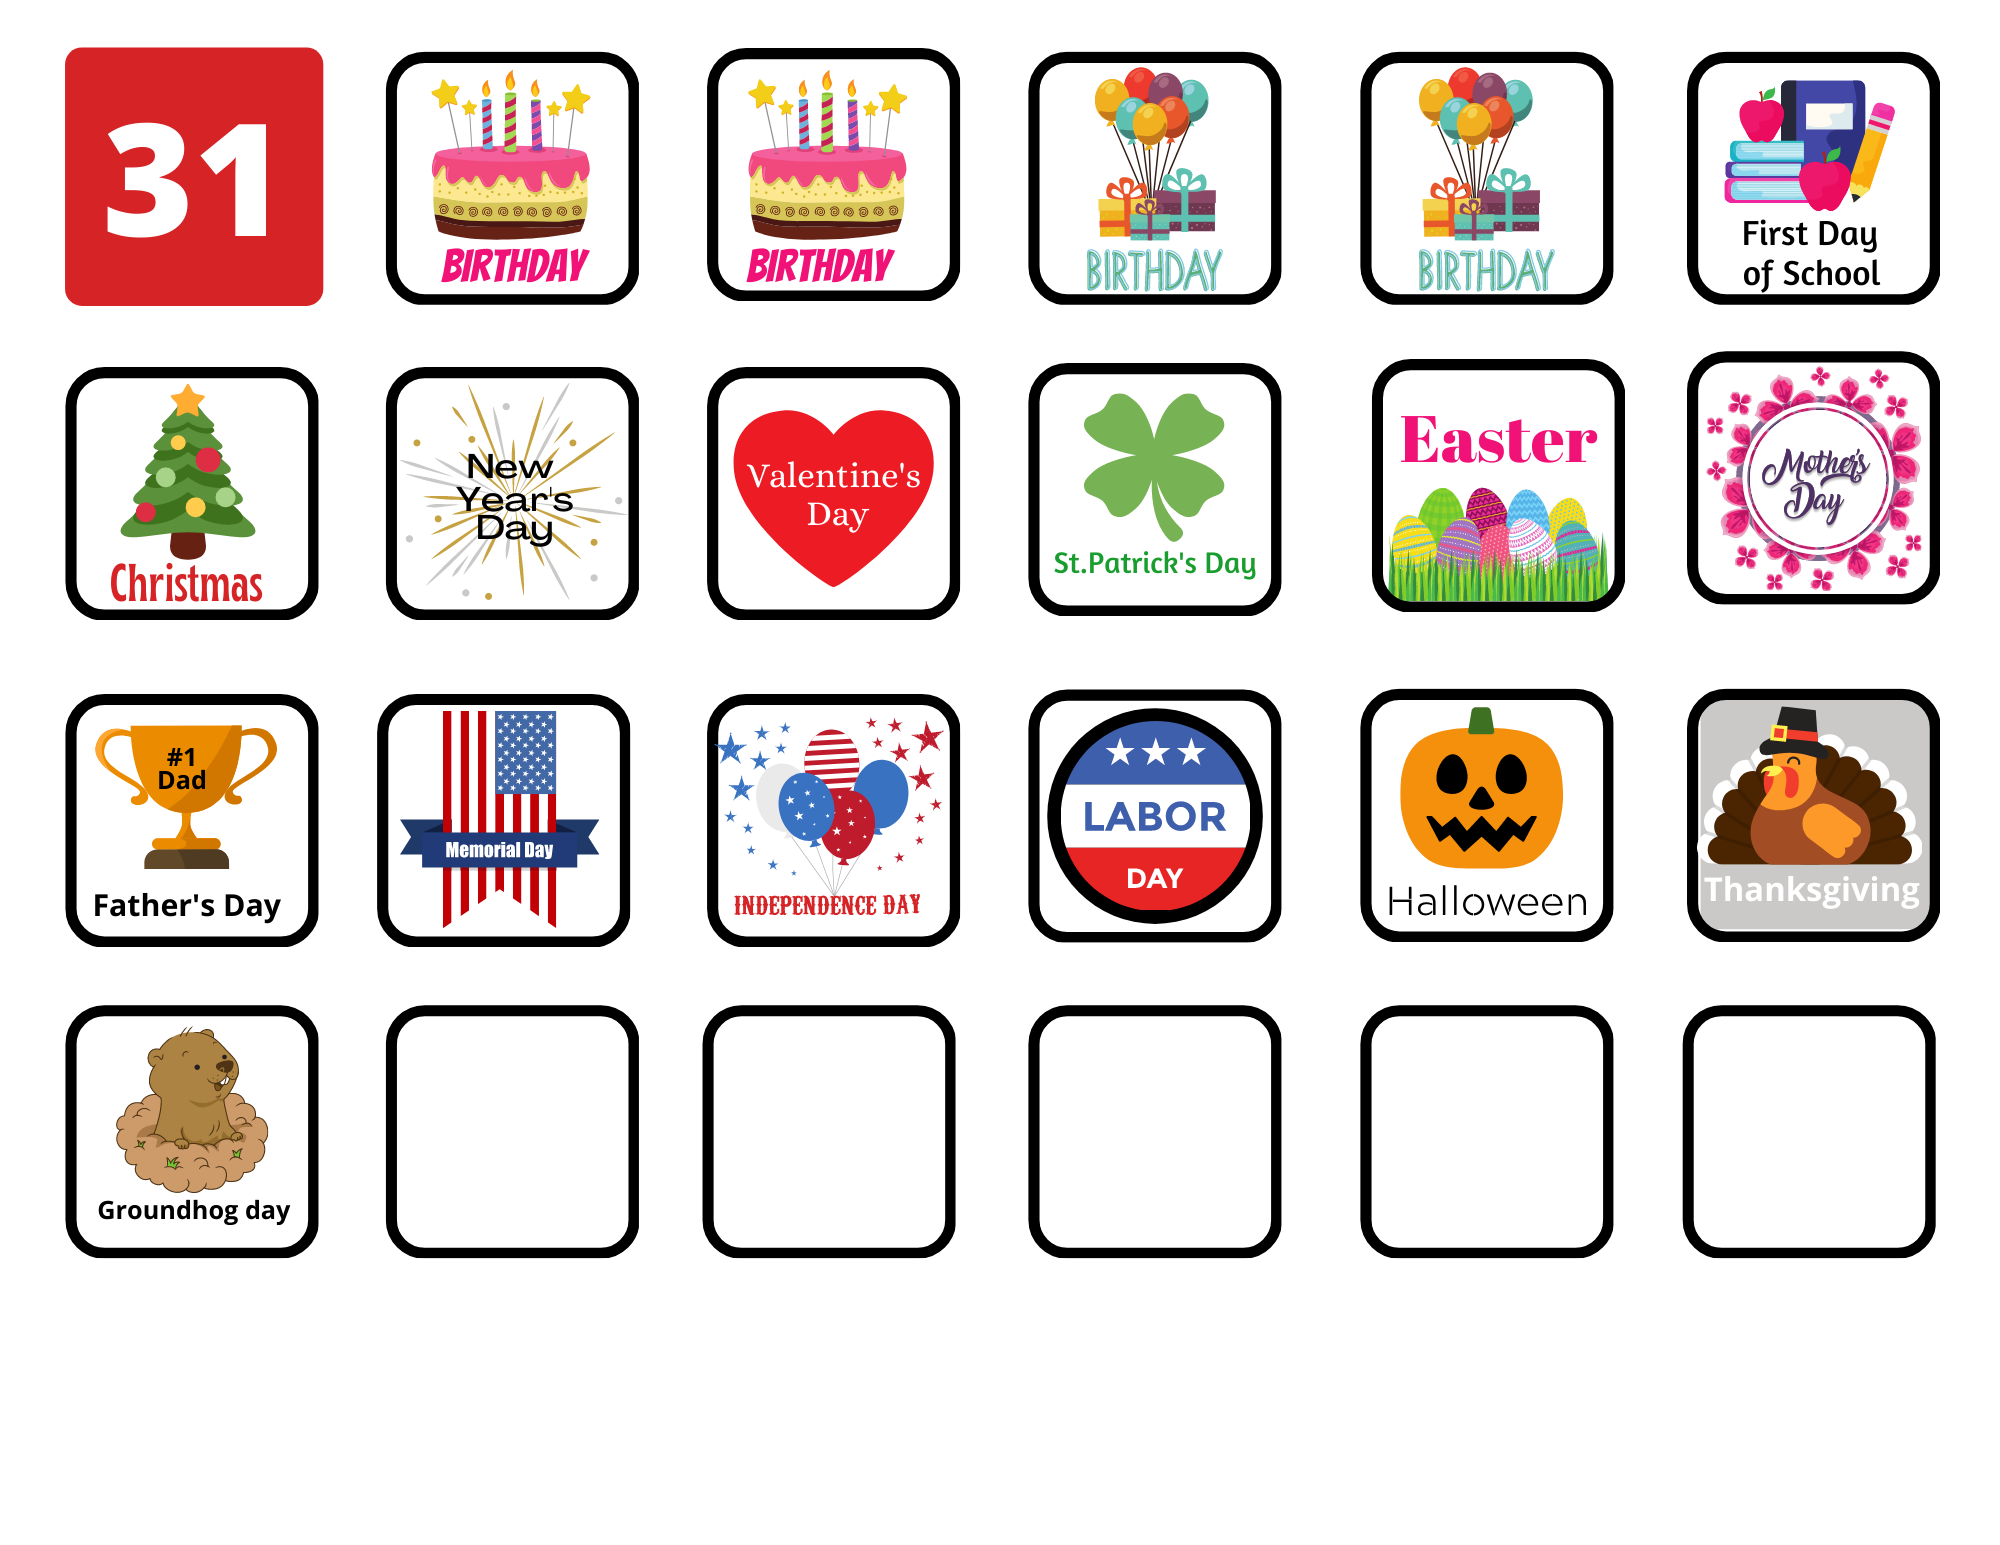
- Holidays
- Writing Practice

Materials:
- Dry Erase Board
- Dry Erase Markers
- Velcro
- Laminate sheets or a laminator (optional)
- white cardstock
- scissors
- printer
- templates- 8 total, (see below)
- fastener (for weather chart)
Notes:
1- I have a printer at home, but decided it was more cost effective to go to the UPS Store and pay around a dollar for each page (cardstock/color).
2- I used laminate sheets and attached my sheets directly onto the board, leaving room for the laminate to overlap on the board. By doing this, nothing moves then. If you don’t laminate, you can tape on the board or buy a magnetic board and place magnets on the back of everything.
3– Use a hole punch or fold weather chart in half and cut a small hole for the fastner to go through.
4– If you don’t want to use a fastener for the weather chart, simply laminate it & have your child circle the weather conditions with a dry erase marker.
5– When you first start this activity, point to each place on the chart where the words/numbers are your child is writing at the time, so they become familiar where everything on the chart is.

Click on the below boxes to print each sheet. Print on cardstock 8.5 x11 inch – landscape. The Holiday page has blank squares to create any additional special holidays in your house or some I may have forgotten. Feel free to comment below or email me if you want me to add anymore!

HEALTHY BREAKFAST OAT MUFFINS

Super tasty & full of healthy ingredients. These muffins freeze well too. When I”m in a rush in the morning I heat a few muffins up and have a great breakfast quickly for us. My daughter can be picky, but likes these muffins. They can be made in a regular muffin pan or in a mini muffin pan- I have done both. I like to make these for friends and family when they are in need and always a hit too! They always ask for the recipe- so here it is! Happy baking!

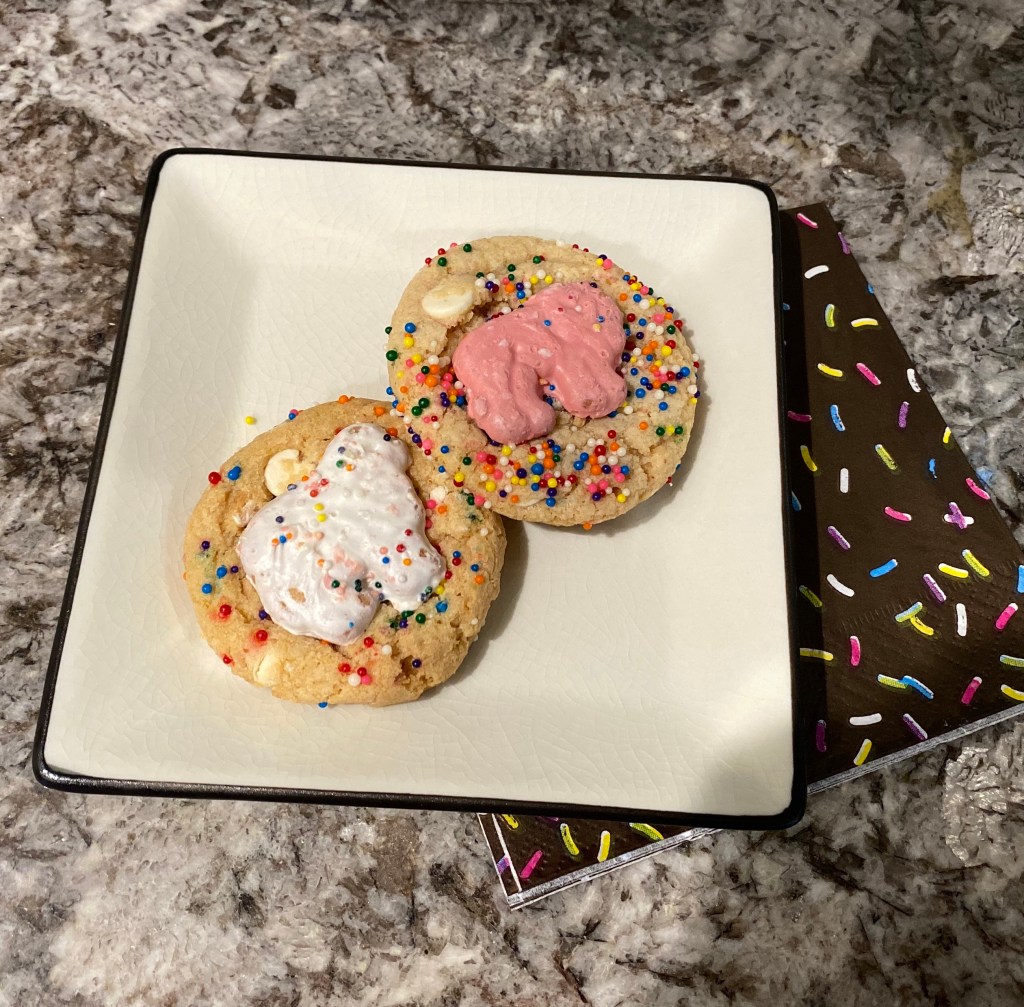
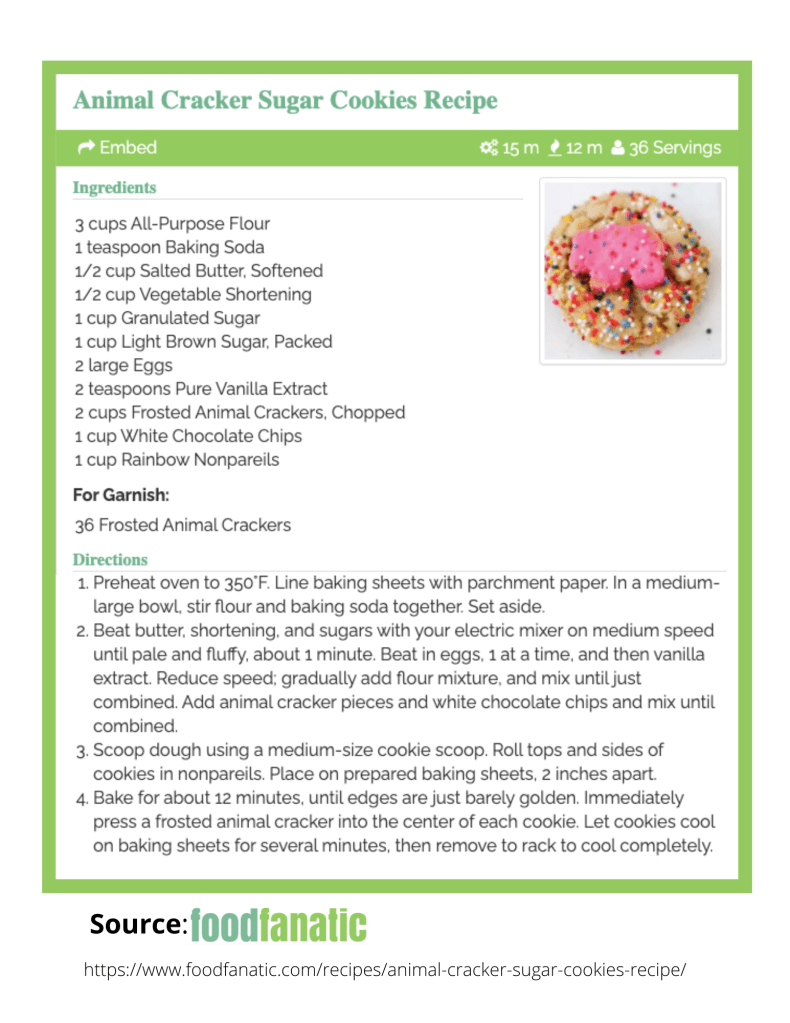
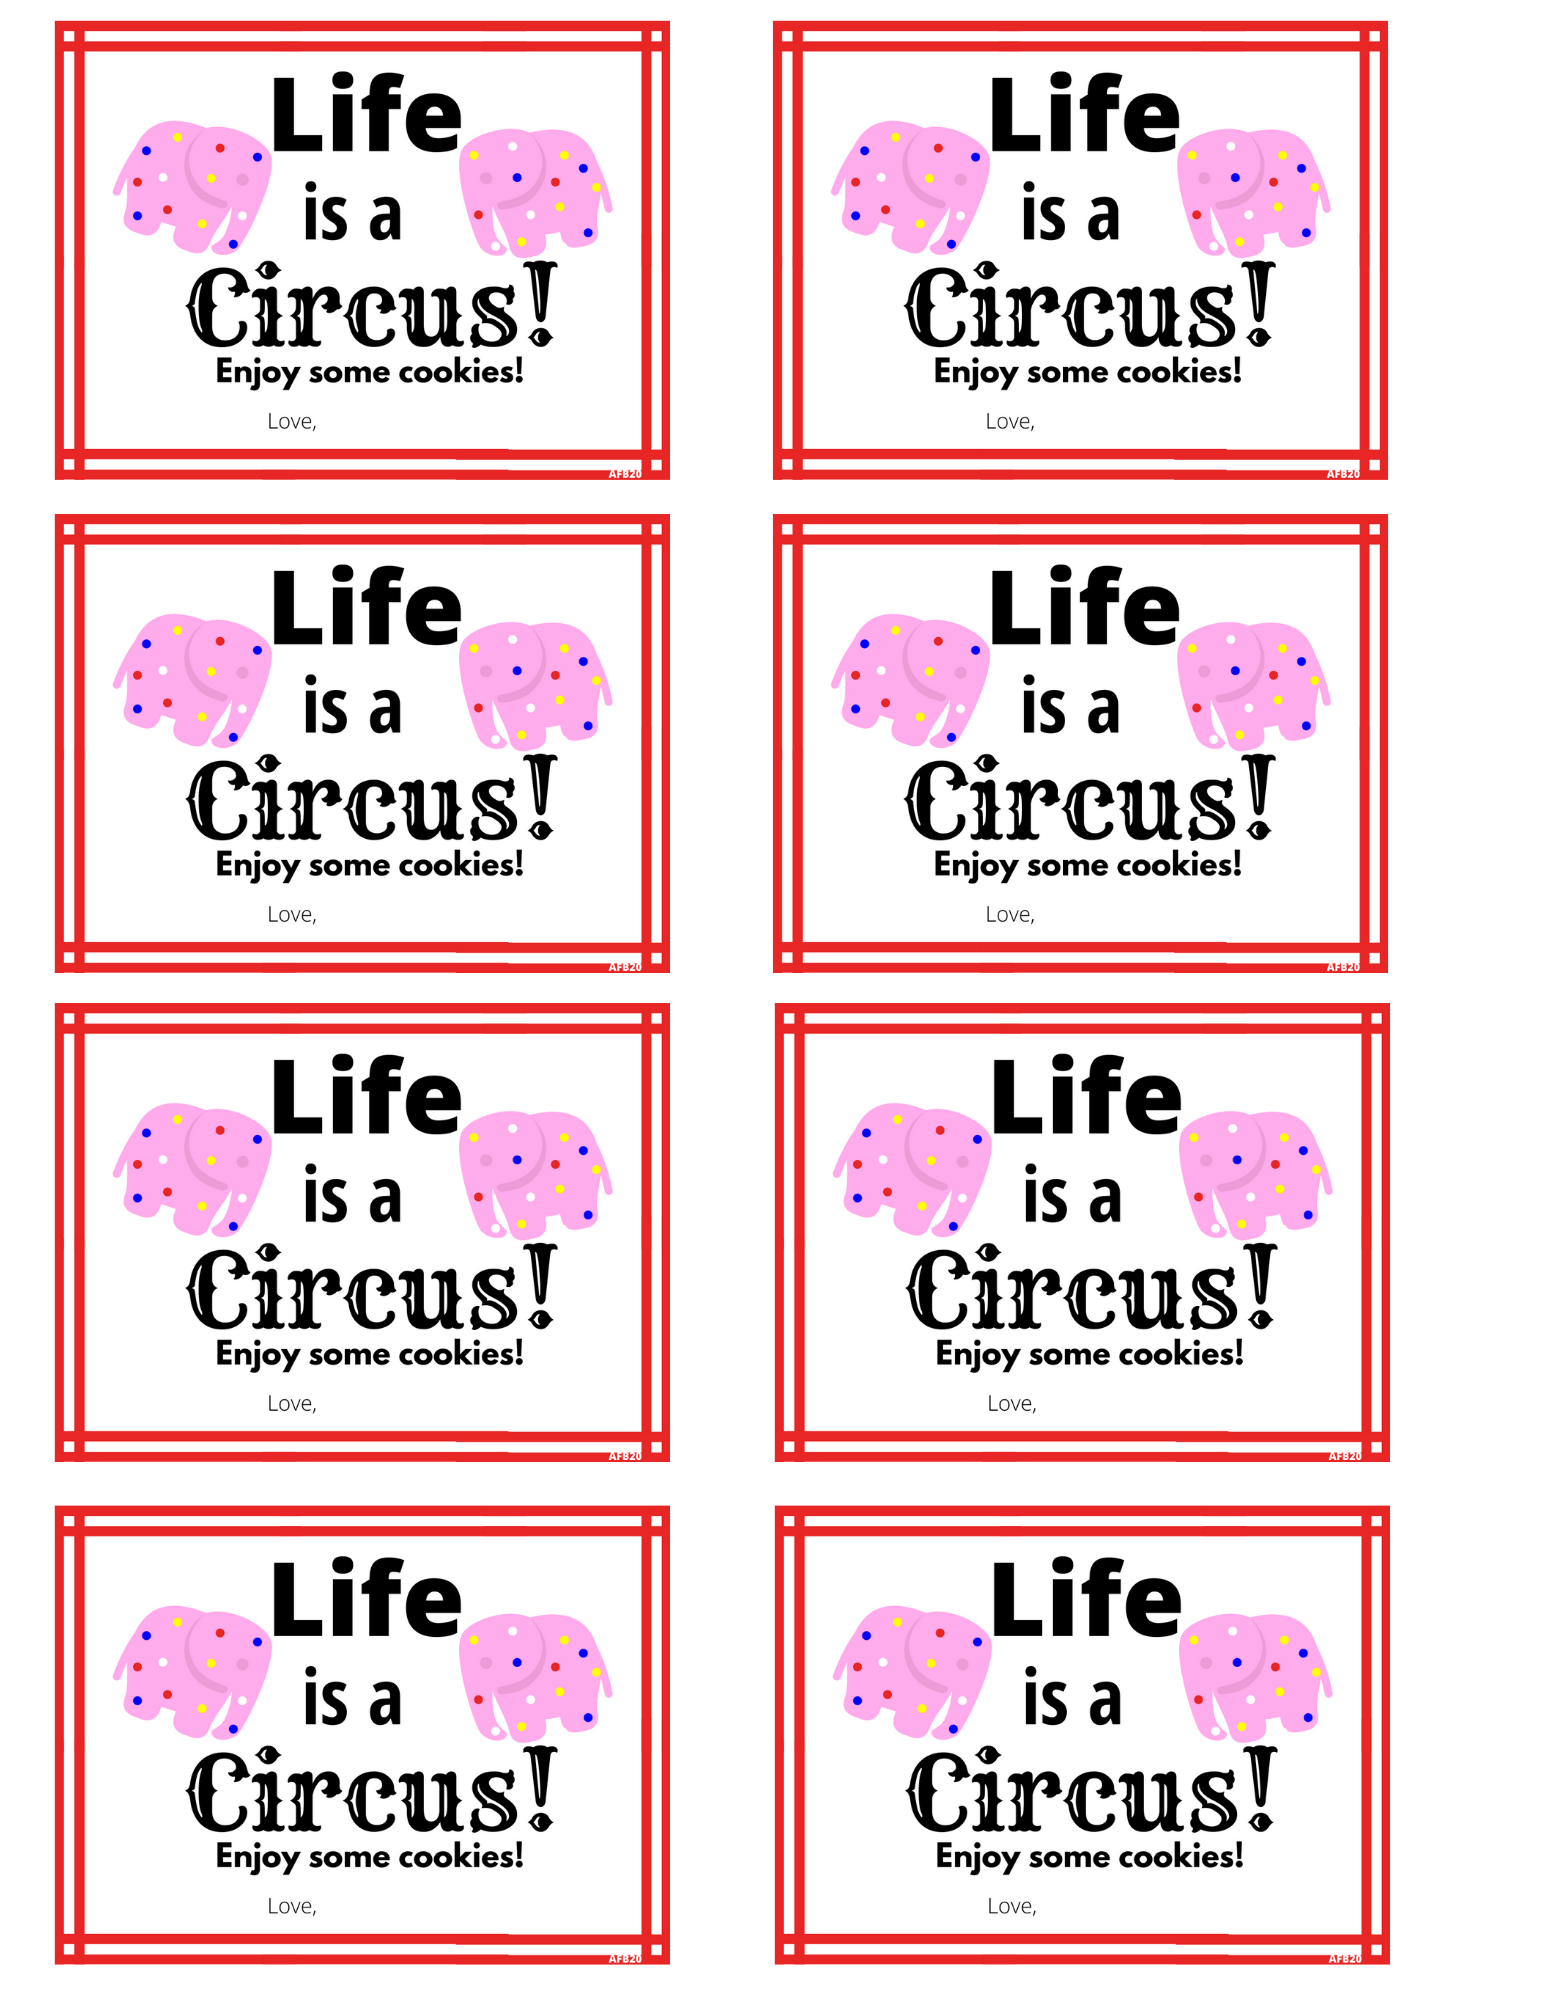
ANIMAL CRACKER SUGAR COOKIES

Who doesn’t love iced Animal Crackers?!? These cookies are delicious- a big hit with kids of all ages. With everything going on right now, I thought it was the perfect time to surprise some friends and family with yummy cookies. After all, life does seem like a circus right now. There is so much craziness going on around us related to COVID. These are a good distraction & are sure to get a smile from your friends & family!
I found the recipe here and then made the tag to go with them. The cookies are super easy to make. Only thing I would do differently next time is to use mini white chocolate chips, instead of regular size. I used these cookies in my recipe. After cool, I placed cookies in a cellophane bag and used ribbon to tie on the tag. Then the fun part- delivering them. Enjoy!


Happy Baking!
ROCK PEOPLE

Let’s go on a scavenger hunt! This scavenger hunt is unique because you are looking for rocks to make into a rock person. What kind of rocks would we need to create a rock person?
Materials:
- rocks (see step #1 below)
- acrylic paint (variation of colors)
- cardboard box/plastic table cloth/baking sheets (something to paint on top of)
- paint brushes
- water cups
- acrylic sealant (to make waterproof)
- epoxy glue
Note: This project was a multiple day process because we made several rock people. If you choose just to make one person, it can be done in a day.
Steps:
Step #1- Rock Hunt: Find a head first, then eyes, nose, & mouth. Place on top of head- to make sure they fit. Easier to glue if they fit on top of the head rock.
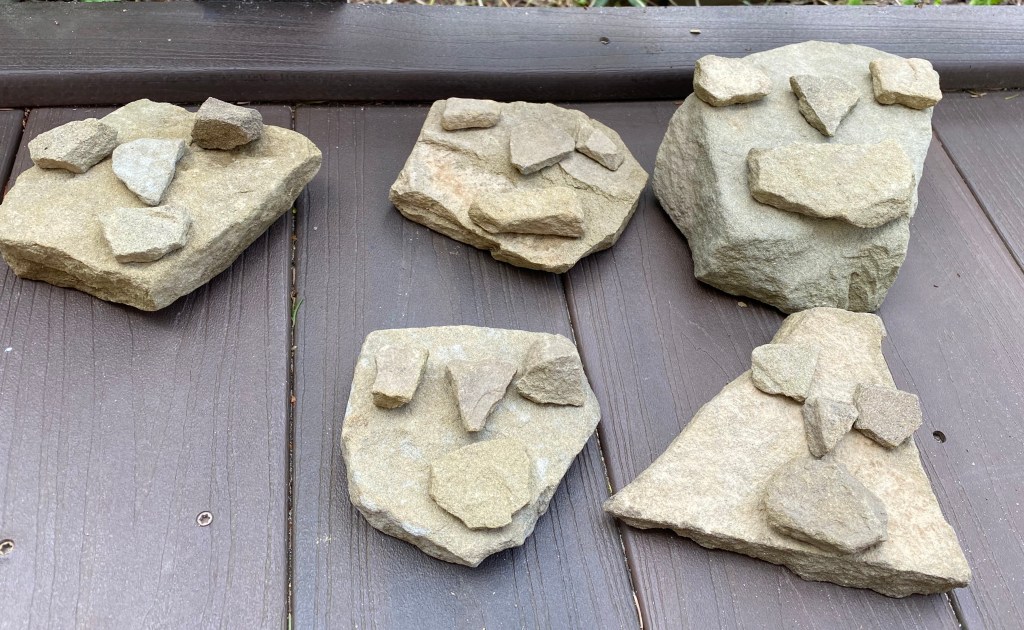
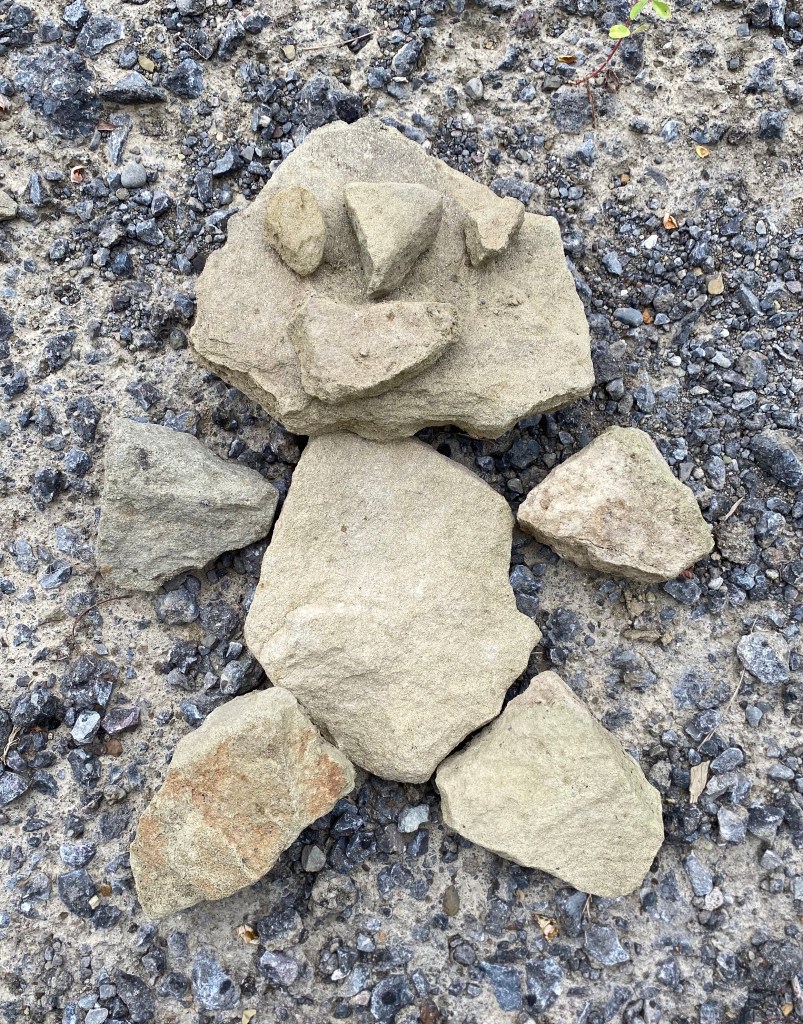
Step #2- Body: Find one big rock as the torso/body. Then find 2 arms and 2 legs. Assemble all together to make sure you/they like the finished look.

Step #3: Paint: Paint each rock individually. Let dry.
* Before painting, make sure to place something under the rocks & wear old clothes (acrylic paint stains). We used old baking trays, but a cardboard box or plastic tablecloth woks great too (easier to clean up).
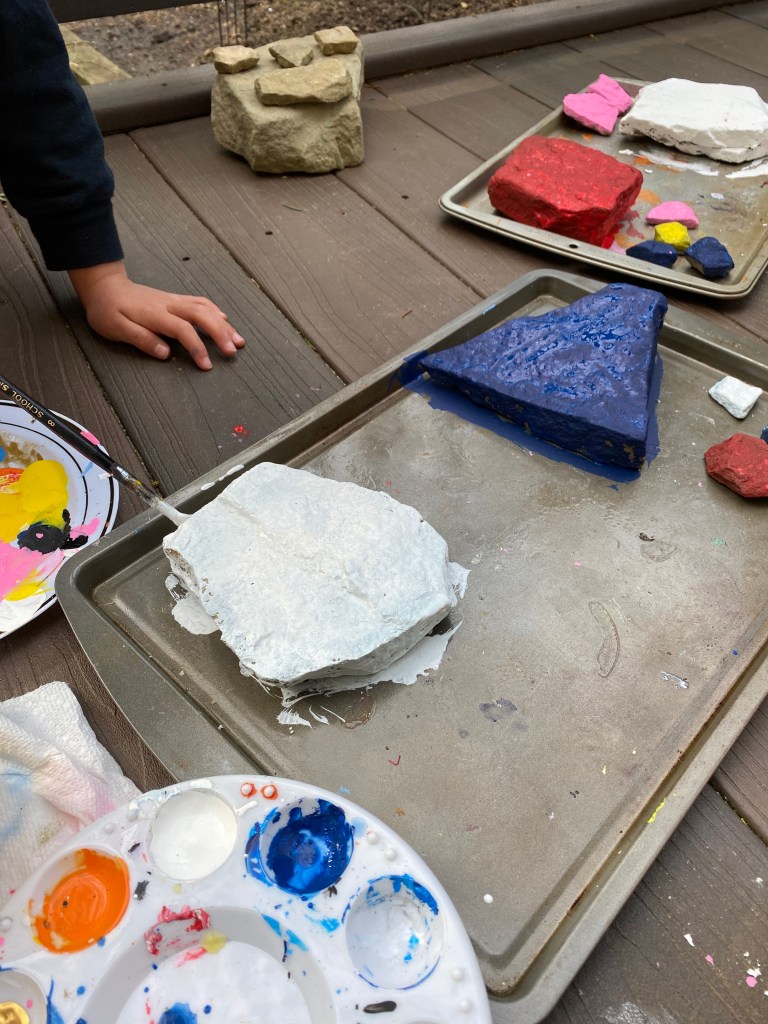
Step #4: Assemble/Glue: Follow the directions on packaging. Adults should take the lead on this. Start at the top of the head and work your way down the body. Attaching the head to the body, arms and legs, can be hard. Either place right up against it to glue or lay at an angle.
Step #5: Spray: Use an acrylic sealant on your rocks. Spray the entire body. This will help preserve the paint since outside in different weather elements.
Step #6: Find a home: Find a new home outside for your rock person or rock people.
Bonus: Choose a name & then create story about them.
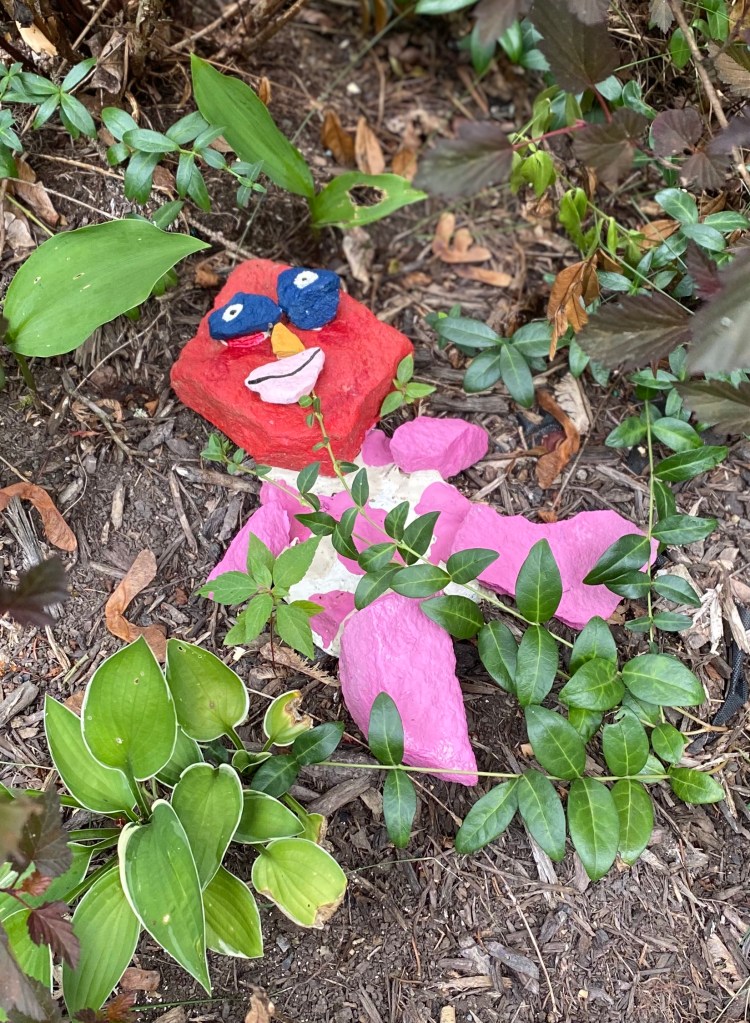
Meet Pinky! She lives in the front yard. She is 6 years old. Her favorite snack is the Hosta plants that are near by. Her favorite color is obviously pink.
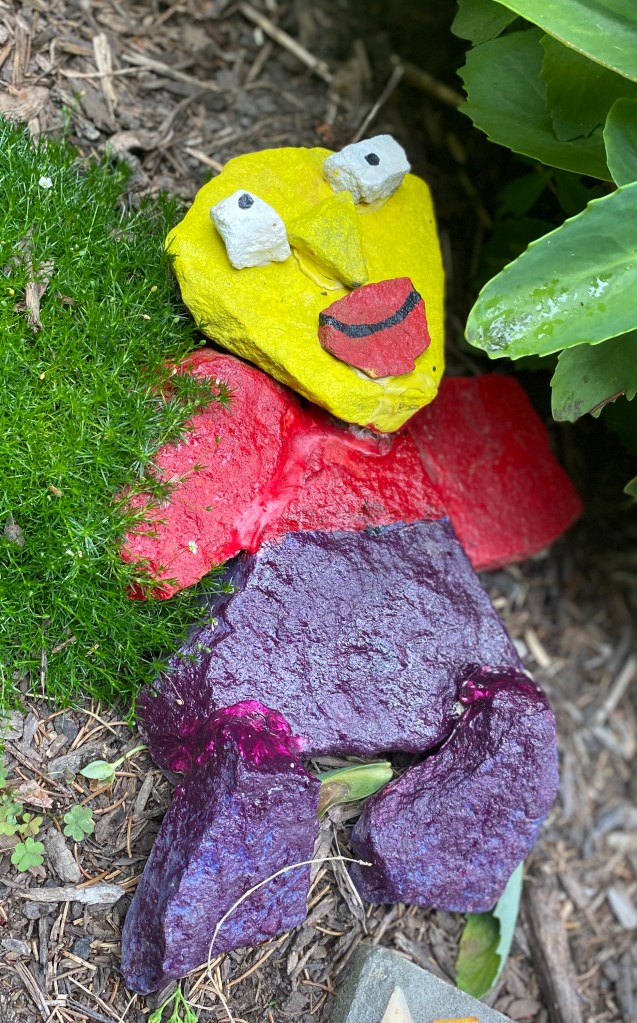
Meet Yeahus. His favorite game is tag. He likes to play tag with his other rock friends when it is dark outside and everyone else is asleep. His best friend is Pinky. He lives in the garden by the butterfly bush. He makes sure all of the butterflies play nicely.
Happy Creating!
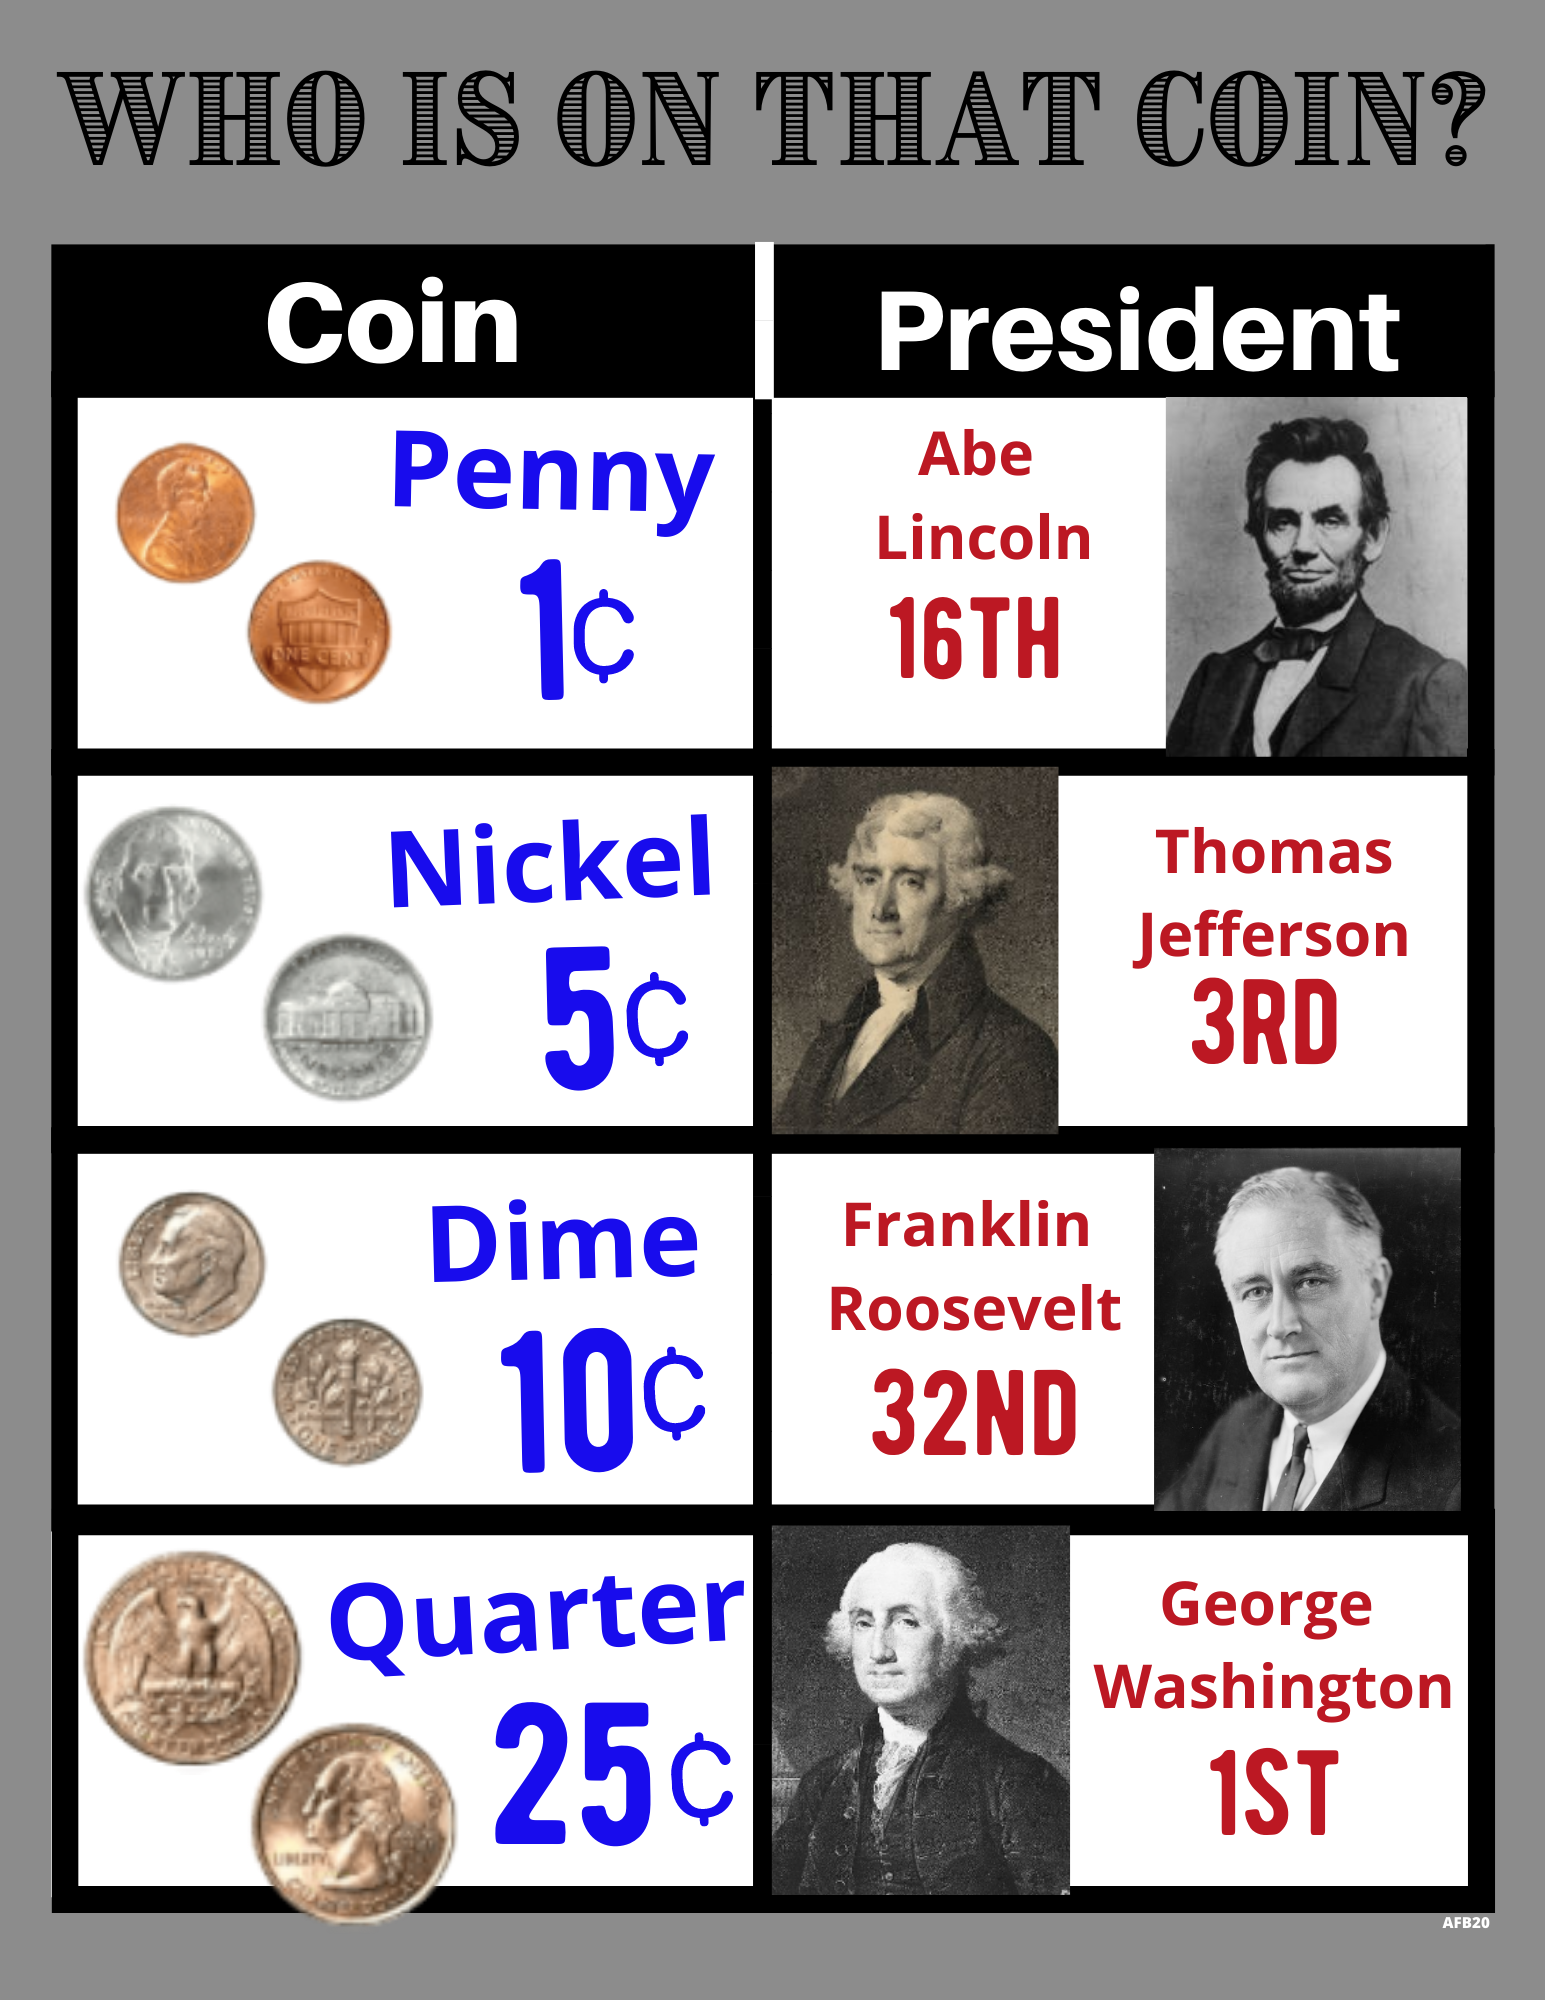
COIN SORTING

Make the introduction to coins fun and educational!
My daughter has a piggy bank full of coins, but has no idea the names of them or value. I decided to get a head start and designed this worksheet to introduce her to identifying coins and their values. Children start to show interest in coins and the ability to count accurately at around age 5 or 6.
Before beginning the activity, we watched a video from ABC Mouse about coins.

Materials:
- worksheet
- coins (several of each) Pennies, Nickels, Dimes, Quarters


Coin Activities:
- Review the “WHO IS ON THAT COIN?” worksheet and the value of each. What President is on a Penny? Nickel? Dime? Quarter?
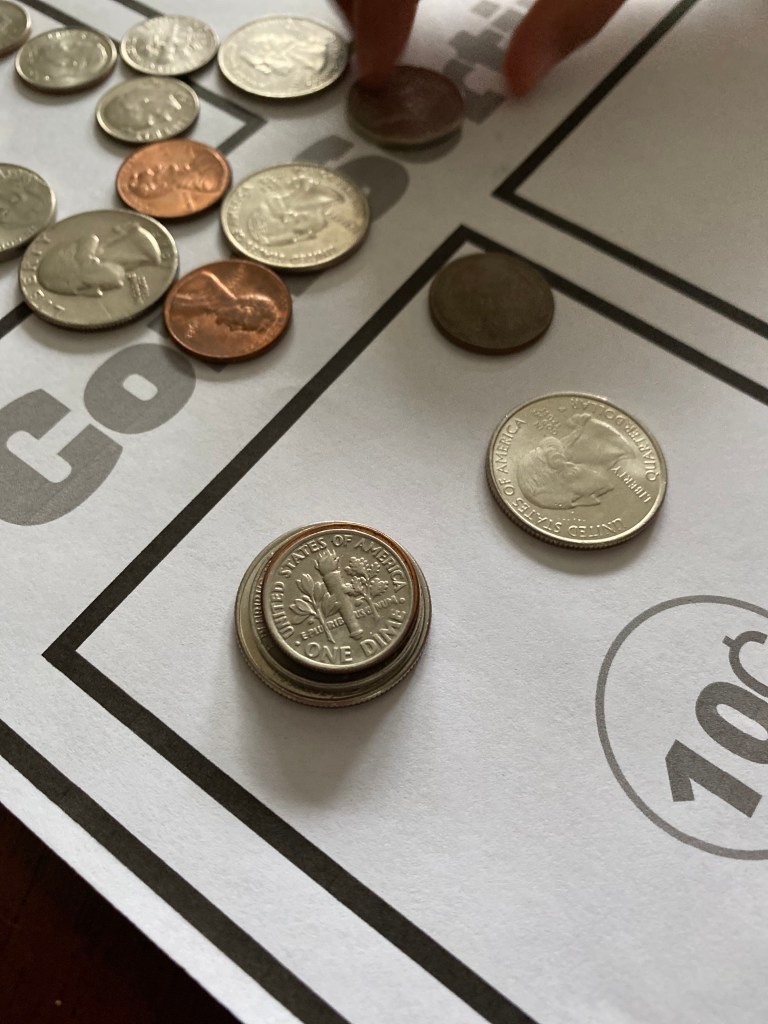
- What colors are the coins? Which coin is a different color?
- Which coin is the biggest? Smallest? Have your child put in order from smallest to biggest or biggest to smallest. You can also stack the coins to compare sizes.
- Which coin is worth the most? Have your child put in order of value- smallest to largest.
Worksheet: Give your child one of each coin. Discuss one at a time where each one goes on the worksheet. Then give your child a large pile of coins and have them sort independently on the worksheet- which one goes where? Same color? size? picture? value? Once complete, check their work and review with them their answers.

Review Game:
1– Place one coin in each hand & close your hand into a fist. Then have your child pick a hand, then open your hand to show the coin. Have your child identify the coin. Repeat the process multiple times with all 4 coins.
2– Use 4 cups (not clear). Place one coin under each cup on a table & rearrange their order. Have your child pick a cup up and identify the coin under it. Rearrange cups again and have your child pick another one, repeat several times.
- Once complete with the activity, review with your child how coins are very dirty and you always wash your hands after touching.
