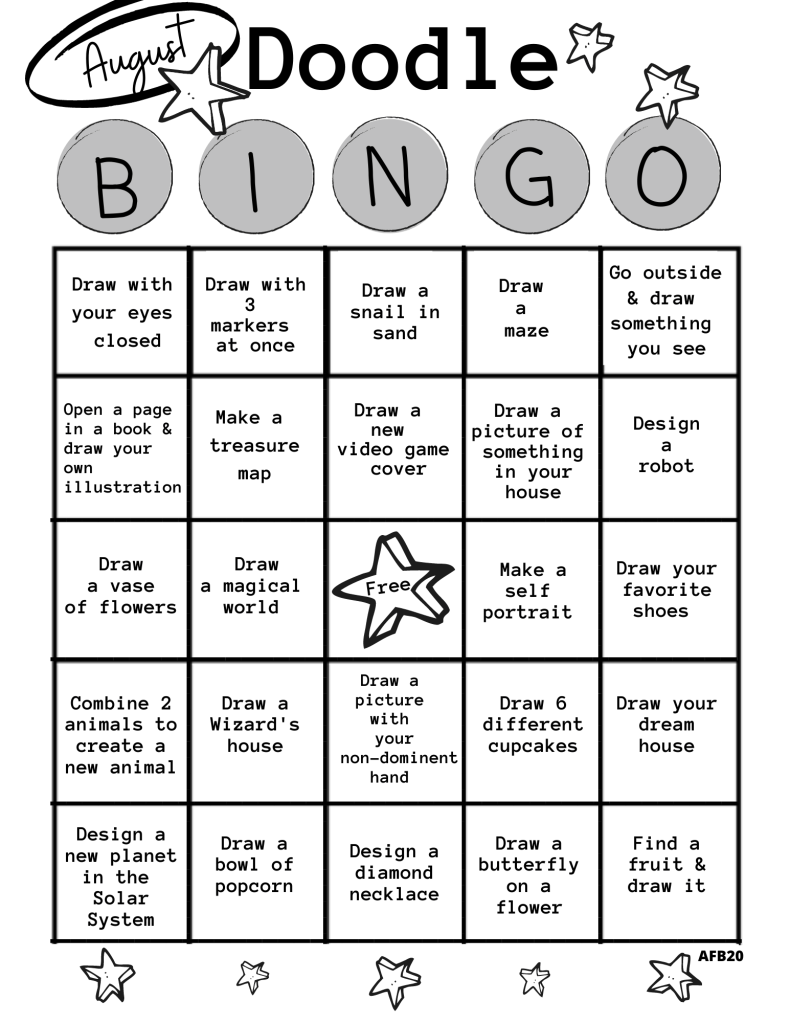
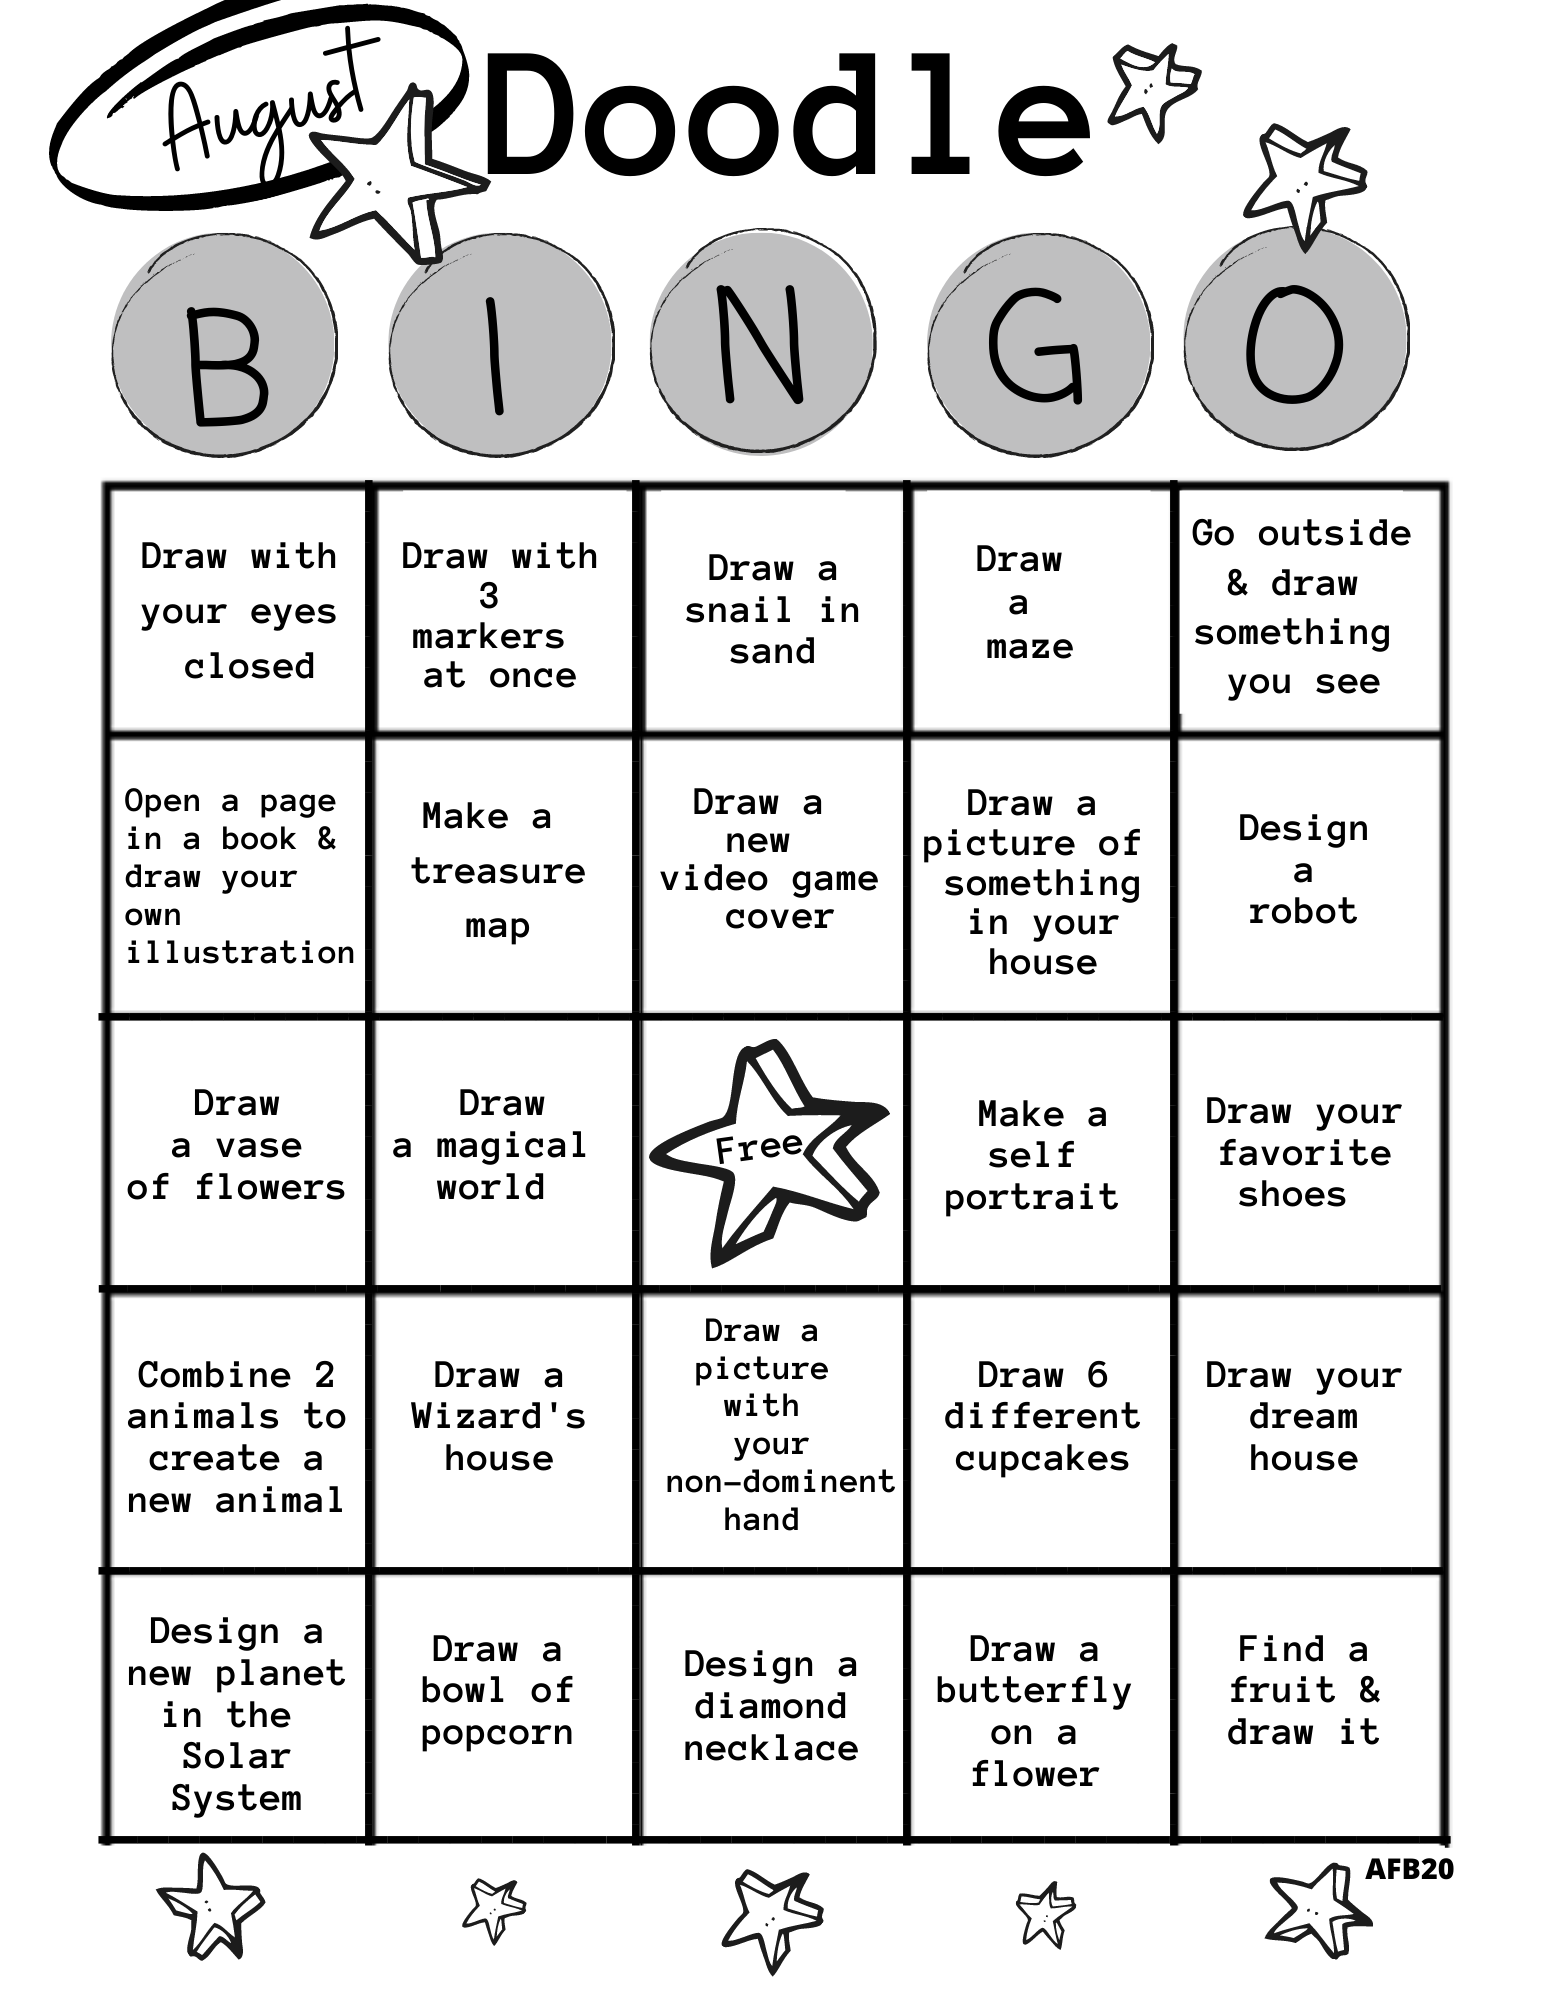
AUGUST DOODLE BINGO Challenge
Every week in August complete 4 or 5 drawings in a row & get BINGO!
SHAPE PIZZA SHOP

What do you make with a big box? Ask a 4 year old and it becomes a Pizza Shop! Of course you have to make it educational as well. In this pretend play activity children will review their shapes, cutting & tracing skills, and numbers. Age recommendation 2 years old and older.
Materials:
- brown box(s) (depends on size)
- big plastic lid (for pizza crust template)
- small plastic lid (for pepperoni)
- pen or pencil (to trace)
- scissors
- watercolor or tempera cake in red
- paint brush/water cup
- construction paper – one sheet of each (yellow, white, red, green, brown, pink)
- plastic bowls (to put toppings in)
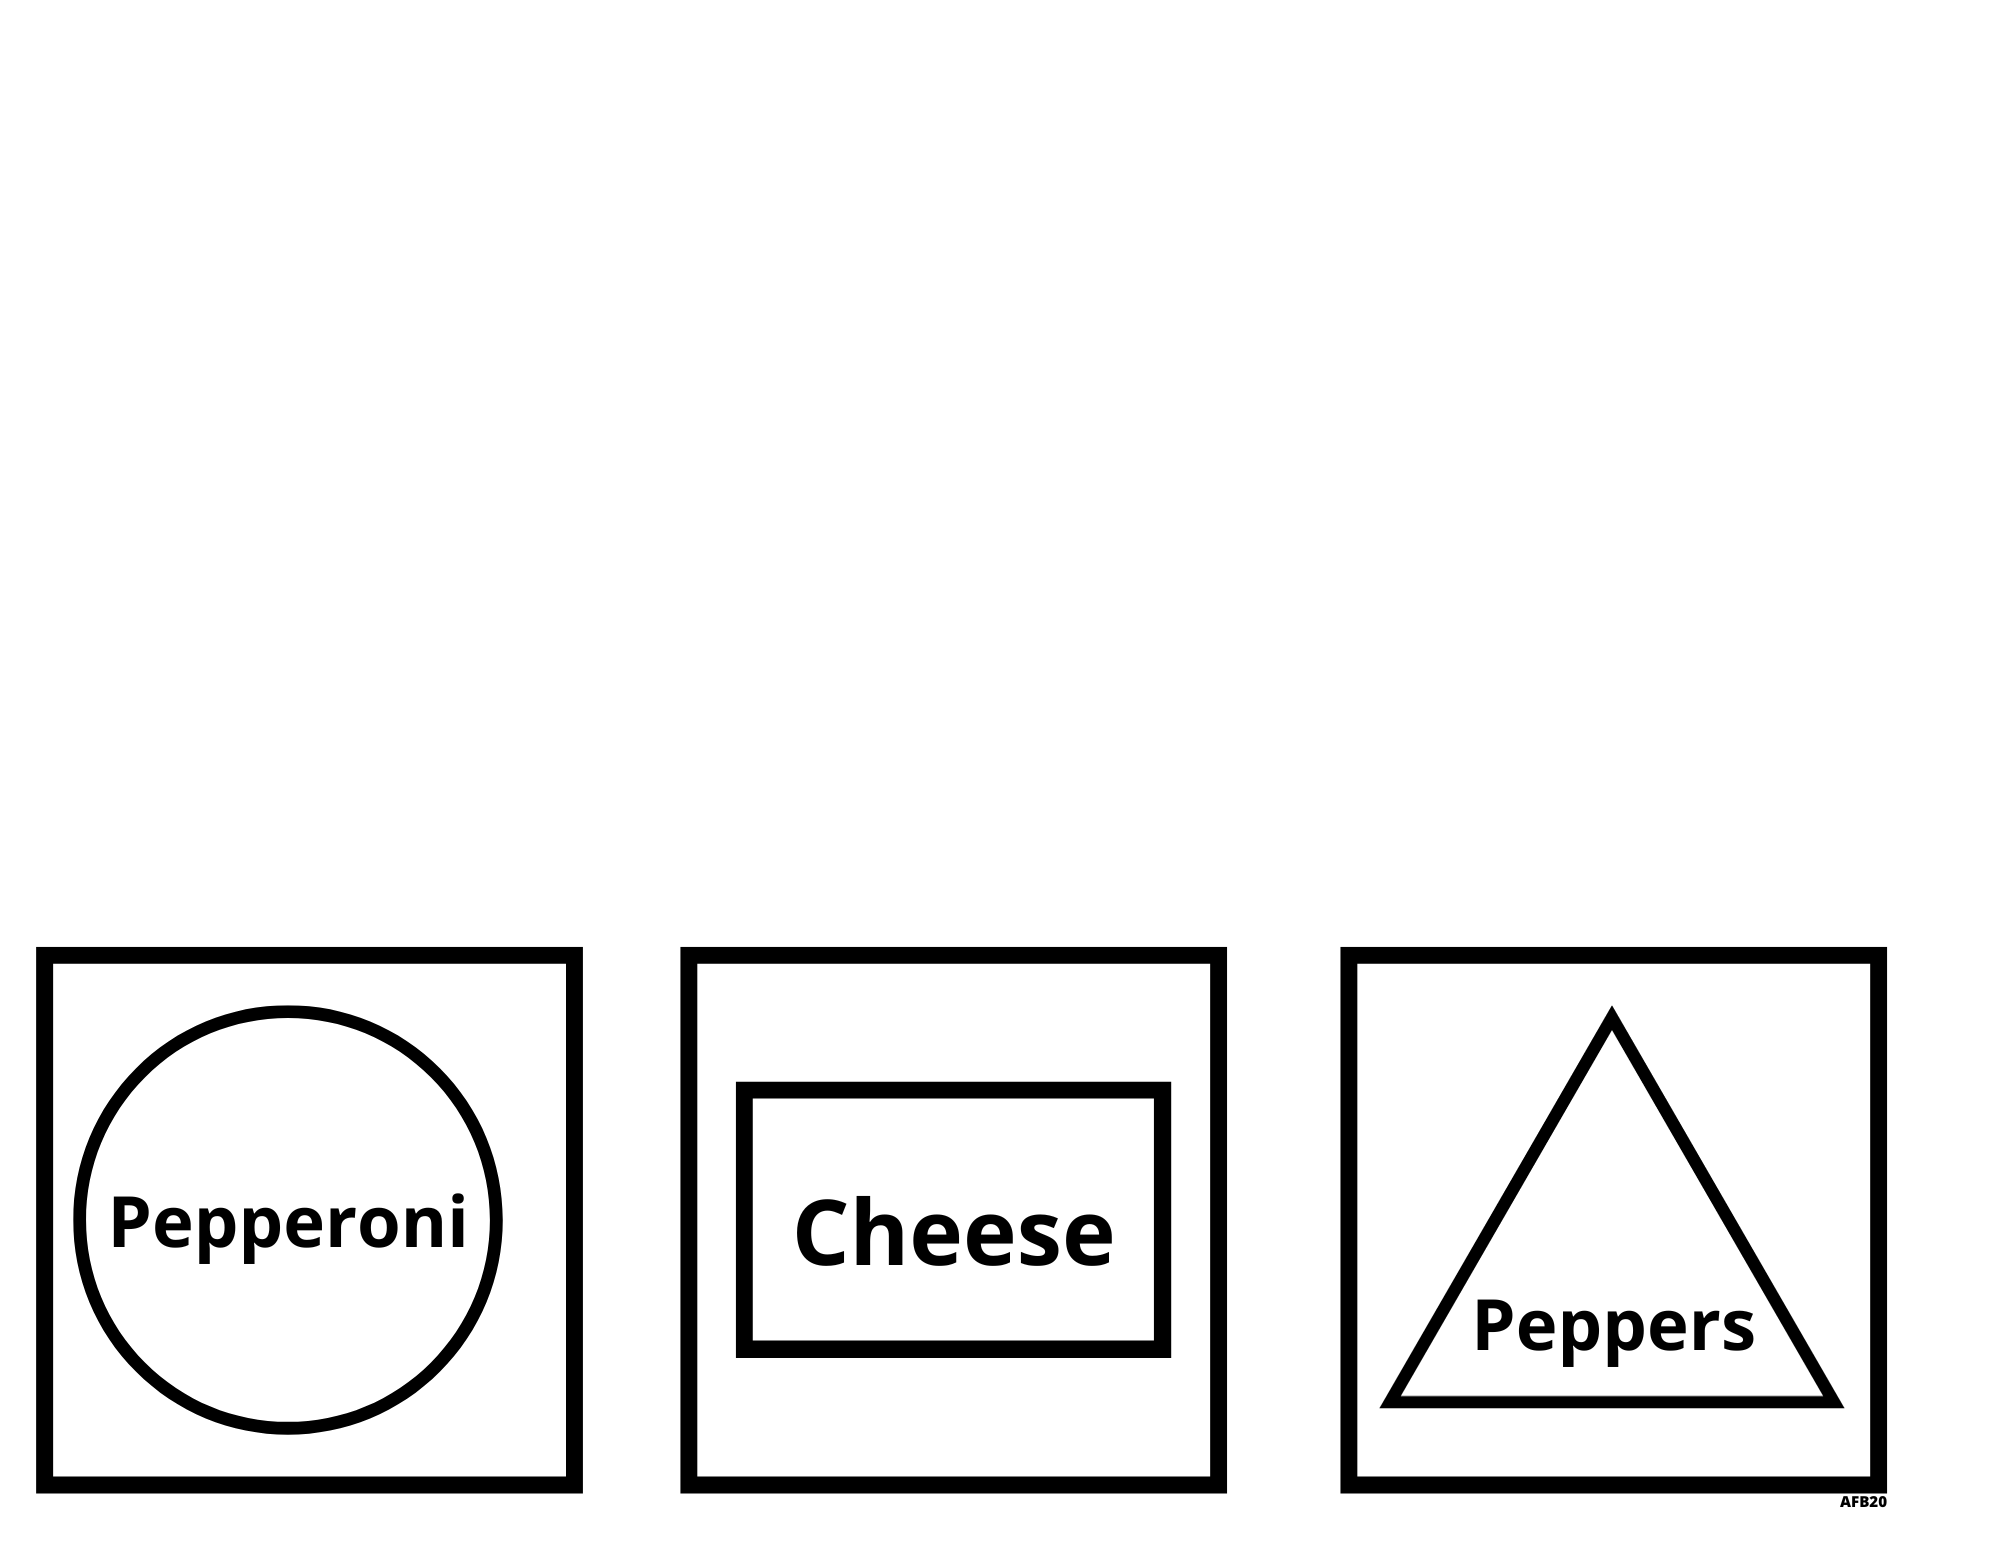
- toppings labels (see below)
- pizza sign
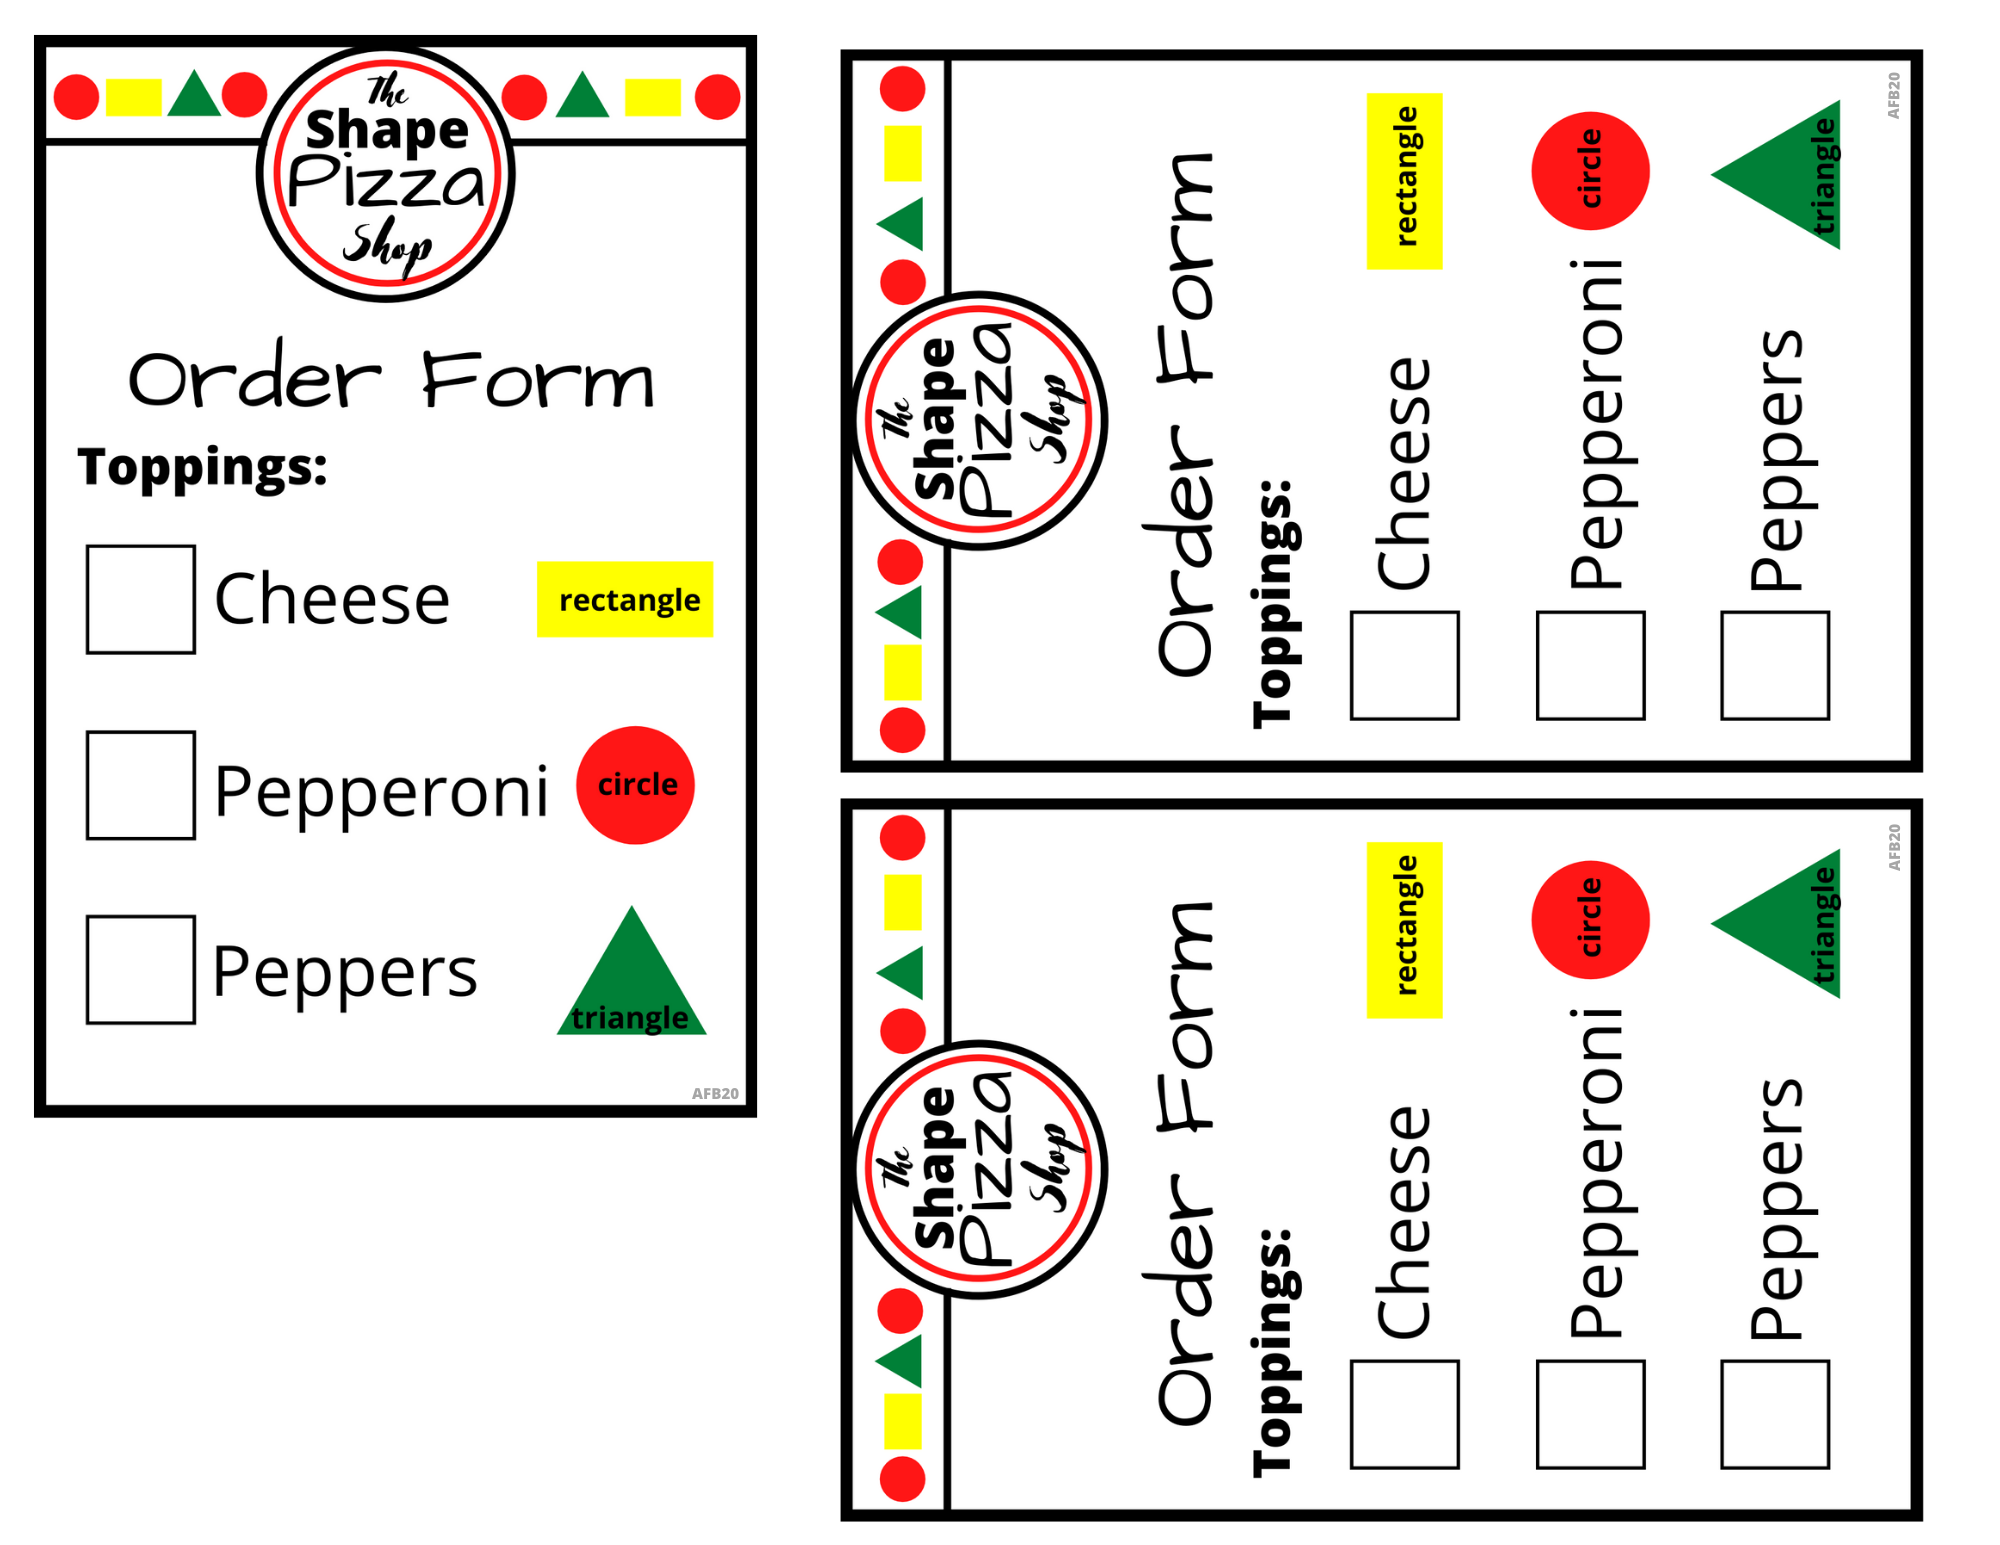
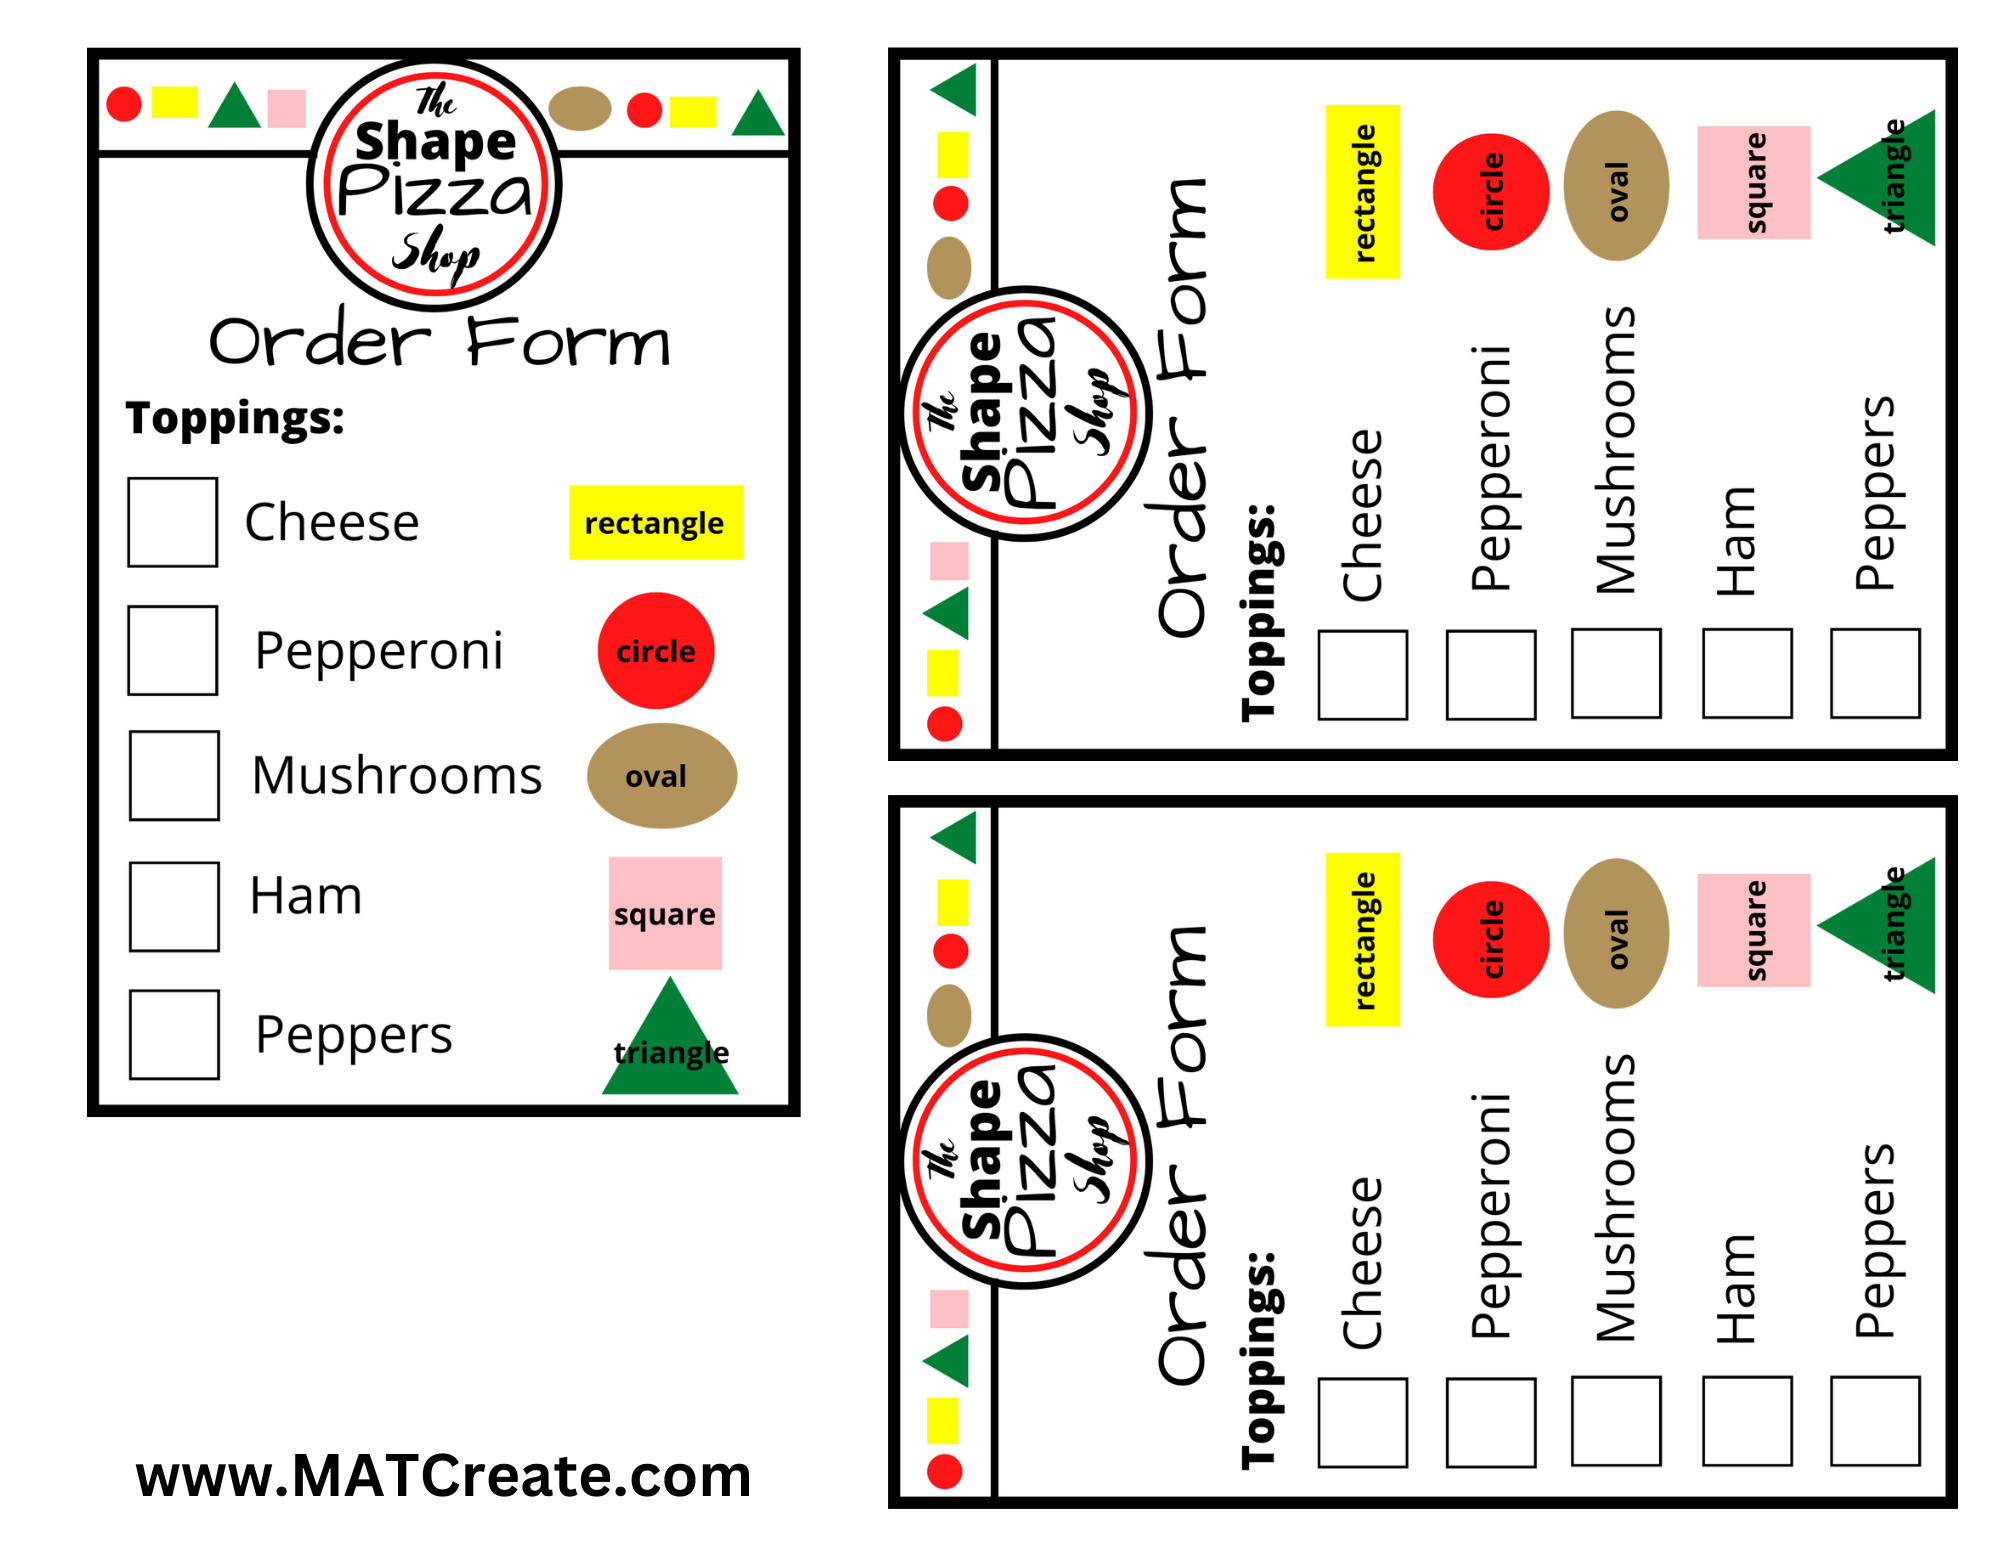
- order form #1 or #2
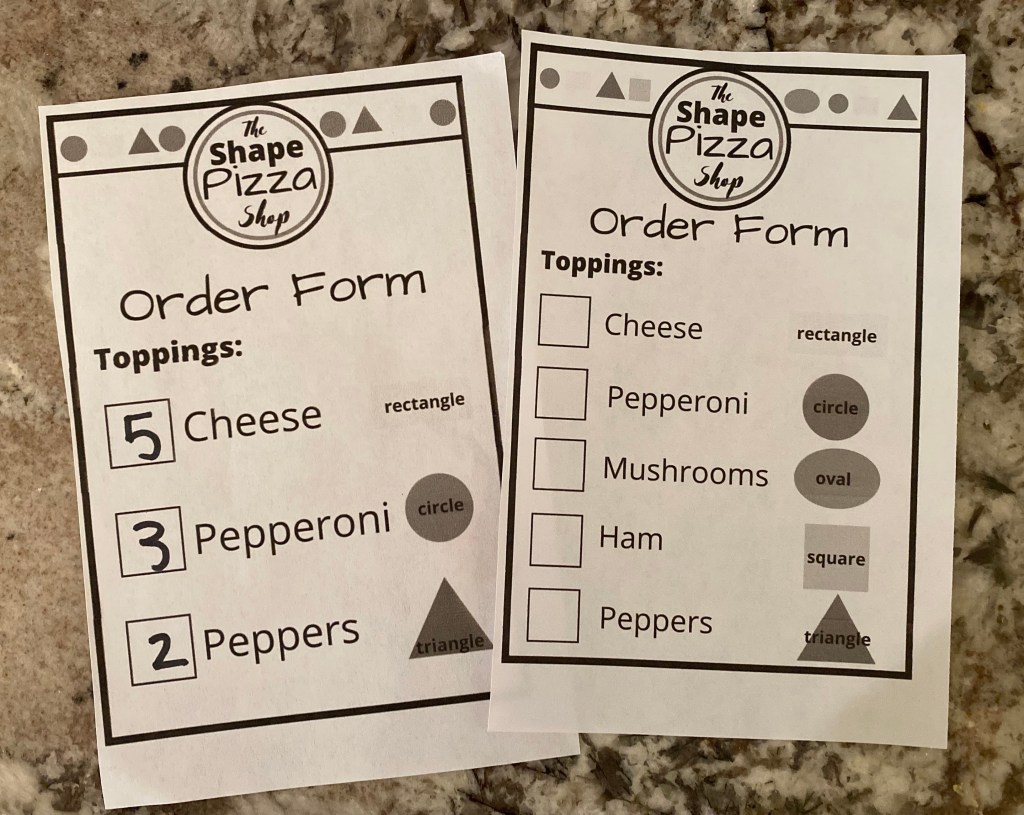
Pizza Order Form/Shape Review
There are 2 order forms. They are based on skill level. The first option only has 3 choices (basic shapes) and the second option has 5 shape choices. You could start by playing with the basic and then once your child knows the shapes, use the second option. Or just start with the second option if they already know the different shapes.
I recommend printing in black/white because you’ll go through a lot of order forms. Click on the gray buttons below for a copy (labeled Option #1 & Option #2).


Let’s start creating Pizza!
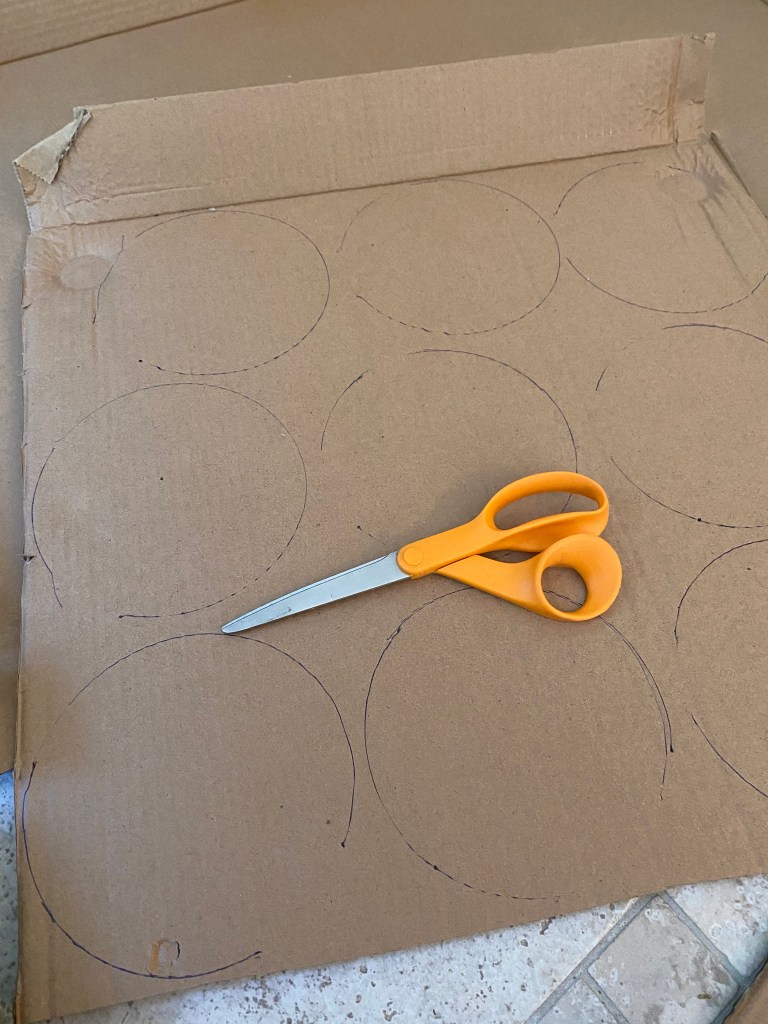
Step#1: Make the pizza “dough”. With a pen or pencil, trace a lid (we used a to go container lid) onto the cardboard multiple times and cut out.
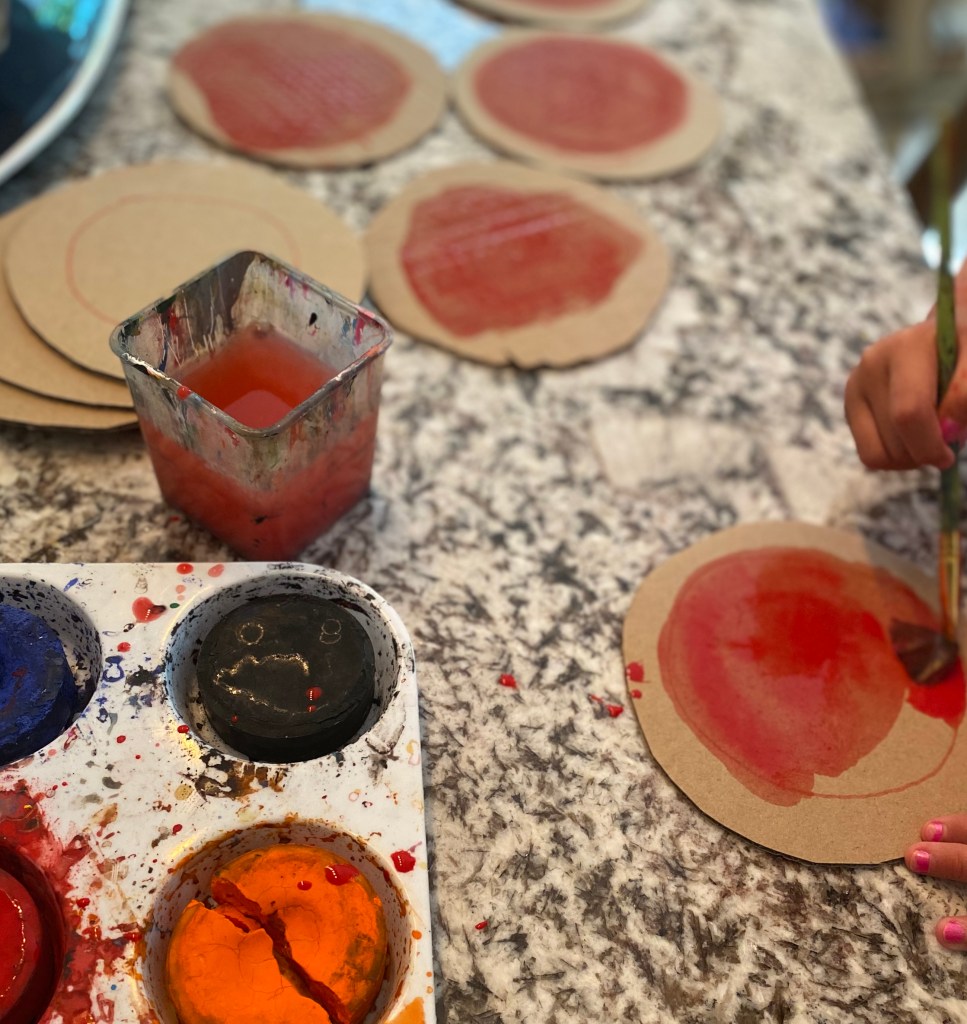
Step #2: Add Sauce! Paint the inside of the cardboard circles (dough) with a smaller circle in red. Make sure to leave room for the crust on the outside. Let dry.
Step #3: Toppings! Ask your child to name toppings that come on a pizza? Do any shapes look similar to the toppings?
- Depending on skill level, you may have to help your child/children cut out the shapes. It’s a lot of cutting, so you might also want to space it out to avoid children losing interest or getting frustrated.
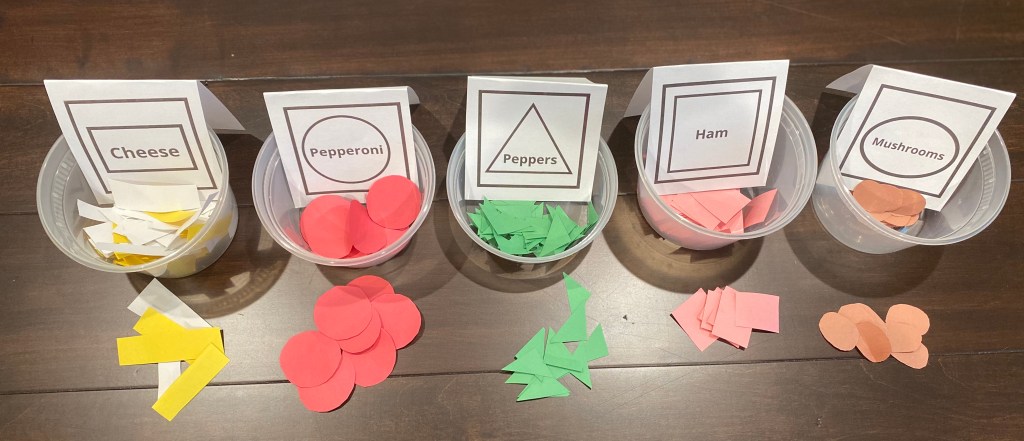
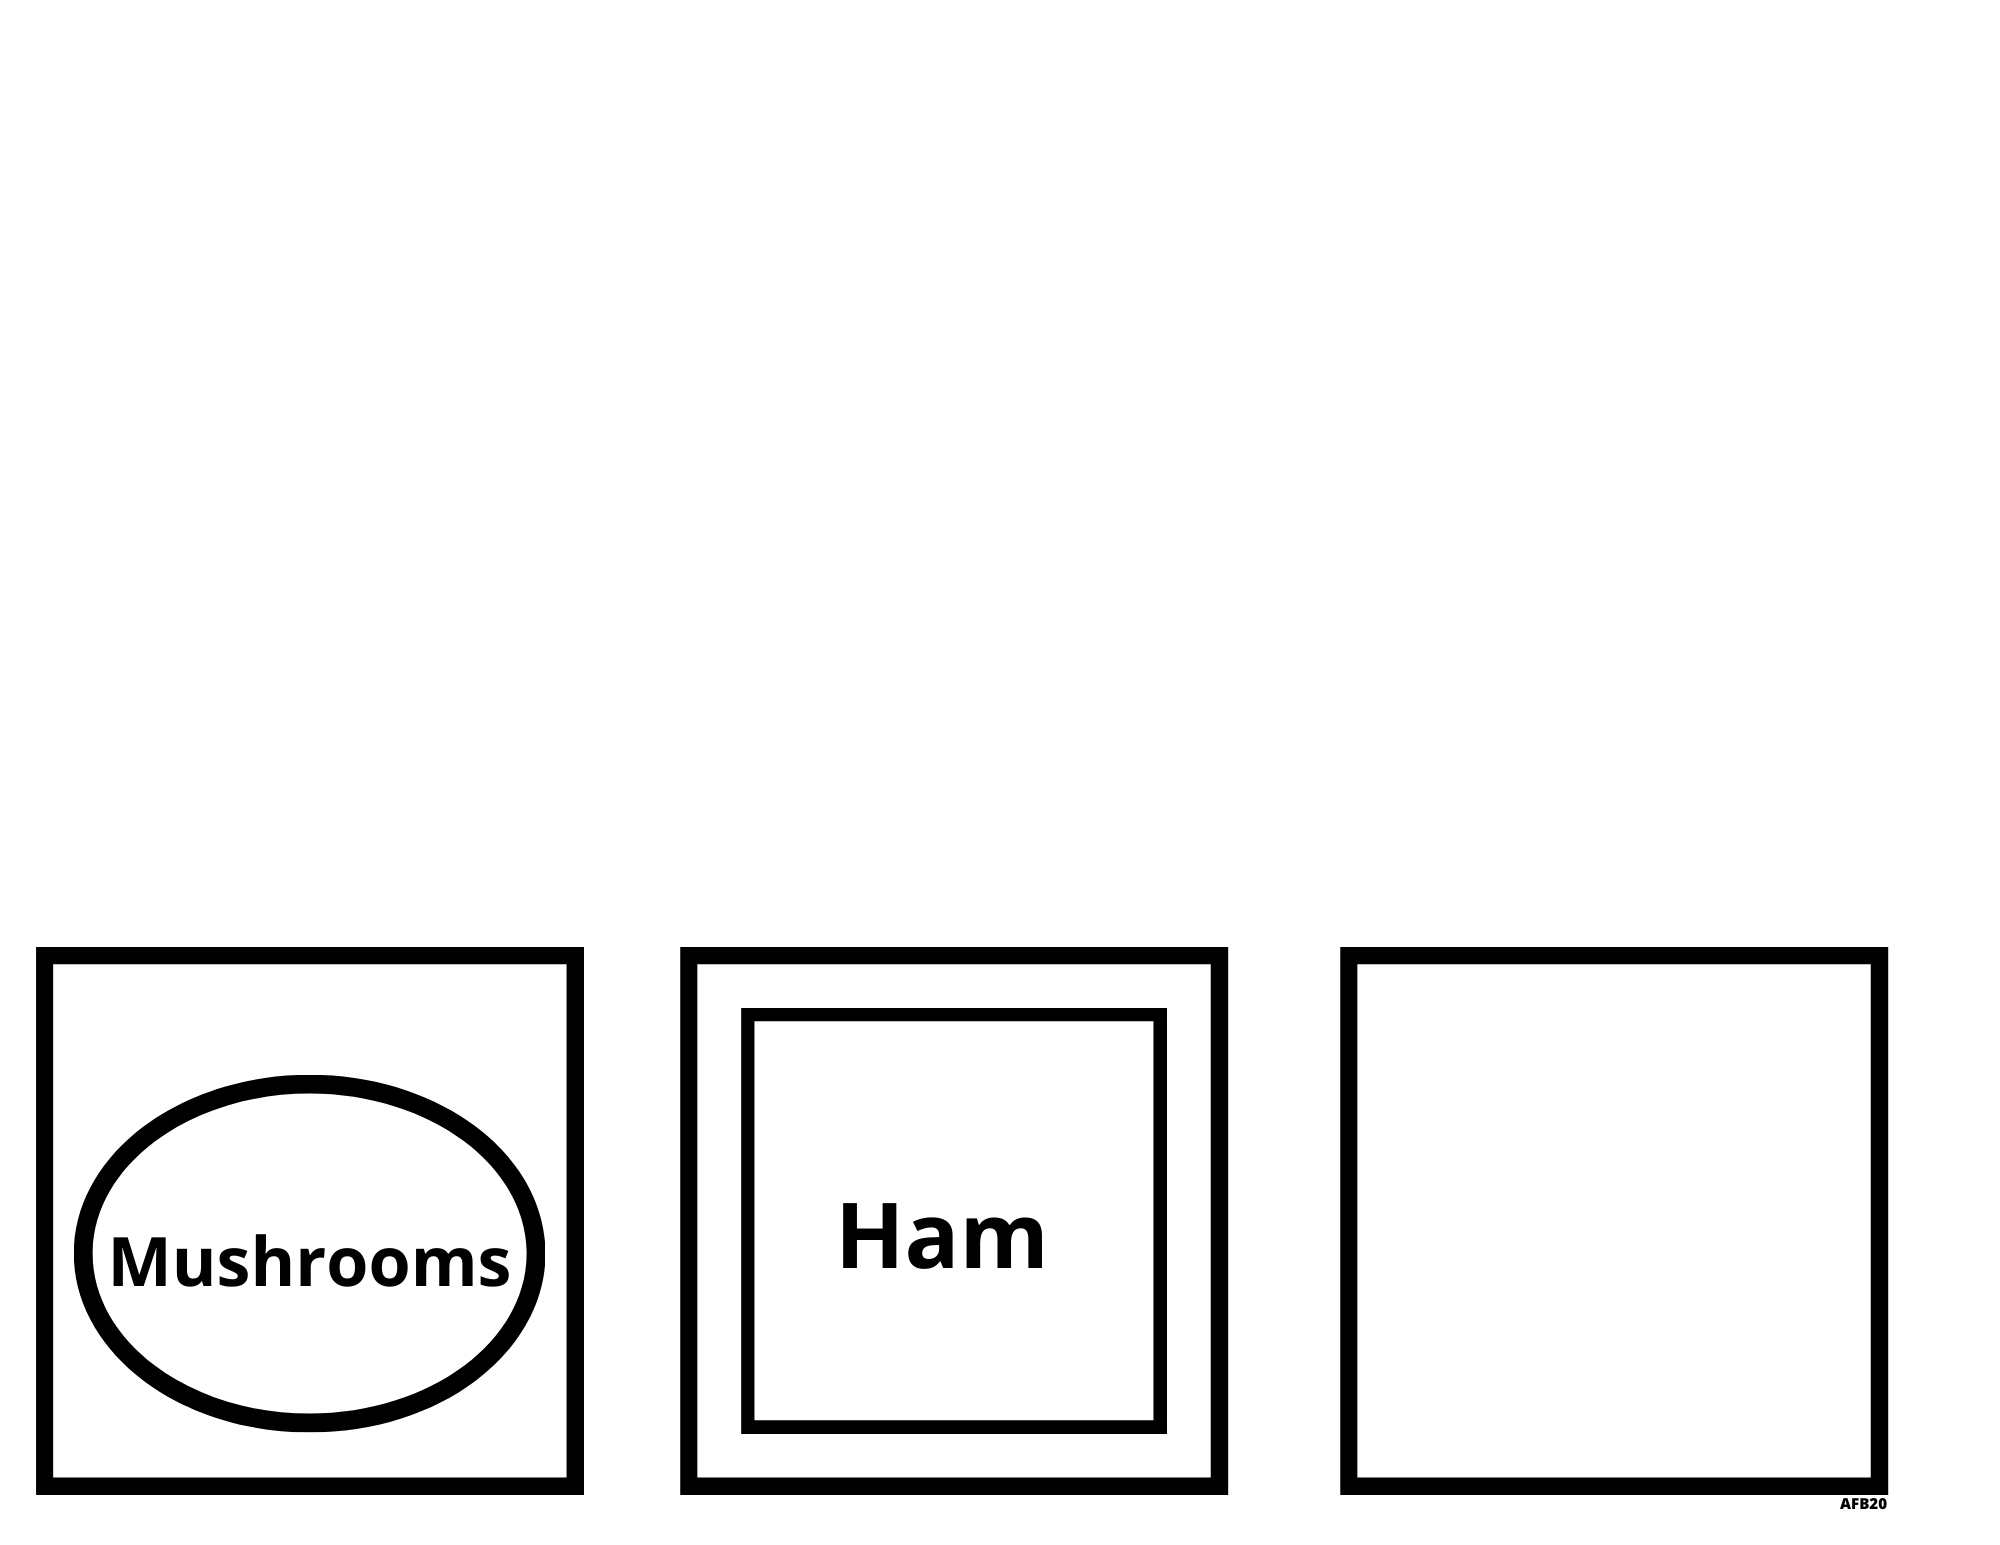
There is an extra label box, to create a topping of your own too.
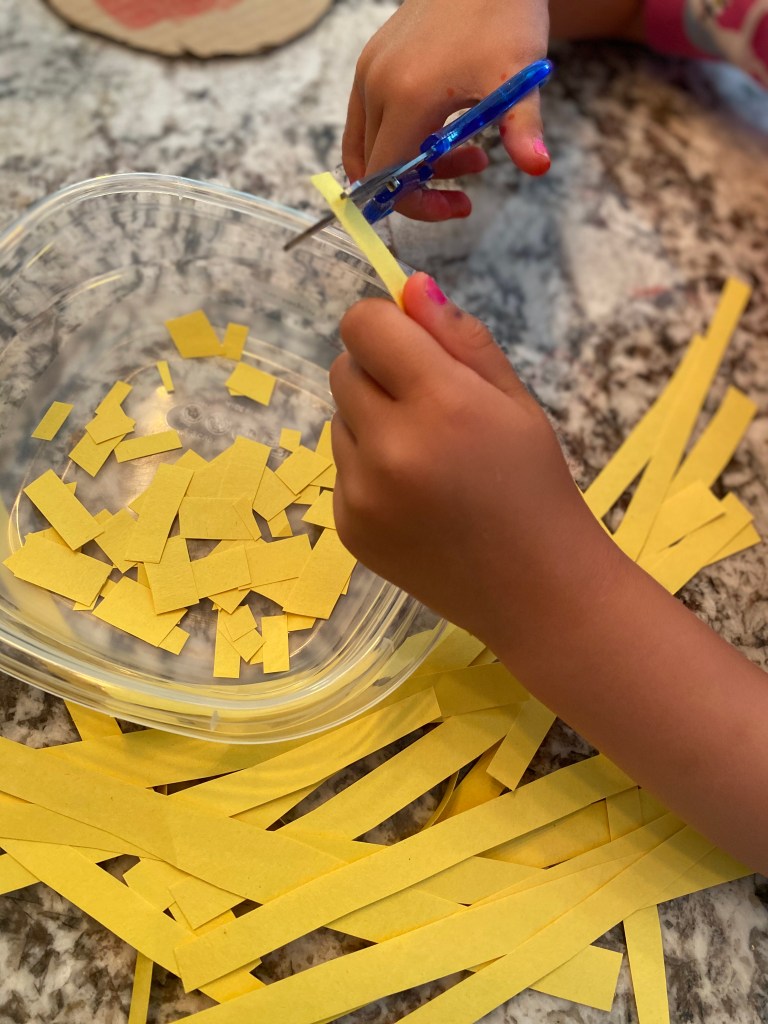
Cheese: What shape and color is cheese on a pizza? Rectangle! Cut the white and yellow construction paper into strips. Once complete, then have your child cut out rectangles from the strips of paper to make the cheese. If easier for child, draw lines to make the rectangles/to cut on line with scissors.

Pepperoni: What shape and color are pepperoni on a pizza? Circle! Trace a small lid several times on red paper to create the pepperoni. Then cut out the circles. We used a plastic milk container lid. *See note under Mushrooms to do quicker.

Peppers: What shape and color are peppers on a pizza? Rectangle? Square? Triangle! Since we already made cheese into rectangles, we are going to make peppers out of triangles. Cut the green paper into strips. Then draw diagonal lines to create the triangle shapes (or a zig-zag line). Then cut on the diagonal lines to create your peppers.
Ham: What shape and color is ham on a pizza? Square! With the pink construction paper, cut strips again. Then cut out squares (very similar to the cheese, just squares now). If easier for child, draw lines to make the squares/to cut on lines with scissors.
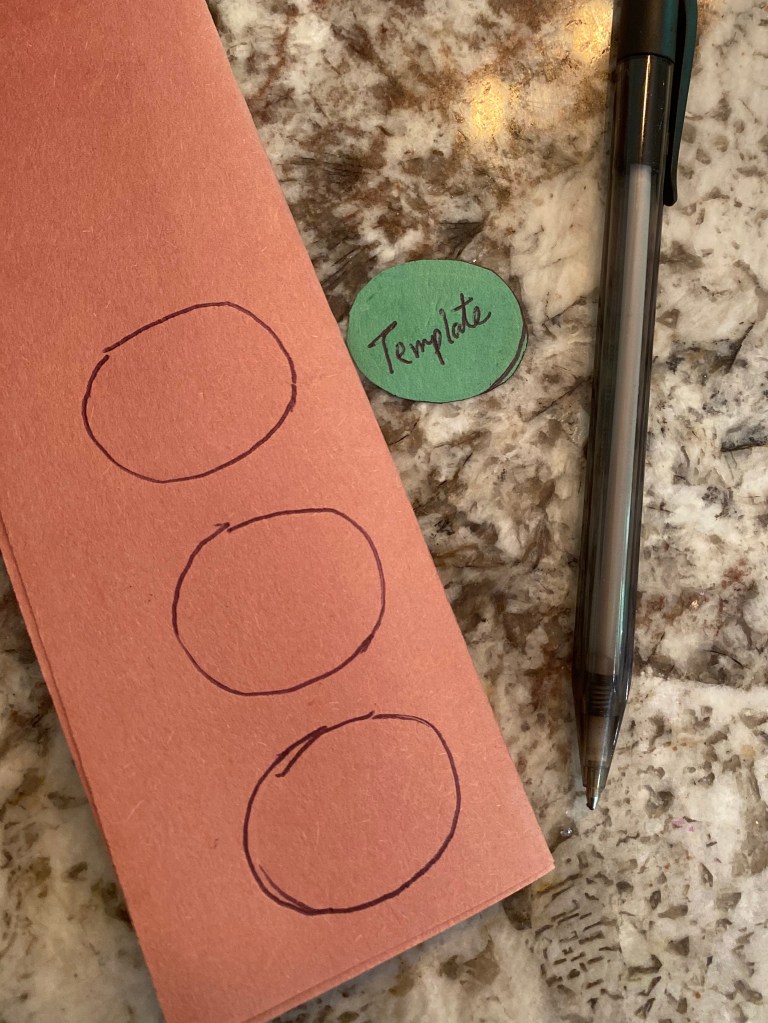
Mushrooms: What shape are mushrooms on a pizza? Ovals! Ovals are the closest shapes to mushrooms (their tops). On a scrap piece of paper draw an oval and cut it out. This will be your template (like the lid for pepperoni). Trace it multiple times on your brown paper. Then cut out your ovals.
You could also cut out rectangles like above for cheese and glue onto the ovals to look more realistic.
*Note: To save time you can fold paper in half, then in half again (fourths). On the top of the folded paper, trace the template multiple times and then cut out (making sure paper stays folded). This can be done with the pepperoni too.

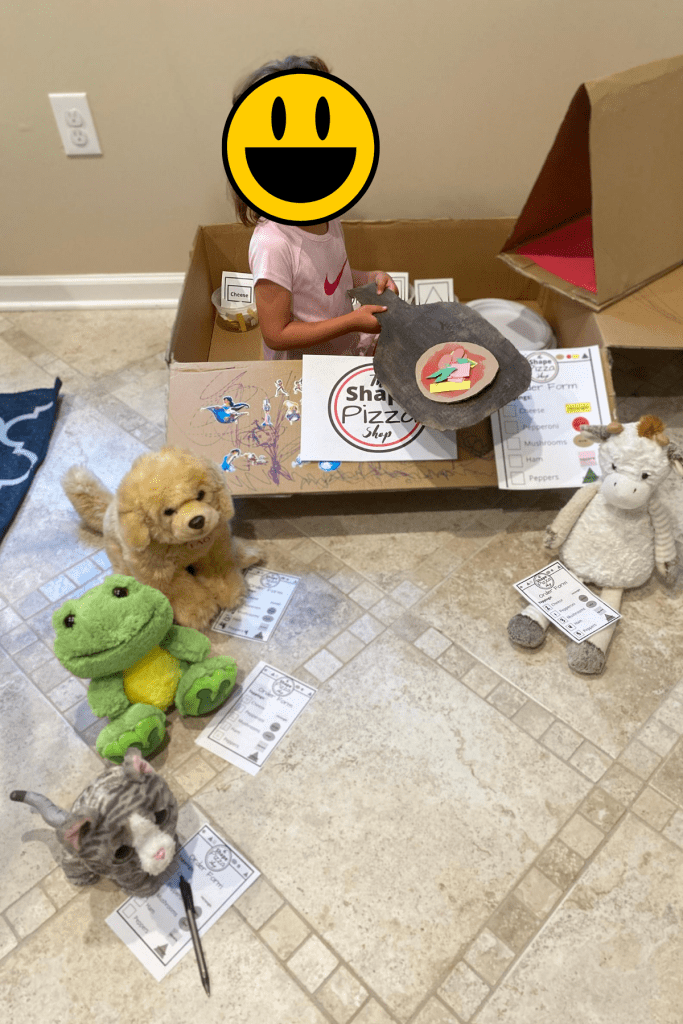
Optional- Pizza Oven: With the extra cardboard we created a mini pizza oven and tray. I cut one of the top sides off the box to use. We drew the tray on cardboard, cut it out, and then painted it black with tempera cakes. For the oven, we made it into a triangle and put red paper in the base to look like a hot over.
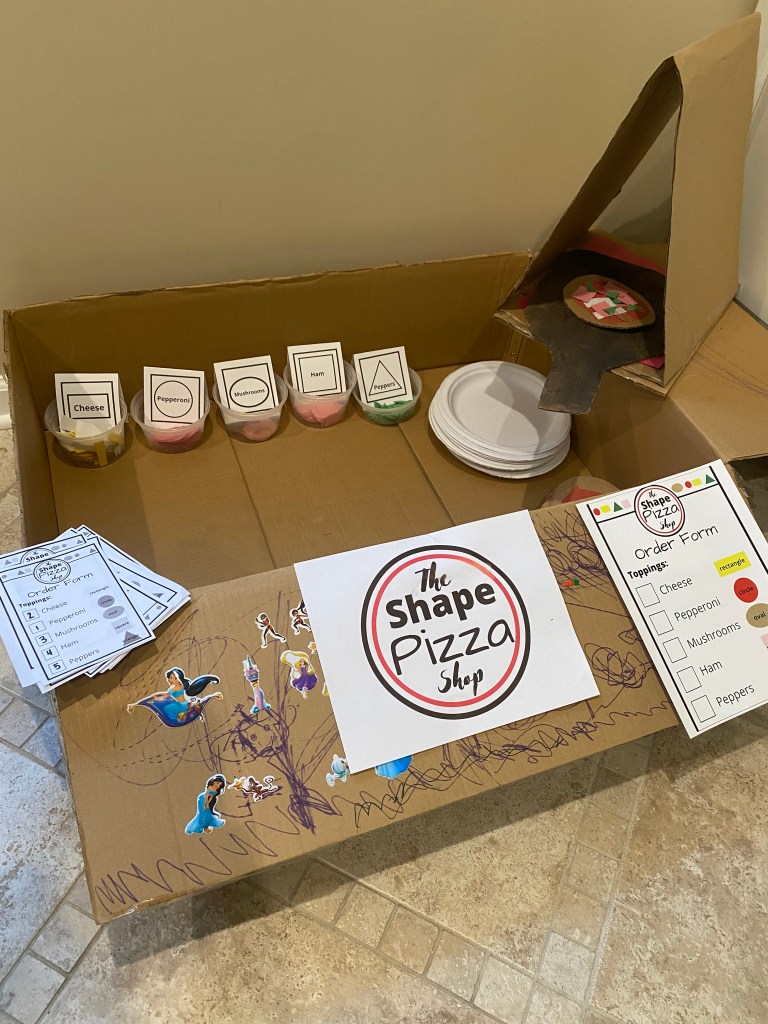
Shape Pizza Kitchen Pretend play time!
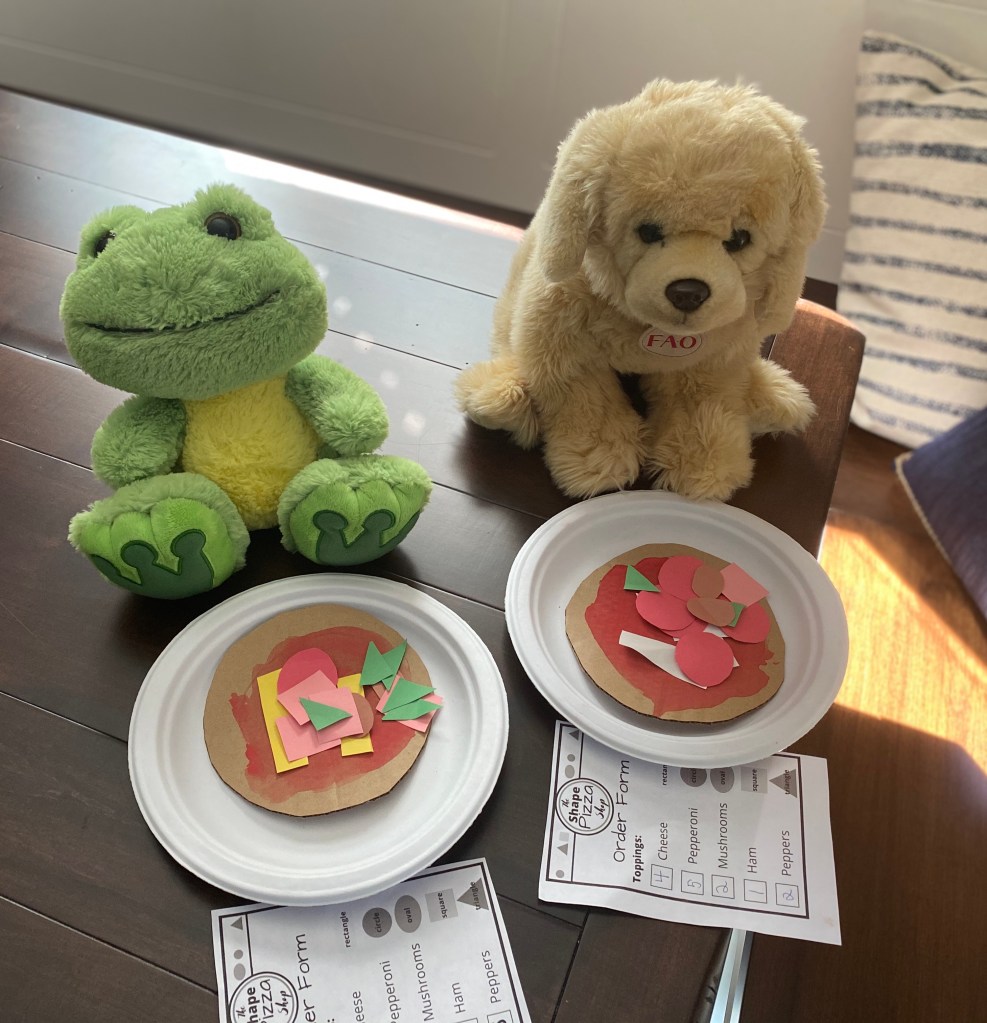
Time to get busy making pizza. My daughter used the rest of the cardboard box we had as the Pizza Shop (see picture below). She decorated the box “to make it look nice”. You can make it anywhere in your house, you don’t need a box.
Print out the order forms above and either have people or stuffed animals fill them out. We have done both. When we played with two other kids, they rotated taking turns ordering and making the pizza.
Younger kids will need more help making pizzas. Start with small numbers (1-5) for the toppings. Have them if able, write the numbers next to each topping on the order form. Once all toppings complete, have them identify the number next to the first topping and what shape/topping it is. Then have them count out aloud the topping, as they add to the pizza. Repeat for each topping. Then place completed pizza in oven.
To challenge older kids- ask them how many toppings total are on each pizza or ask them how many of 2 or 3 toppings total are on their pizza.
Enjoy & have fun creating!
GRAHAM CRACKER FISH SNACK

We love “Surprise Snacks” at our house. Who doesn’t like snacks, especially when a yummy surprise? These are prefect as an afternoon pick me up!
Simple & yummy, make in minutes = win, win!
Ingredients:
- graham cracker (base & crushed for sand)
- white icing
- blue food coloring
- Air Heads Extreme candy
- Swedish Fish candy
Tools: knife, ziploc bag, small bowl, plate
Directions:
In small bowl, mix white icing with blue food coloring. The darker the blue you want, the more food coloring you will use. Begin by using one full graham cracker and cover it in blue icing with knife. I like to use plastic knives with icing. In a small ziploc bag, crush half of a graham cracker up for the sand. Apply the sand on top of the icing (blue water). For the seaweed- cut the green part out of the rainbow airhead. Then cut into different lengths and place on top of icing. Lastly, place your fish in the icing. I used a big Swedish Fish, you can use smaller ones as well, or goldfish crackers.
Enjoy!
BIRTHDAY CAKE COUNTDOWN

Make upcoming birthdays more fun and educational with a birthday countdown.
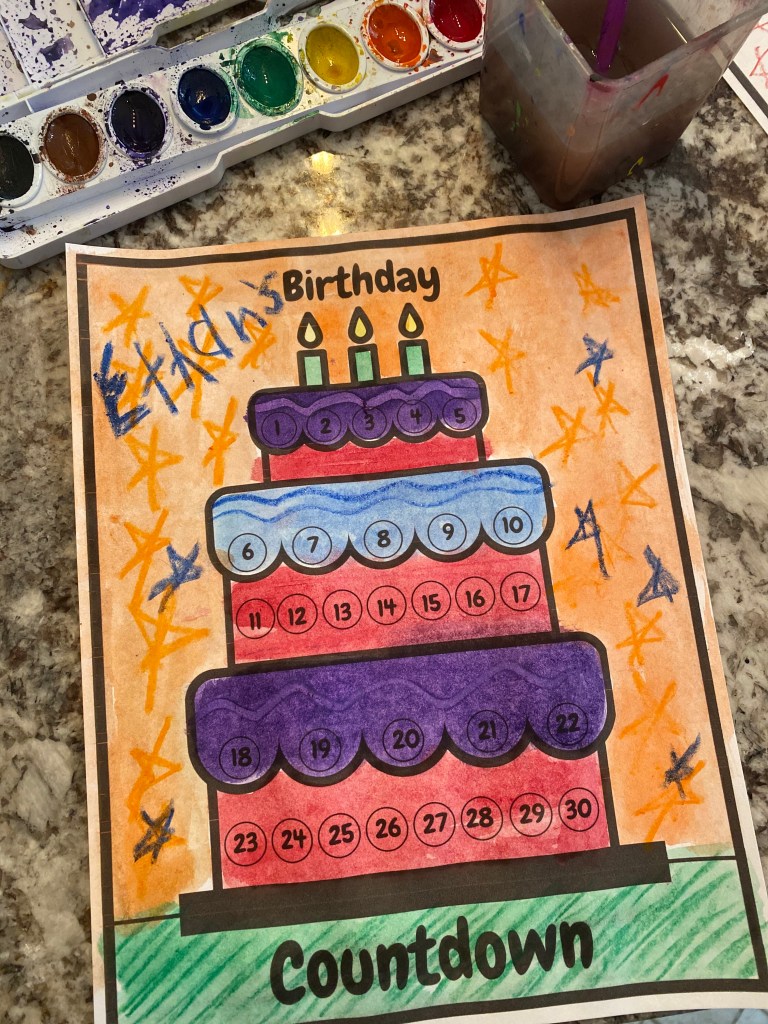
Your child will start 31 days before their birthday and count backwards until they reach day 1. Then on their birthday they will have a completed birthday cake to enjoy/hang up for their birthday celebration.
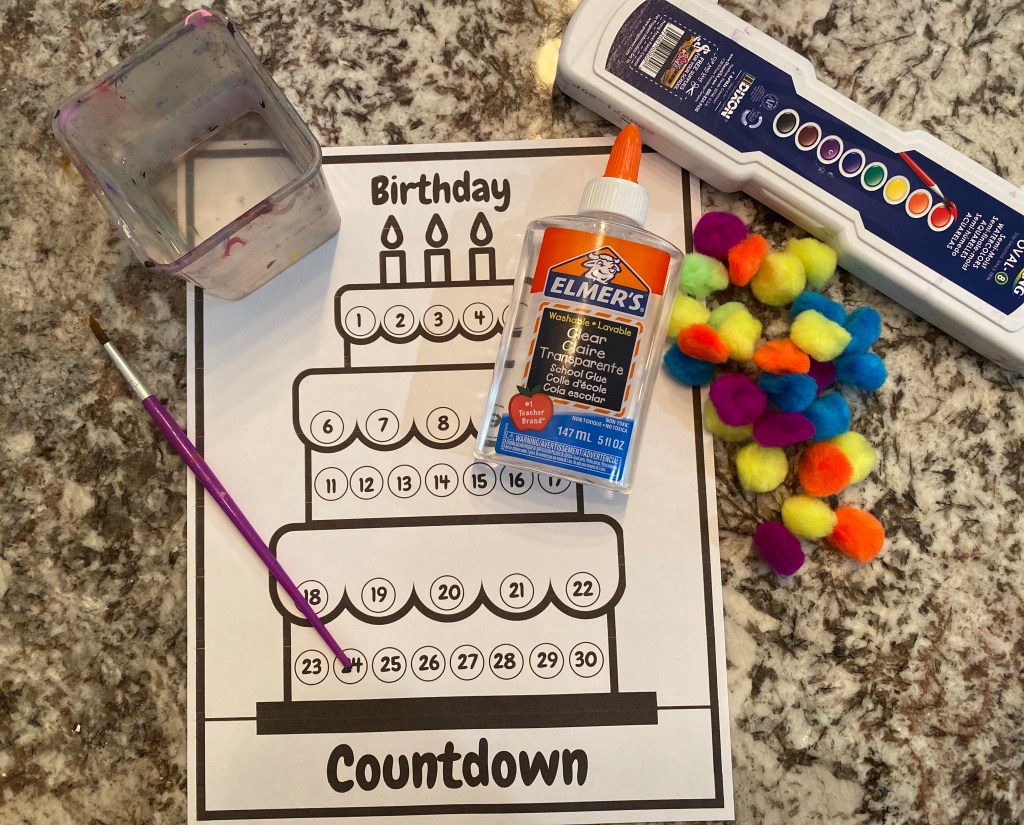
Print cake template on white cardstock. Copy image below or click here for PDf.

Review the numbers on the cake with your child. Having them identify the numbers or if younger you can. Have them start at 1 and count until 30. Then have them count by 5’s and 10’s.
Directions:
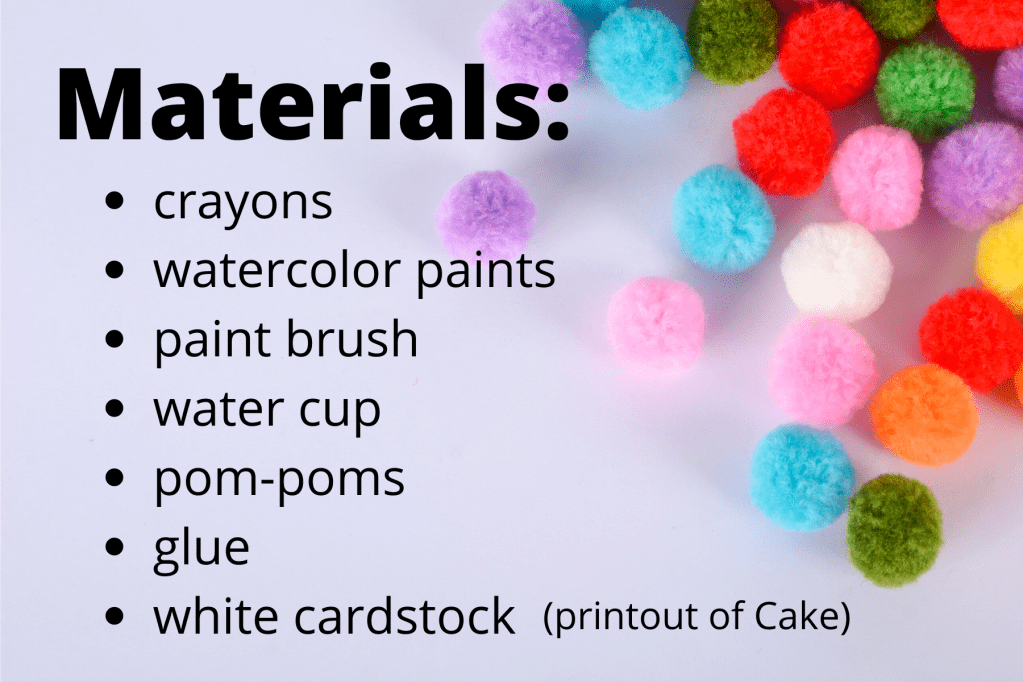
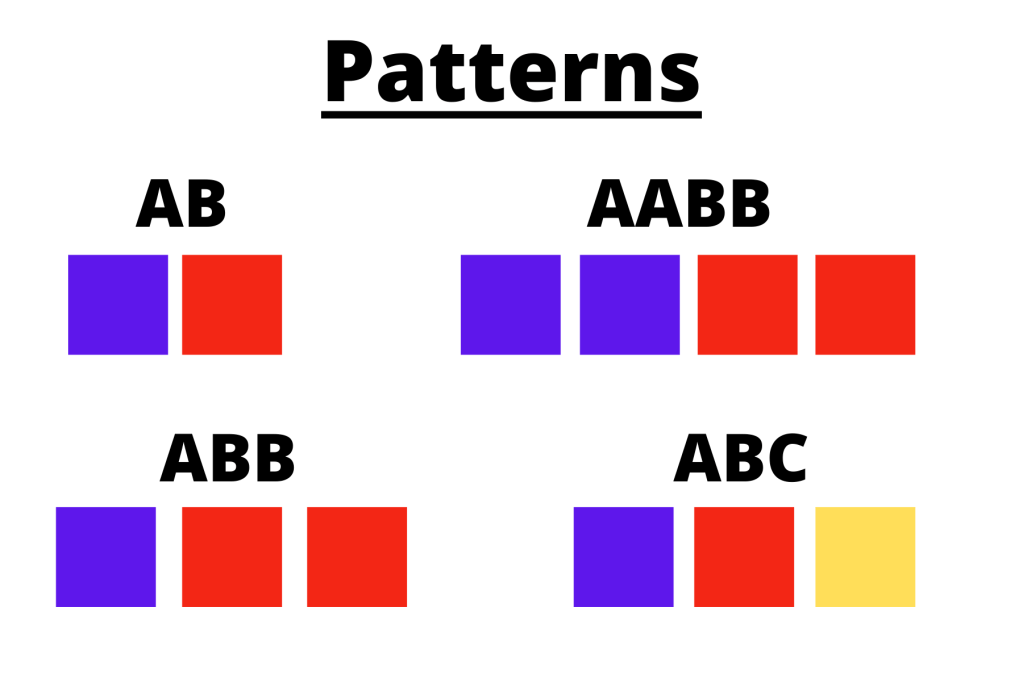
Have your child write their name and color the cake with crayons first. Then have them paint on top with watercolors. You can create patterns when coloring in/painting. Let dry once complete.
On each day of the countdown glue a pom pom on a number starting at 30 and ending at 1.
With the pom-poms you can create patterns, put them in the order of the rainbow (ROYGBIV), or just randomly put them on- whatever your child prefers!
Completed example:
- Please see terms and conditions on the About page. To copy for personal use, simply drag into a word document or onto your desktop. If any questions, comment below or email MATCreate1@gmail.com.
Happy Birthday Countdown !
JELLO PAINTINGS

I love taking things and using them in new ways. These projects were a big hit with the neighborhood kids. Jello is easy to find and cheap = win, win! Let your child’s imagination go wild!
This is a 2 part activity. You can do both parts or just one or the other. The first activity is drawing with crayons/painting with Jello paint and the second activity is making raised images with glue & Jello.
Notes: Best to do this activity outside, because it can get messy & sticky. If doing on a table, place a plastic table cloth underneath for easy clean up (grab at dollar store). Earlier in the day is the best time to do this activity, then it has all day to dry outside.
Materials:
- Jello packets (red, yellow, blue)- label them before begin
- paint brushes
- muffin pan
- hot water
- white cardstock
- crayons
- glue
- plastic tablecloth
Step #1 (Background):
Give each child a white sheet of cardstock. Have them put their name on the back or front and color anything they want their paper. Explain to them that crayons are made out of wax and wax is water resistant. When you paint on top of your crayon drawings, they will not disappear. Once their drawings are done – make the paint.
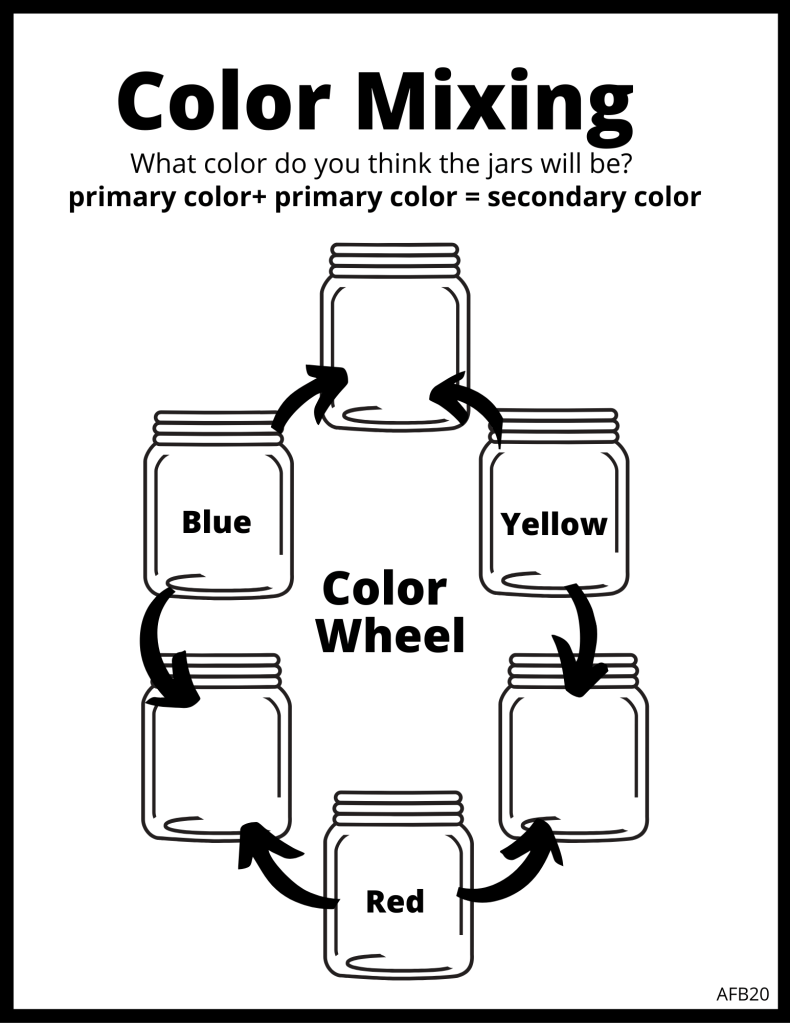
Paint/Color Mixing:
Start by reviewing the primary colors (colors of Jello). Put about 1/4 of the Jello powder packet into one muffin tin. Then add hot water and let them mix it with a paint brush. The more powder you add, the stronger the color. Repeat this for the next 2 colors.
Review secondary colors. How do you make them? In a muffin tin mix 2 primary colors to make the secondary colors (same as above, but with 2 colors). Combinations:
red + blue = purple
red + yellow = orange
blue + yellow = green
There should be 6 colors now (3 primary, 3 secondary). Now, let your children paint their drawings. After they painted their first few crayon drawings, they went back and made more drawings.
Let dry once complete (a few hours). They will be a little sticky due to sugar base in Jello.
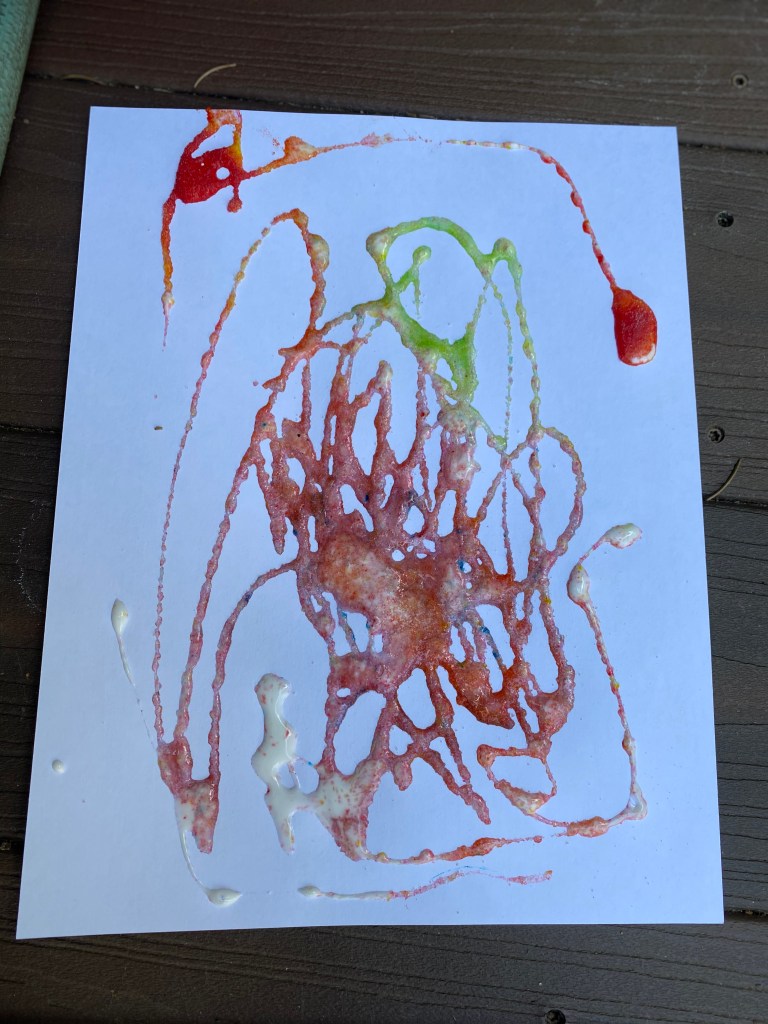
White crayon example background
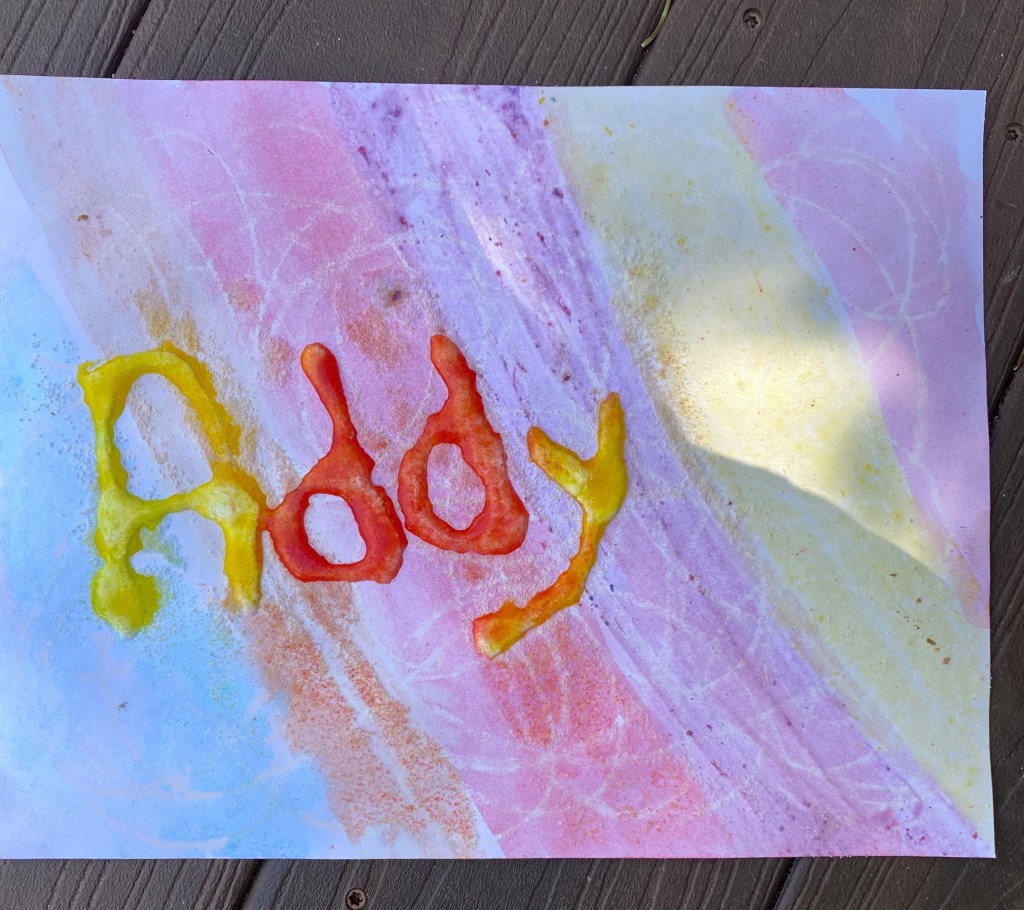
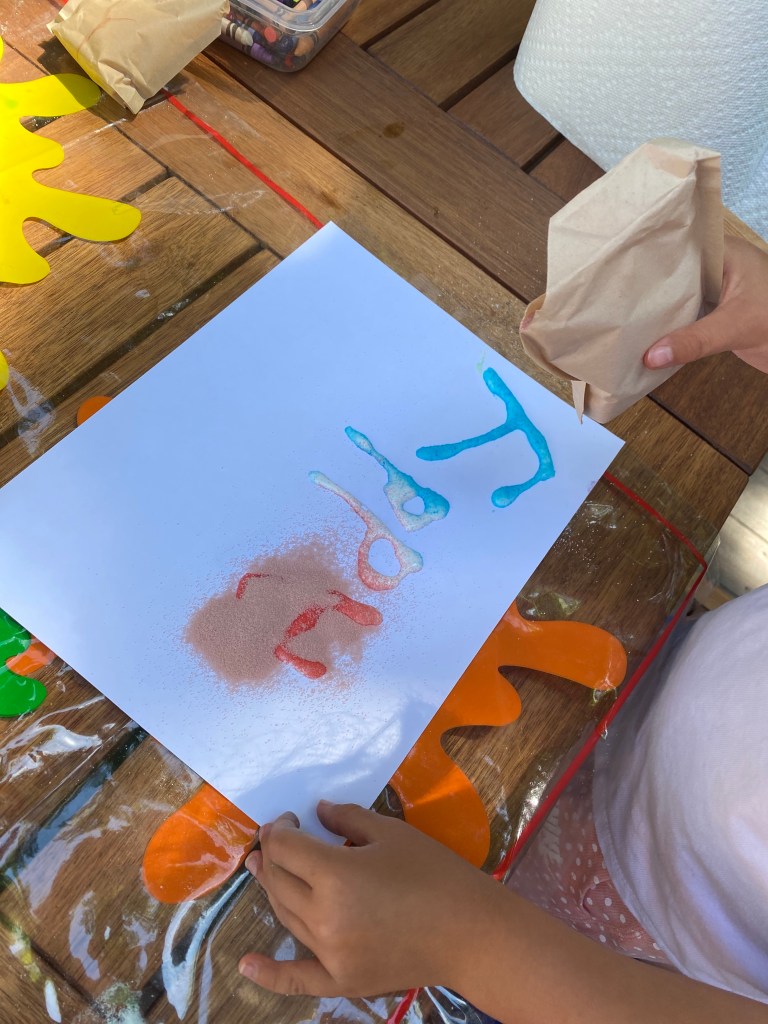
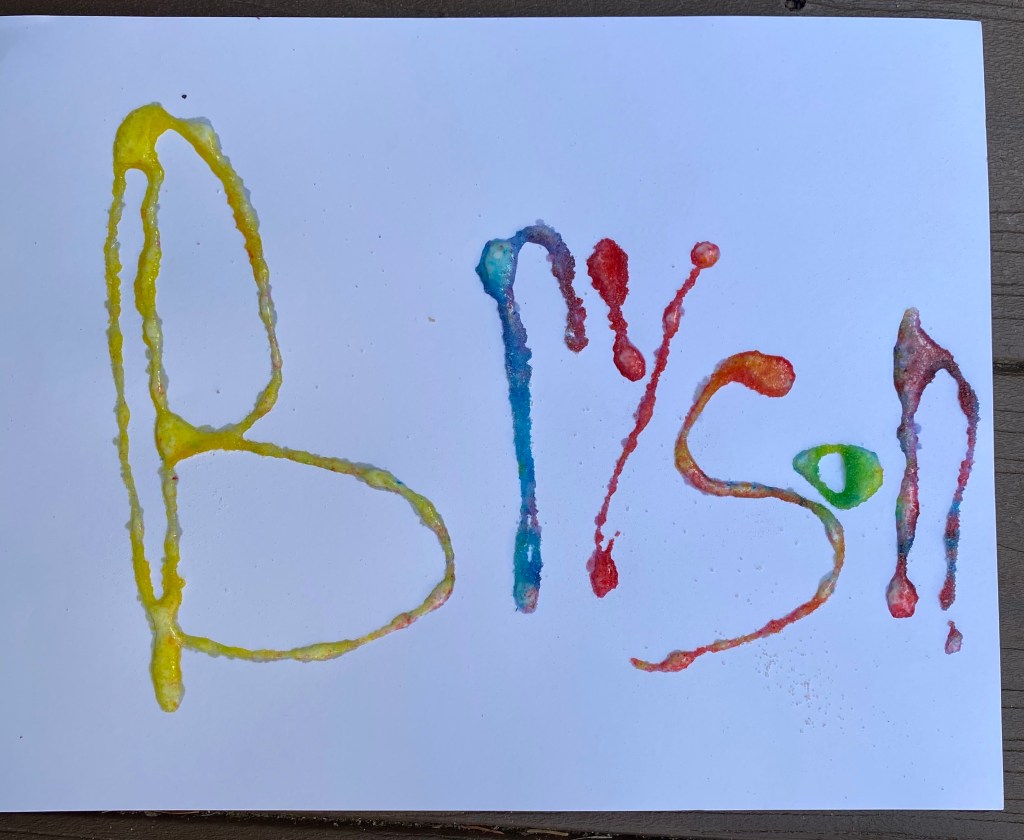
Step #2 (Elevated design in glue):
Once your pictures are dry (you want to wait until dry or the glue will run) draw on top of them with glue. You can do your name or create a design. Younger kids may need help with the glue (adults can do for them). Then the magic happens! With the rest of the Jello powder, sprinkle it lightly on top of the glue. As the powder hits the glue, it changes from white powder to either red, blue, or yellow (depending on what color using). Experiment- use all 3 of the Jello powder packets. Try to make secondary colors too, by mixing powders on top of the glue.
*We tilted our paper to make sure all of the powder got on the glue. If extra powder on your picture place on a clean sheet of cardstock. Then fold in half and reuse on another piece of artwork,.
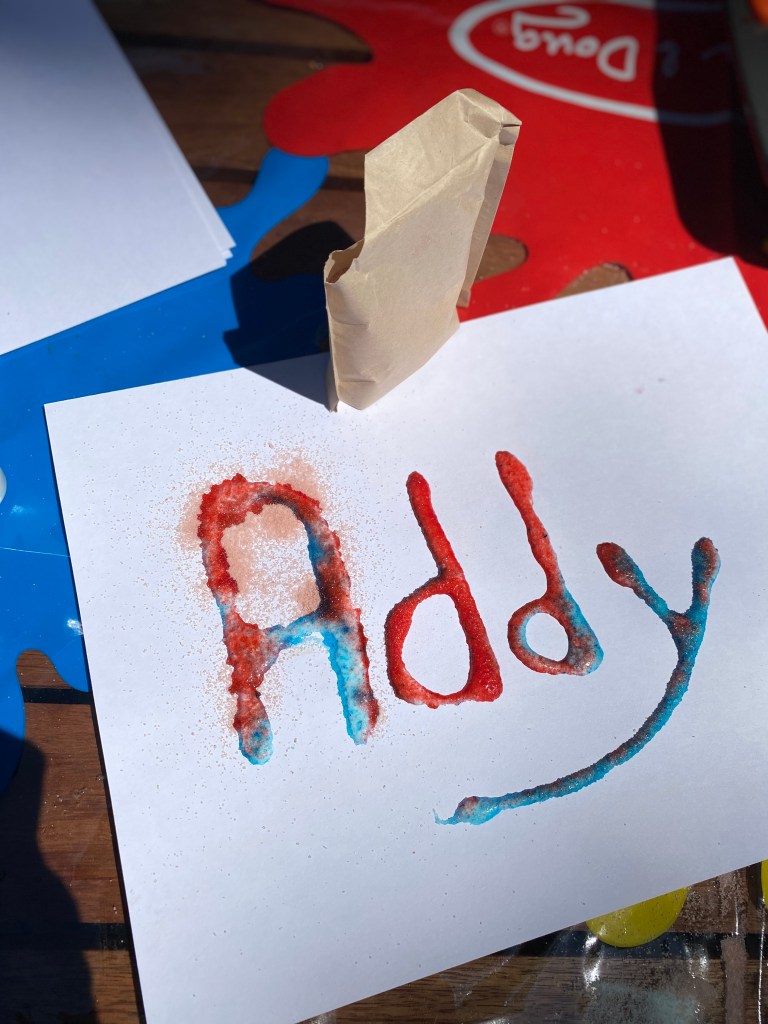

We placed rocks on the artwork while drying, so that they wouldn’t blow away.
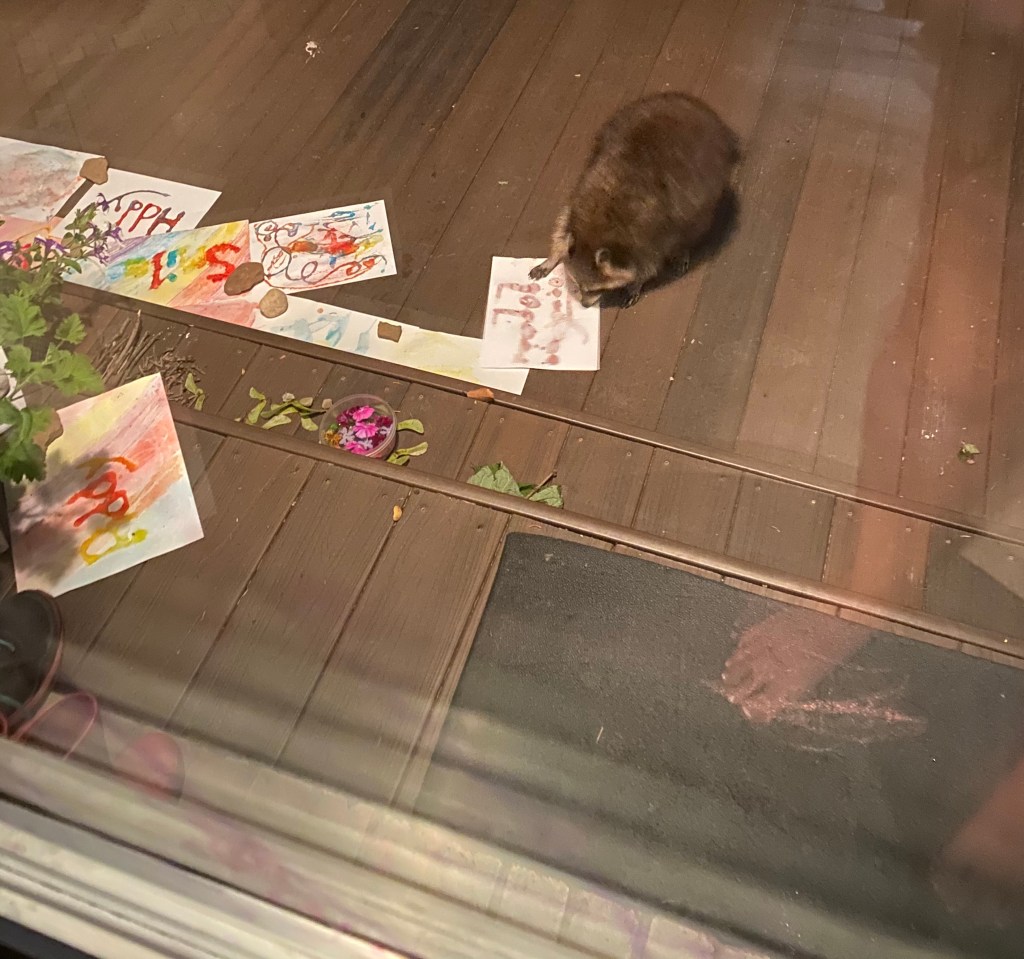
Note: Do not leave outside over night if you live in the woods. The artwork will attract wildlife & you’ll have sugar high raccoons. Lesson learned the hard way.
Happy Creating!
ADVENTURE WITH A CRAYON

This was one of my favorite lessons when teaching & my daughter enjoyed it too. We started out by reading the book Harold and the Purple Crayon by Crockett Johnson. After we read the book, we discussed how she could be just like Harold and go on a drawing adventure. Have your child choose a color of crayon to go on the adventure with. Of course my daughter chose purple too, because it’s one of her favorite colors. Your child will make one big consecutive drawing. We used a white roll paper for the activity.
We found a video online of the book and put it on our TV. At school i would just reread the book. You can do either. Only watch/read a few pages at a time and then stop. There is no right or wrong thing to draw- its up to your child’s imagination. They can draw the same things as Harold or change the story to be their own.
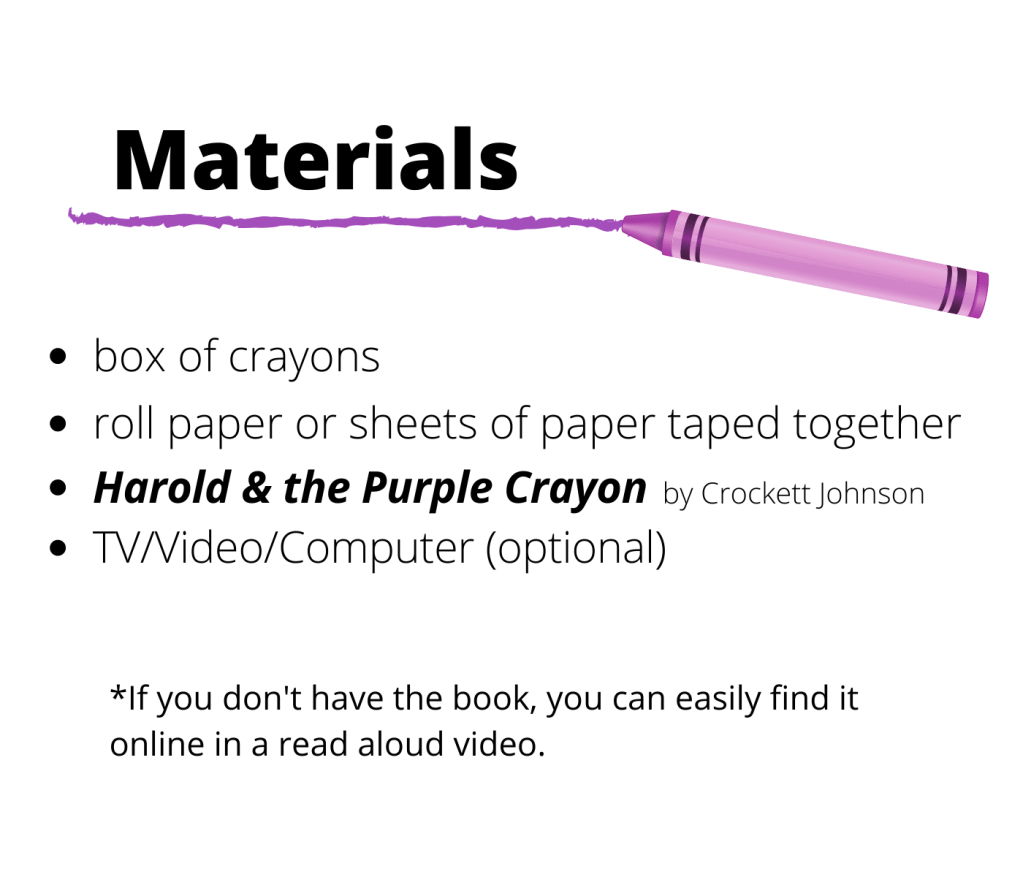
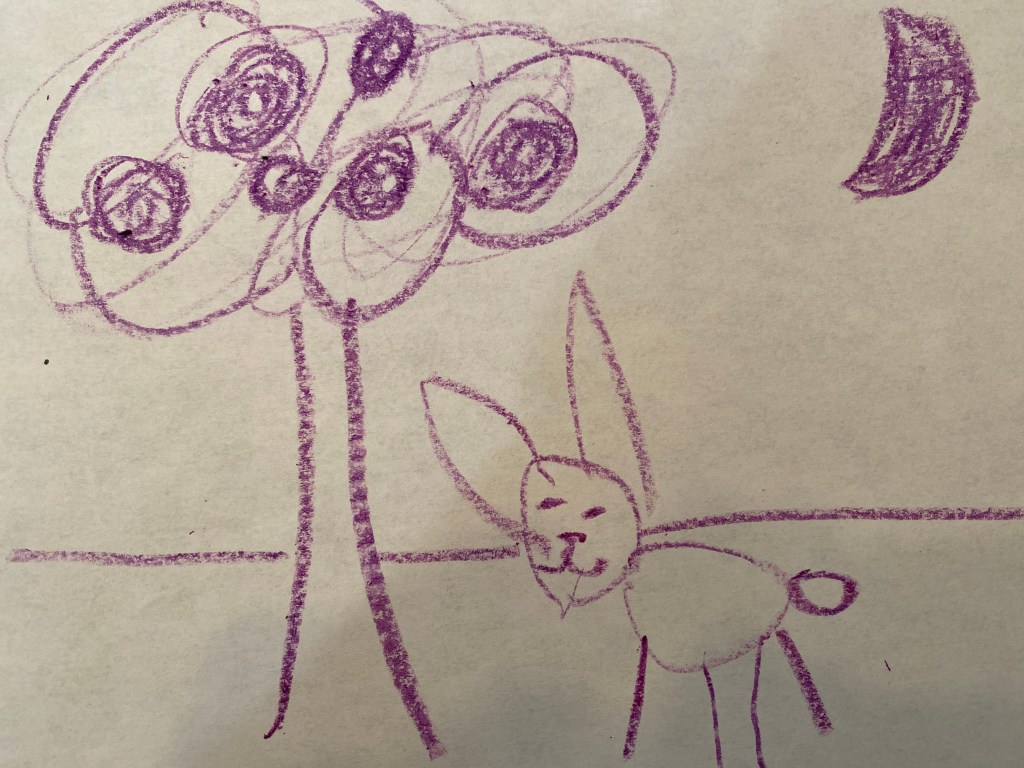
In the book, Harold draws an apple tree and then a dragon to protect it. My daughter chose to draw an apple tree as well, but then chose a different creature to protect her tree- a bunny. The moon follows Harold throughout the book, so she drew the moon in all of her pictures. Another example is Harold made a picnic of pies. My daughter liked the picnic idea, but with pizza instead (see picture below).
Once the drawing is complete, have your child retell their story starting at the first drawing until last.
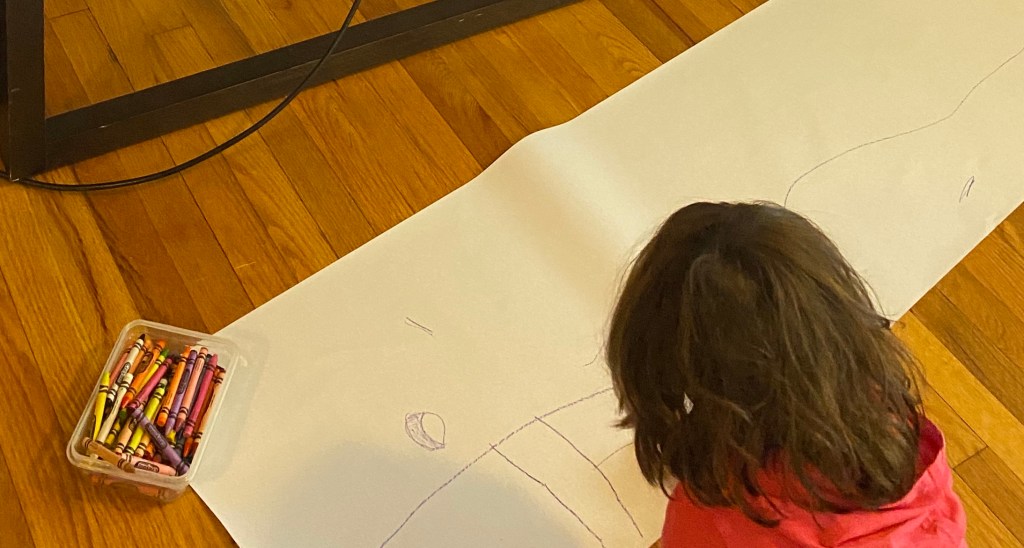
We started at the beginning of the book/ at the beginning of the roll paper and worked our way across the paper as the story went on. Hope your child enjoys this activity as much as we did. Let the adventure begin!
THE FIVE SENSES ACTIVITIES

As an early afternoon lesson we learned about the Five Senses in the neighborhood. My daughter saw something on PBS kids about using your sense of smell in identifying things and has been asking if we could try something similar. So naturally I made it more educational and included all 5 senses. The activity took a few hours with three kids. We had to adjust some of the activity to be COVID friendly. Each family had their own food for the taste and smell activities.

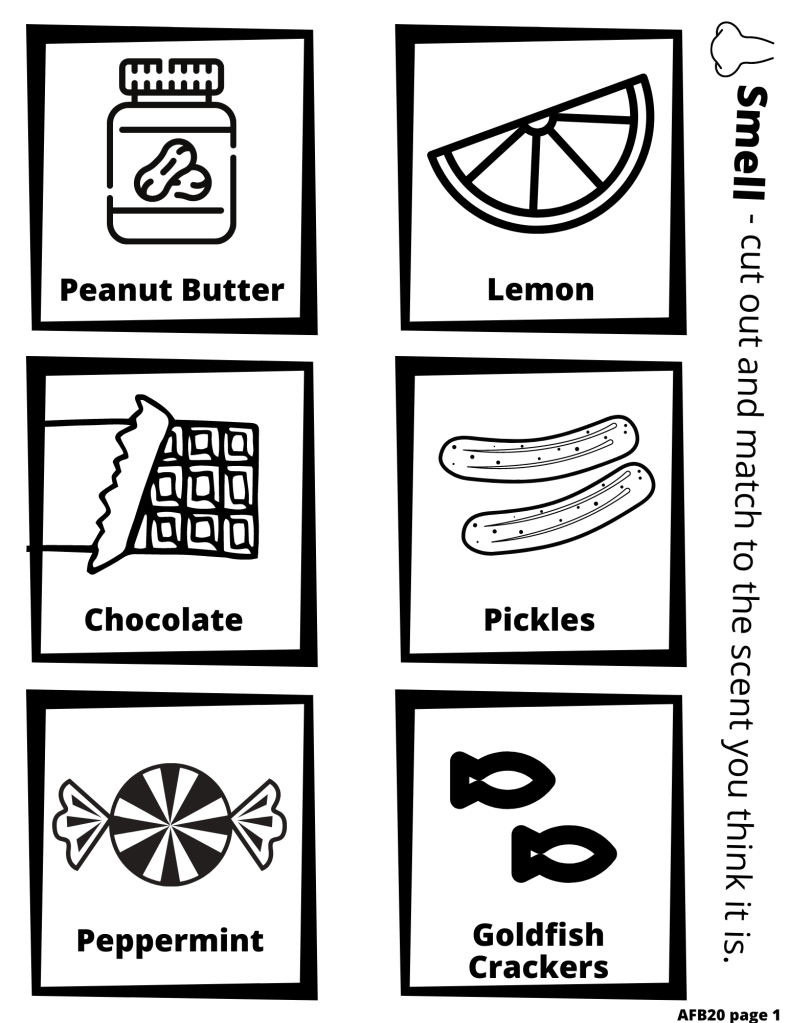
First, we completed the below worksheet. You will need scissors and glue stick/glue. For the younger kids we had to tell them the words at the bottom and asked them what they use to do that word.
Example: Smell, “What do you use to smell?” (nose). Then we explored each sense closer. See below activities.


Smell
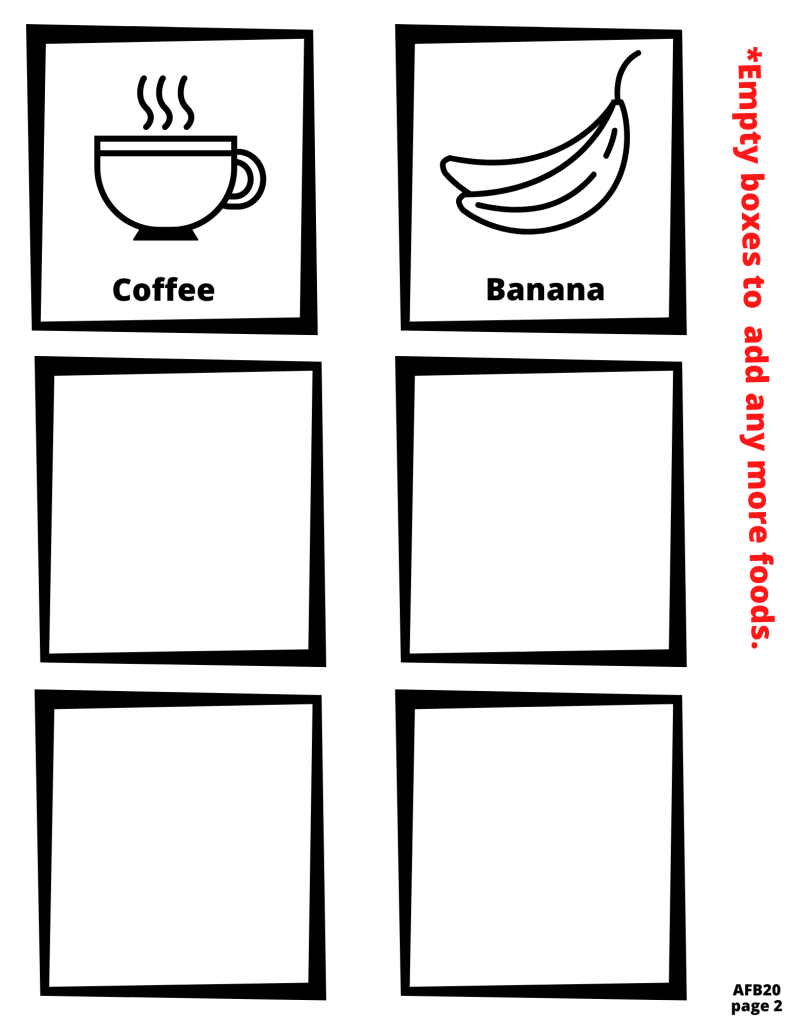
Second, we focused on smell. Have your child cut out the food cards or you can cut out. There are blank cards in case you want to do different foods or additional ones.
I used small plastic containers and covered with tin foil. Then, I labeled with numbers(1-8) and punched small holes through the tin foil. Silicone cupcake liners, dixie cups, or small containers would all work great for this.
As your child smells, have them choose which smell card fits with the smell in the container (see example at left). They might change their minds as they go on.
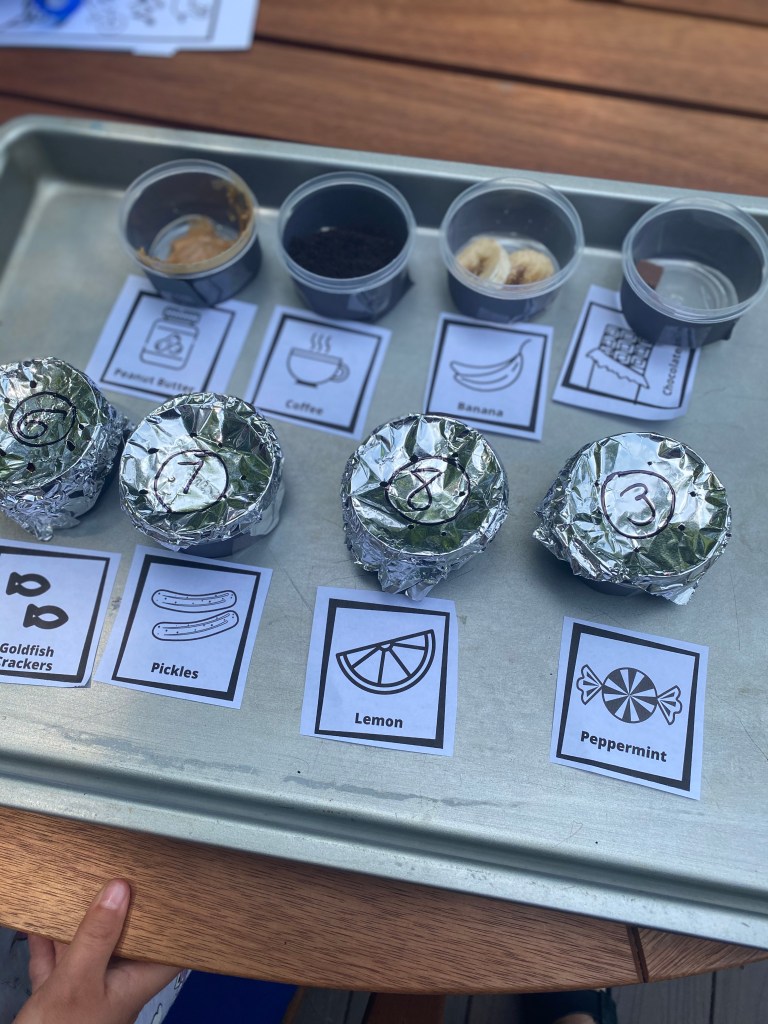
Once all of the scents are labeled, it’s time to reveal whats inside. Have your child remove the tin foil one by one. How many scents were guessed right? wrong?
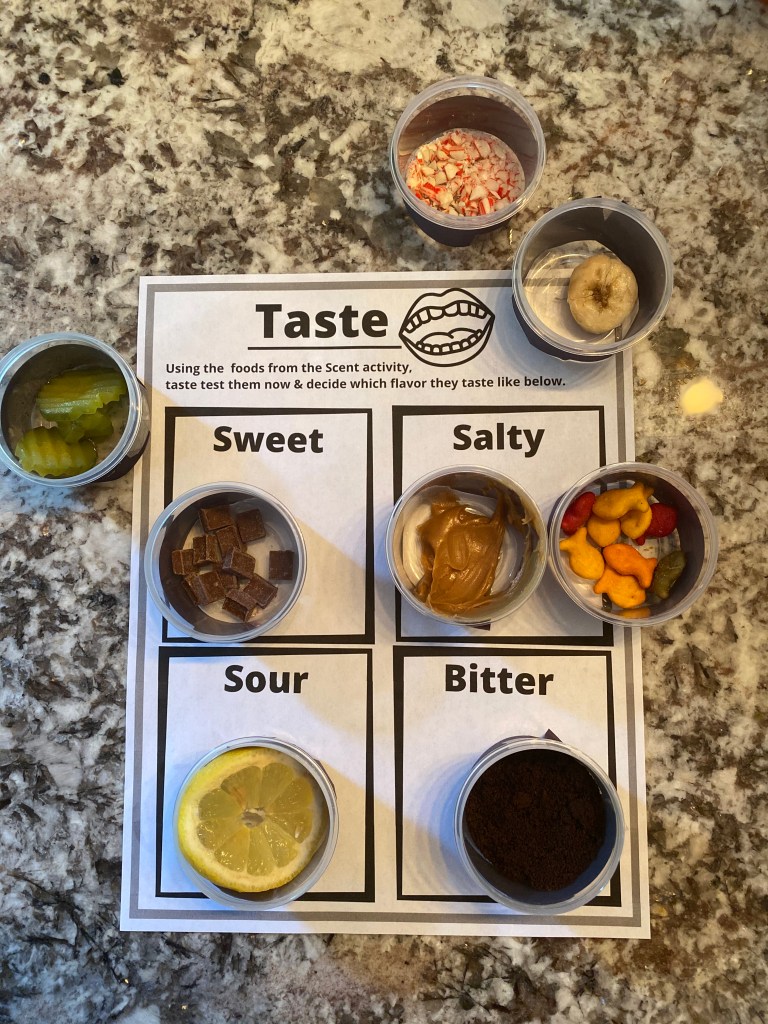
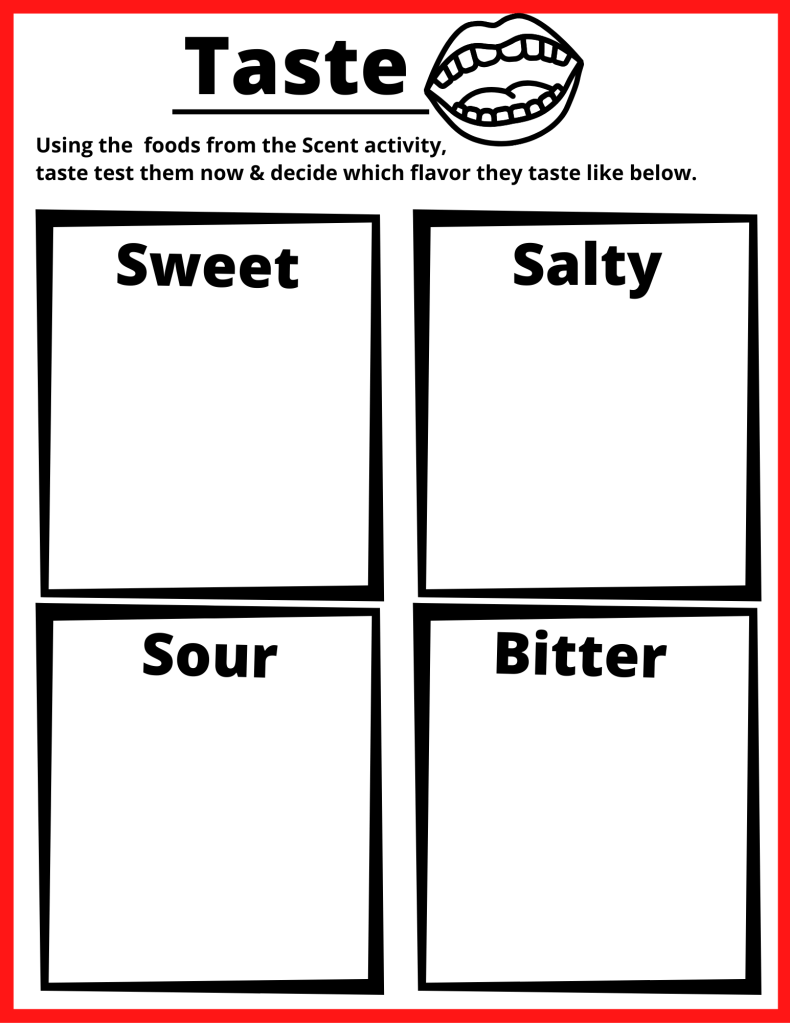
Taste
Third, we focused on Taste. Using the containers with food in them from the Scent activity, complete the Taste activity.
Have your child taste test each food and determine if they fit into one of the flavors on the worksheet. Or maybe they don’t fit into any? What else do they taste like? Spicy? Tangy?
Have them then place the food/container inside the box they taste like on the worksheet.
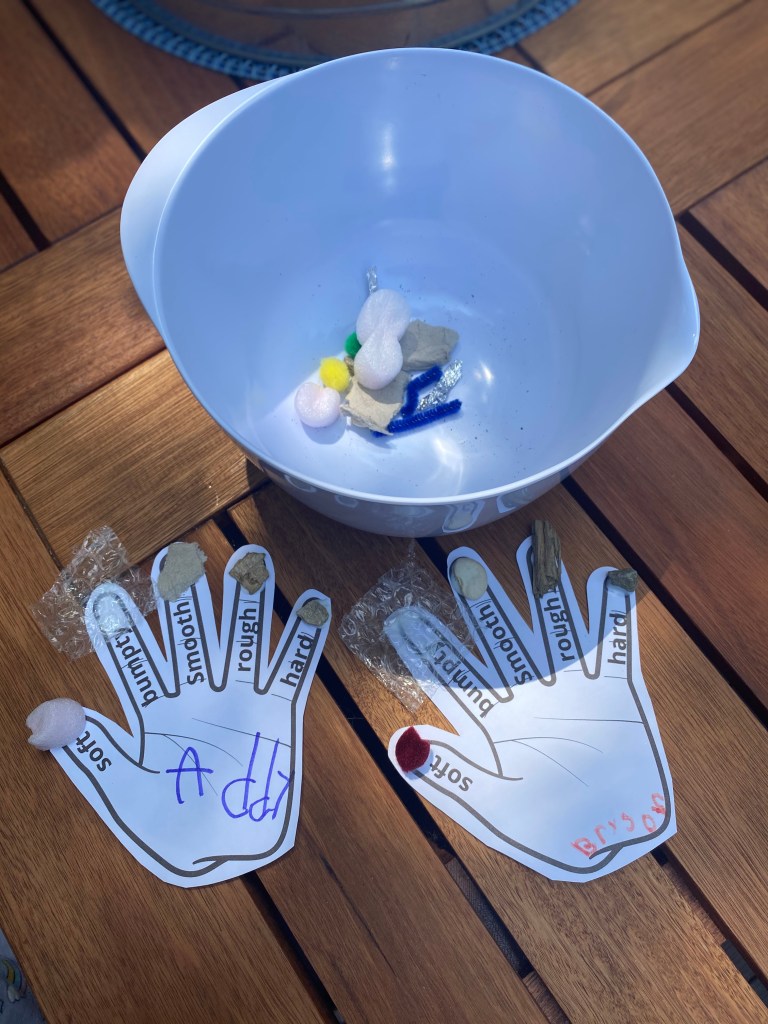
Touch
Fourth activity, we focused on touch. Find an assortment of materials and place into a bowl. Then, have your child explore the materials- describing how they feel. Have them determine what materials feel like the words listed on each finger. How did they decide? What did they use to figure out the texture? (hand)
Examples: bark, cotton balls, pom poms, rocks, packing peanuts, beans (anything you have around the house). The more options you provide, the more challenging.
Review: Texture– the feel, appearance, or consistency of a surface or a substance.

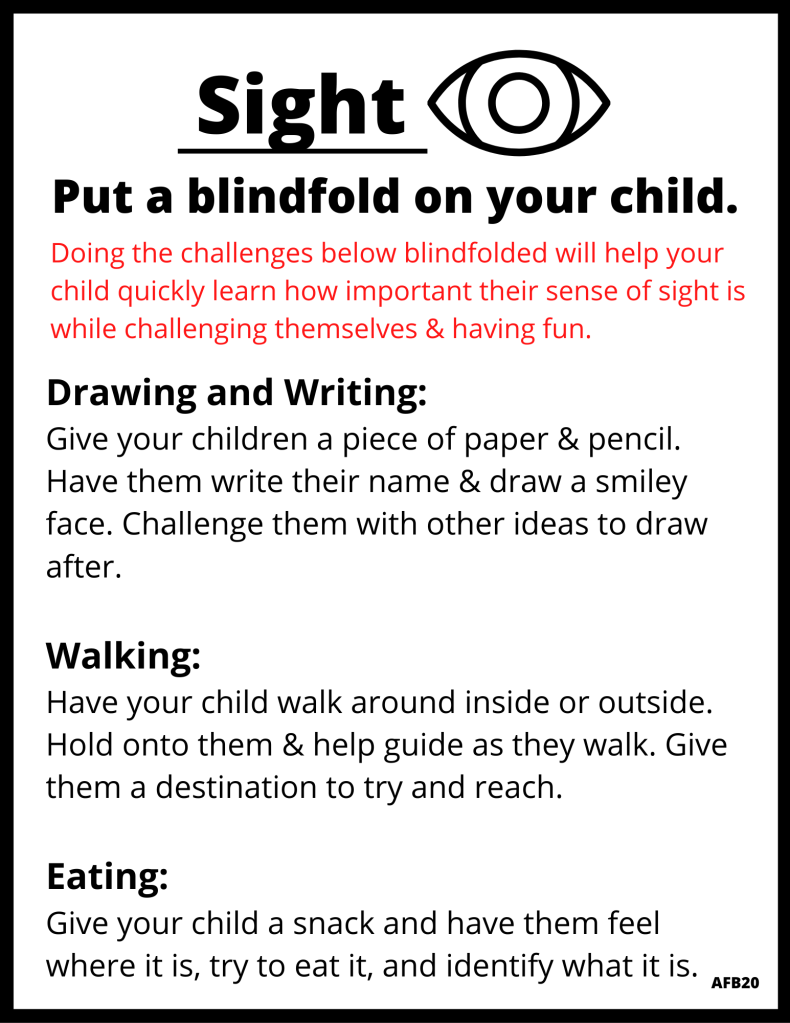
Sight
Fifth activity, we explored sight. Complete the activities below. We used a bandana & elastic cloth headband for our blindfolds.
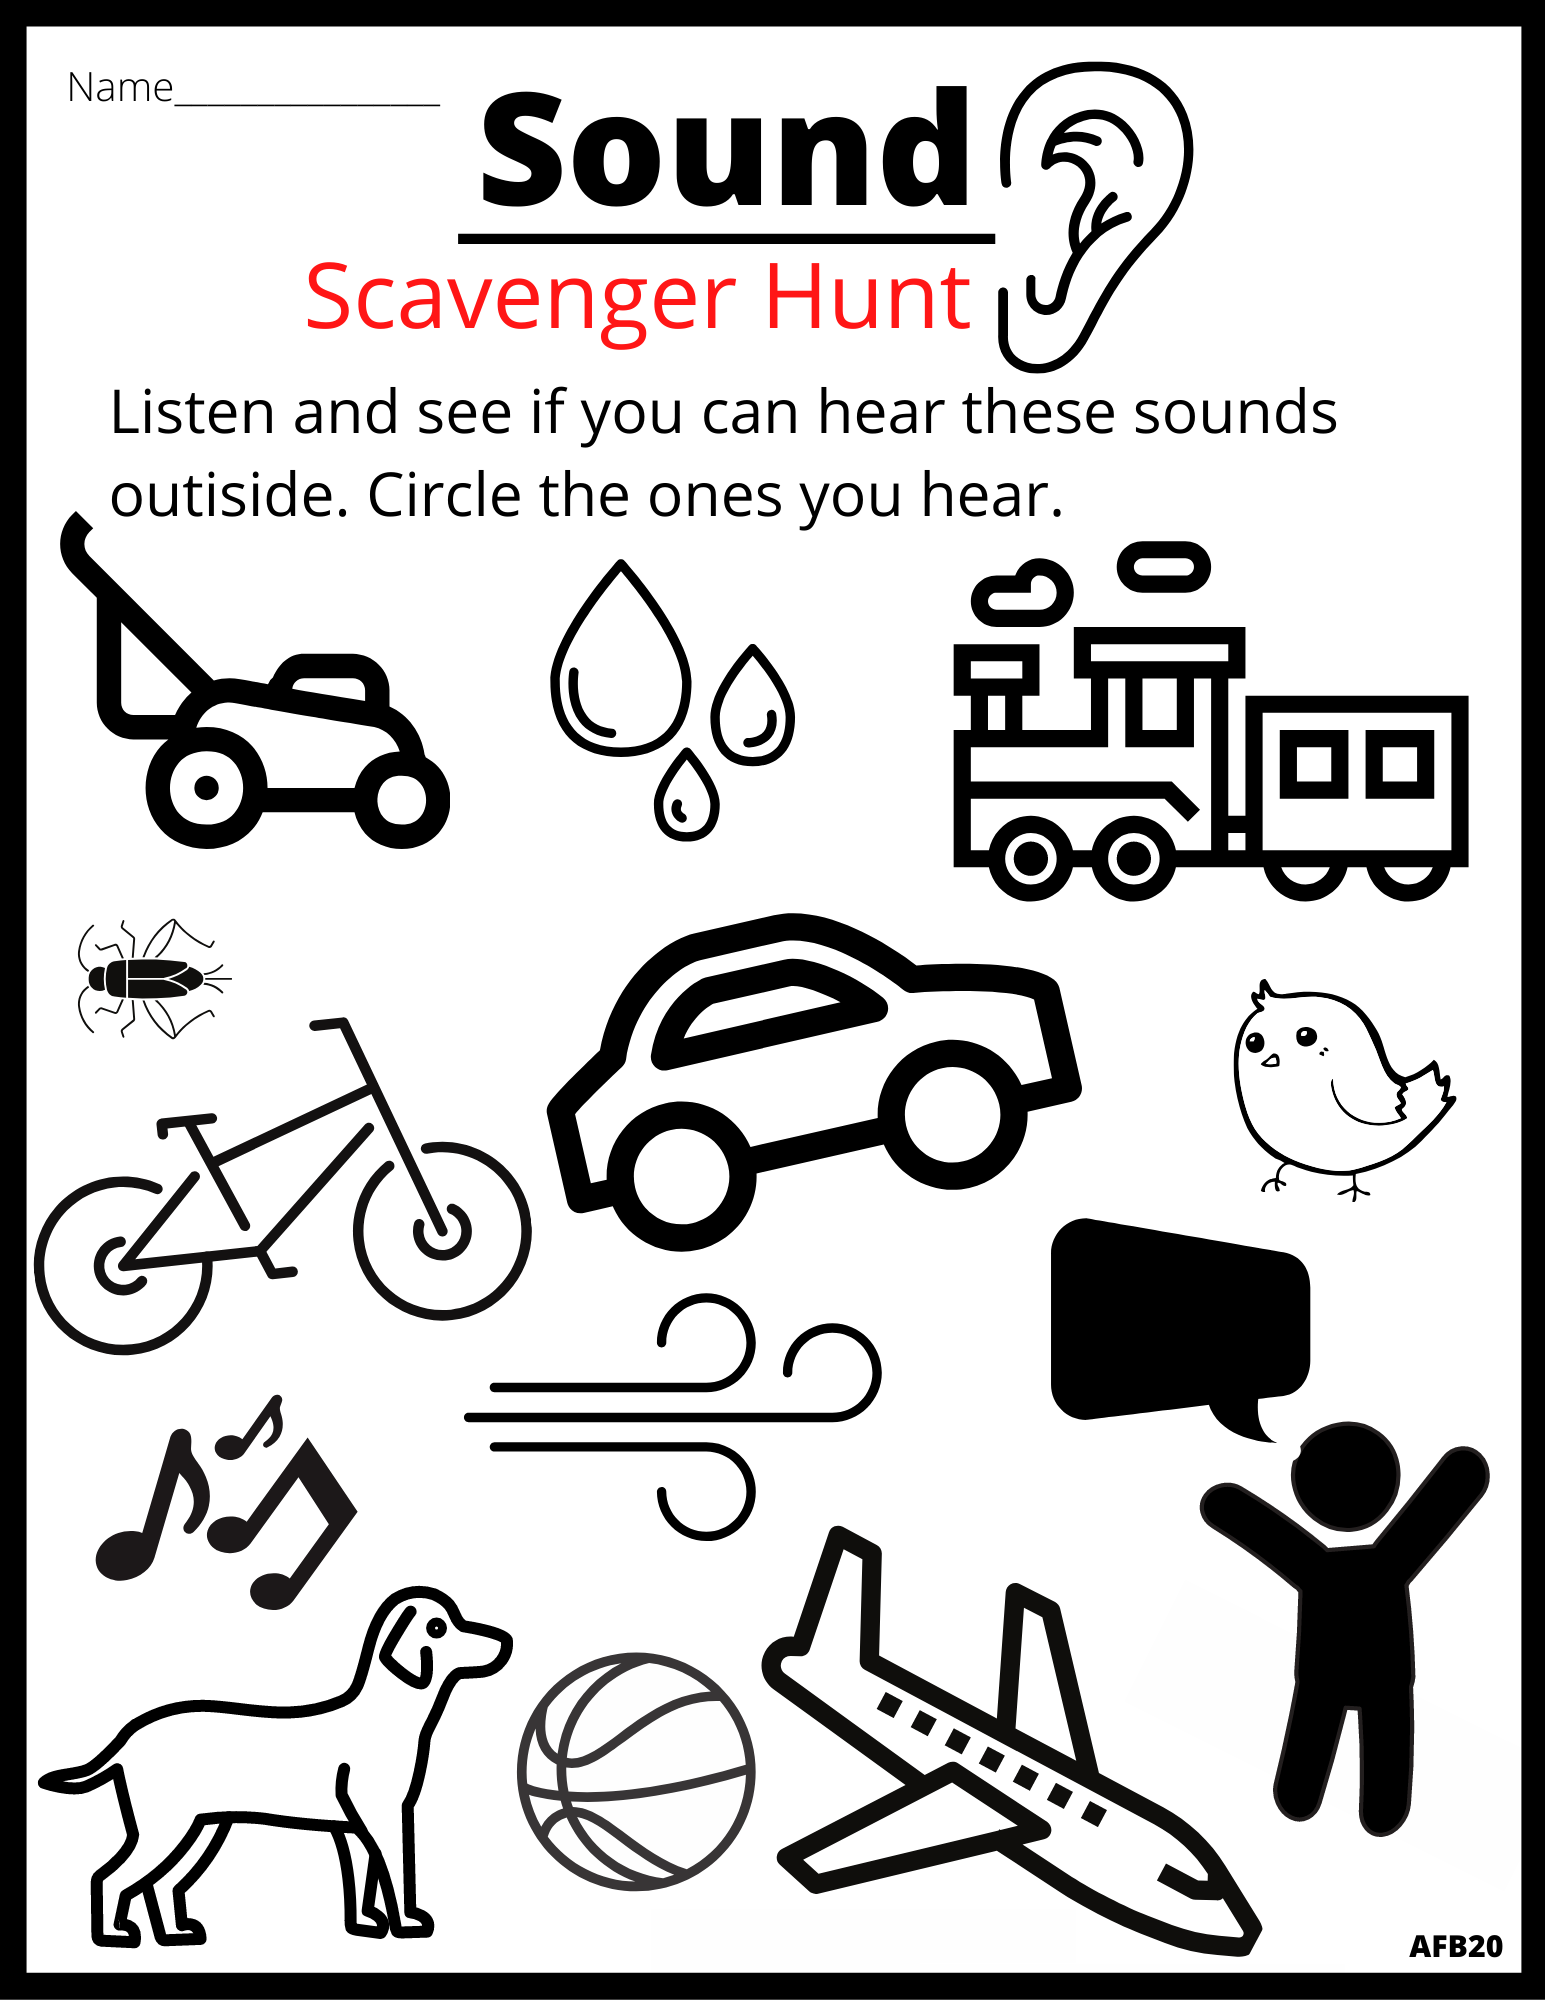
Sound
Lastly, we explored sound. Have your child sit quietly and listen carefully outside. Have them circle what they hear on the worksheet.

All 5 senses have been reviewed! What was your child’s favorite? All three of the kids who did these activities with me, had different favorites. Hope your child/children have fun learning while completing these activities!
- Please see Terms & Conditions in the About page. To copy, simply drag into a word document or onto your desktop. You may also click the buttons above each page to open in new window & print.
- To save paper for multiple children, print 2 per page (except for the flavor page).
RAINBOW COLOR MIXING

Rainbows are very popular right now at our house & seem to be everywhere else as well. We have done several rainbow activities. In these rainbow activities I incorporated the color wheel (see handout). To create our “Walking Rainbow” we started out by talking about the 3 primary colors. We placed red-blue-yellow each in one cup. We then placed empty cups between them. We reviewed the color order of the rainbow. Then she had to guess what colors would be made by combining the two primary colors in the empty cups. She then realized the connection between the colors of the rainbow & the color wheel.

In this activity we reviewed again the color order in a rainbow and then found the markers we needed to draw a rainbow. She then put the markers in rainbow color order before we began to use them on the paper towel. We also reviewed primary and secondary colors. I pointed out how the rainbow has an AB pattern in it- primary color- secondary color (repeated).

These are two great color mixing activities. I would do these activities on different days, since so similar. Plus doing a few days apart would be a great review. My daughter enjoyed the “Grow a Rainbow” activity the best because it had the fastest results.
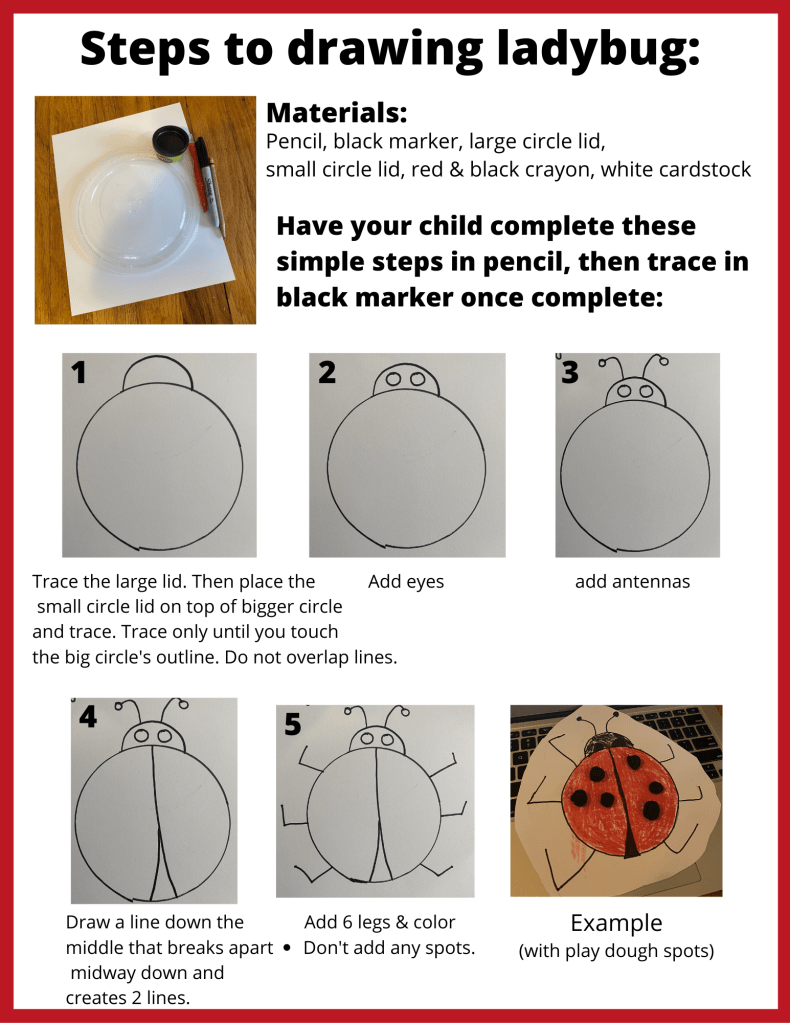
LADYBUG DRAW & ADDITION

This activity introduces basic addition and even/odd numbers in a creative fun way. The materials needed are basic, so hopefully you already have them at home. First your child will get to make a ladybug by tracing lids found in your kitchen cabinets (see directions below). Then they’ll color it in (practice coloring). We chose to make ours red, but it can be any color. Lastly, they’ll be given a number and use play dough balls to create the ladybug’s spots.
After our ladybug was complete, we took out a container of black play dough and made several round balls. These were used for the spots on the ladybug. *Play dough can be any color (use whatever you have).
I then got out my computer and googled “number generator”. I chose to have the numbers 1-10 generated. For older kids, you can choose larger numbers. After she solved one number, we generated another number and continued on until we did them all. If a number repeated, then it was a good review.
Once we got a number, she got to work counting out the black play dough balls. We did this two different ways. You can try both with your child or pick one that you think will be easier. My daughter preferred the second option.
Option #1: Example- generated “6”. She counted out 6 play dough balls, put all of them on one side/half of the ladybug. Then one ball at a time, she would put on the other side of the ladybug until there was an even amount on both sides. After she moved every ball, we would count to see if even. If she could place an even amount of balls on both sides, then it was an even number. If she couldn’t (had extra balls), then she knew it was an odd number. Then we counted each side and discussed how 3 +3=6.
Option #2: Example- generated “7”. She counted out 7 play dough balls. She then placed one ball on the left side of the ladybug and then one on the right side and repeated until all of the balls were gone. She determined if even or odd- same way as above. We counted each side again and discussed how 3 +4=7.
By the end she was very proud of herself for “adding” numbers together. It was a simple activity, but great introduction into addition. The concept of even/odd was an added bonus.
- When we were cleaning up i had her put the balls in order from largest to smallest before putting in the container. I added some balls together to get a bigger range of sizes.
