Happy Valentine’s Day!
Click on the image below for some fun activities!
GRINCH DAY CELEBRATION- MERRY GRINCHMAS!
Have a fun morning & early afternoon celebrating the Grinch. Have a special breakfast, read the book, complete some fun activities and recipes, then watch the movie. Fun family activity to do while no school over the holidays.
To begin, put on new pajamas and let the day begin. Hanna Andersson has adorable Grinch jammies (long johns) every year. Search for Grinch & you’ll see all they have to offer. We ordered a pair, but unfortunately didn’t make it in time for Grinch Day. I made the mistake of telling my daughter about Grinch Day & once she knew, she couldn’t wait to have it.
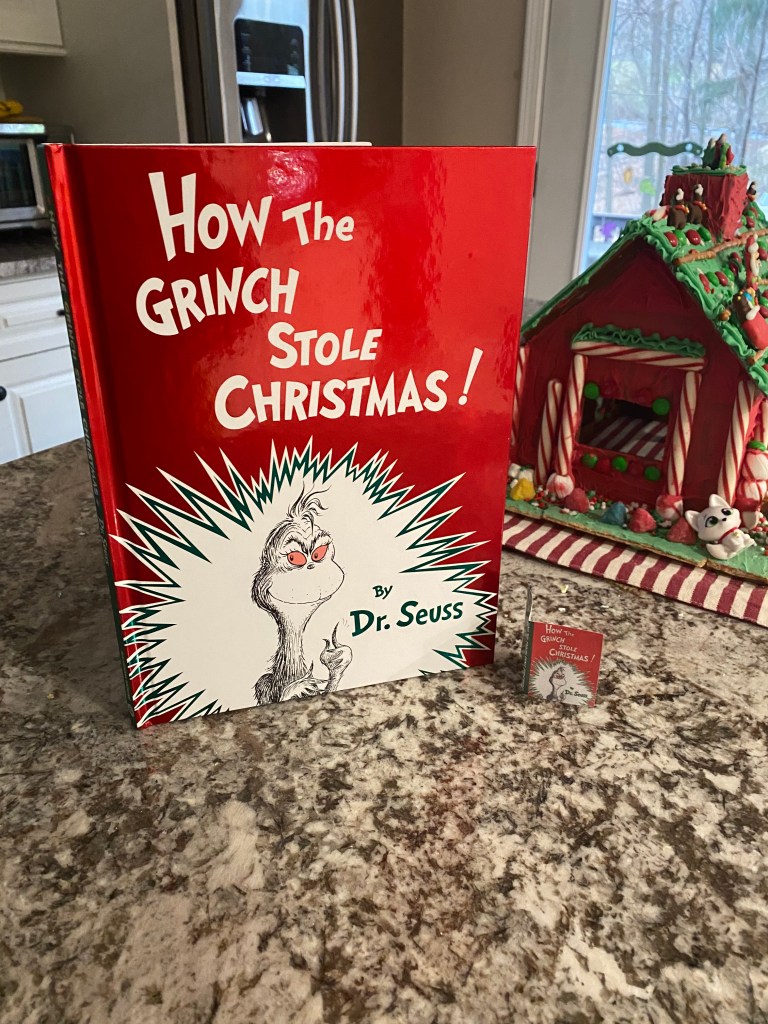
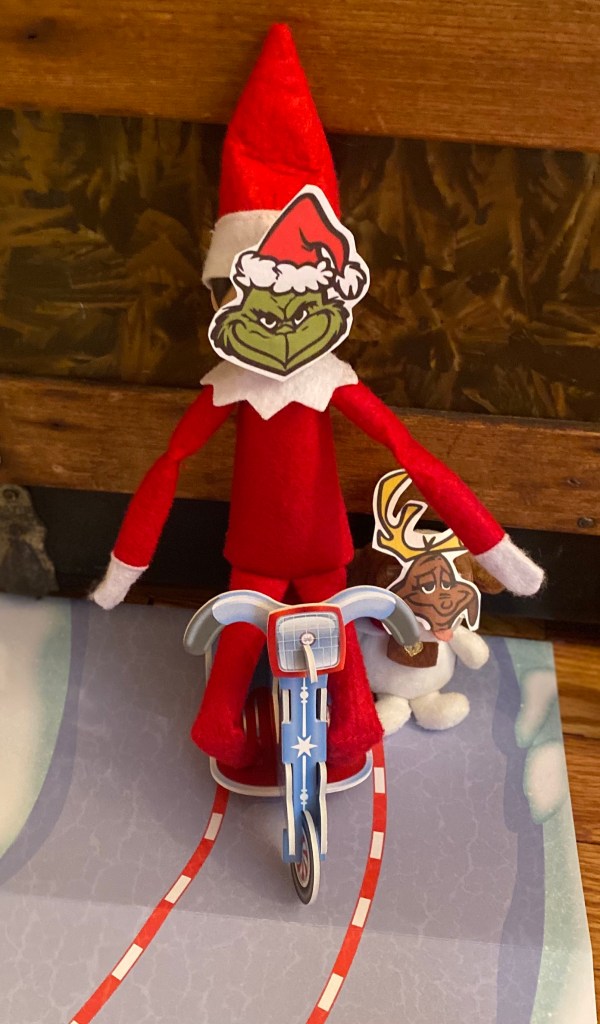
In the kitchen when she came downstairs I had the book The Grinch Who Stole Christmas on our island with a small mini one she could use for her Elf/stuffed animals/barbies. Our Elf on the shelf also got involved in the fun. If you don’t want to purchase the book, you can find a video of it on youtube.
Breakfast
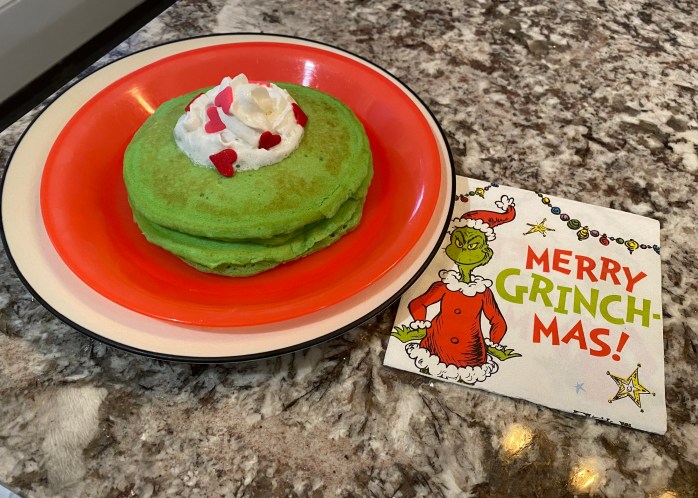
Start the special day with a Grinch themed breakfast. Super simple- green pancakes, whip cream and heart sprinkles. Make pancakes as normal, then add green and yellow food coloring to get the color of Grinch green. Ratio should be 3:1 (green:yellow). Add whip cream on top & garnish with heart sprinkles. I found the napkins at Party City. After eating or during, read the book, The Grinch Who Stole Christmas.
During (while you make) & after breakfast have your child/children complete the activities below:
#1: Grinch Mask & Hide and Seek
Materials: Grinch Mask Template, white cardstock, crayons/colored pencils/markers/watercolors(brush, water cup), elastic string scissors, tape, hole punch
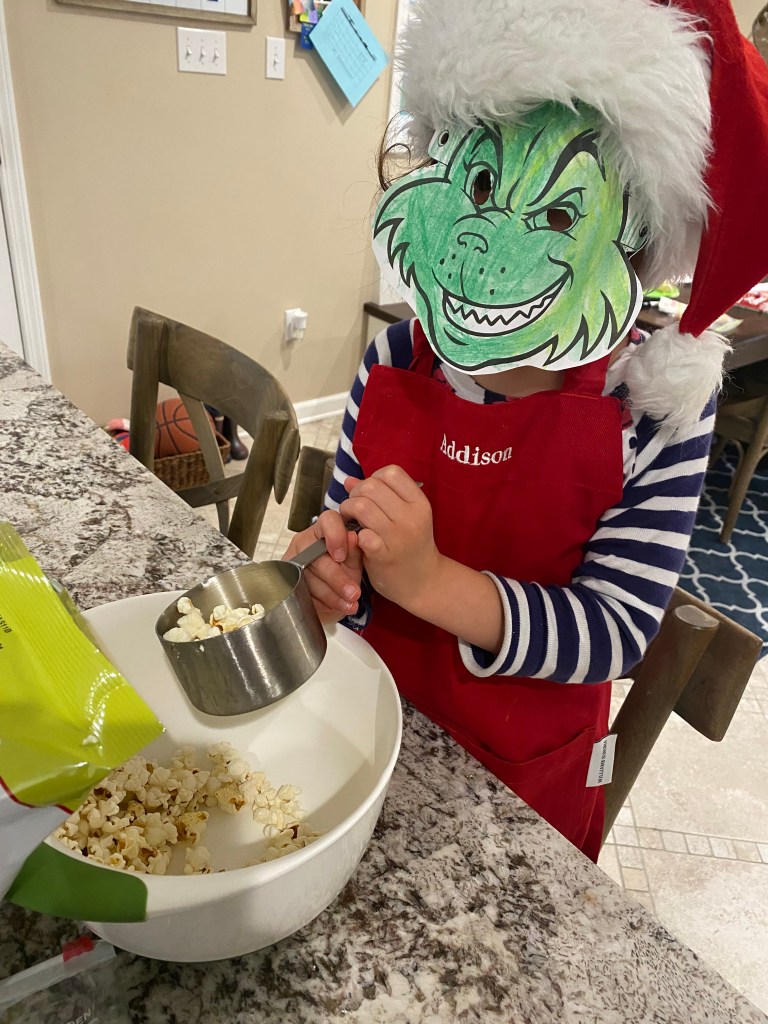
Print the template on white cardstock. Then have your child color in the mask. We used crayons and then a watercolor wash on top. Cut out. For the eyes, fold the mask in half on each eye and cut out. Place tape on top of the ends around the sides (where holes are). This will be like laminate & prevent mask from ripping. Use a hole punch and punch out holes (if no hole punch, make a small slit with scissors), attach elastic string and done! You have a grinch now!
After we finished the Grinch mask, we played a few games of hide and seek. The person wearing the Grinch mask was the seeker & scared the person he/she found.
#2: Free Print Outs/Activities
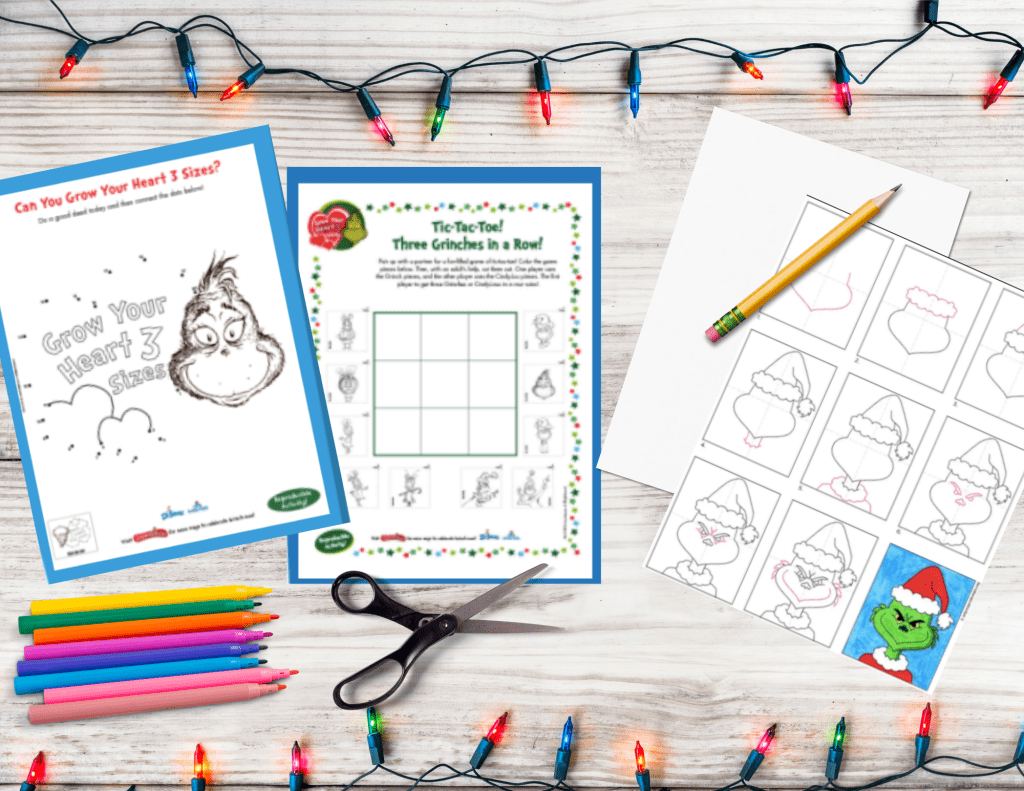
Great Grinchmas activities can be found here at Seussville. We did the tic tac toe sheet & connect the dots, but so many more great options too. The Tic Tac Toe printable was very small & hard to color, so I made a bigger version here. Use colored pencils or thin markers to color.
For older kids, here is a wordsearch & MadLib. This site has a great how to draw the Grinch too.
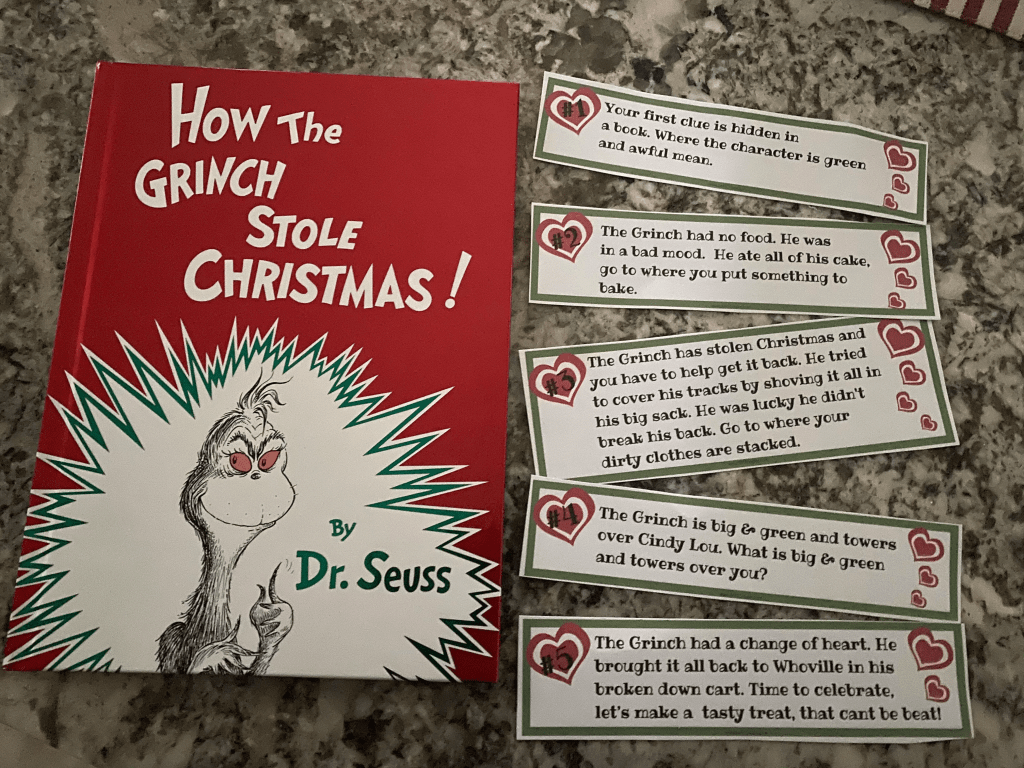
#3: Scavenger Hunt
Print out the clues on paper or cardstock. Then cut them out. Either the night before or when child distracted hide the clues.
Clue #1: Give to child/children. Clue #2: Place in the book, The Grinch Who Stole Christmas. Clue #3: On or in oven. Clue #4: Where children/child’s dirty clothes are (hamper/basket). Clue #5: Christmas Tree.
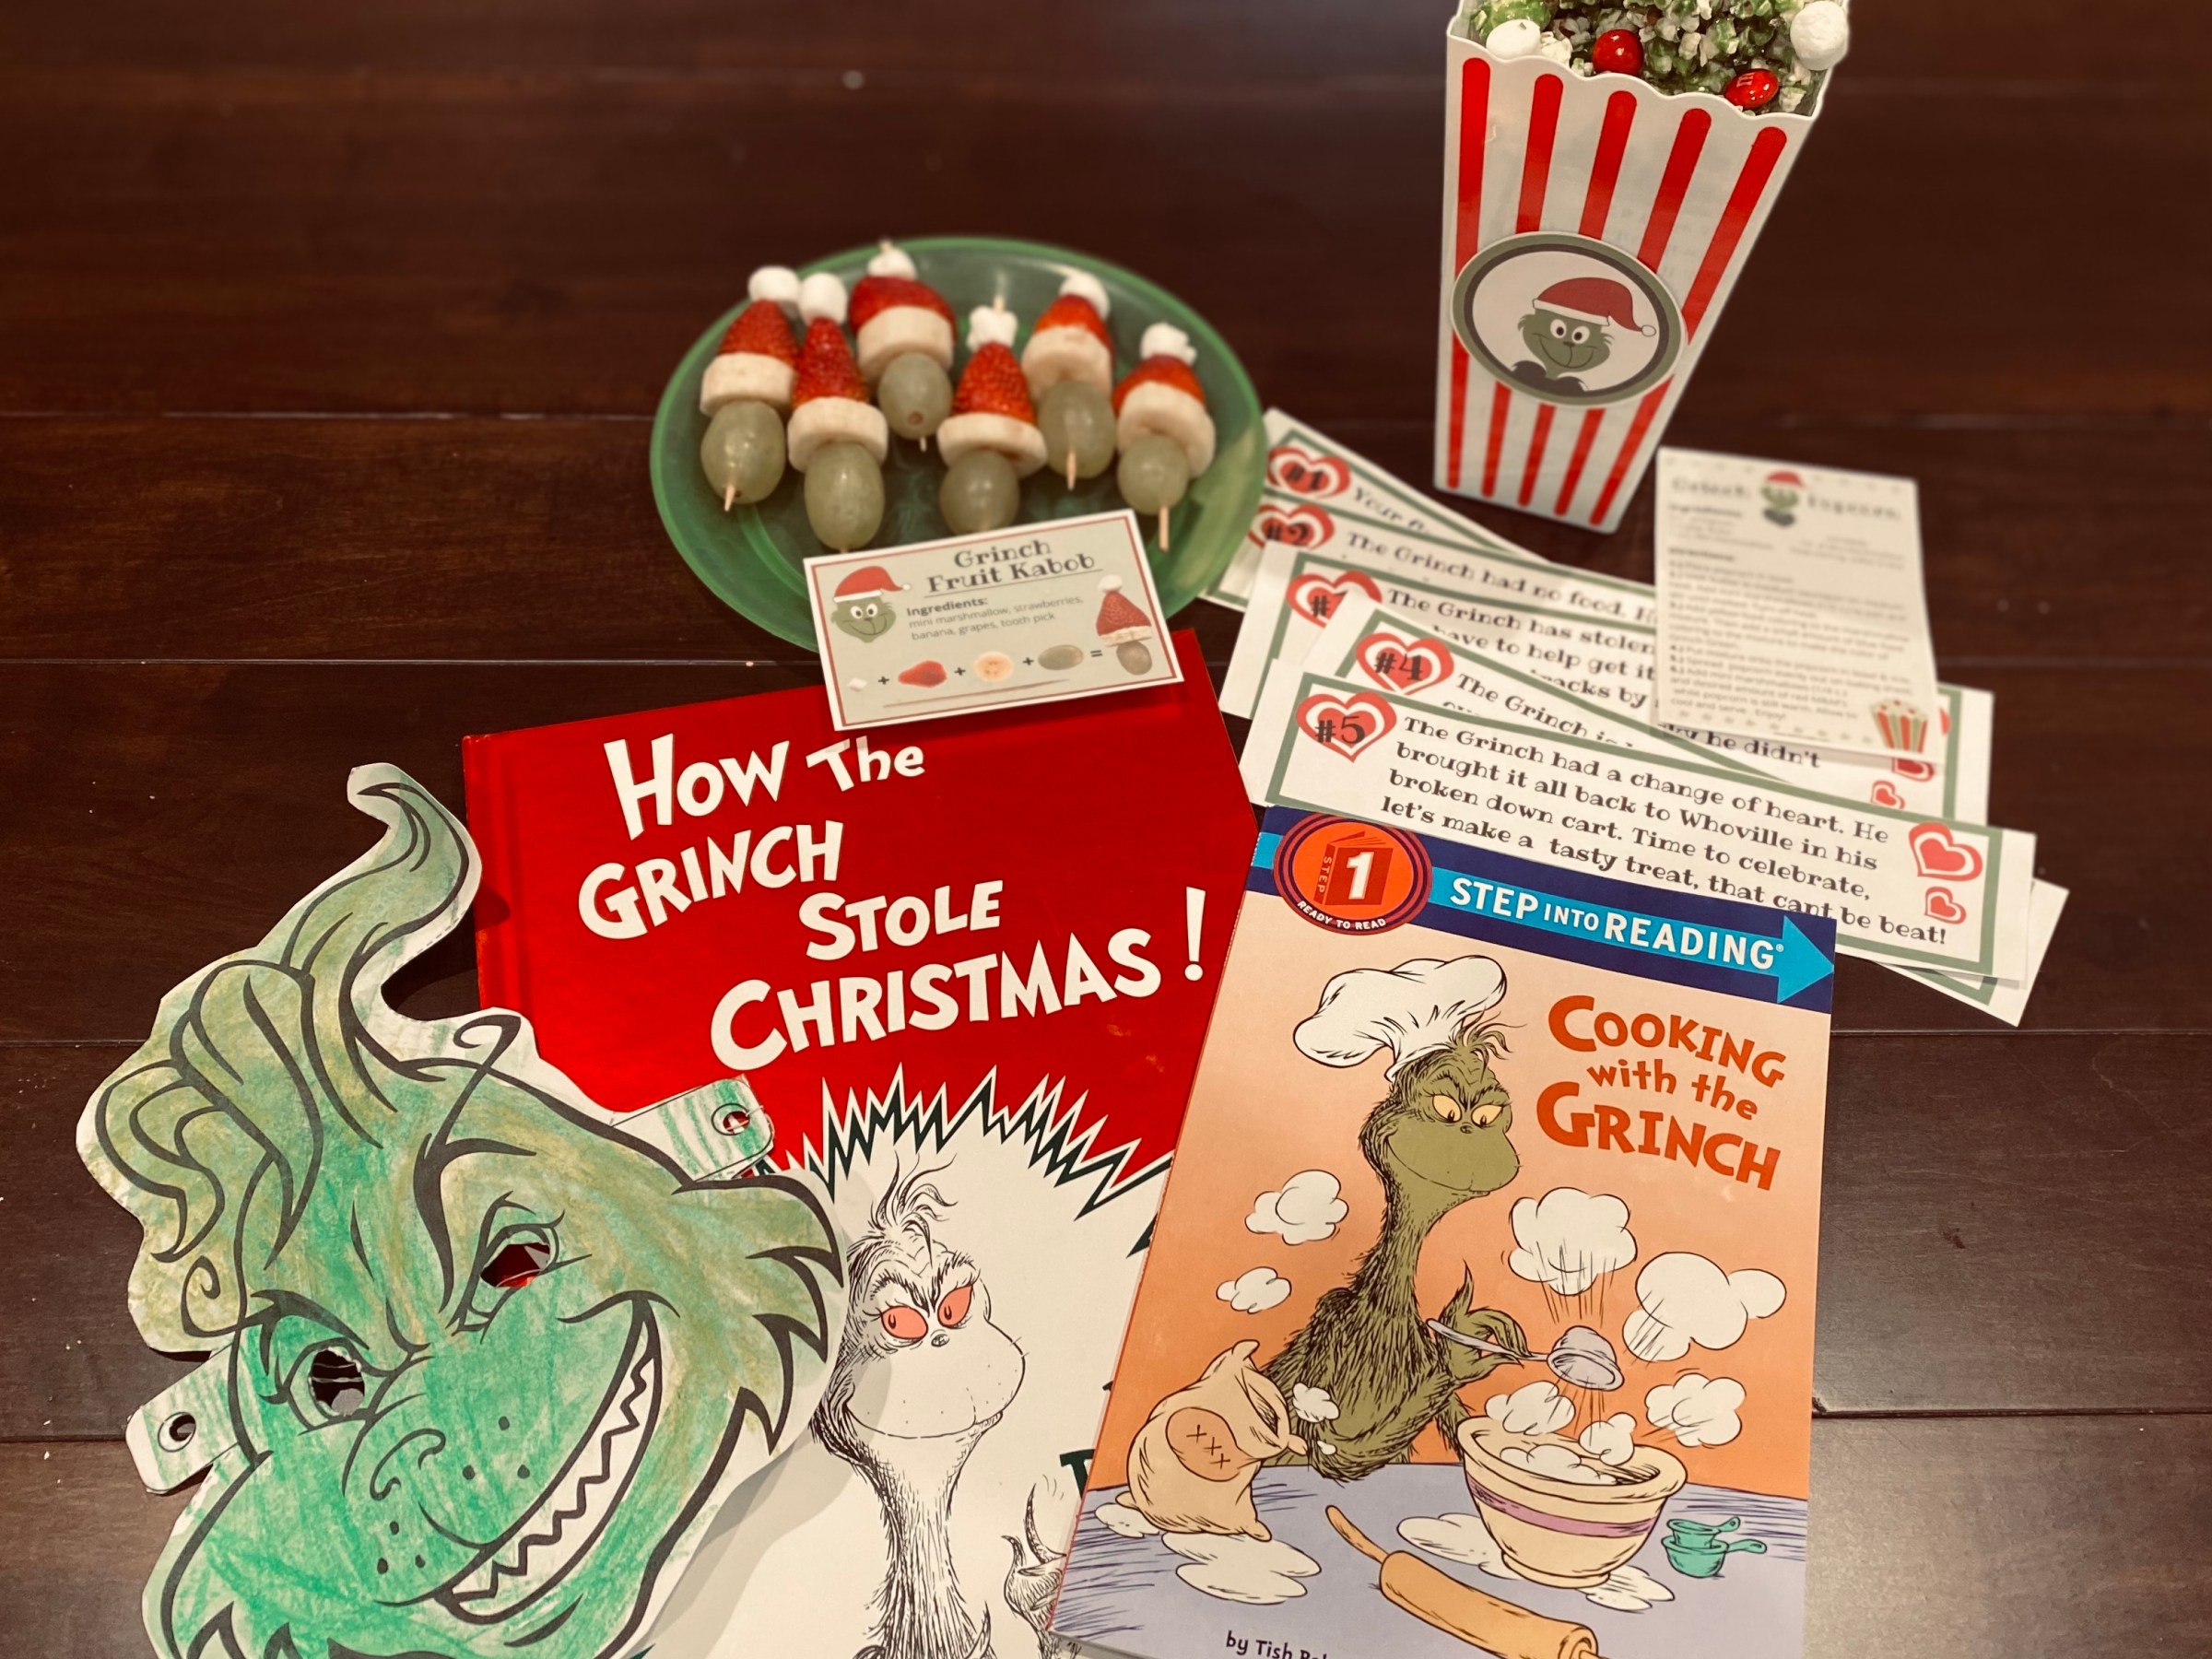
After the last clue, I asked my daughter, where we can make tasty treats? We went into the kitchen and she found a gift. She opened it and it was Cooking with the Grinch book. After we read the book- we made tasty treats!
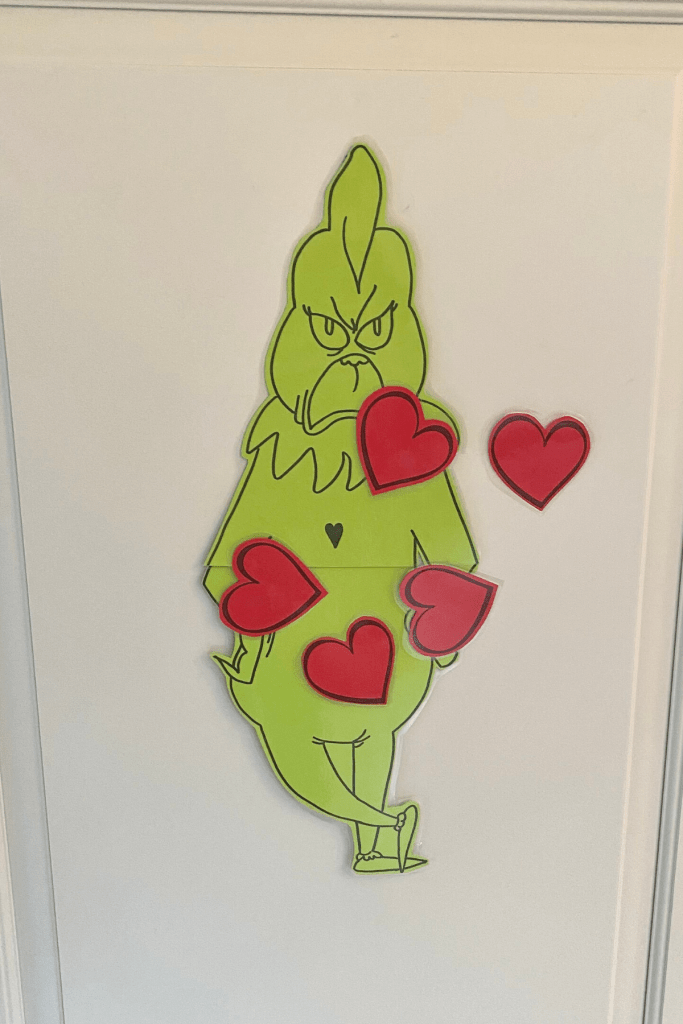
#4: Pin the Heart on the Grinch
This is a great and easy to make game! All you need is 2 sheets of green paper and one sheet of red, and some tape. Print out the templates here. Hang on a wall & let the fun begin. Dont forget to blindfold to make more fun!
#5: Grinch Recipes
My daughter likes to have me read the recipes, while we cook together, so I made the recipe cards for us to use. There are lots of great Grinch recipes out there. I wanted a mix of healthy and something sweet to make as a snack during the movie.
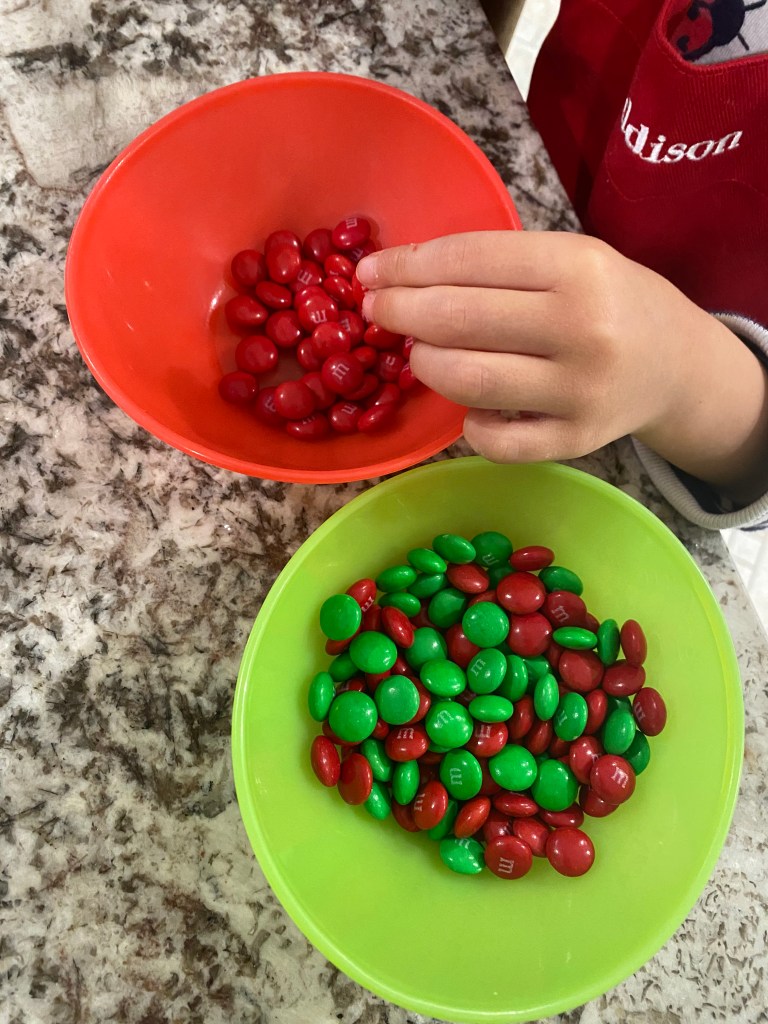
Grinch Popcorn Recipe Card – I found the recipe here. Ours is not as green because I wanted to cut back on the sugar/butter intake, so I used less marshmallows & butter. The more green = more sweet & more butter/marshmallows. If want more than 5 cups of popcorn, double the recipe. Have extra supplies in case you want to add more marshmallow mixture or M&Ms to your popcorn. Start with less, and you can always add more. Have your child/children sort the M&Ms, great opportunity to bring up that they are complimentary colors and if extra, you could make patterns with them on another day.
I found the popcorn container at Dollar Tree, and then attached this label with double sided tape to make more festive. You can get your own popcorn containers here.

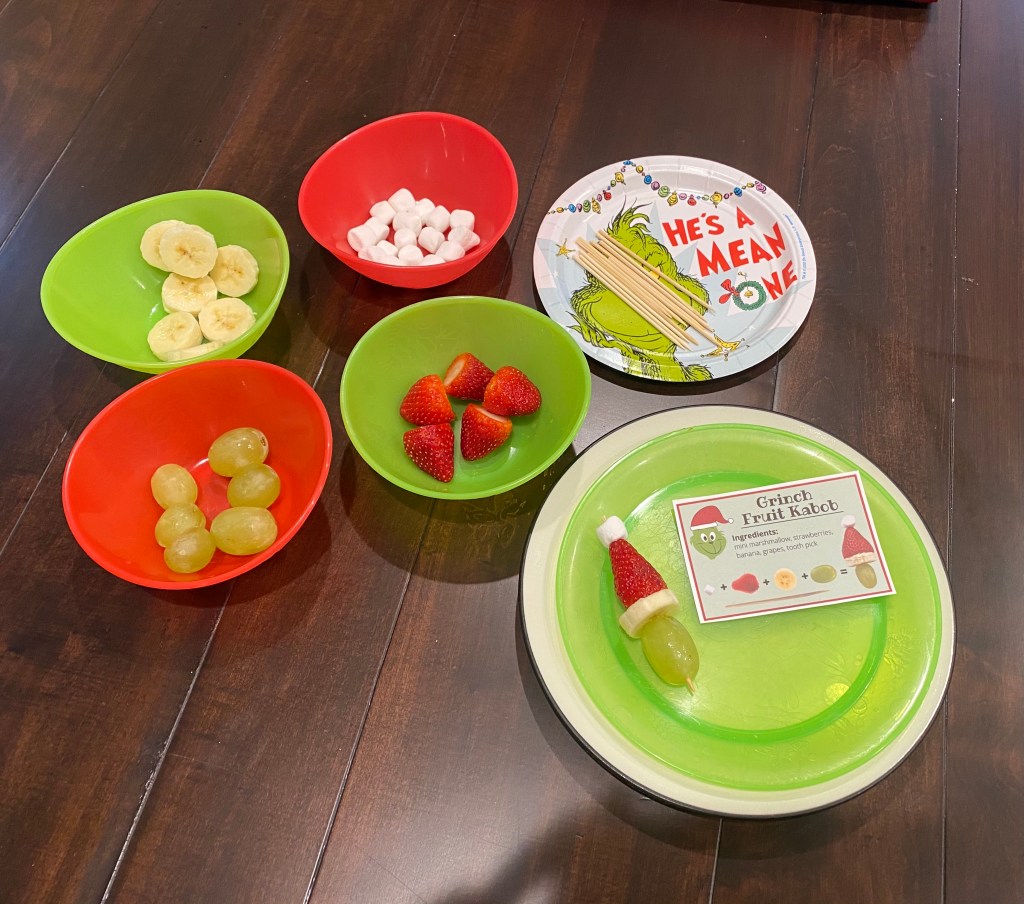
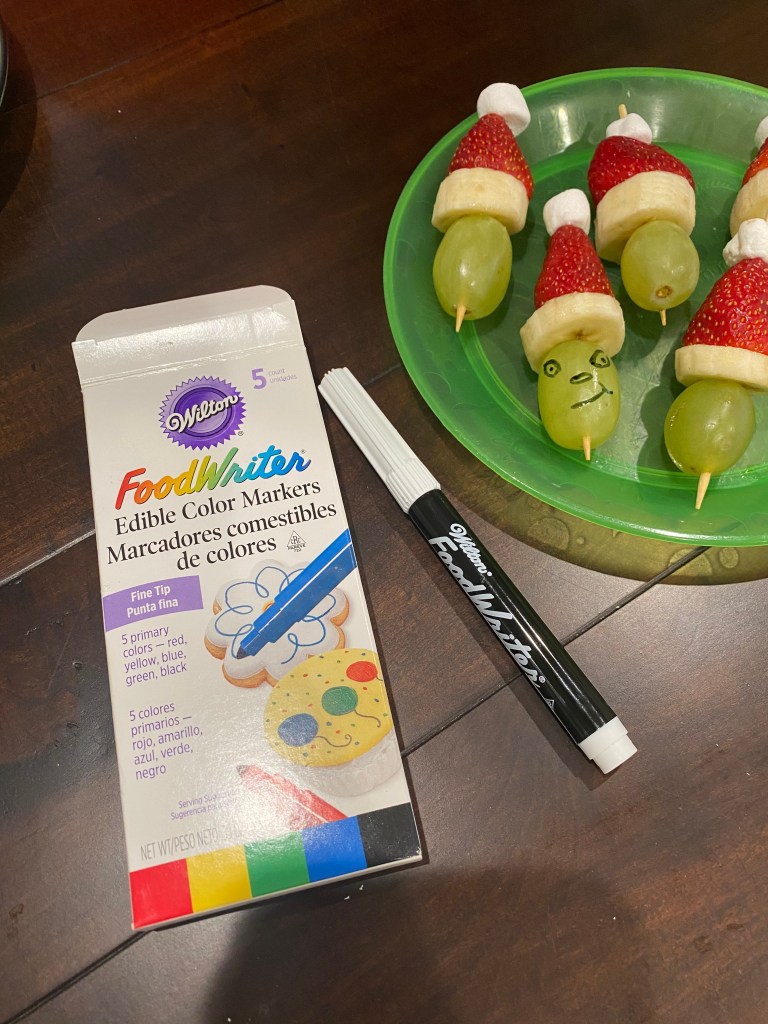
Grinch Kabobs Recipe Card – Simple & fun. 5 ingredients- mini marshmallows, strawberries (cut top off), banana (slice)= for the hat, and a green grape for the Grinch head. If feeling extra creative, you can let them use these markers and add a Grinch face on the grapes with a black marker.
#6: Movie Time!
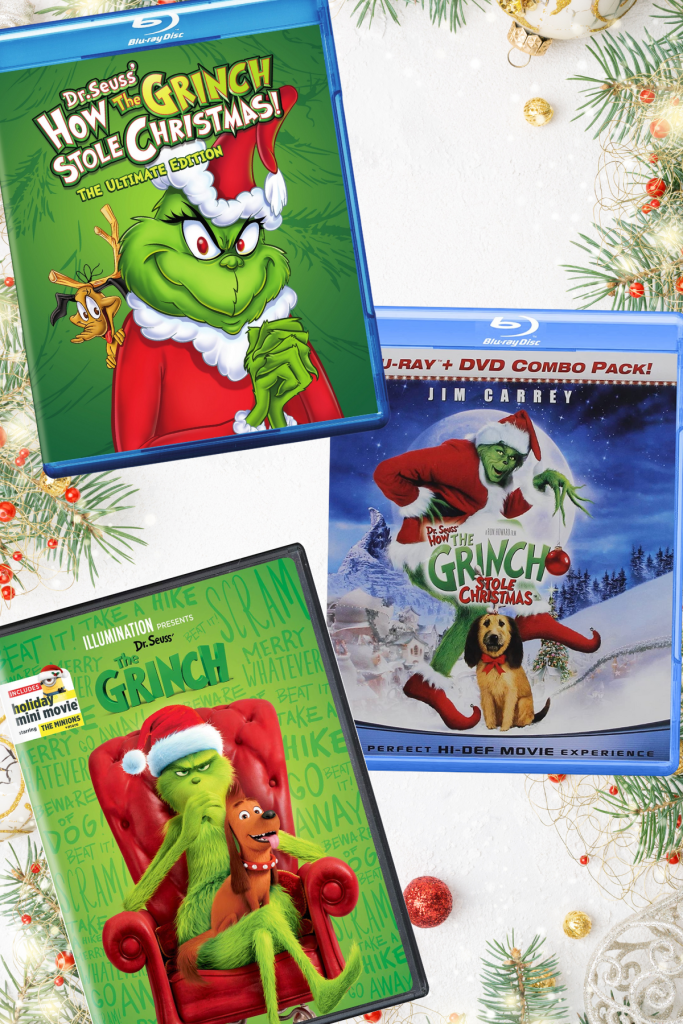
Now that snacks are made, it’s time for the movie! There are a few options for the Grinch movie. Amazon Prime has it to buy & Netflix has it too. Three different versions on DVD:
Dr. Seuss’ The Grinch – Dr. Seuss’ How The Grinch Stole Christmas – How The Grinch Stole Christmas
We have also watch the musical version and short cartoon, which were both on TV.
This is a great short 5 minute video on the evolution of the Grinch from 1966 to 2018.
That concludes Grinch Day! We did all of the activities in the morning and then had lunch. After lunch, we watched the movie.
Happy Grinch Day!
ELEMENTARY SCHOOL MEMORY BOOK

Make a special place to document your child’s favorite things, important papers, artwork, and awards they bring home throughout the school year. In a few steps, create a Memory Keeping Binder. Fun and engaging activity to do every year in elementary school. Your family will love looking back on the previous years and seeing how your child has grown.
With the craziness of back to school each year, you can complete this activity any time in the first month of school. Your child’s answers will be the same within a month & you won’t feel rushed. We enjoyed doing this after school started.
- The Memory Book is geared for ages Prek- Grade 5. If you wish to continue past grade 5, there is a blank template to use or if before Pre-k. You can start at any grade or just complete for one grade. We started ours in Kindergarten.
Supplies Needed:
- printer
- white cardstock
- Memory Book Templates
- Pencil, Pen, or Marker
- 3 Ring Binder (white or green)
- Page/Sheet Protectors
- Markers/Crayons/Colored Pencils
- Construction Paper (optional)
How To Make:
Option #1:
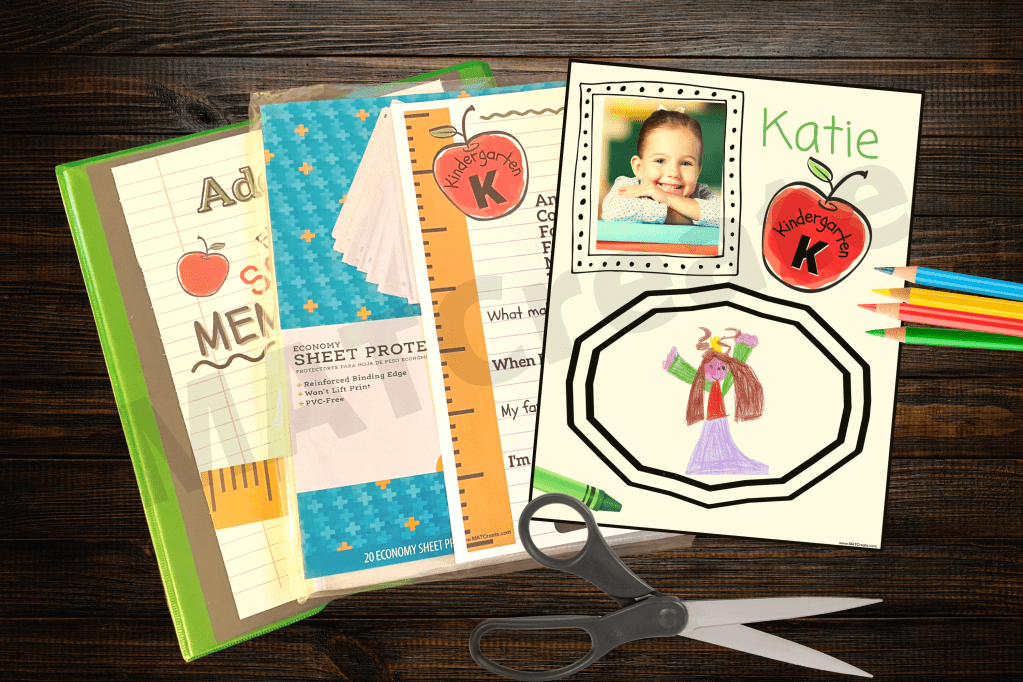
Simply Print out and use markers to fill in all of the missing information (Name, graduation year, ages). Place a photo in each frame per grade as you reach it.
Option #2:
1.) Get all of the supplies listed above.
2.) Purchase template.
3.) You will receive a pdf in your email that is registered with Etsy. Open Pdf, then copy and paste the Canva link into your browser.
4.) In Canva, add your child’s name (front, back, on marker for spine) graduation year in the apple (front & back), and age at each grade. Then add a photo inside the frame.
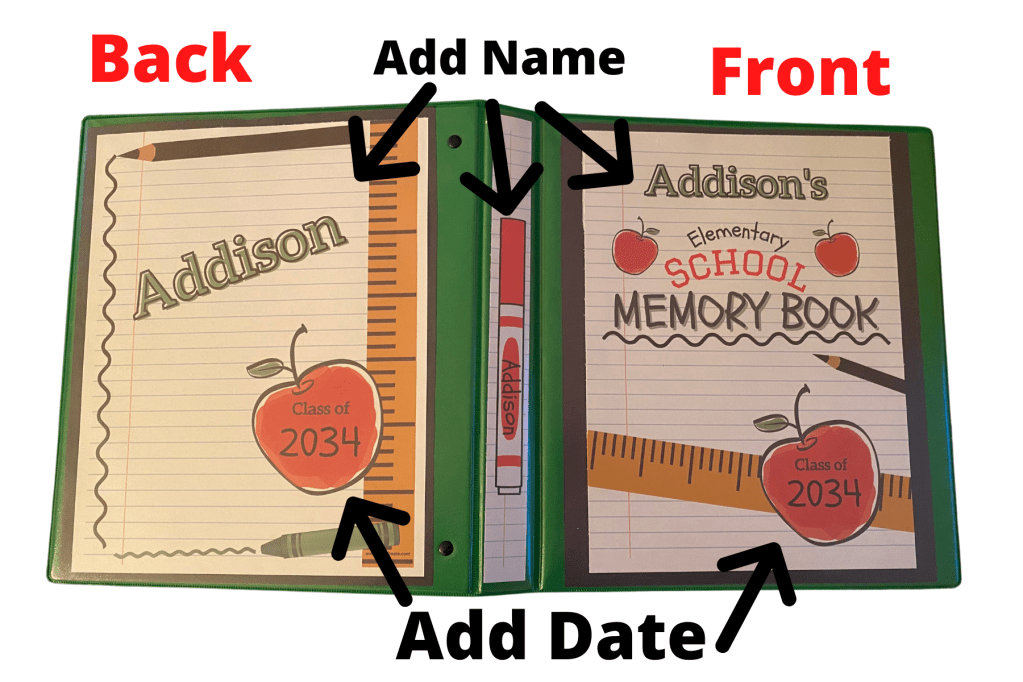
5.) Print pages up until current grade.
6.) Place the cover, back, and spine (side) sheets into the 3 ring binder. I placed black construction paper behind front/back sheets to frame them (optional).
7.) Have your child fill out each sheet (2 total). If their writing isn’t clear enough or too big, fill the answers in for them.
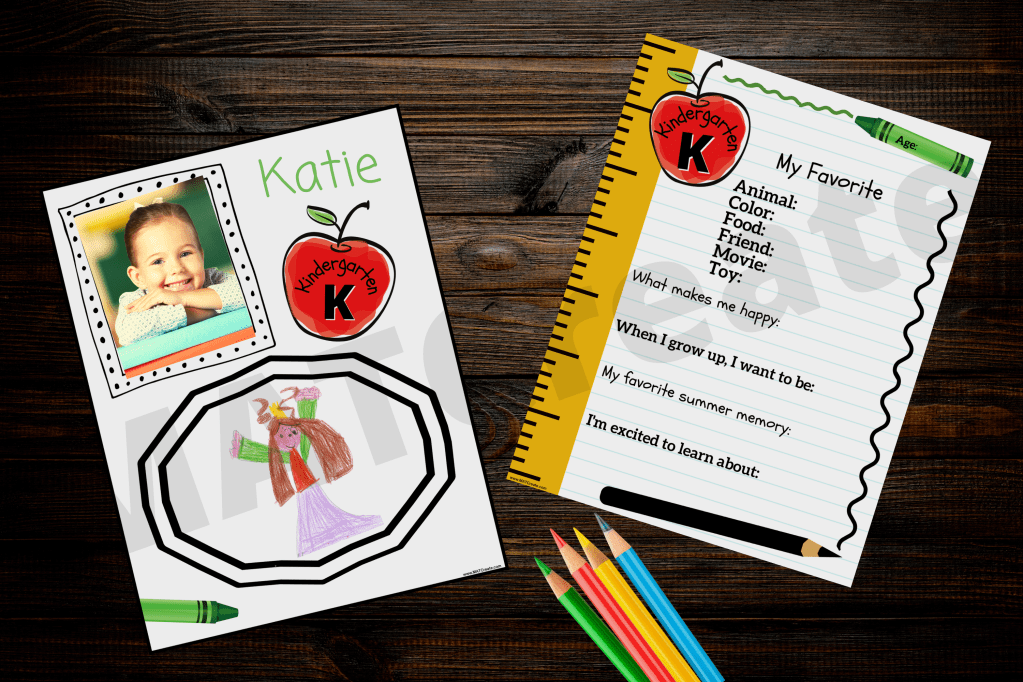
6.) Place the completed sheets into the binder.
7.) Throughout the year add more artwork, awards, and other papers of importance to them inside the additional page protectors.
8.) Repeat next year!
Your kids will love to look back at the past years and see how much has changed!
Happy Creating!
END OF SUMMER SELFIE DRAWINGS
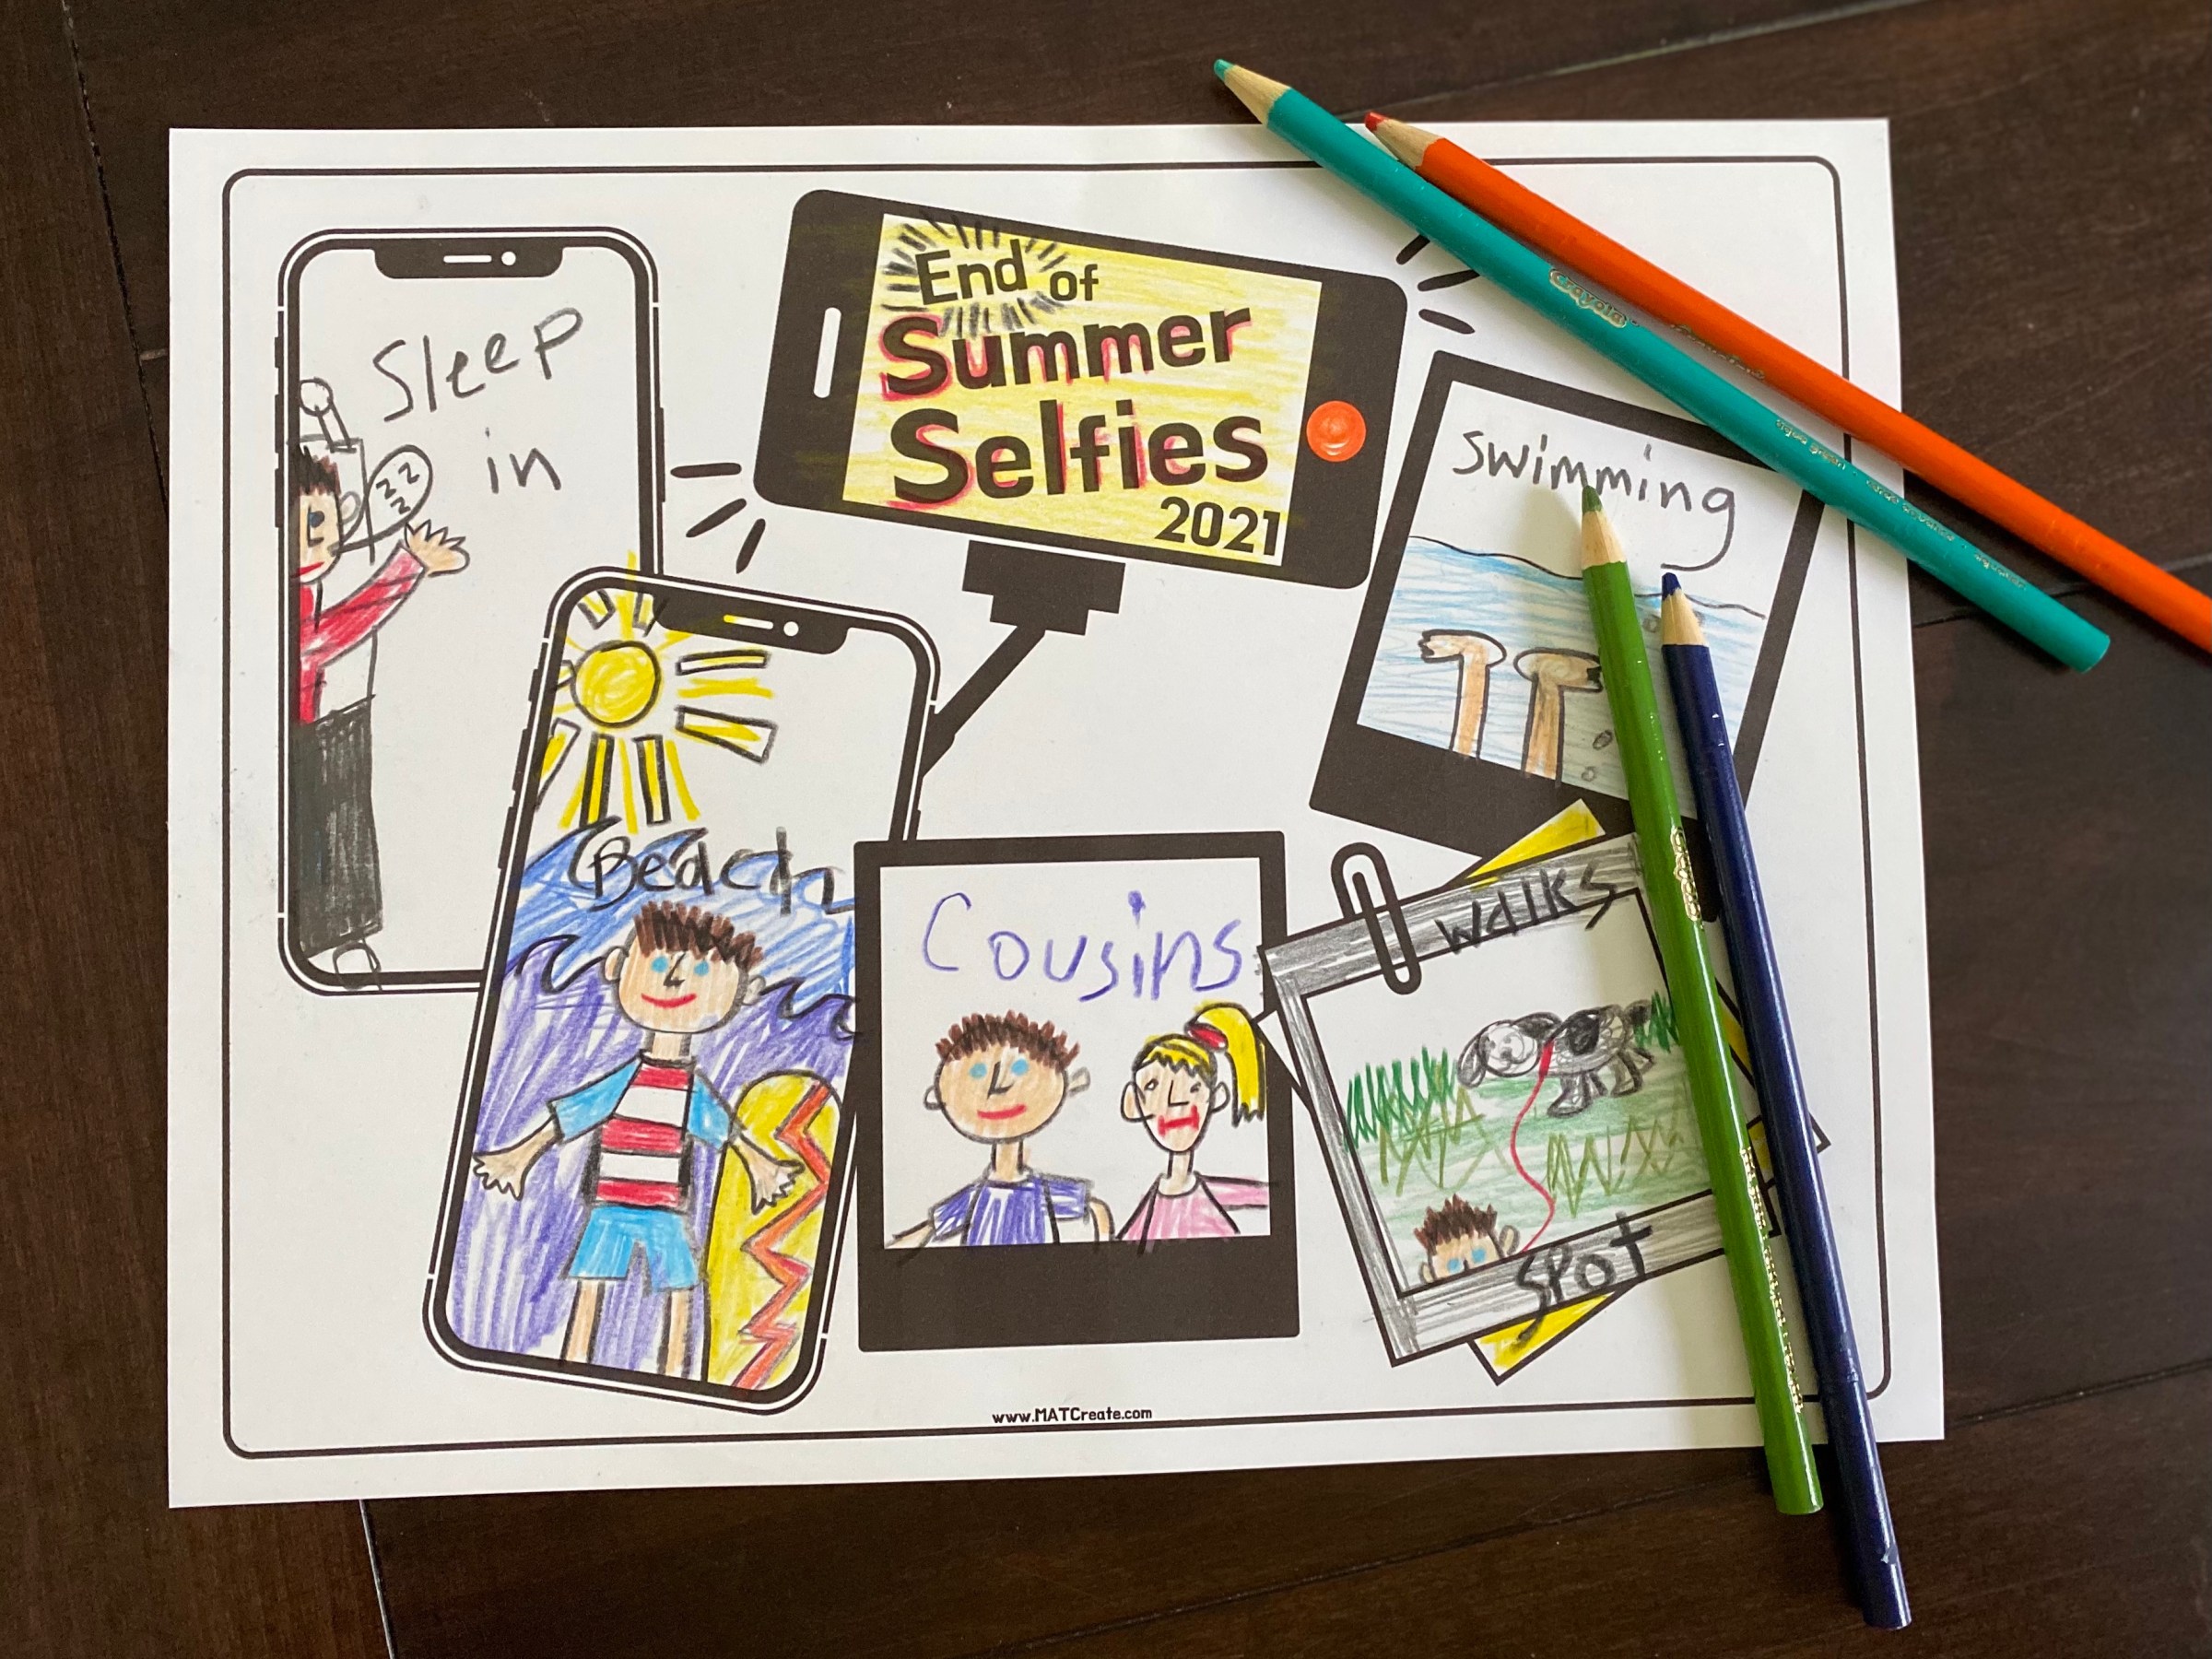
Celebrate your fun summer by capturing the memories in drawings!
Materials
- white cardstock
- printer
- End of Summer Selfies template
- markers- crayons- colored pencils

Start by talking with your family and friends about all of the fun adventures you did over the summer. Then, print the template, gather up some art supplies, and get to drawing pictures of yourself/family/friends doing all of these fun adventures!
Label each picture once you complete them. Make sure to add the date if you are not using the 2021 version.
Additional Ideas:
-Write a small paragraph on the back (or attach a separate sheet of paper) all about your adventures.
-Complete this activity year after year.
-Make this a family project and everyone draws a picture!
The BEST part is you’ll have these drawings to look back on and a wonderful keepsake. Enjoy!
Happy Creating!
End Of Year Teacher Printable Keepsakes

Thank the special teachers in your life by having your child make them a personal keepsake gift. They’ll cherish the thoughtful personal gift.
There are two options to make or both! Have your child draw a picture of your child and their teacher together and/or have them fill out a cute questionnaire about their teacher.
Materials:
- Templates
- white cardstock
- printer
- crayons/markers/colored pencils
To Make:
Option #1: Portrait with Teacher
1.) Print template on white cardstock paper.
2.) Have your child write their Teacher’s name or an adult can write or type in.
3.) Have your child draw a picture of themselves with their teacher.
4.) Ask your child what they liked best about their teacher and the school year. Then write a short paragraph below the illustration (child or adult can do).
5.) Lastly, have child sign their name and date.
Age 2+

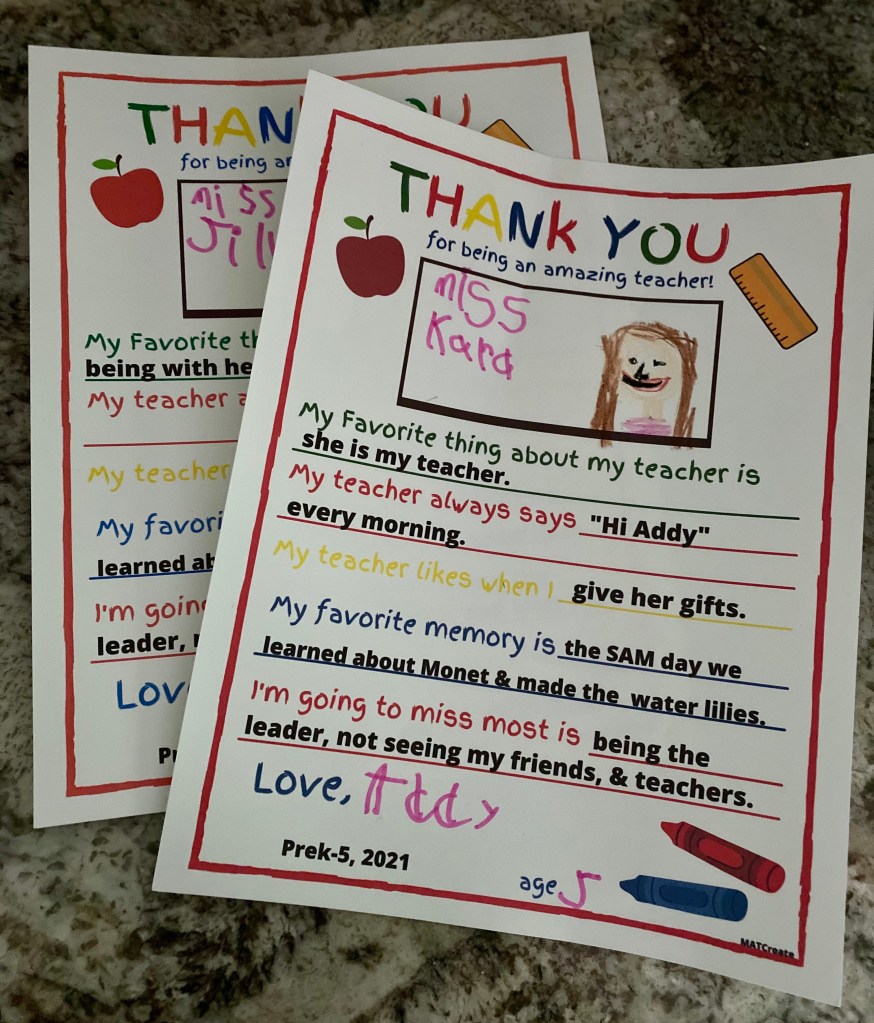
Option #2: Questionnaire about Teacher
1.) Print template on white cardstock paper.
2.) Have your child write their Teacher’s name in the box & draw a portrait of them.
3.) Fill in answers to questions.
4.) Have child sign their name and age at the bottom.
Note: An adult can fill in the answers if child can’t write clearly yet or able to fit all of the words in designated space. (Age 3+)


Happy creating & gifting!

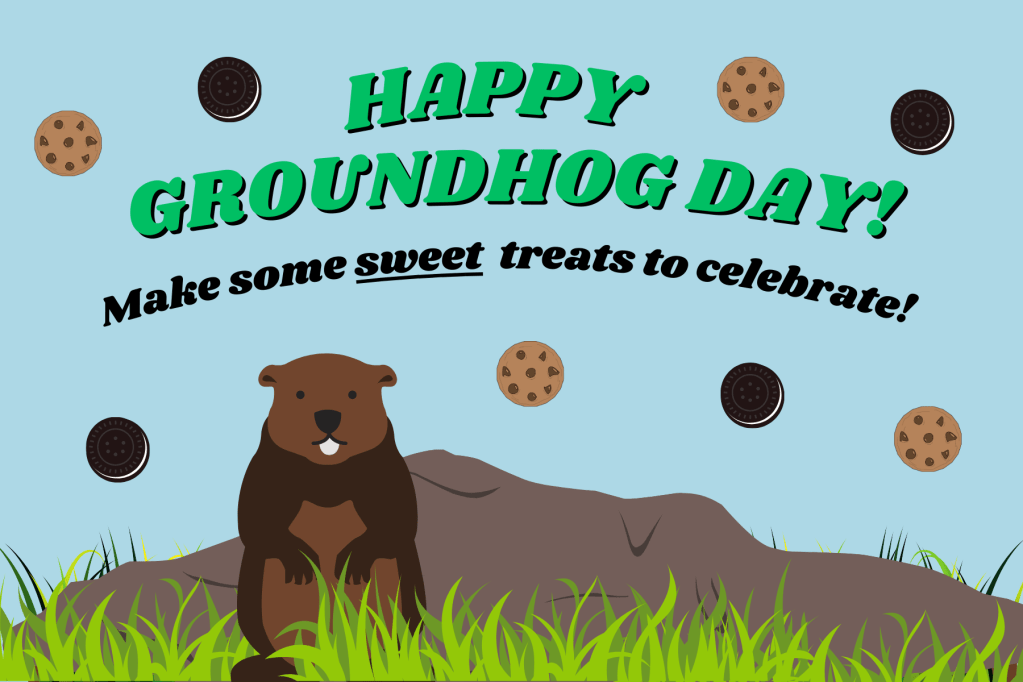
HAPPY 4TH OF JULY!
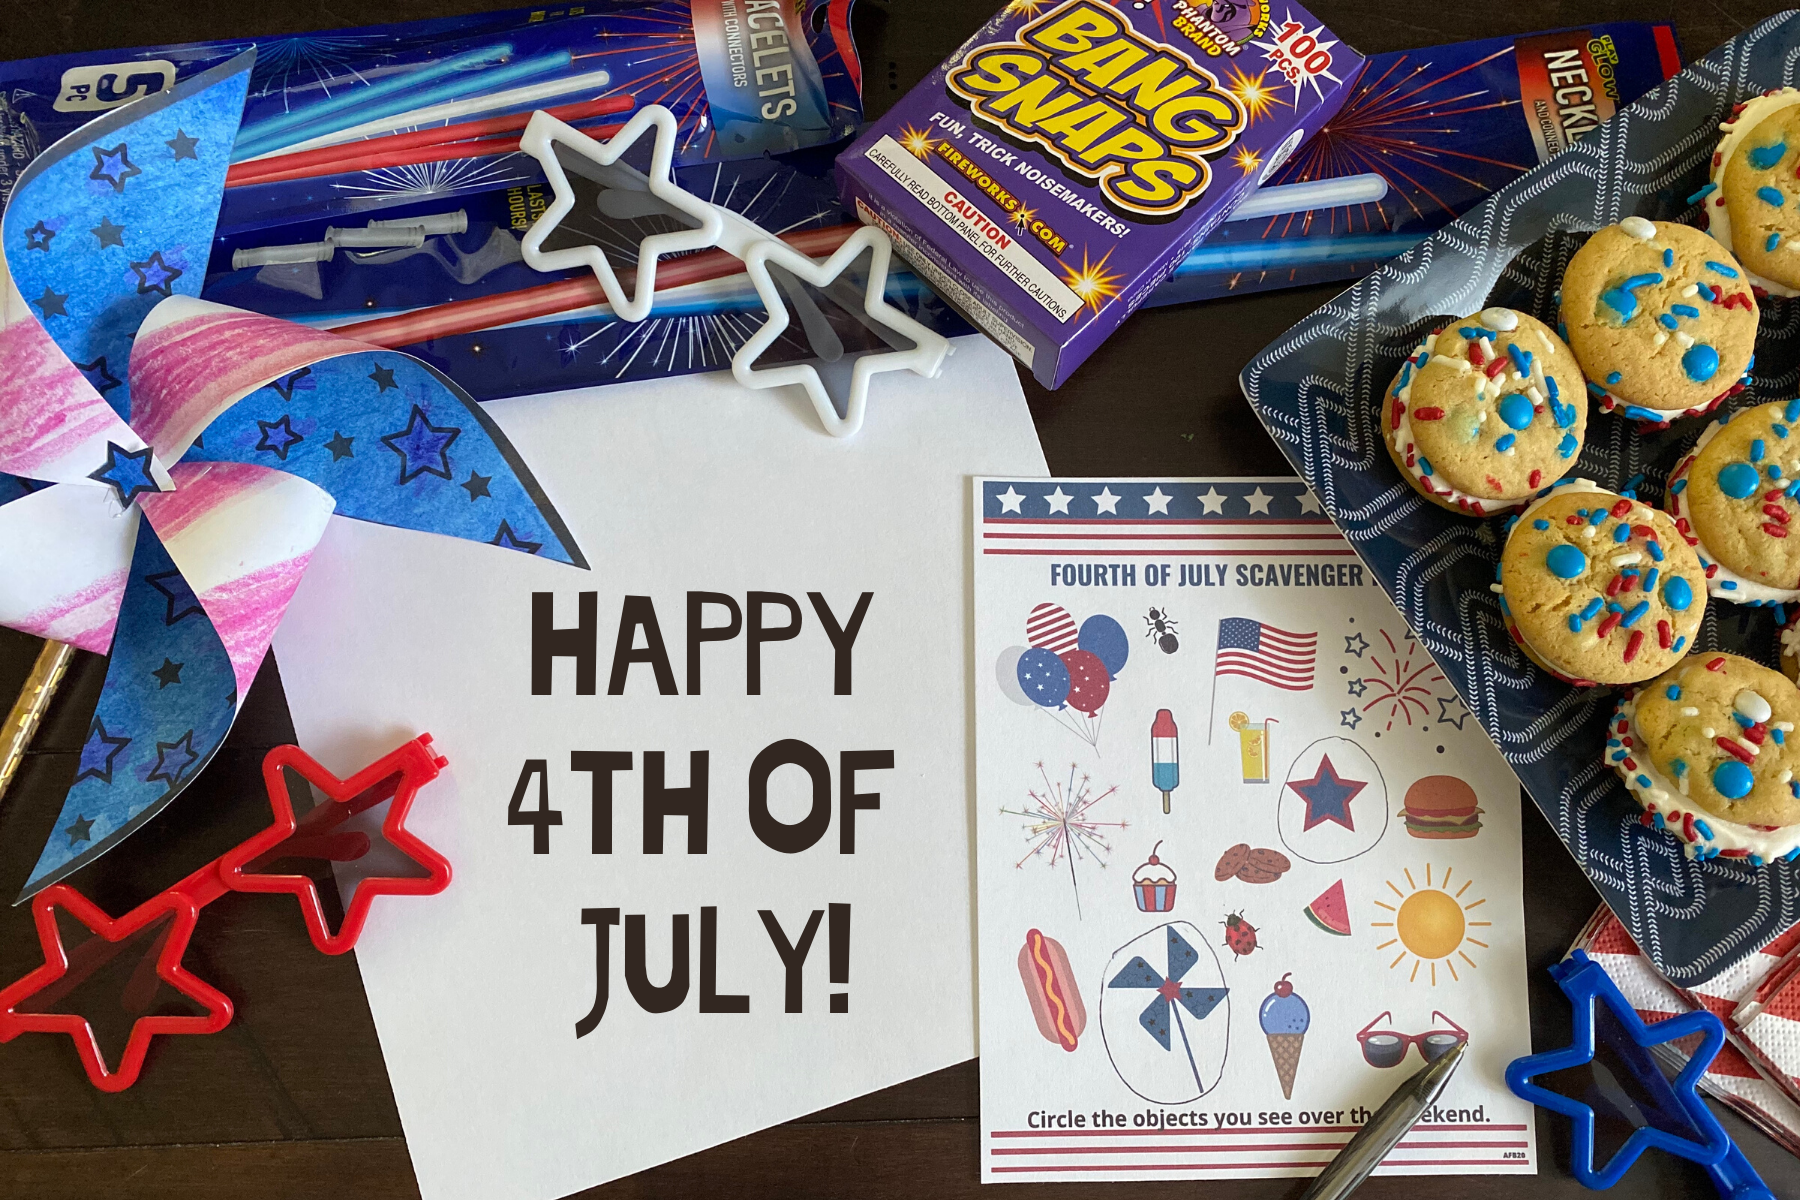
Happy long weekend! I hope you get to enjoy time with your family on this Independence Day weekend. Below are a few things we will be doing to celebrate!
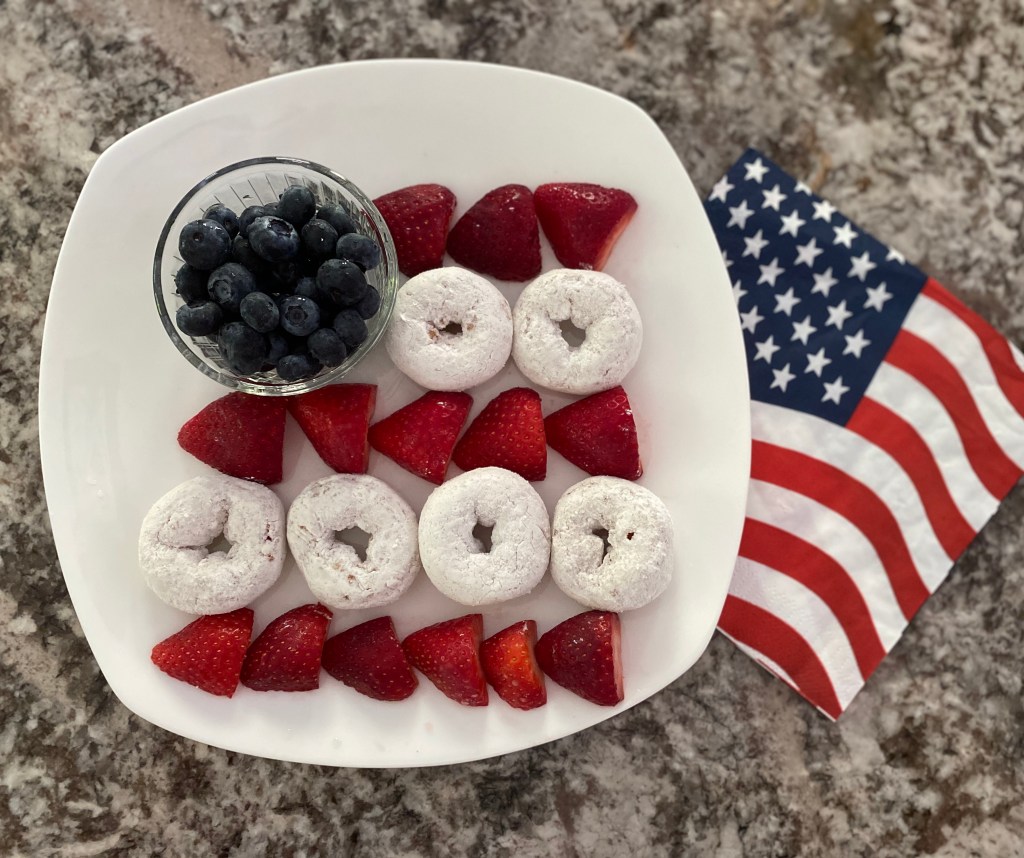
We started the long weekend by celebrating with a special breakfast plate. Super simple- just strawberries, blueberries, and powdered donuts. It was a big hit! It was to be shared and somehow one little person ate it all. She did point out the pattern on her own which made me happy. We then watched a video to learn about the importance of the flag and why we celebrate the 4th of July.
July 4th- Independence Day video link
Create a Pinwheel!

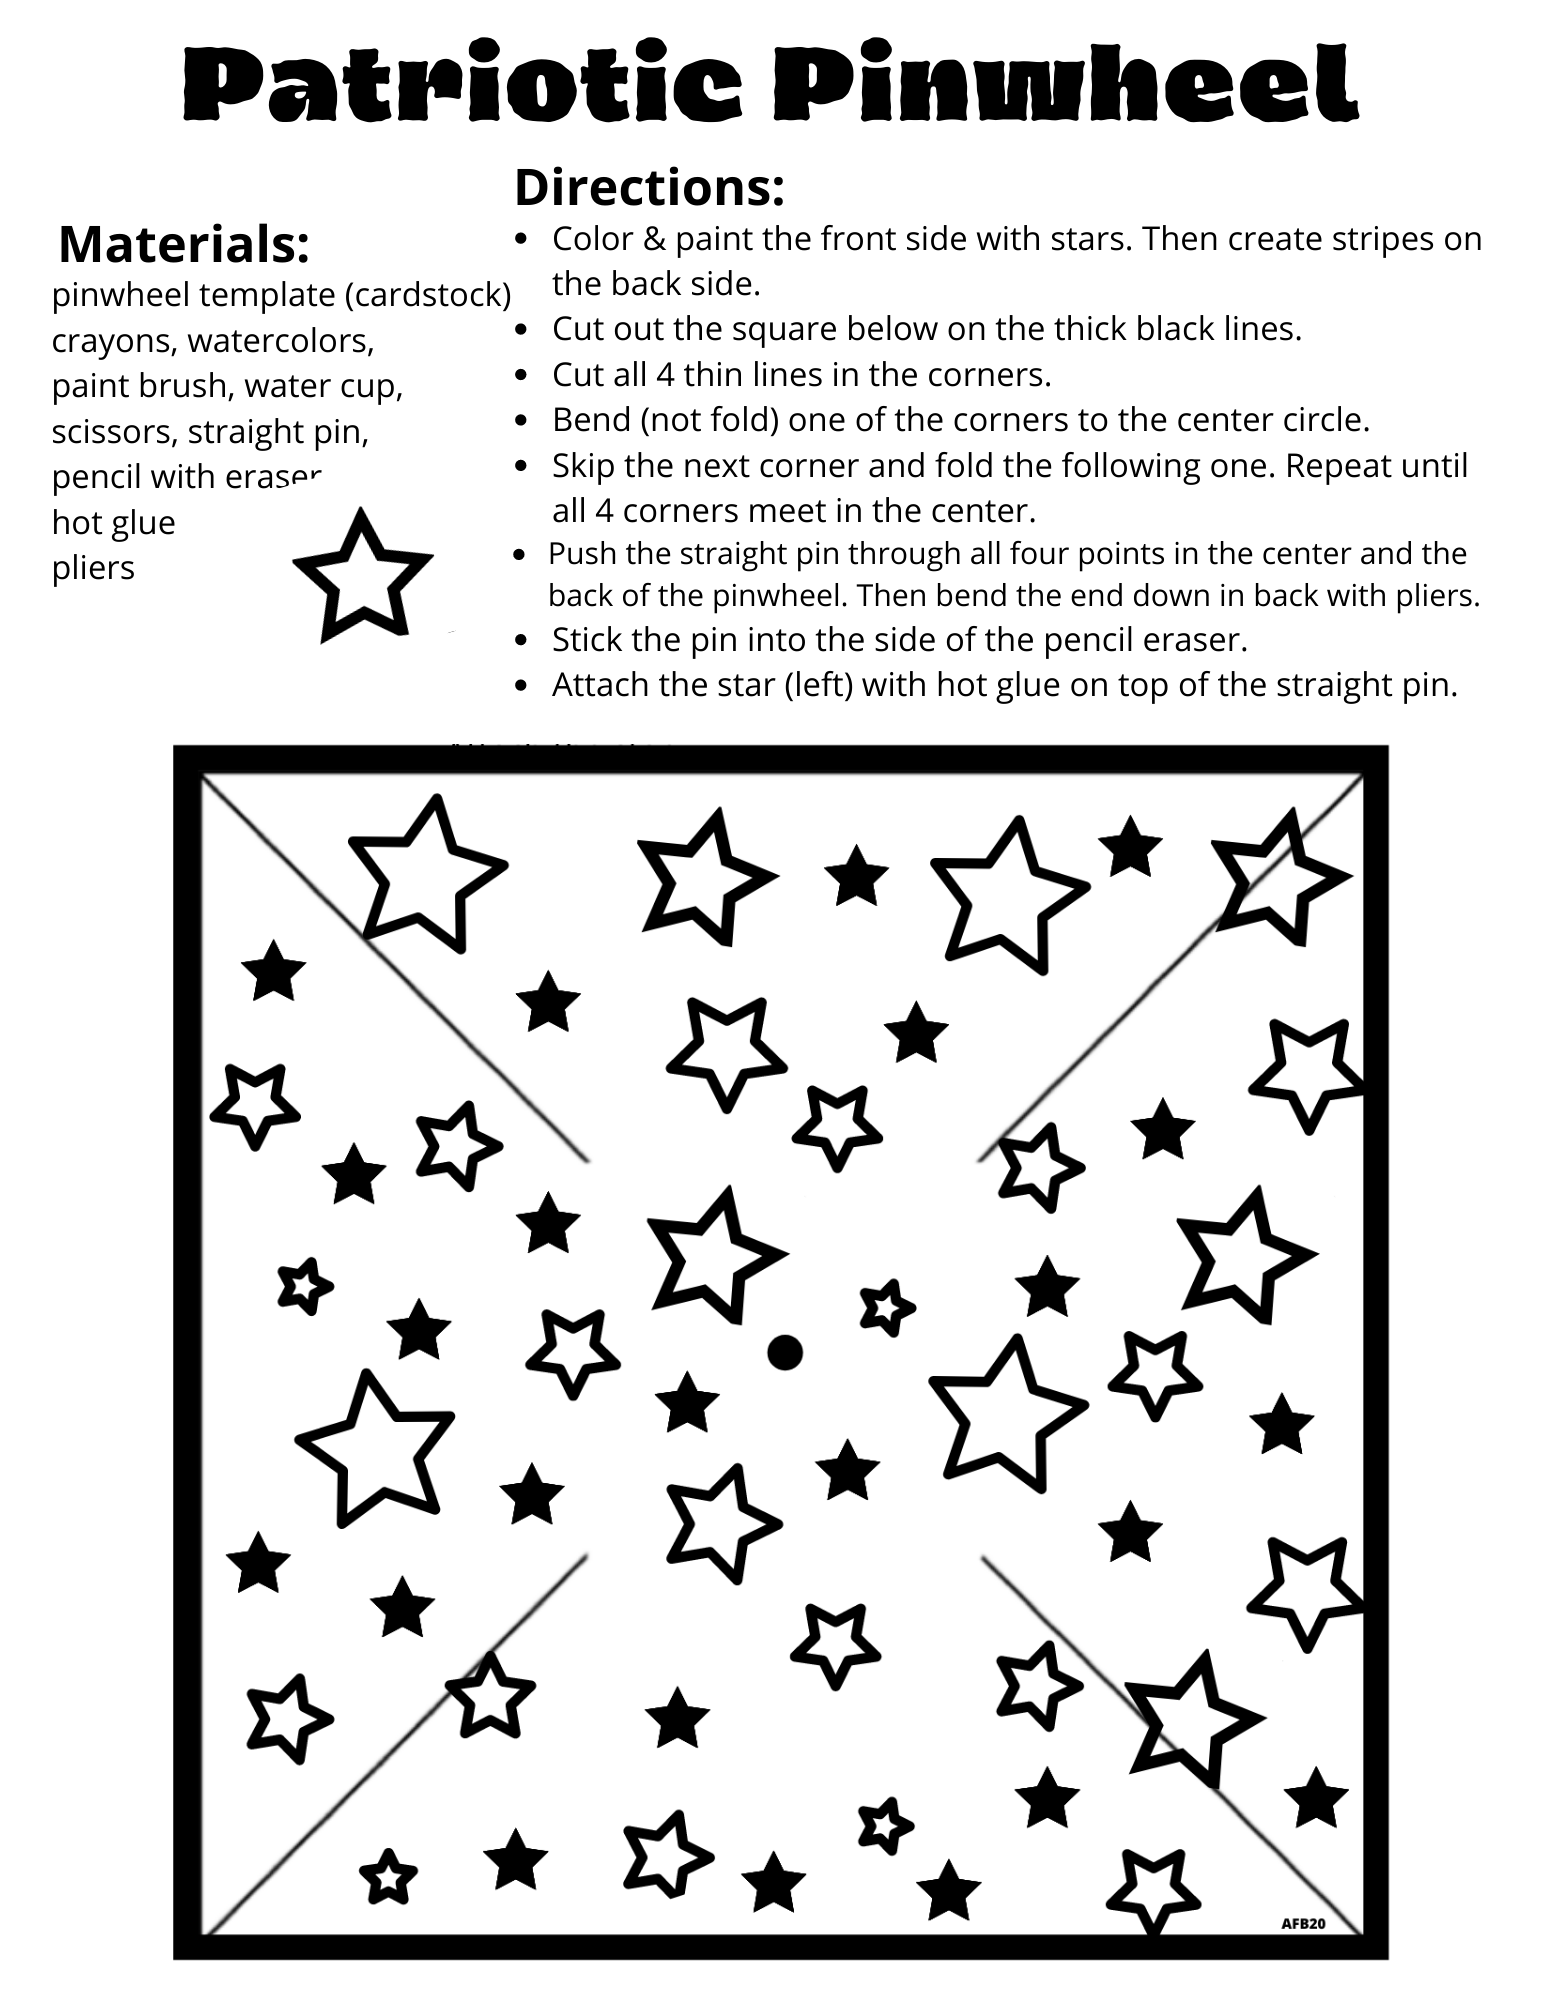
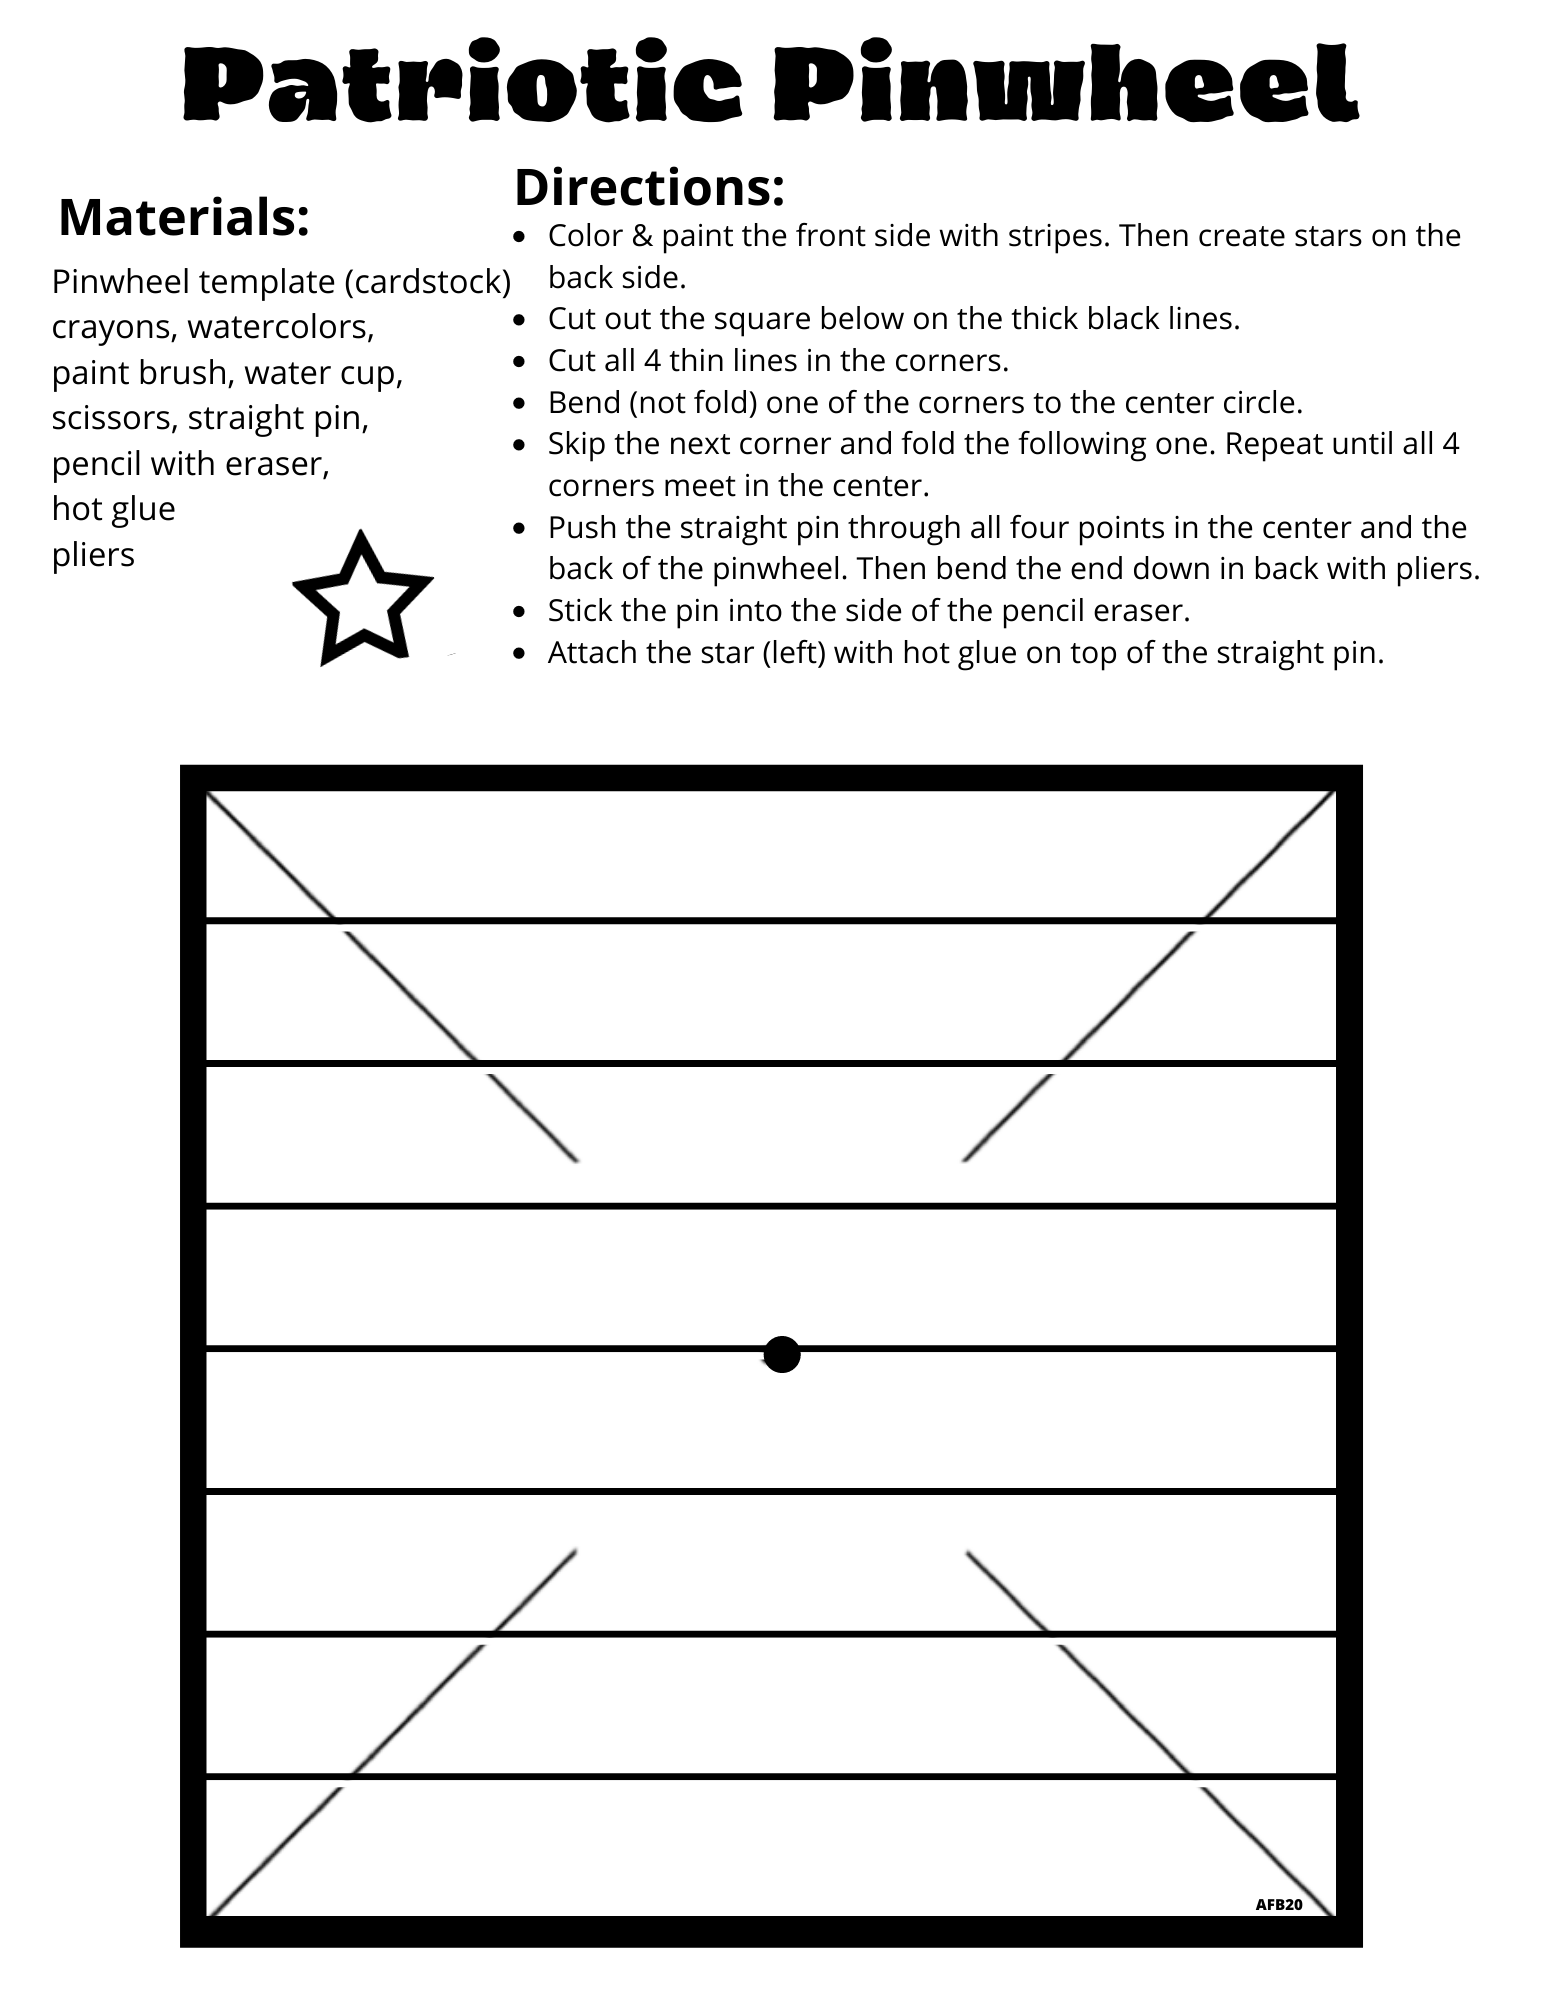
My daughter loves pinwheels, so we decided to make our own. Print on cardstock (8.5×11). We used both crayons and watercolors to complete ours. Below is 2 options. On the opposite sides draw stripes or stars. For the stars (back) on the striped template, we used a white crayon and then painted the background blue. Once complete, hot glue the small star in the center. The project is to be simple and utilize supplies you already have. Any unsharpened pencil will work. Click on the buttons below to download your free copy.
Scavenger Hunt
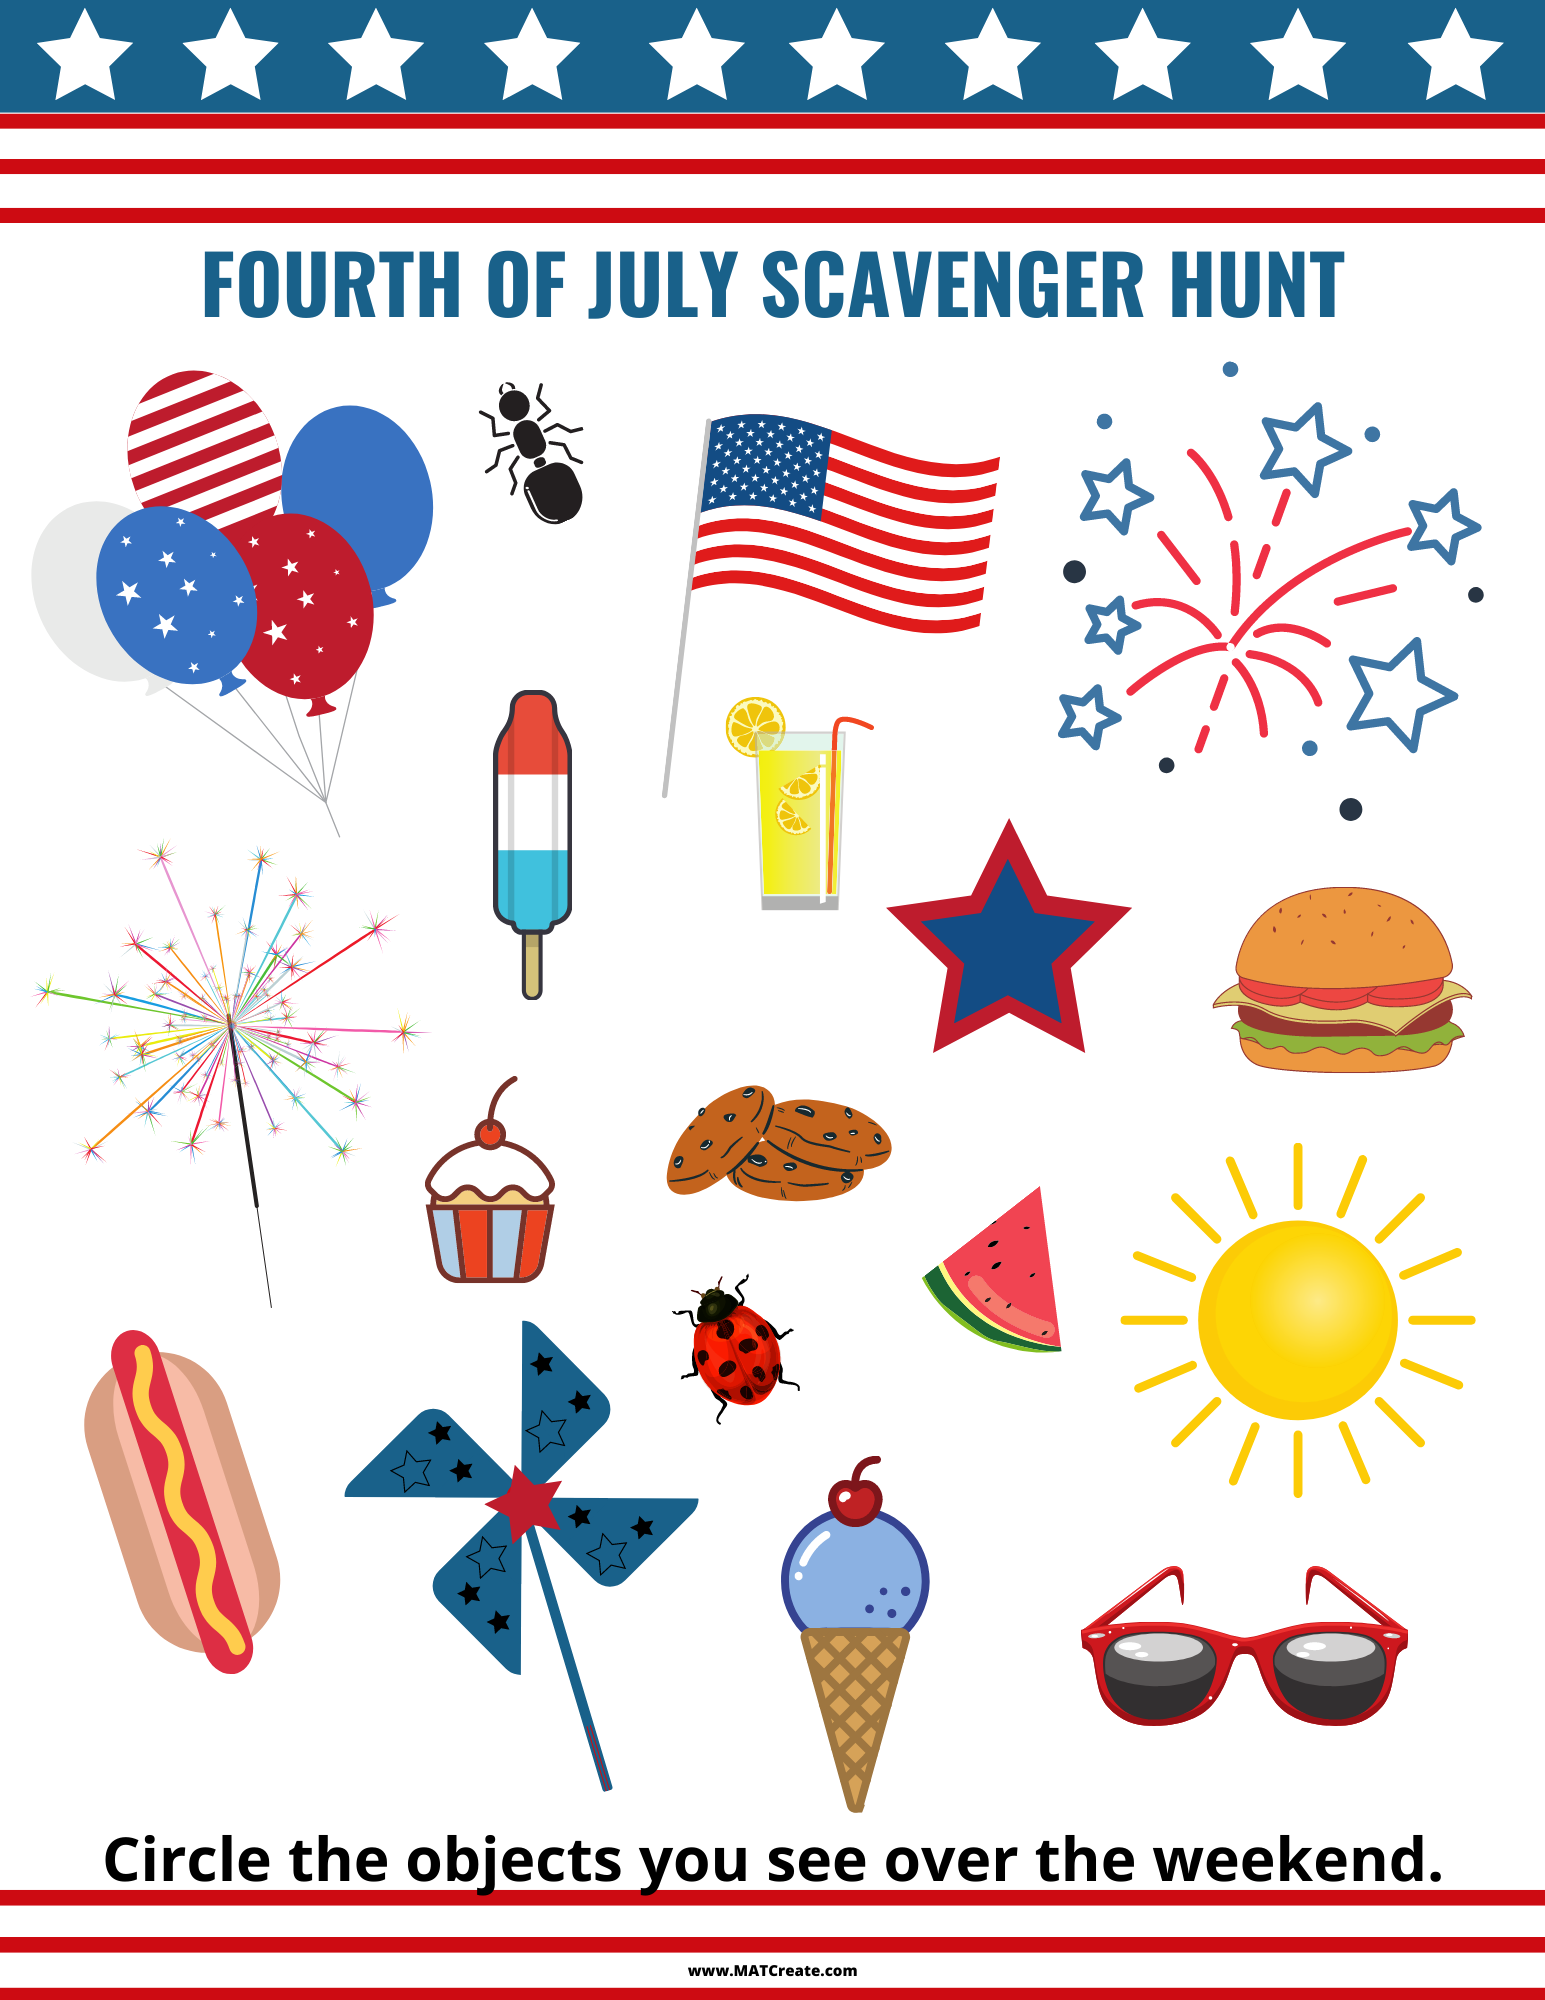
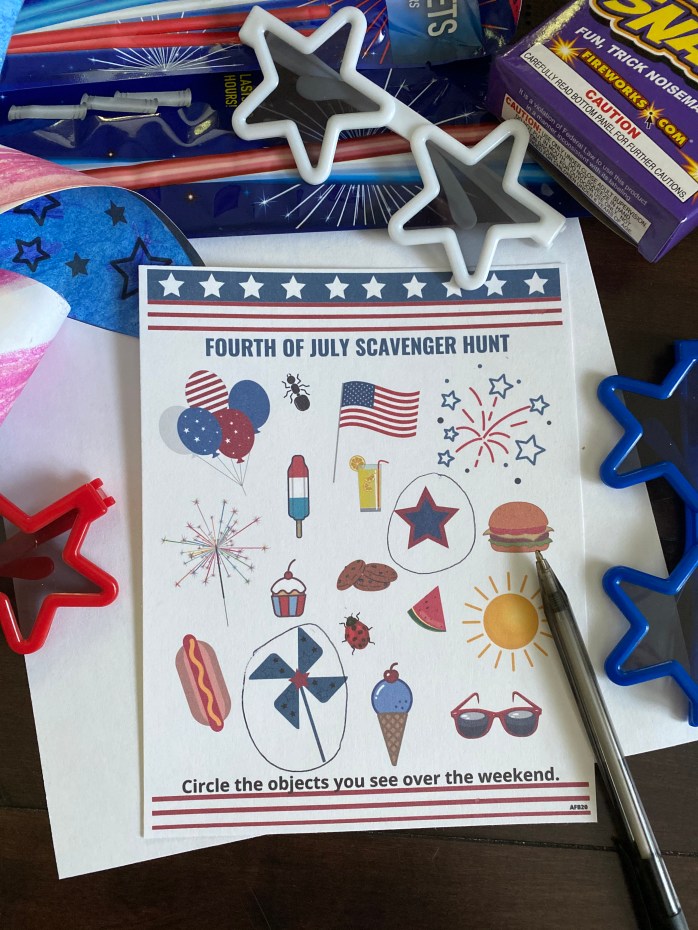
Throughout the weekend we will be on a scavenger hunt. I’ll leave the sheet on our kitchen island for her to continuously work on. Then on Sunday, we will sit down and go over what all she found. Some of the items listed on the page I may have bought ahead of time to make celebrating more fun and the scavenger hunt. Click the button below to get a free copy.
Mad Libs

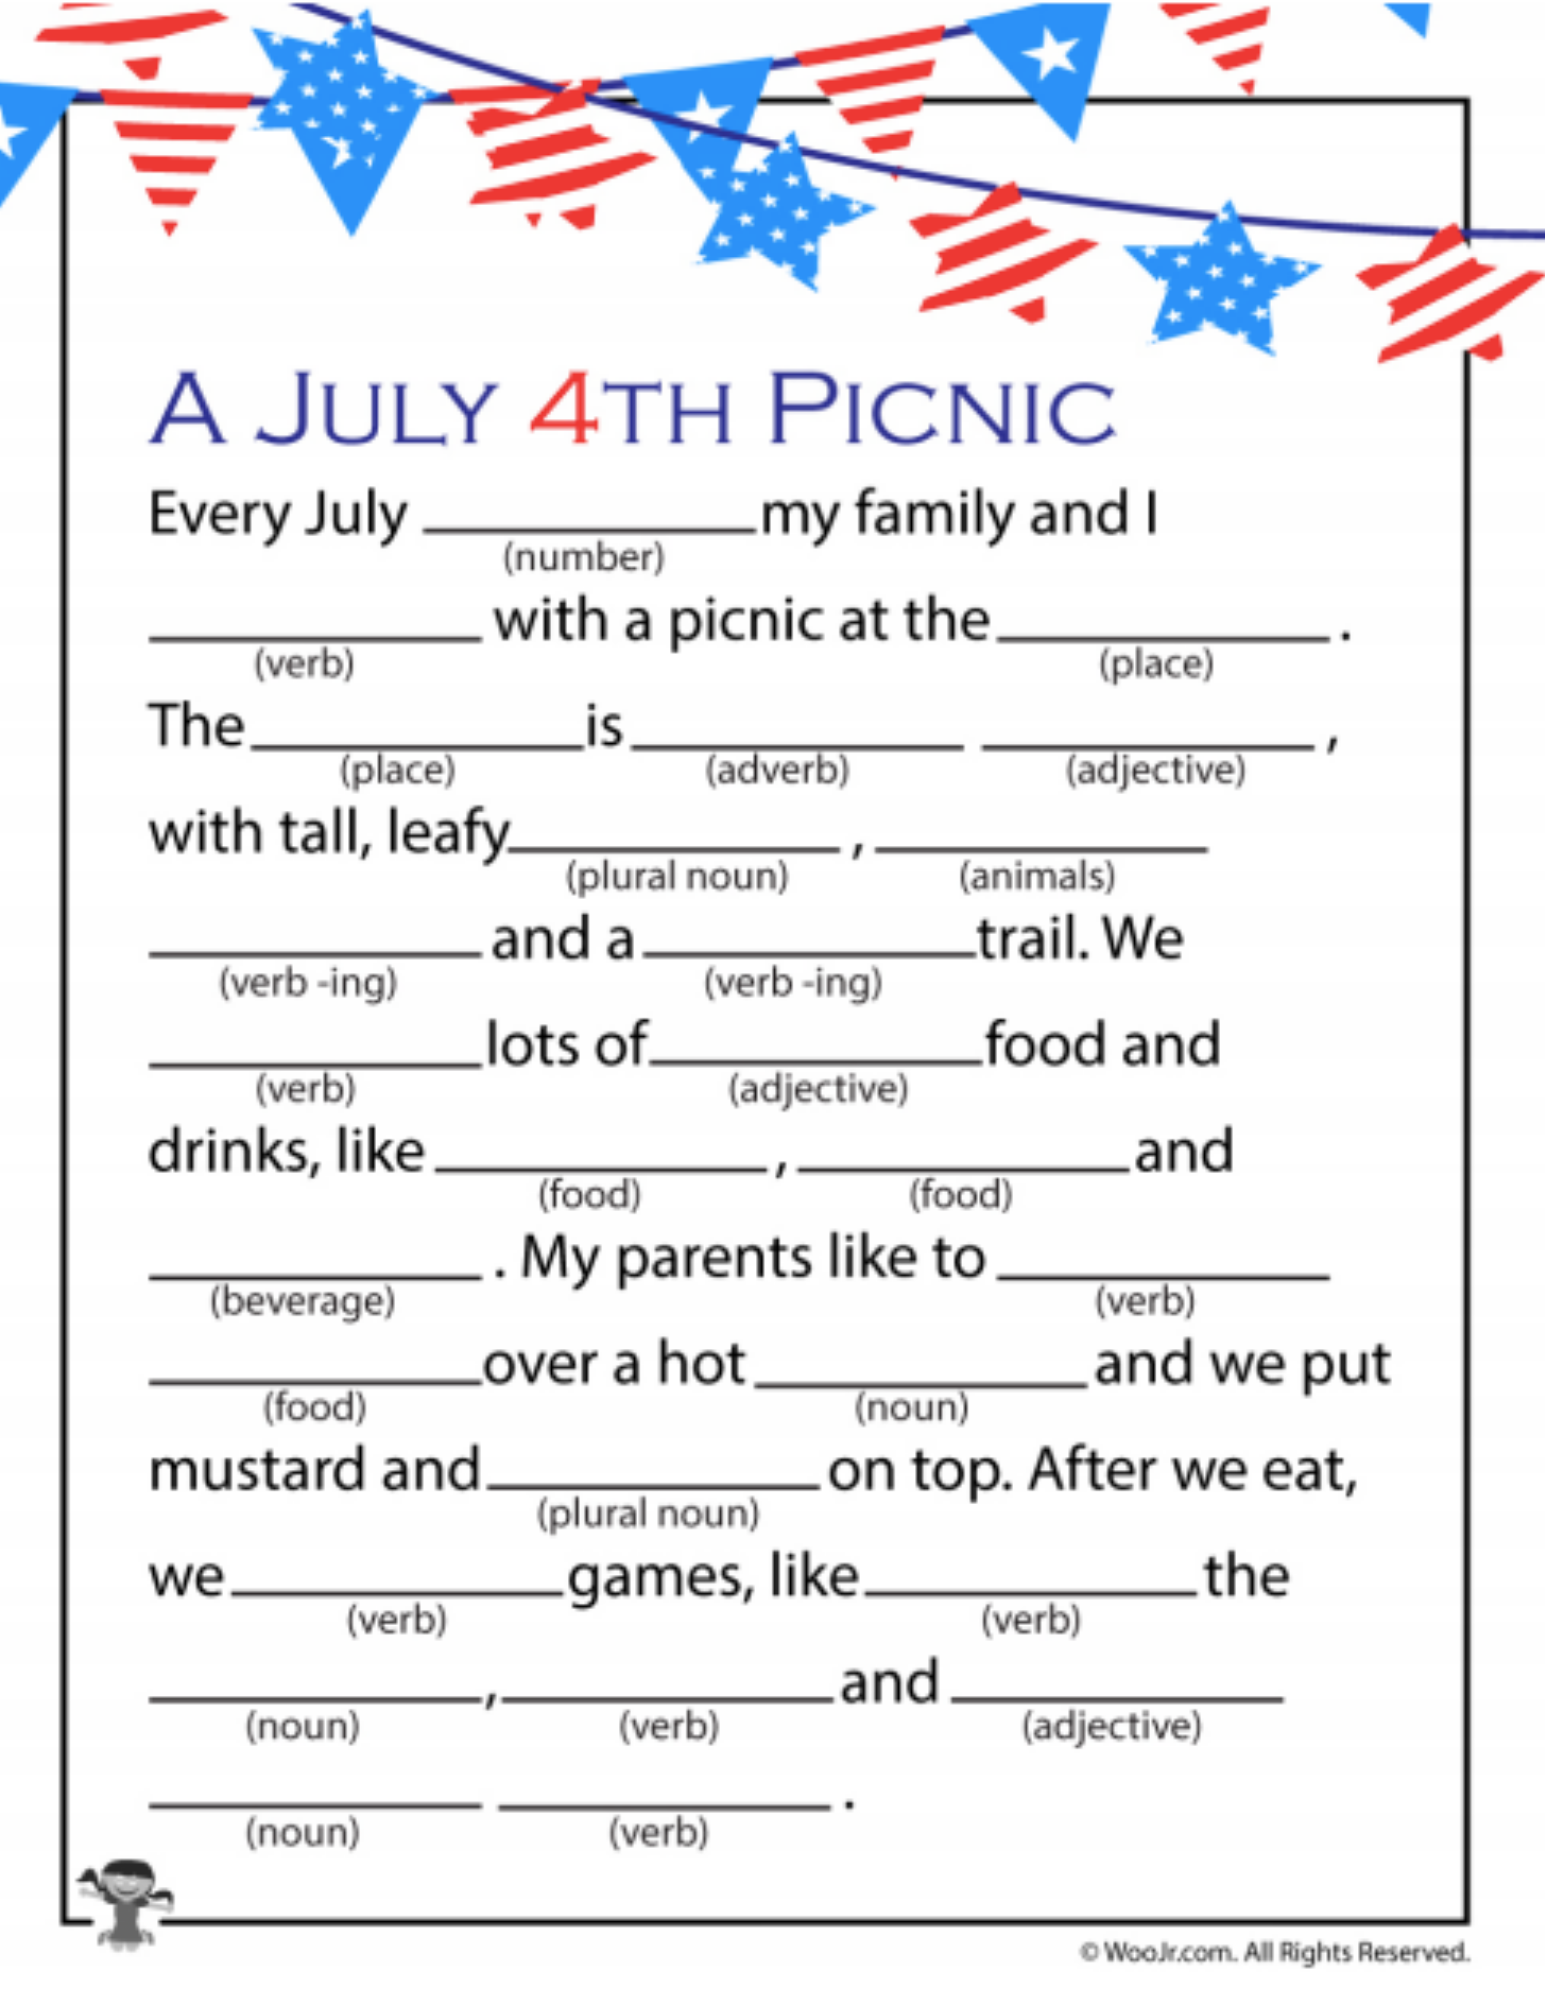
Get the family together and complete these fun Mad Libs. Don’t read the sentences! Everyone can complete their own or complete as a family! The fun really begins when you read them aloud! Enjoy!
Click on the button below or check it out on this site plus a lot more.
M&M Pudding Cookies
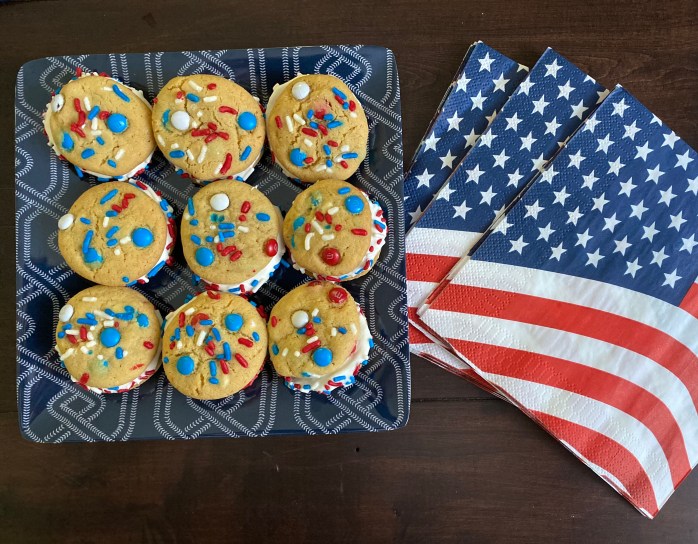
You can’t celebrate without cookies, at least not in our house! I used my favorite M&M cookies recipe from Cookies & Cups. I made them into mini cookies. I used a cookie scoop and then divided each scoop of dough in half by hand. To garnish the cookies I added more M&Ms and sprinkles before baking. The recipe made a little over 2 dozen mini cookies.
Marshmallow Cream Icing
I have experimented and made a lot of icings and fillings. This is one of my husbands favorites. The marshmallow is a unique addition. We are on a marshmallow kick at our house lately.
Ingredients:
- 1 cup of marshmallow cream (I used Jett Puffed)
- 1/2 cup salted butter, at room temperature
- 1/2 teaspoon vanilla extract
- 1 cup powdered sugar
- 2-3 teaspoons milk
In a stand mixer, on medium speed, add the marshmallow cream, vanilla, and butter until well combined (about 3 minutes). Still on medium speed, slowly add the milk, then powdered sugar. Depending on the consistency you want is how much milk to add (more fluid= more milk). I used 2 teaspoons for mine. Note the icing is sticky because of the marshmallow cream.
After complete, I put into a piping bag. I piped on one cookie (started by making an outside circle and filled in) and then placed another on top. Then I rotated the cookie and sprinkled sprinkles on the icing. You can use a ziploc bag instead of a piping bag (no need to go buy one if you don’t have). Enjoy- so yummy.
Have a wonderful weekend celebrating!

THE SCOOP ON “PAPA”
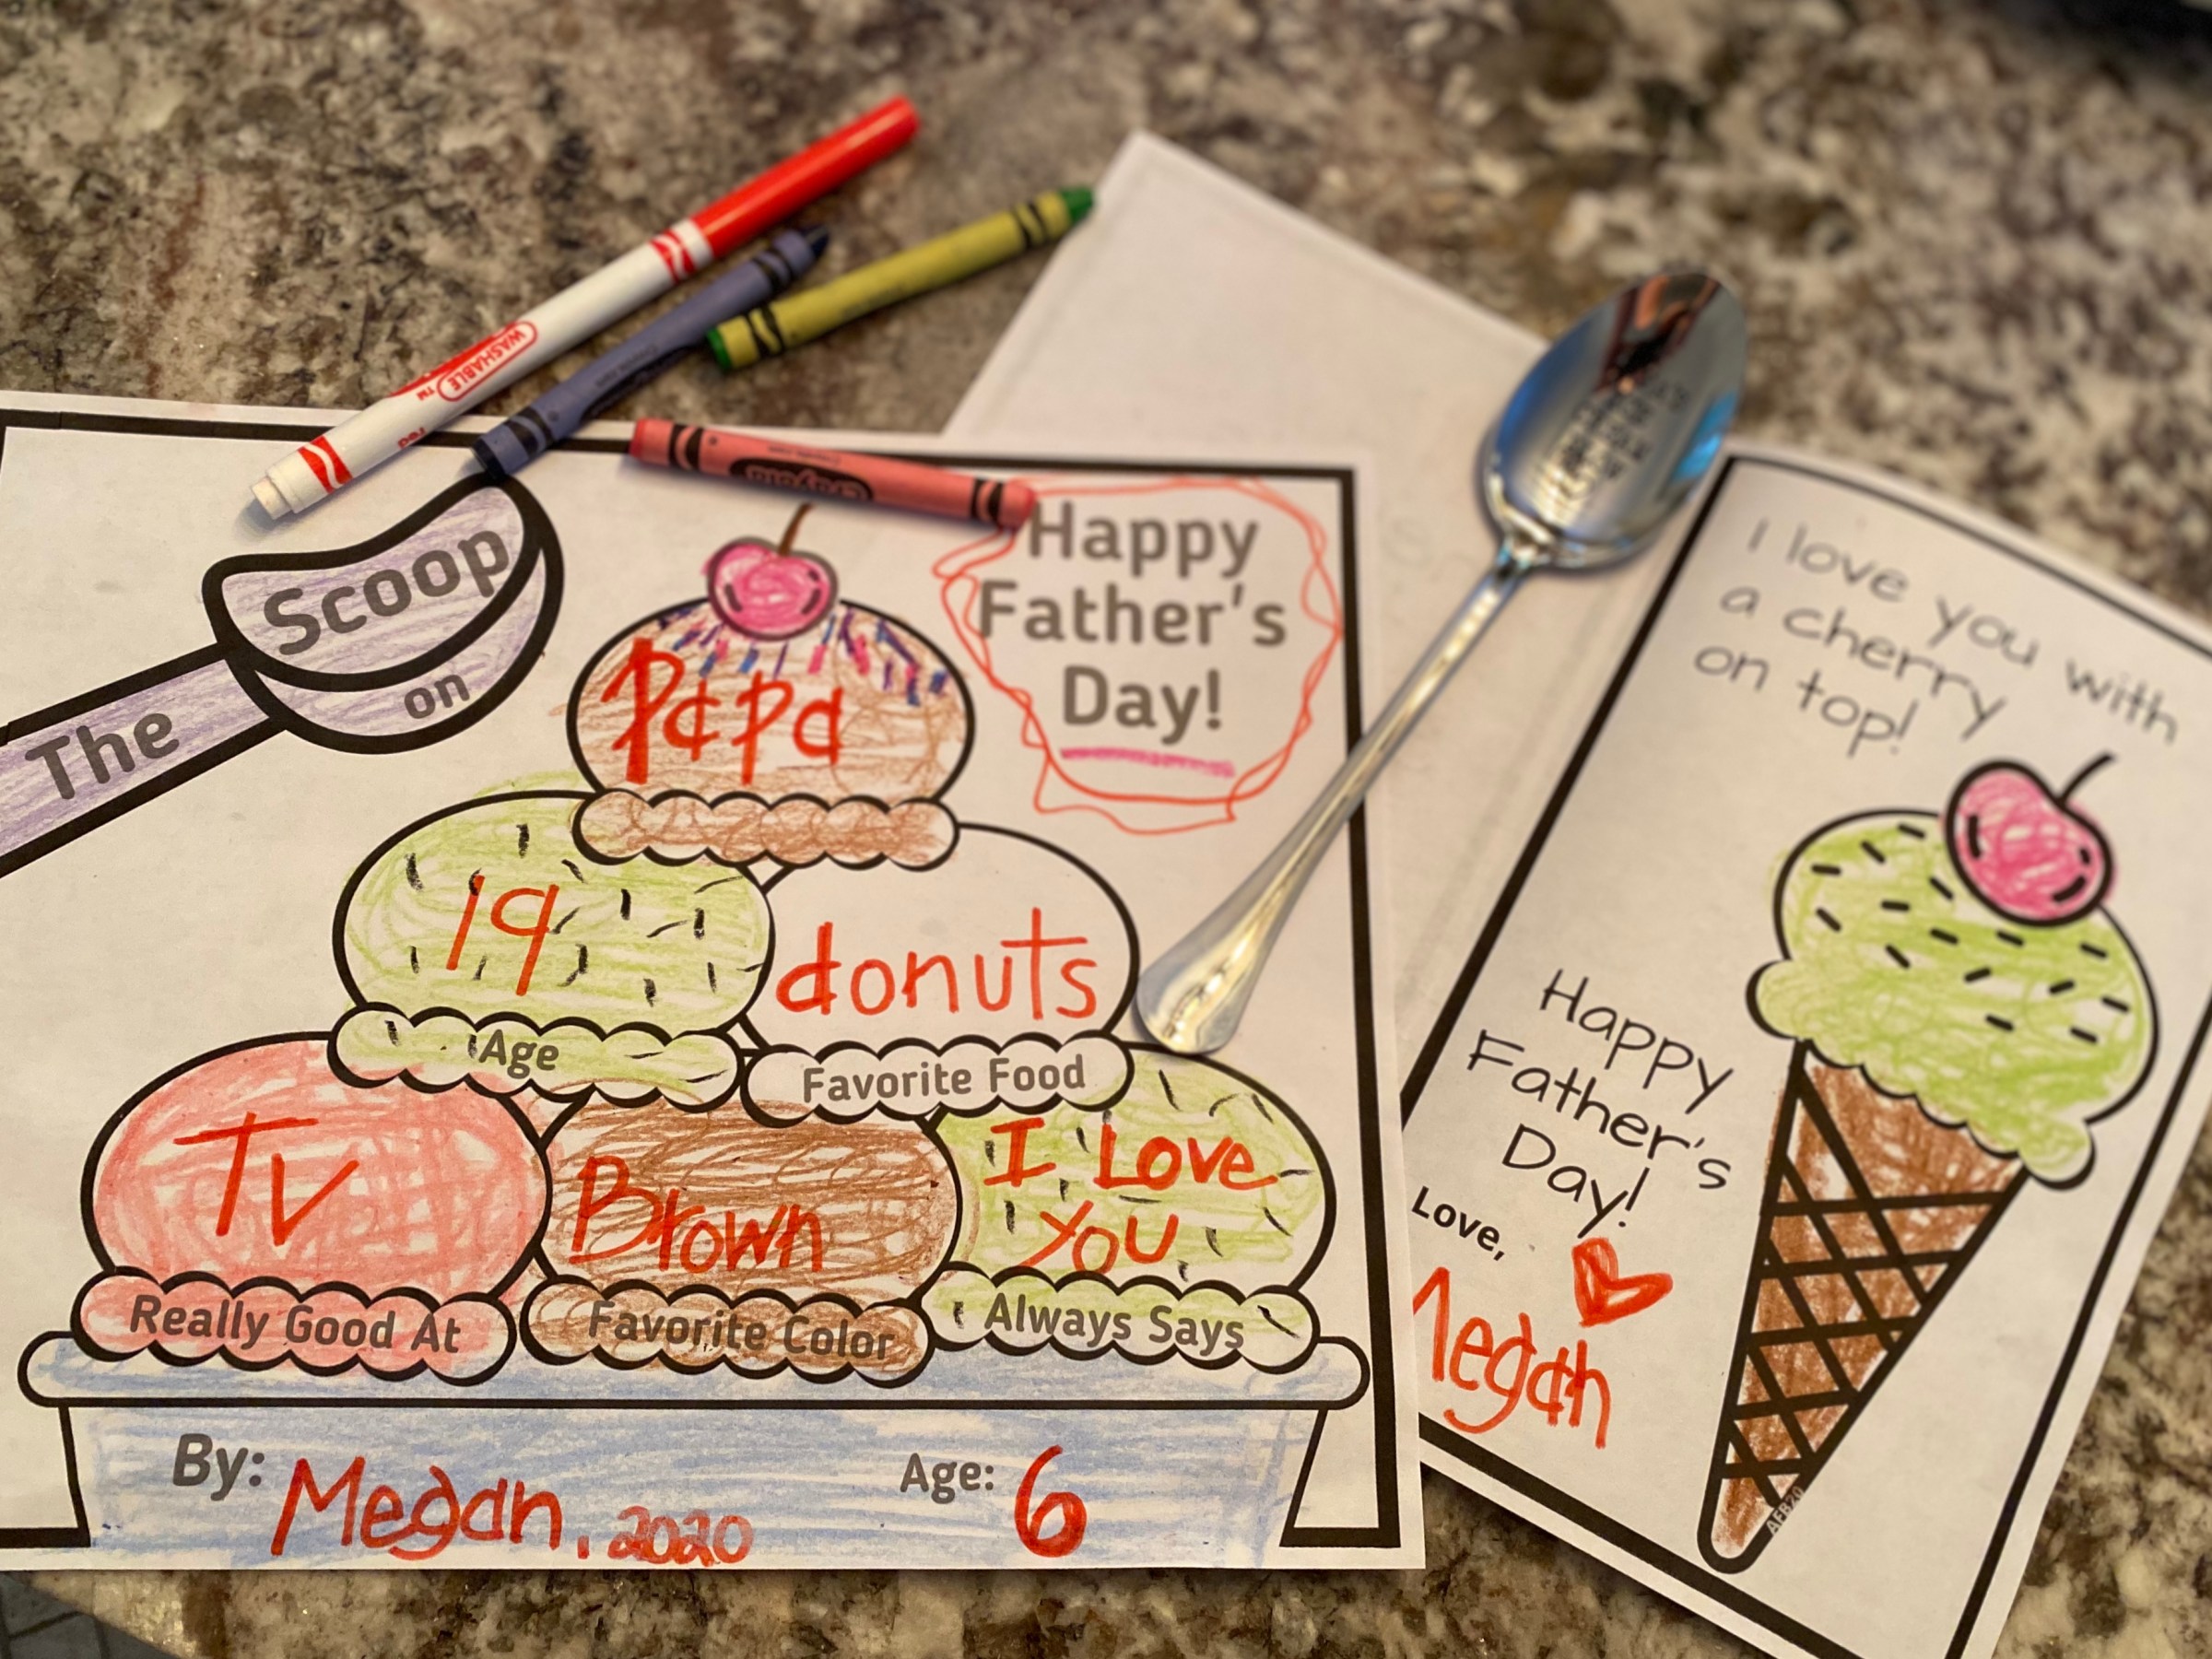
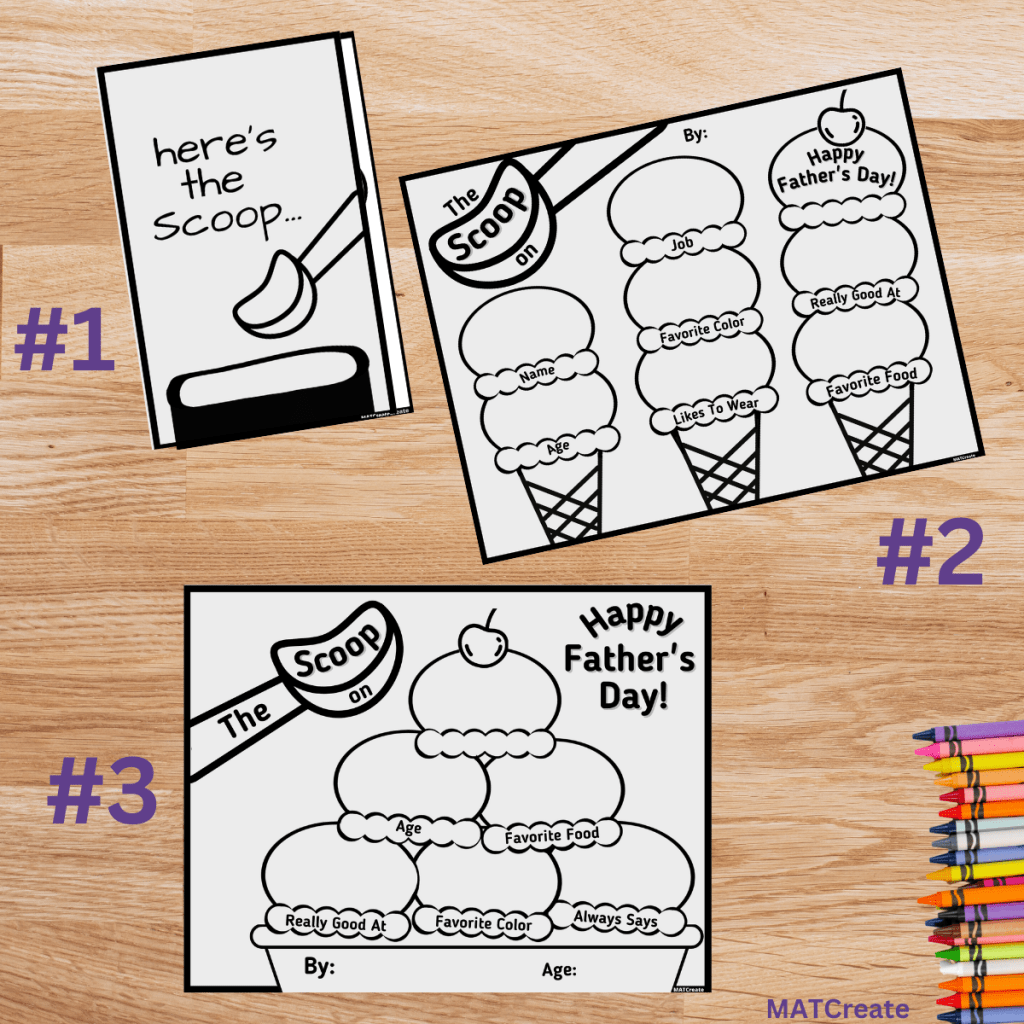
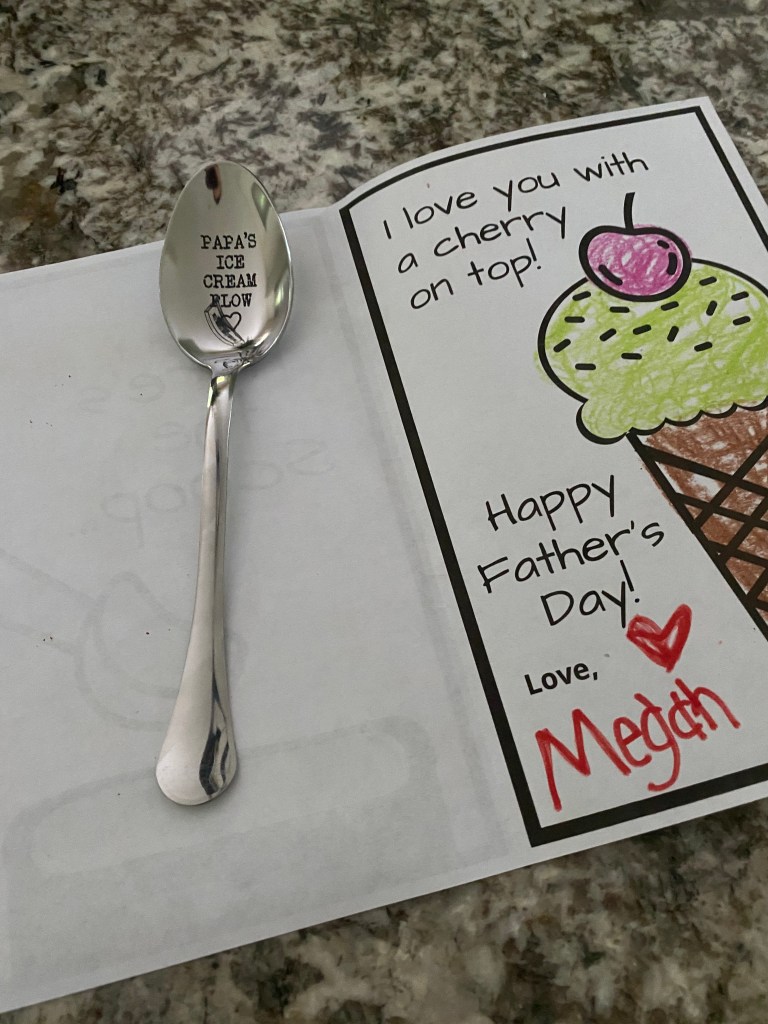
Don’t forget about your Grandfather, Grandpa, Papa, or Pop Pop in your life on Father’s Day! Everyone loves ice cream! Below you will find a card you can personalize and an All About printout. I didn’t put any names on it- you choose who it is for (Dad, Stepdad, Grandpa, etc.). There are two inside options for the card- one for Father’s Day and a blank option. Sometimes a “just because” card is needed.
To Make:
Print out the card and About template of choice on white cardstock. At the top of the card, have your child write who the card is for. Then have your child color it in. In the inside of the card, have them color as well and sign it. On the back (blank) they can draw their own unique picture if they want to.
Have your child fill out the “scoop” on their special person by writing the answers in first, then coloring. If they are unable to write in the small space, you can write for them. Usually the younger the child, the funnier the answers are. I recommend writing in dark colors using a pen, marker, or crayon for the answers. Then coloring in with crayons or colored pencils.
I’m sure you’ll learn a lot about this special person in your child’s life from them!
I found this cute spoon to go with his gift. I also bought him a gift card to a local ice cream shop he loves. There are lots of options on Amazon besides Papa.

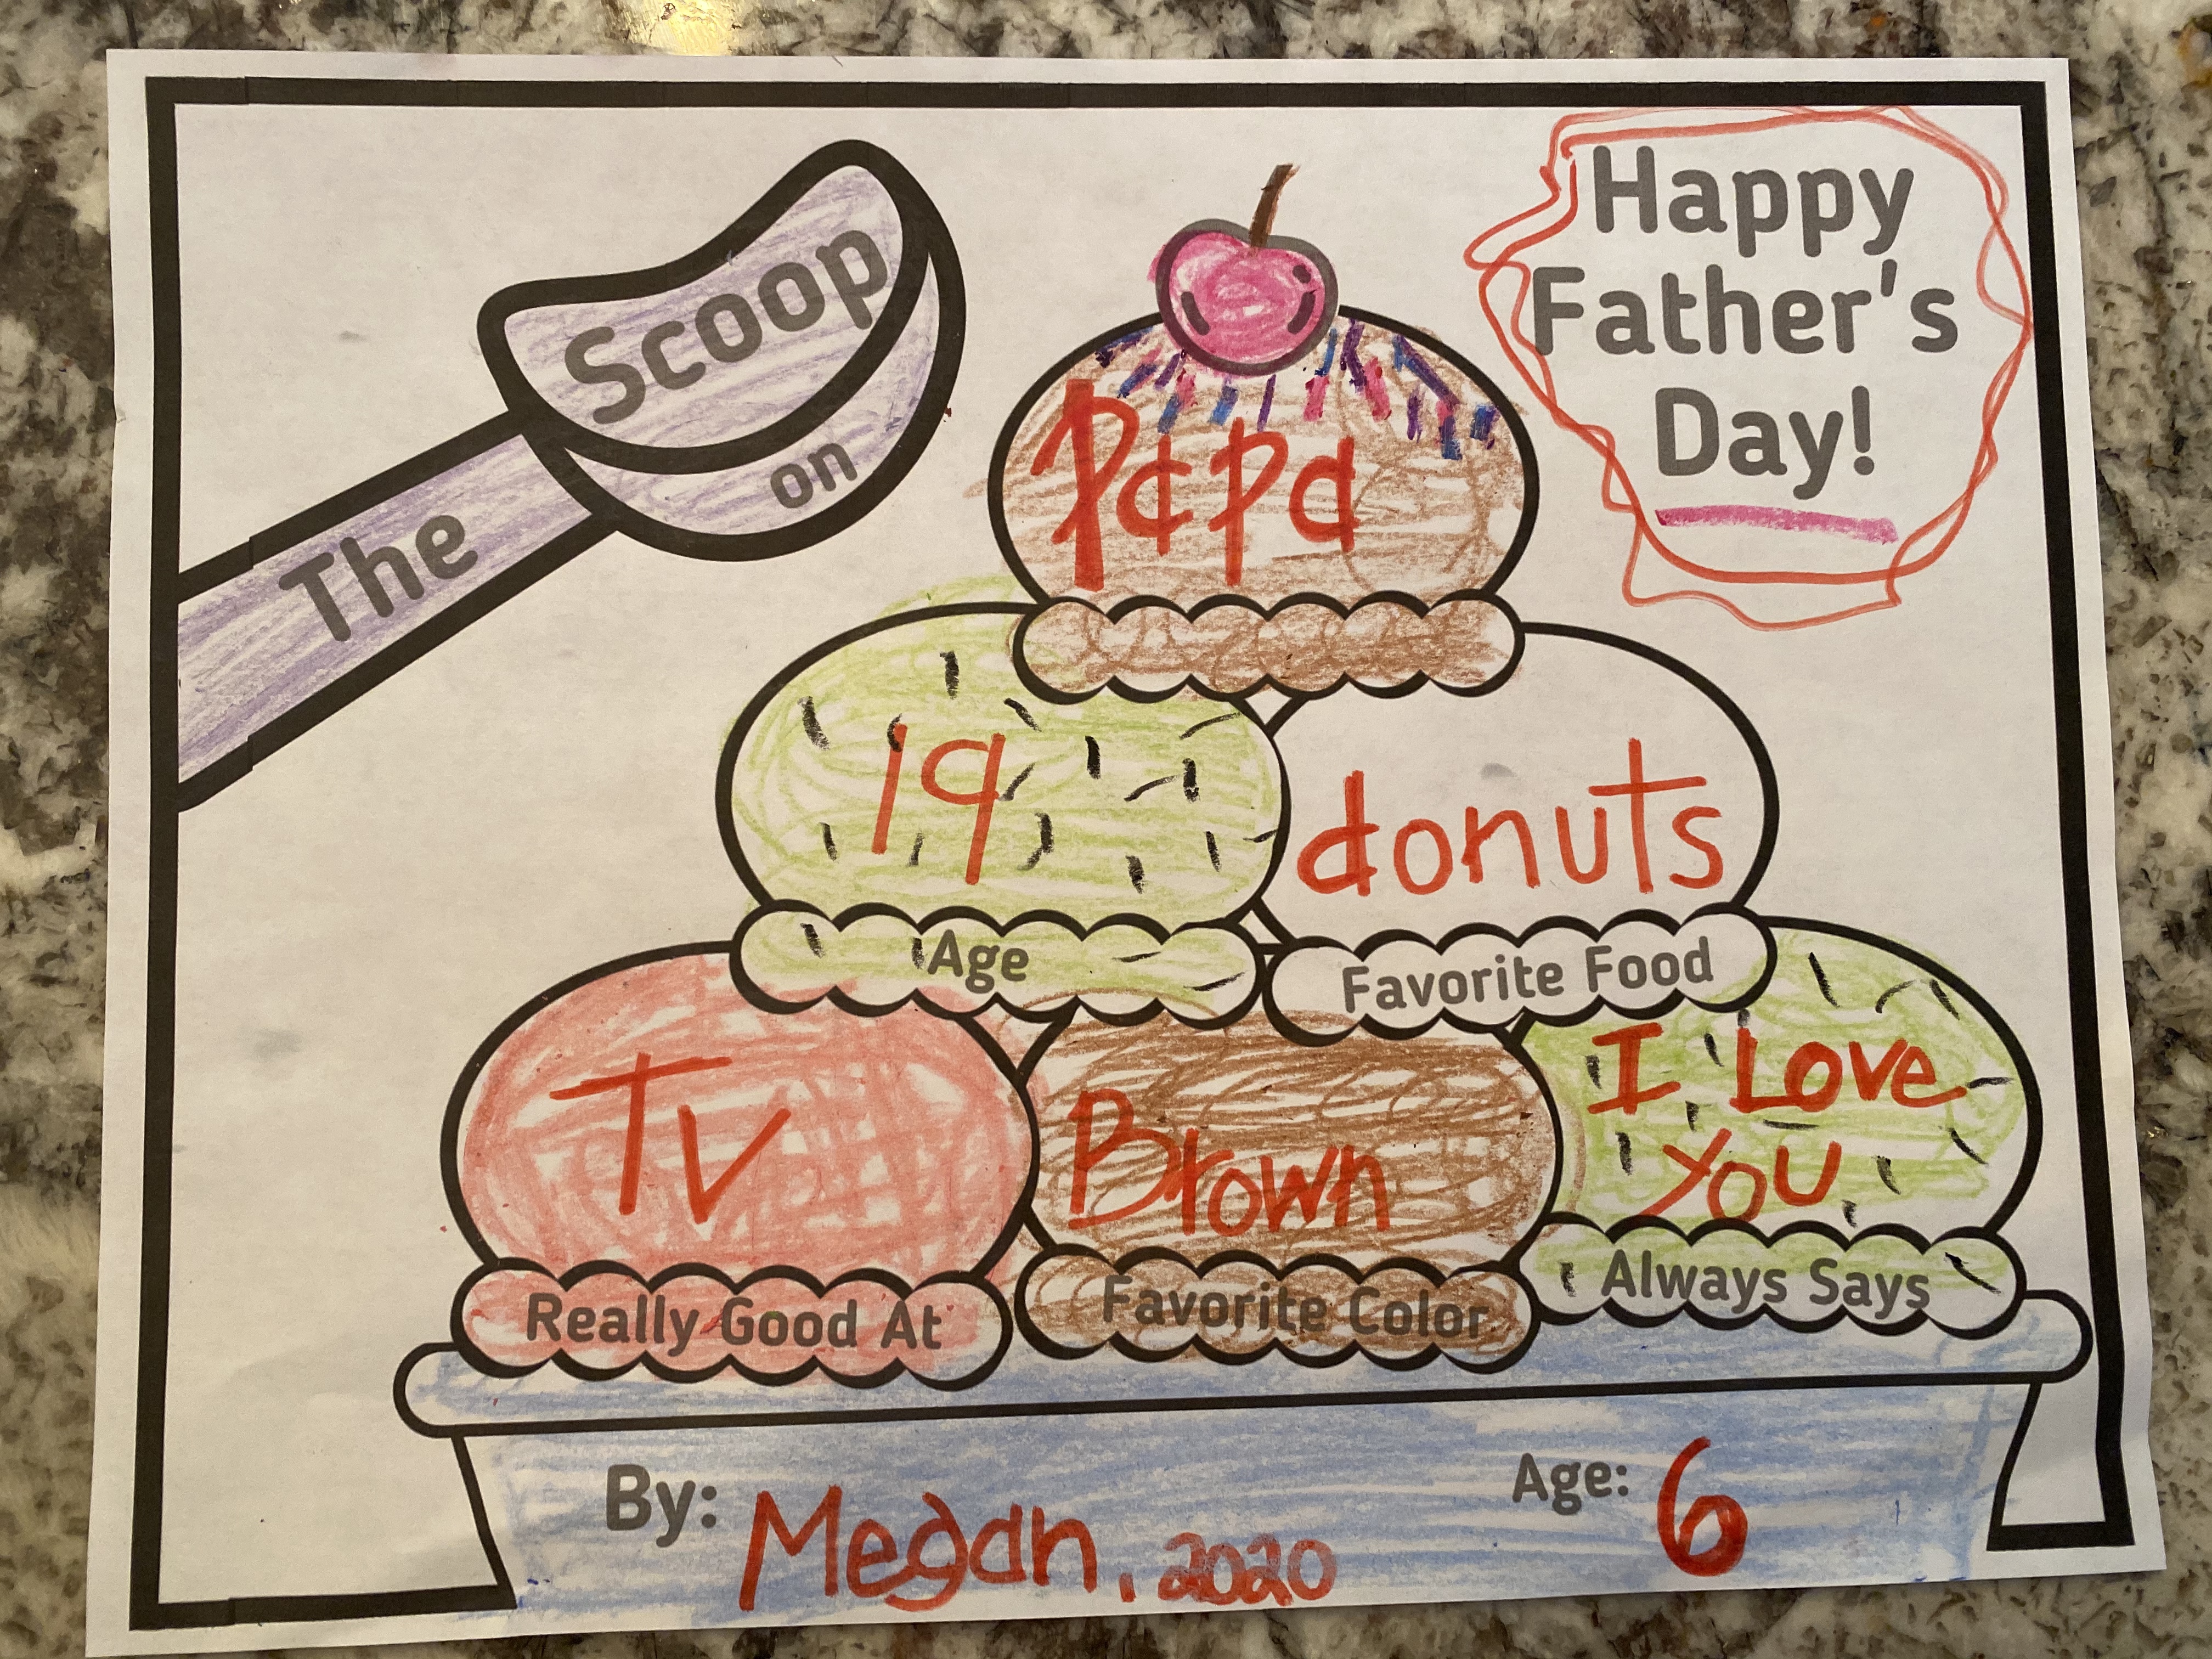
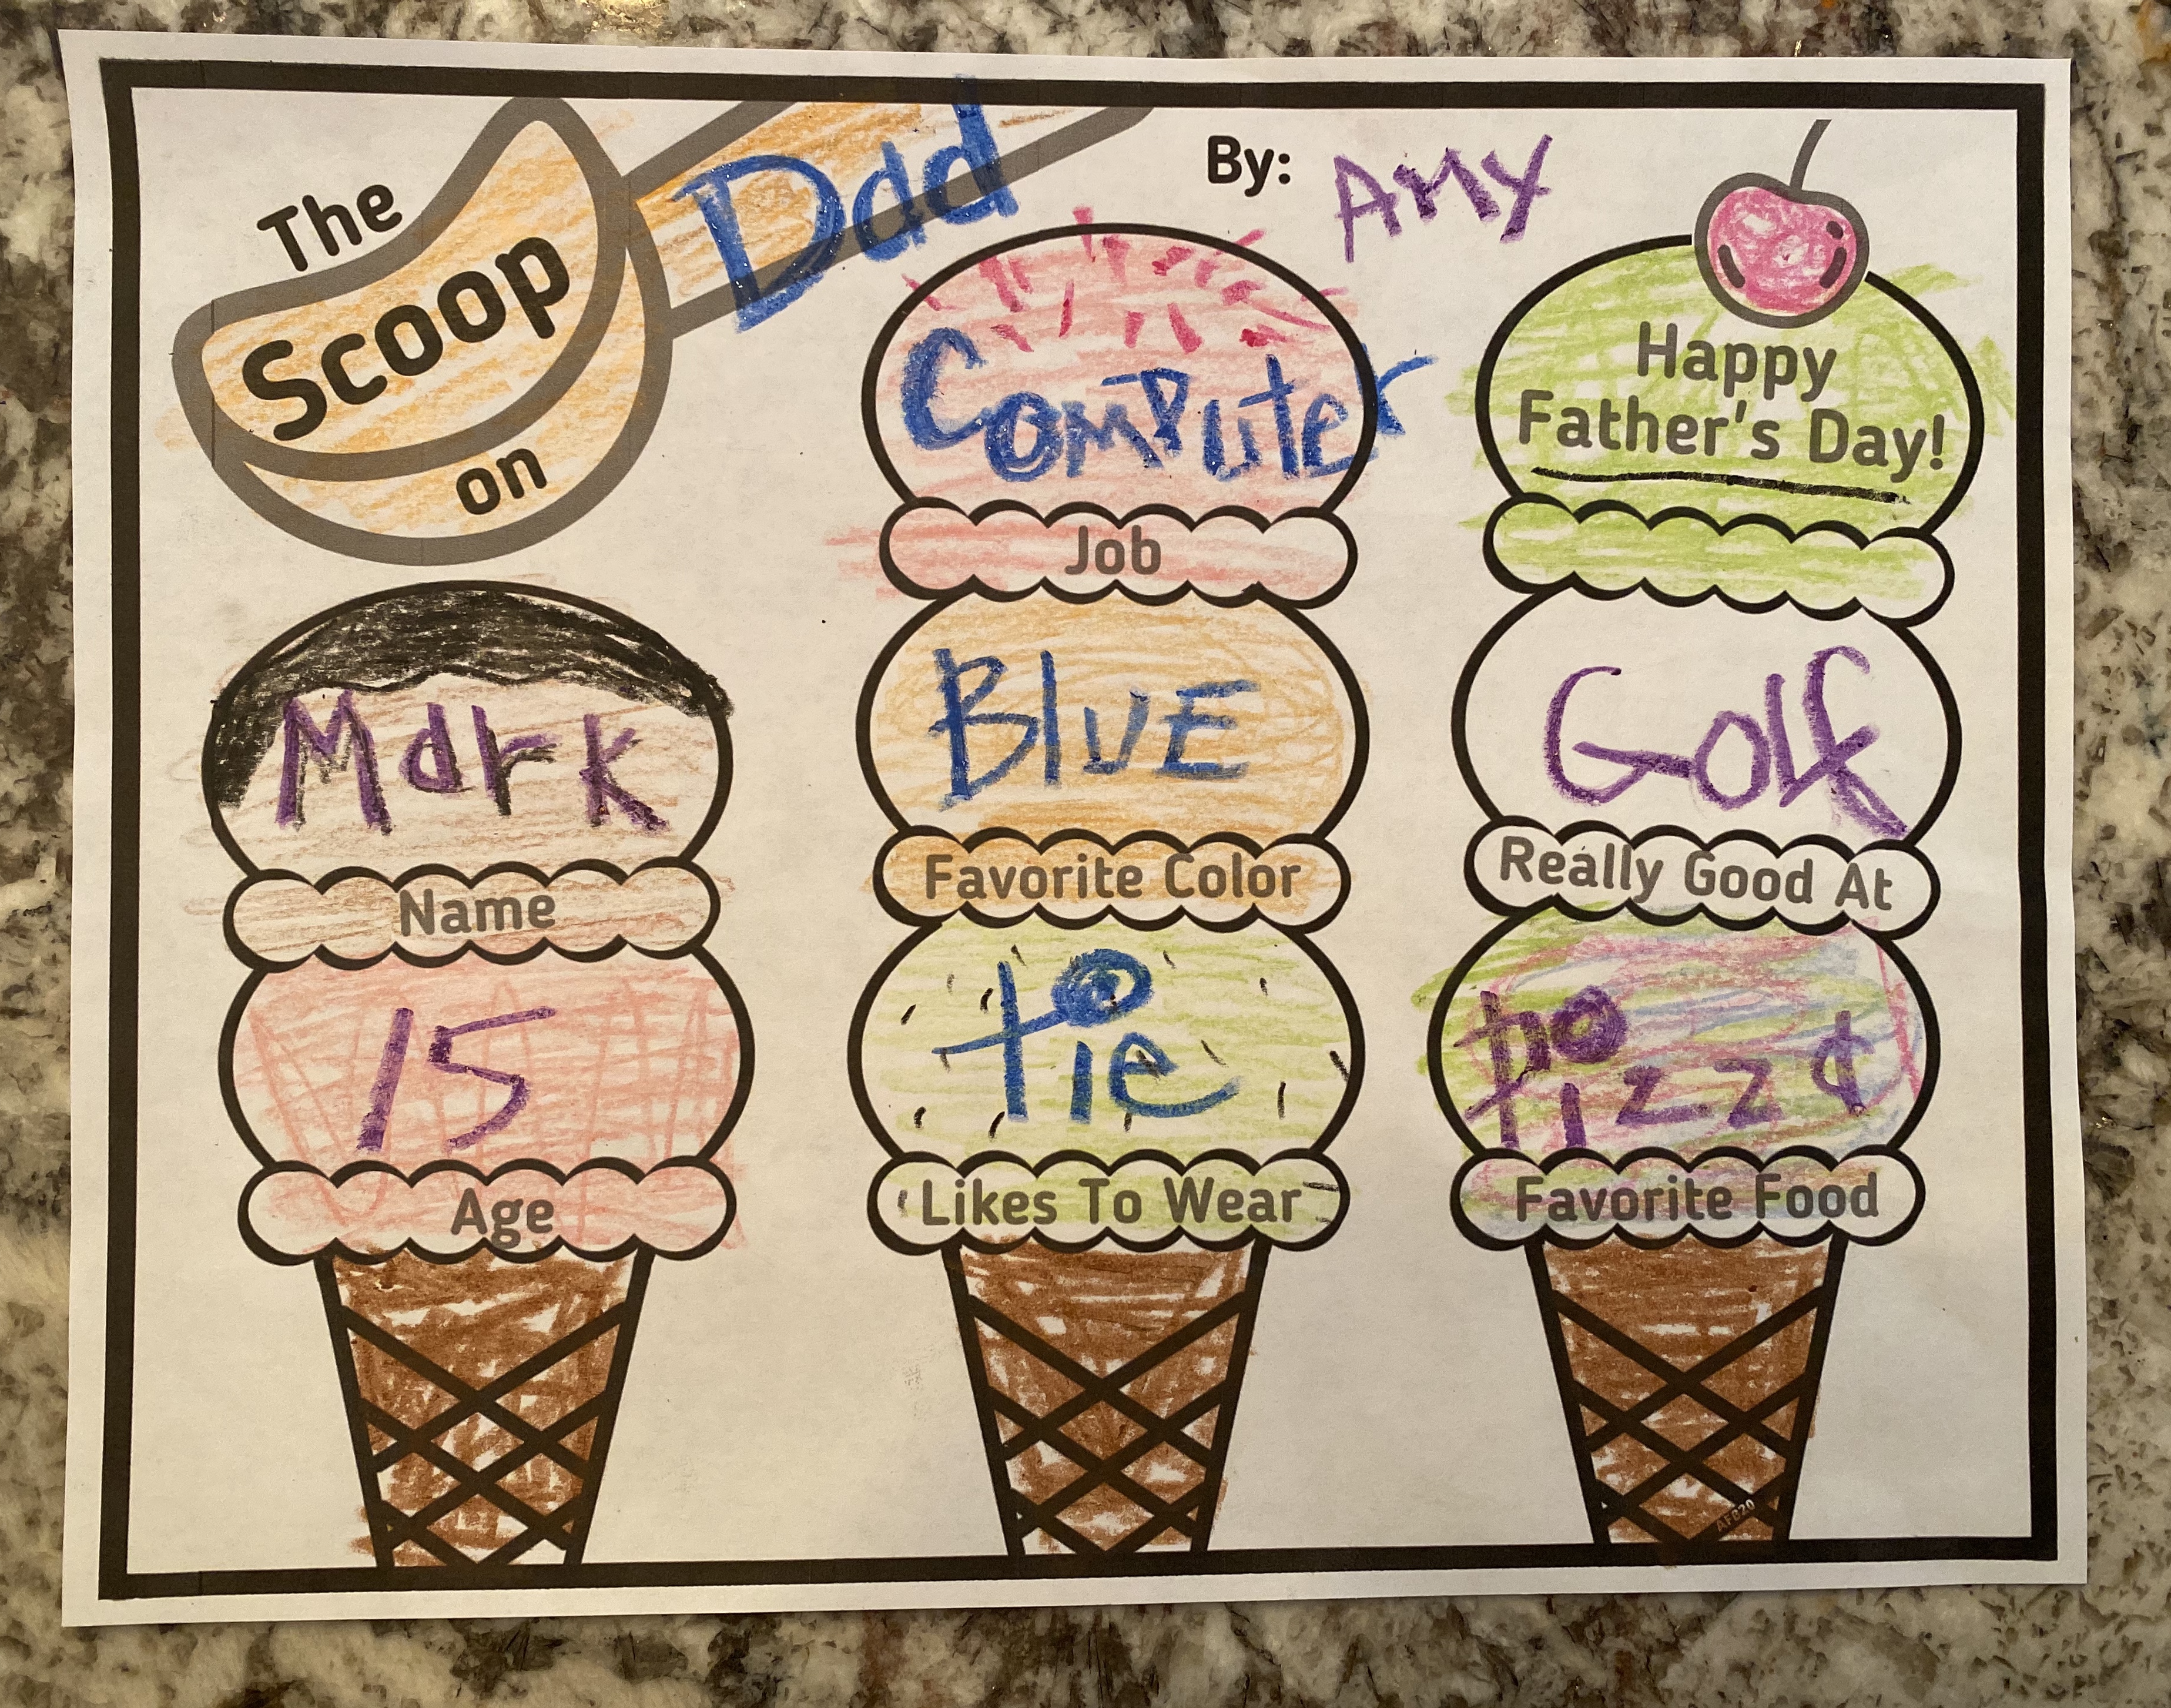
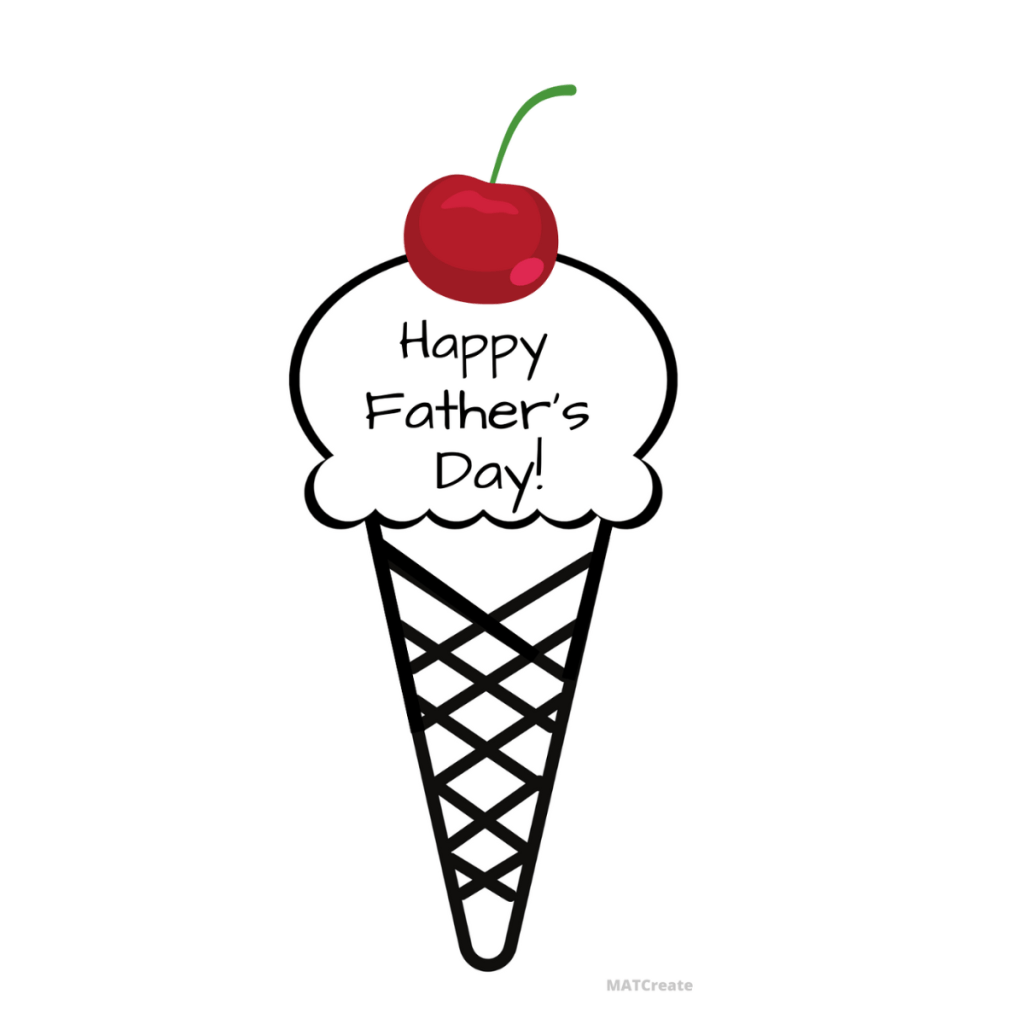
- Please see Terms & Conditions on the About page. For personal use, simply drag into a Word document or onto your desktop. If any questions- please leave a comment. Thank you!
MARSHMALLOW PAINT
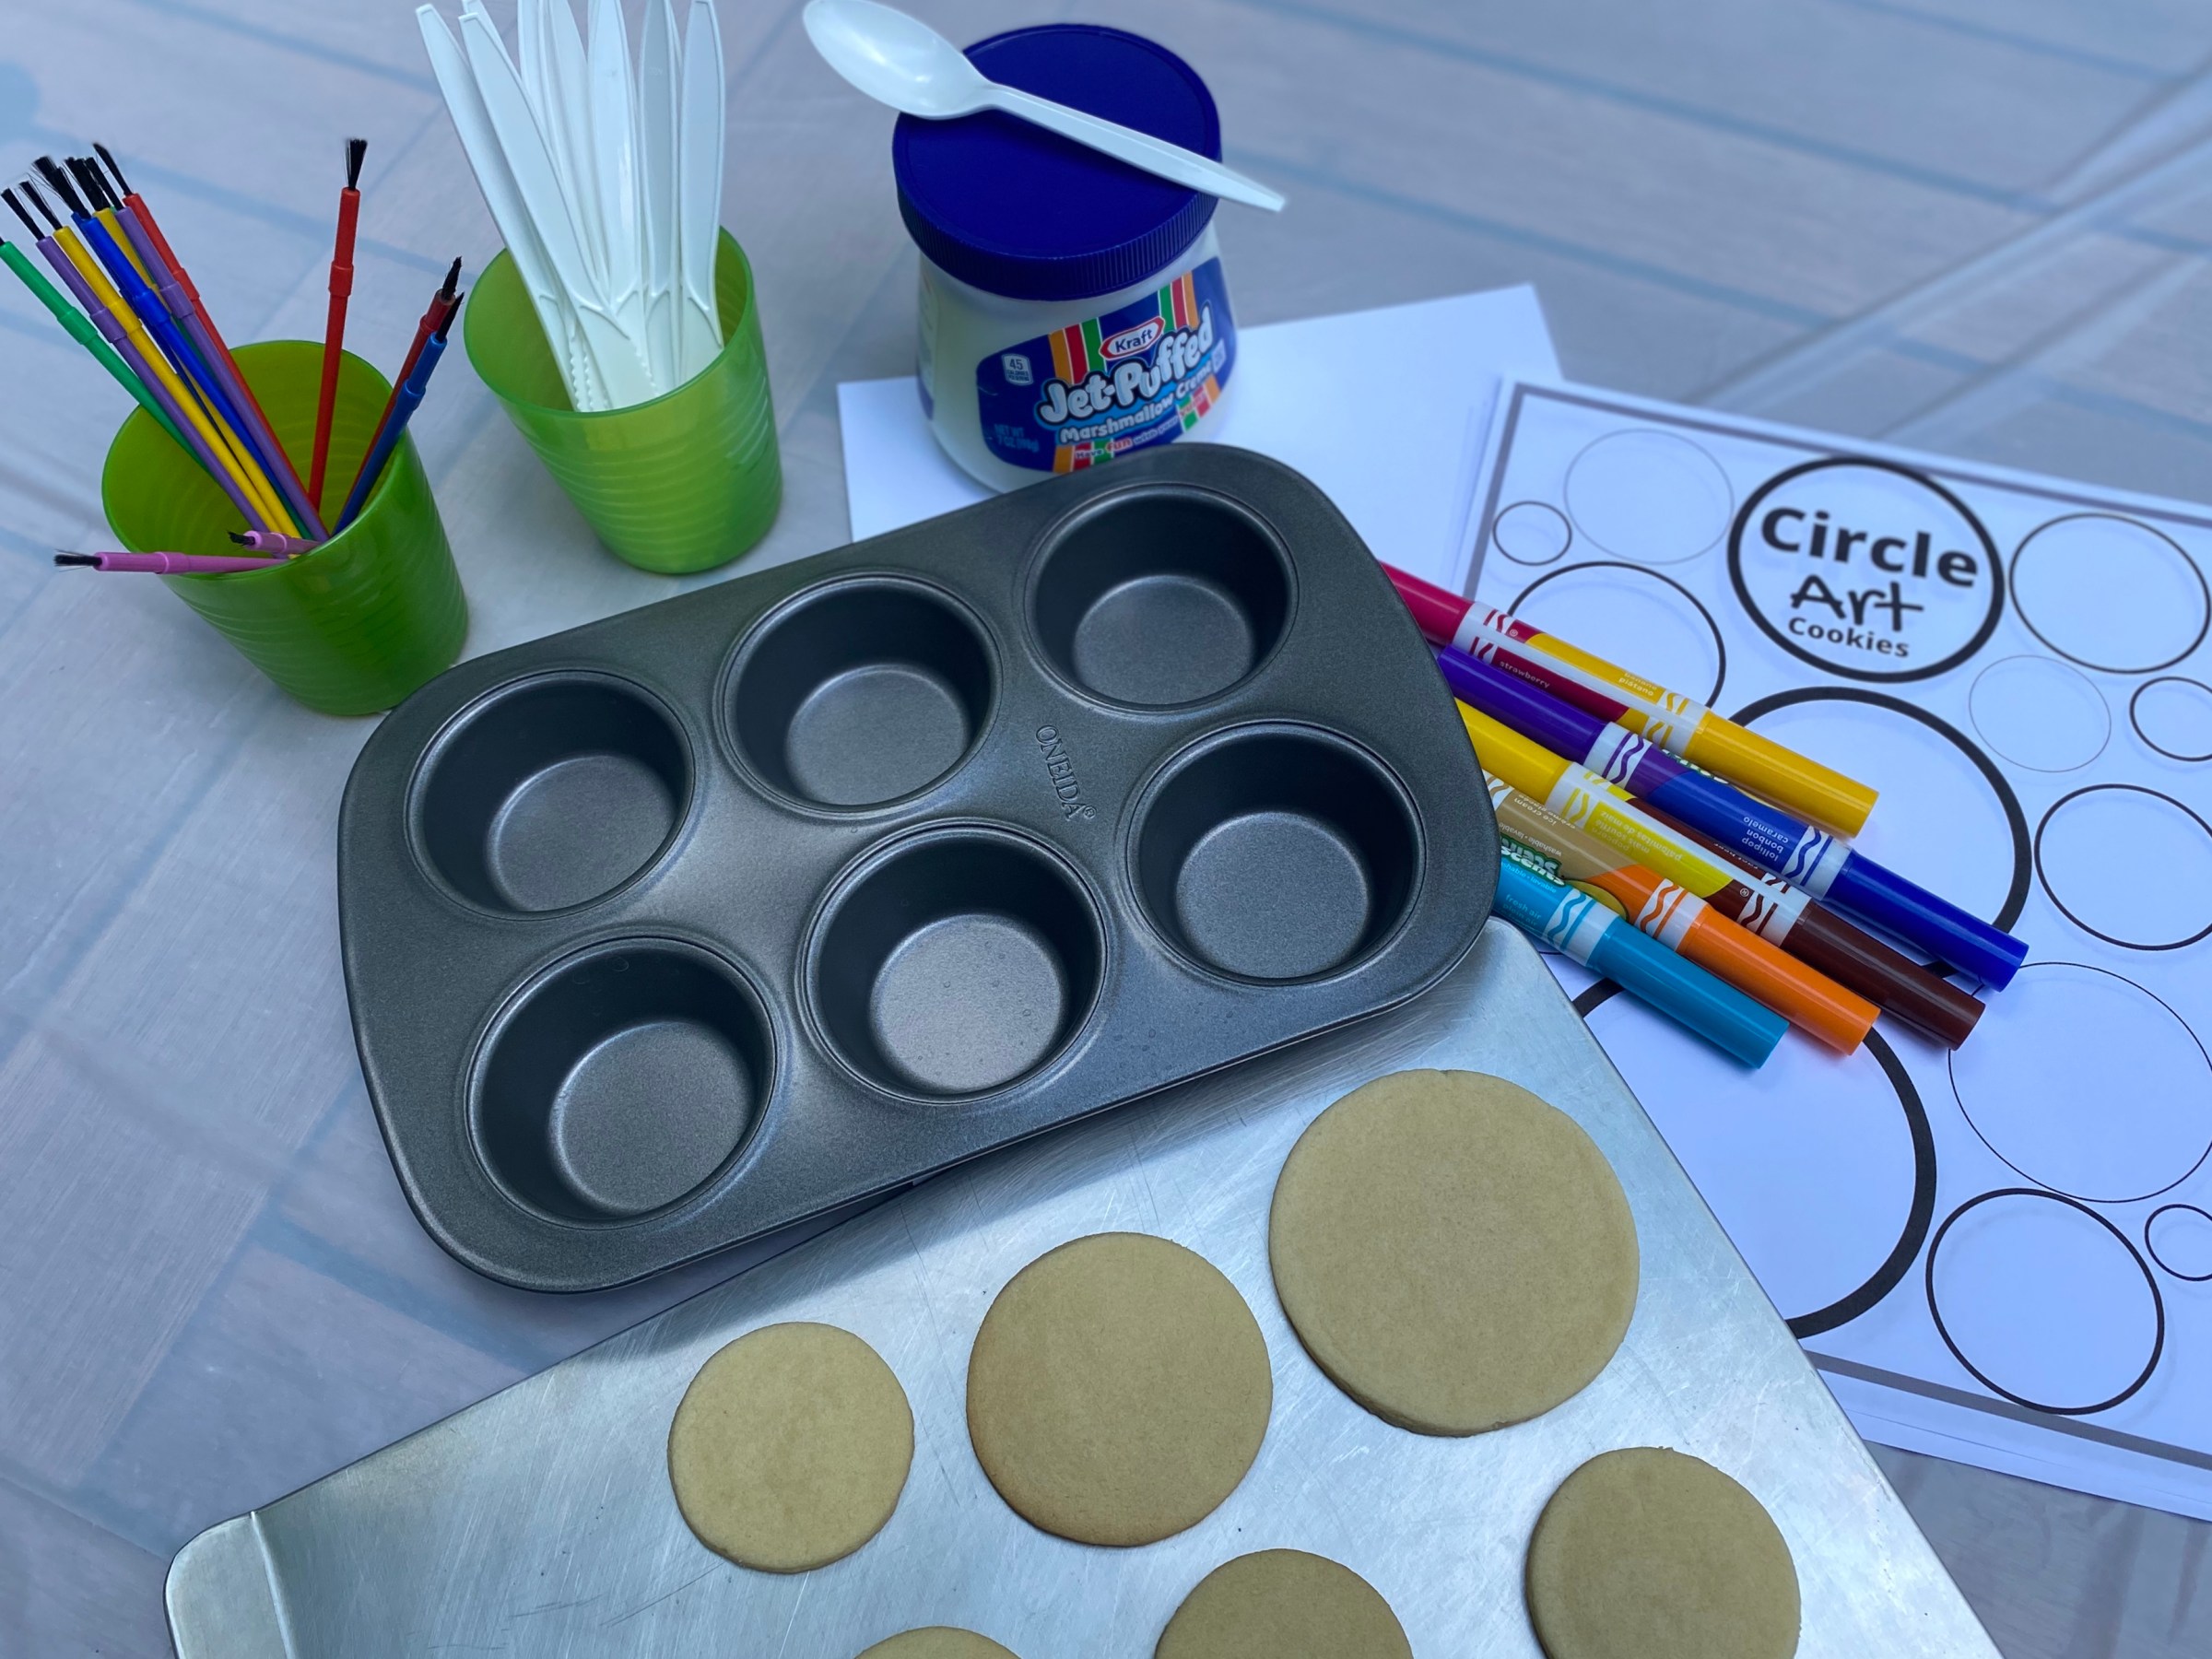
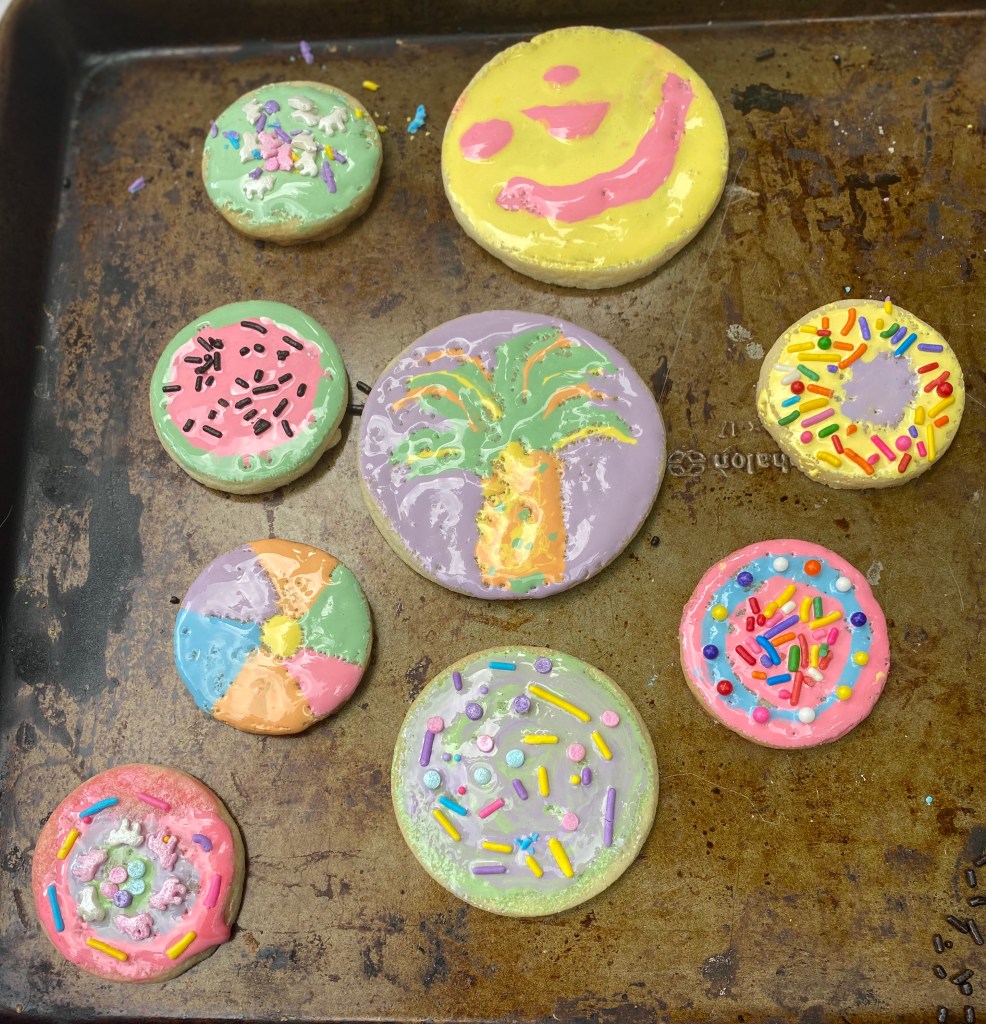
Make cookie decorating into an art project! Then with the left over paint create your own masterpieces on paper.
This was a fun, educational, & yummy afternoon lesson. Ahead of time my daughter and I made the circle sugar cookies. We used a mix, but you could make from scratch.

Materials:
- sugar cookie mix (or make from scratch)
- baking sheet
- marshmallow fluff (we used Jett Puffed)
- gel food dye or liquid (red, yellow, blue)
- toothpick
- spoon
- plastic knives
- sprinkles
- paint brushes
- muffin pan
- cardstock
- worksheet
- markers/crayons

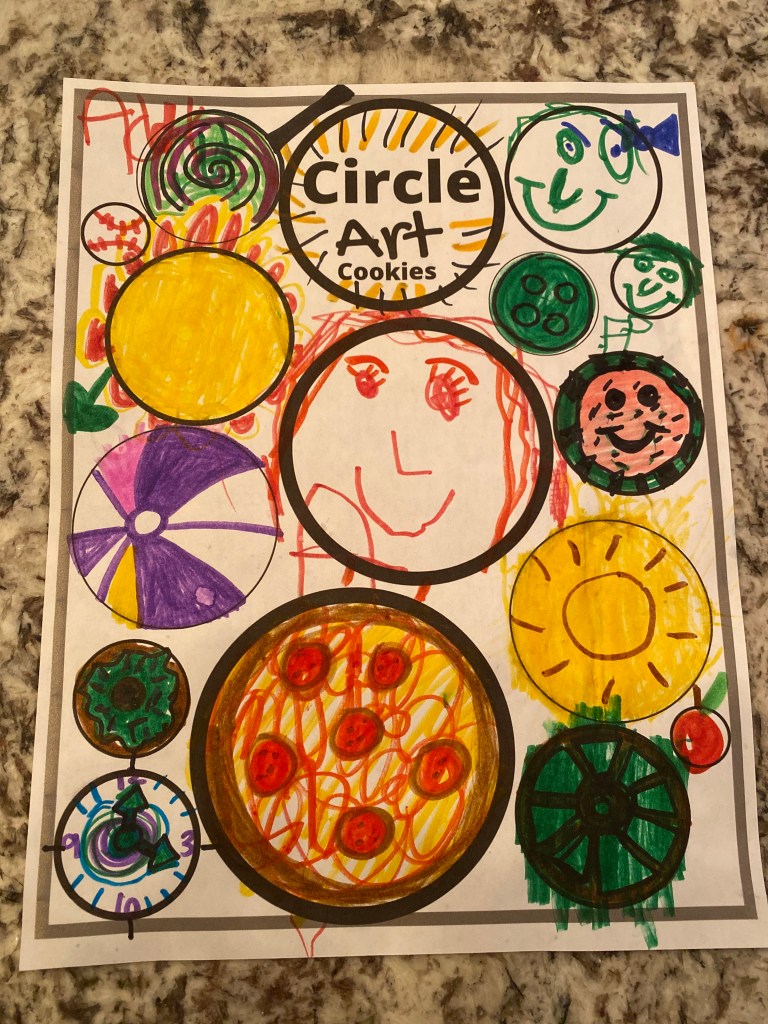
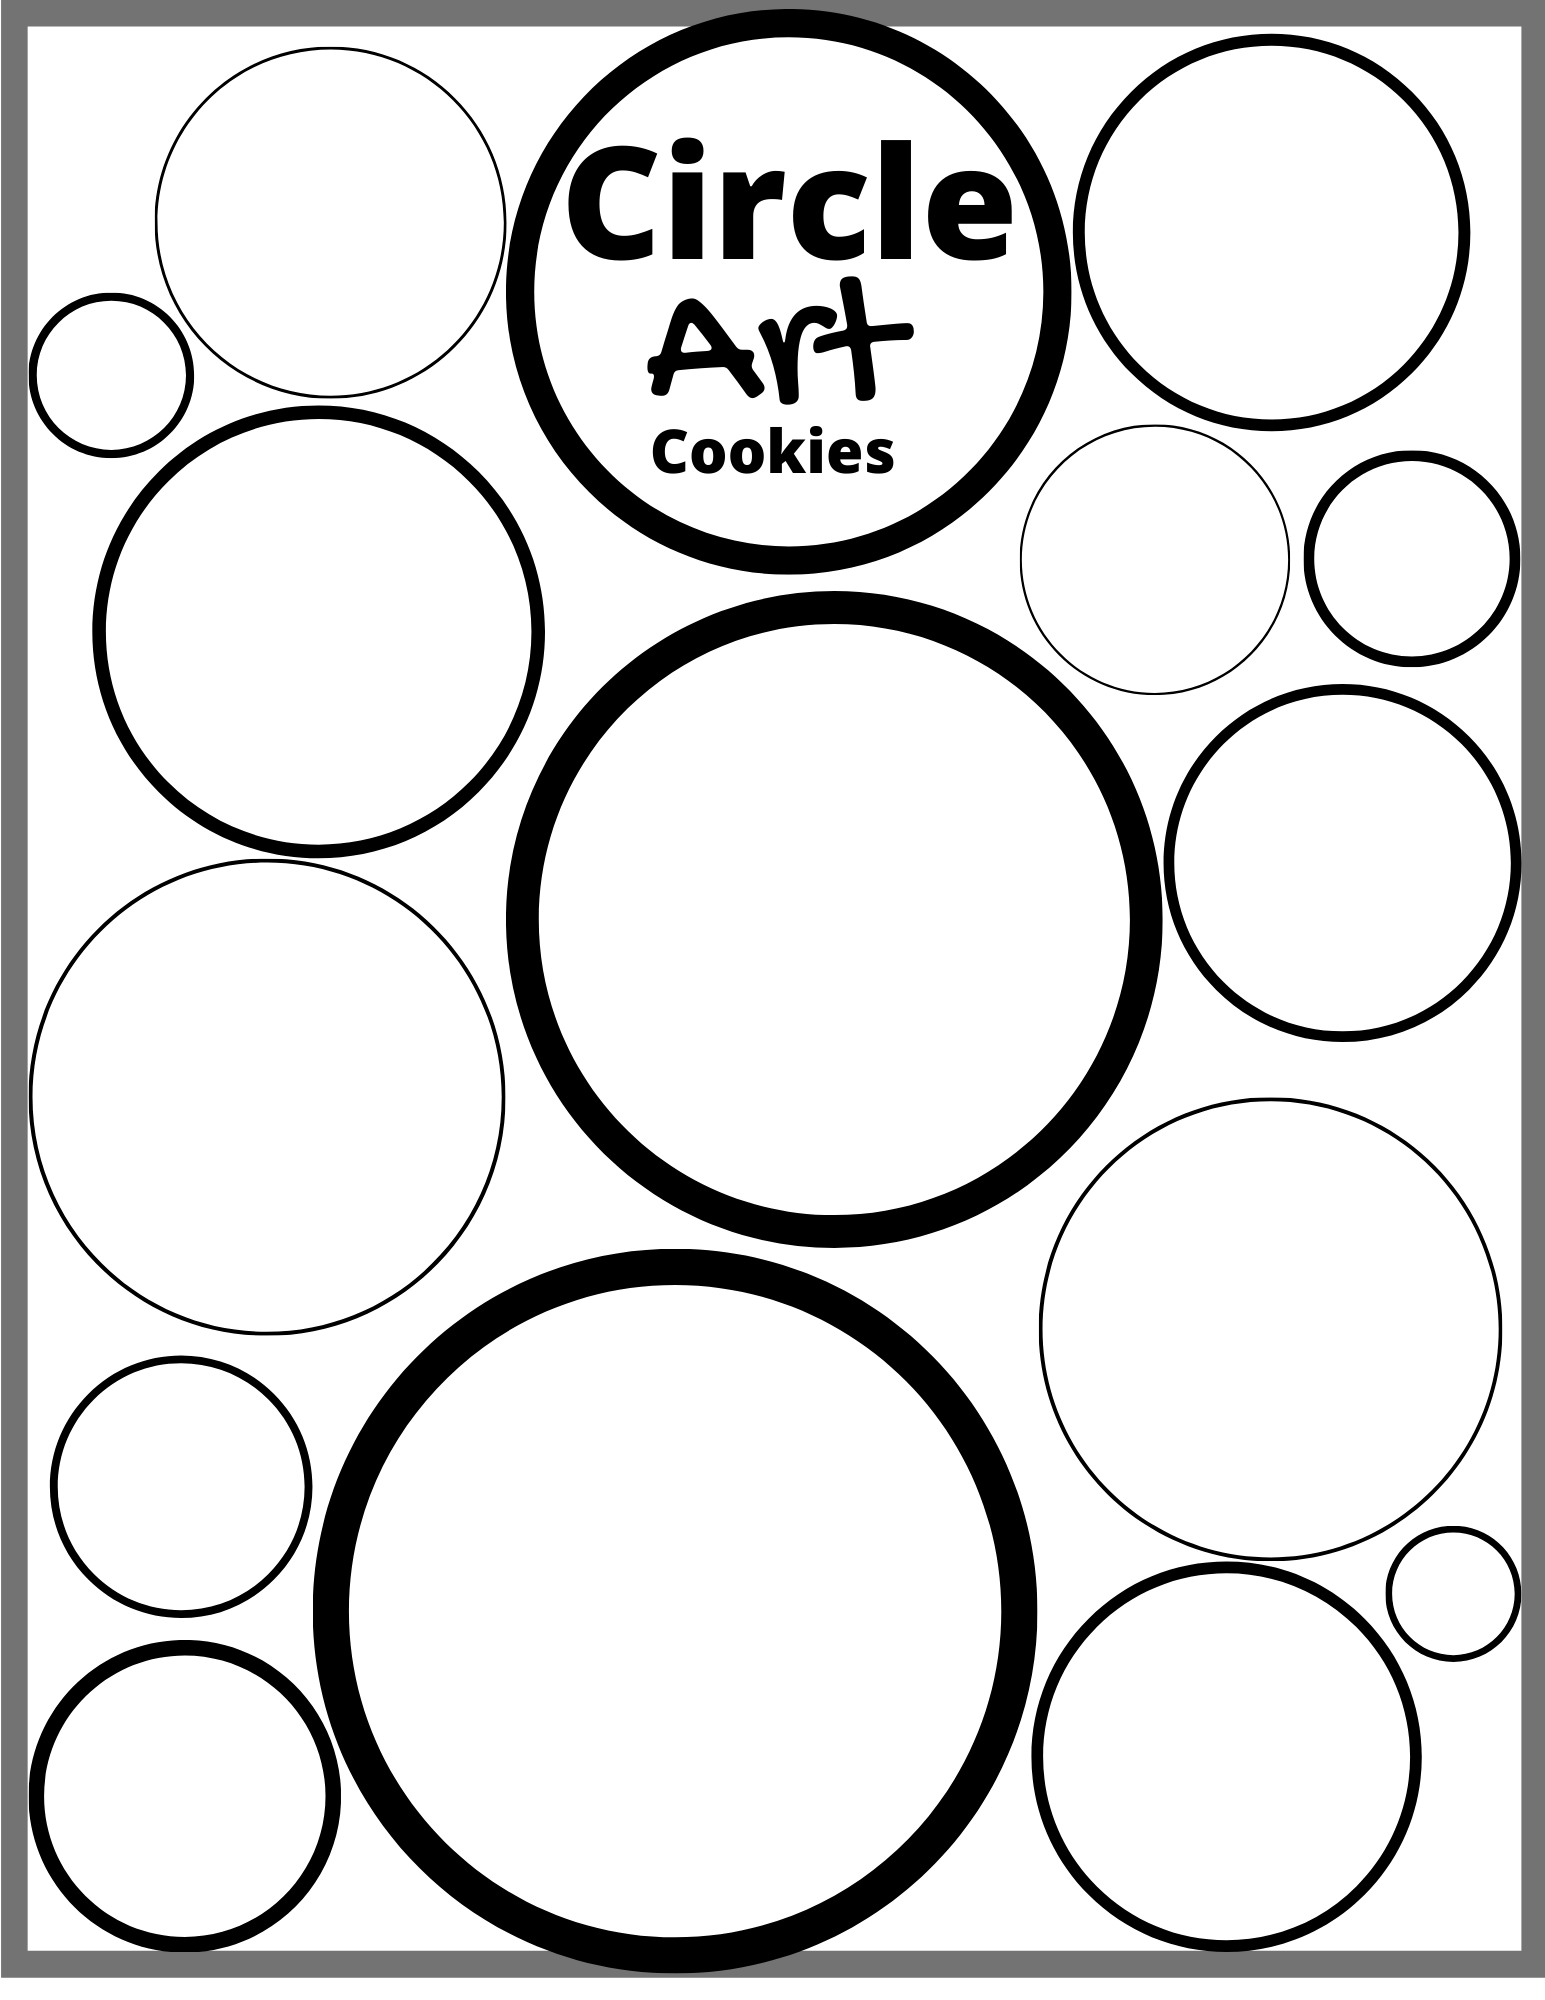
Instead of starting right away with decorating the cookies, we completed a circle worksheet. We started out by talking about how pastry artist have a plan before they begin designing their cookies. We then discussed what objects are circles and we drew them on the worksheet (see example). Before we began decorating each child decided which picture from their own worksheet they wanted to create.
Paint Color Mixing
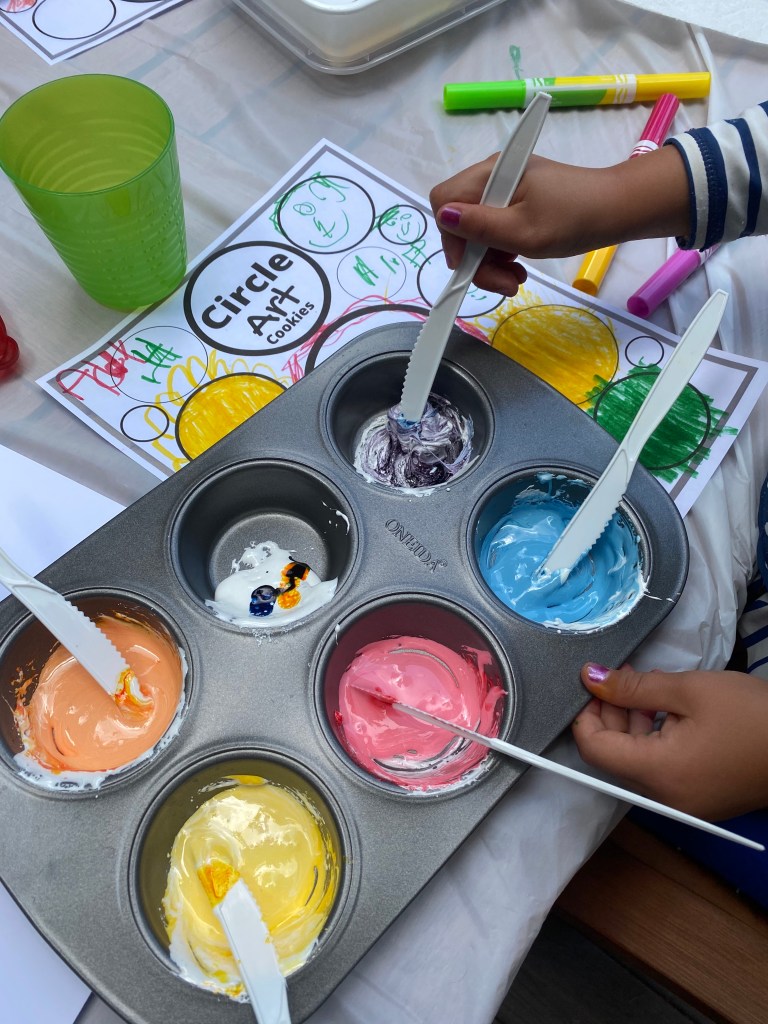
To make the paint, I added 2 spoonfuls of marshmallow puff to each muffin tin. We reviewed the primary colors (red, blue, yellow). With a toothpick, I added a little bit of red, blue, and yellow to separate tins. More food gel/dye = darker the color. With a knife, they mixed the gel with the marshmallow fluff to create each color.
Note: If paint is too thick, add a small amount of water to make more fluid.
After the first 3 primary colors were done, we moved onto the secondary colors. We reviewed what secondary colors are and what primary colors make them (see below).

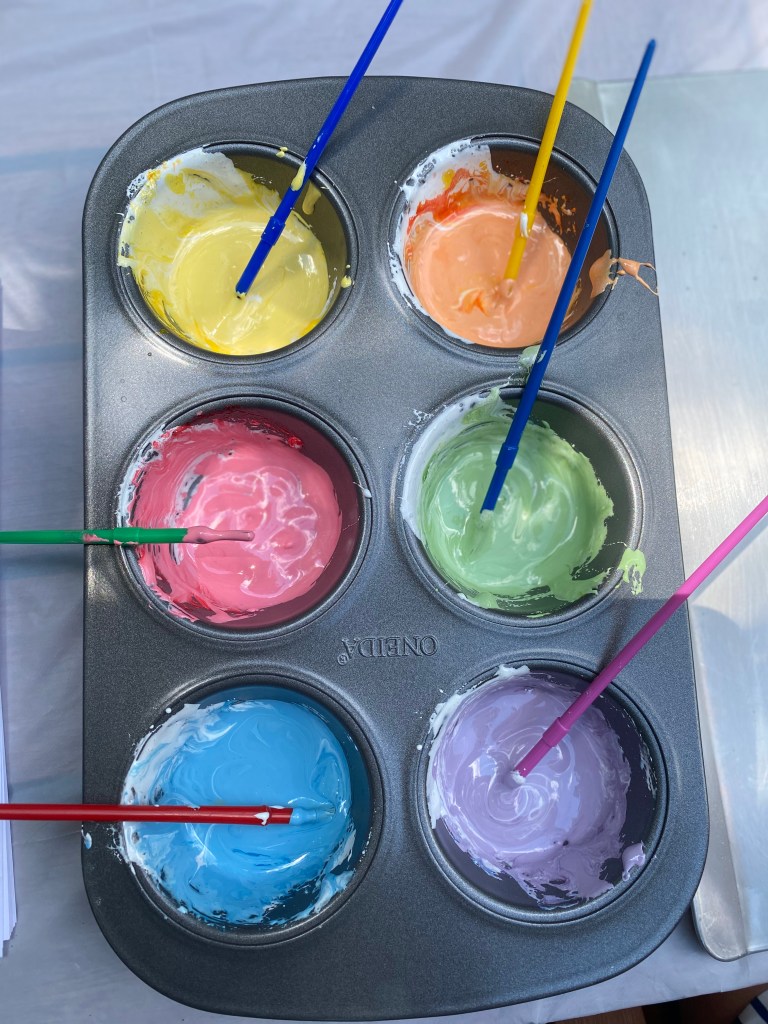
Now the most fun part- Painting/decorating your cookies! Have your children review their circle shape drawings and challenge them to make one of them. Once they each completed at least one cookie from their drawings, they made other designs not on their worksheet.

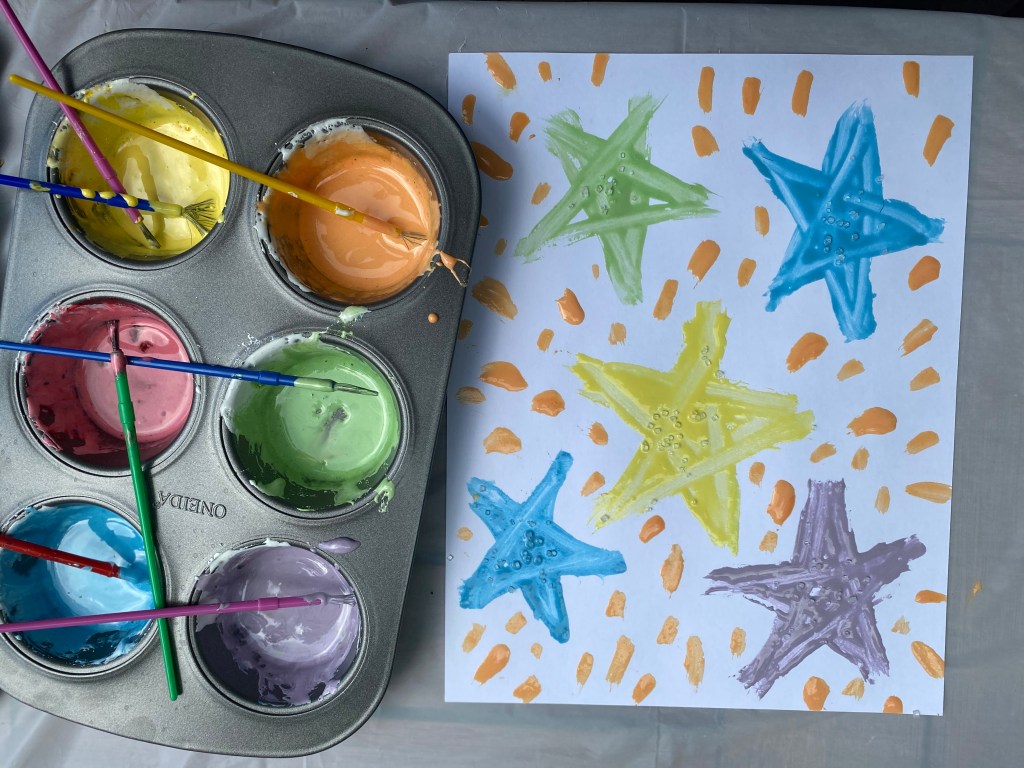
Marshmallow Paintings
(Part 2)
With the left over paint, we painted on cardstock paper. To add texture we used sprinkles.
Note: Due to the marshmallow base of the paint, it never completely dries & is sticky.
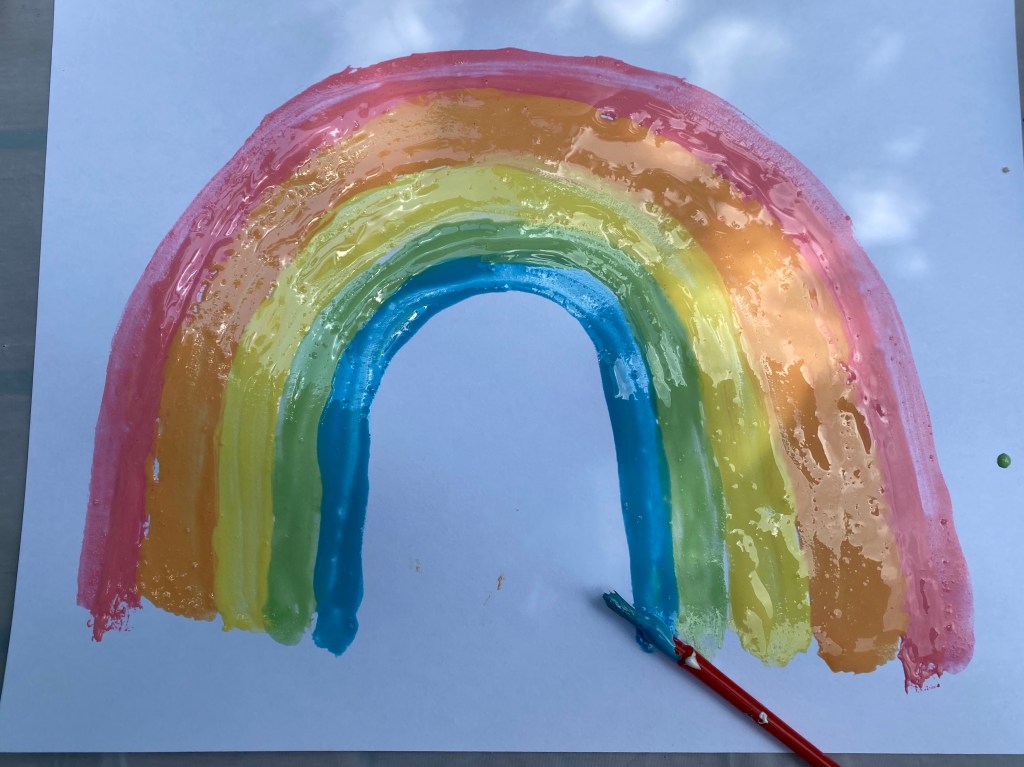
Once we were done with both activities, it was taste testing time! Thumbs up from all participants on taste!
Happy decorating & Painting! Hope your kids love this activity as much as mine & our neighborhood kids.