ELF ON THE SHELF BAKER

The scout elves are always up to something. Baking is a specialty of theirs, after all it has to be since they know Santa well. Santa is known for his love of cookies.
This was a big hit in our house- a little bit of work is involved to set it up, but you can then use the props multiple times or save for a future years. You can always recreate the entire scene or just do part of it.
Materials:
- oven template
- double sided tape
- cardstock
- apron template
- felt– any color
- string or yarn – any color
- colored paper or cardstock
- hot glue gun/glue
- mini sweets & mixer (one I used unavailable now)
- mini table (I used upside down plastic bowl)
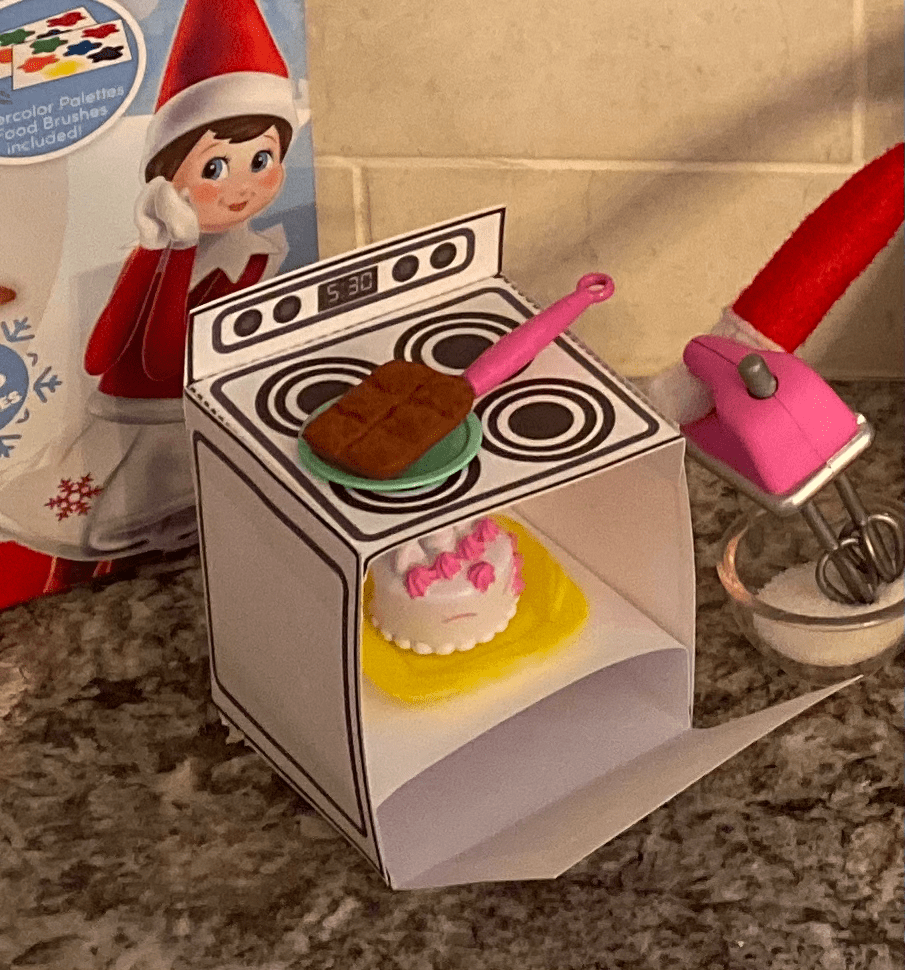
How to make the oven:
Print oven template. Cut out on solid black lines. Then fold on broken lines. Place double sided tape on tabs and attach to sides. Once oven is complete, attach the top portion with clock onto back above burners. Then place double sided tape on tabs of oven rack template and place in middle to lower inside of oven (revised edition in template). To make burners appear to be on- color in red.
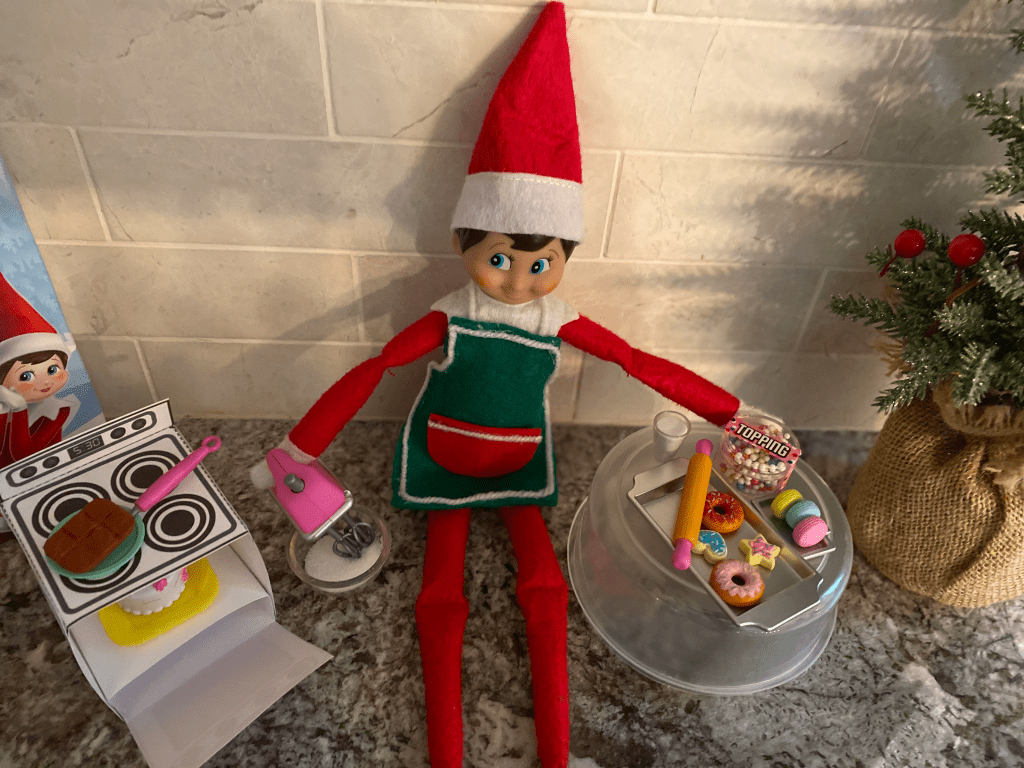
How to make the apron:

Paper Directions: Print out templates on colored paper & cut out. Glue on pocket in center top (like below). Cut 4 pieces of string/yarn. There should be enough string/yarn on each side to tie together behind the elf. Can always trim length later if too long. Place a glue dot where the x’s are and then attach the string on top.
*You can personalize by writing name on pocket. Or make the pocket a different color of paper.
Image from another day, when he was making pizza. See Shape Pizza Shop blog post to see where Elfie was.
Felt Directions: Print out template & cut out. Place on top of felt and trace around it. Cut out. Cut 4 pieces of string/yarn. There should be enough string on each side to tie together behind the elf. Place a small hot glue dot where the x’s are and then attach the string on top.
Optional: Cut 4 little felt squares and then placed on top of yarn to secure (string between 2 felt pieces then). Lastly, you can outline the apron in string/yarn by placing hot glue on edges and then quickly place string/yarn on top.

Once the oven and apron are complete, it’s time to set it all up. Any pretend food will work (as log as elf size). I found this sweet kit on Amazon. There are a few other options besides sweets.It’s also the perfect size for Barbies- so will be used again. I added sugar into the bowl to make more realistic. I used a few other plates to put the cake & macaroons on (not included ). If you don’t have plates, make them out of paper.
This was such a big hit because it provided a fun activity- making the cookies and new food for the Barbies. She couldn’t wait to have her own Sweet Shop with the Barbies once her Elf was done baking. In the future you will see a pretend play post that was inspired by this too.
Happy creating magical elf fun!
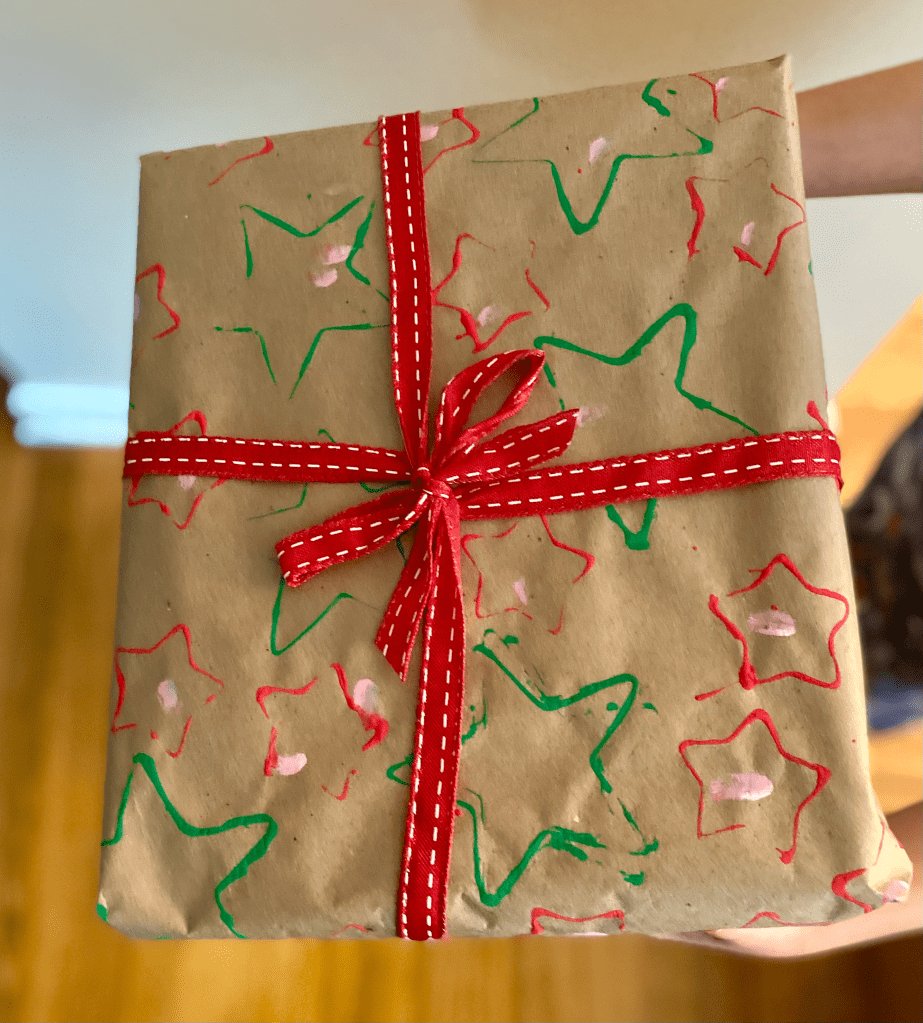
HOMEMADE WRAPPING PAPER

Don’t buy wrapping paper when your kids can make it! Only need a few supplies and provides lots of fun entertainment!
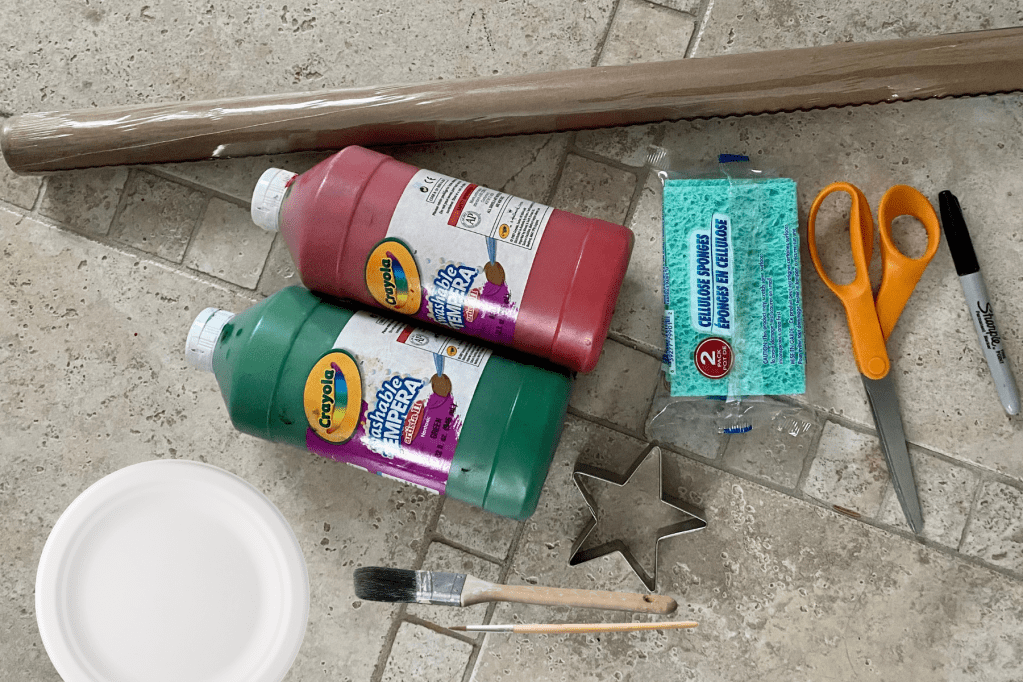
Materials:
- tempera paint
- paint brushes
- water cups
- cookie cutters, sponges
- brown kraft paper
- marker
- paper plates
Process:
Choose ahead of timewhat supplies you need. Begin by laying out the kraft paper (as much as you can). Best to work in an open space, outside or hallway with wood or tile floors (not as easy to get paint out of carpet).
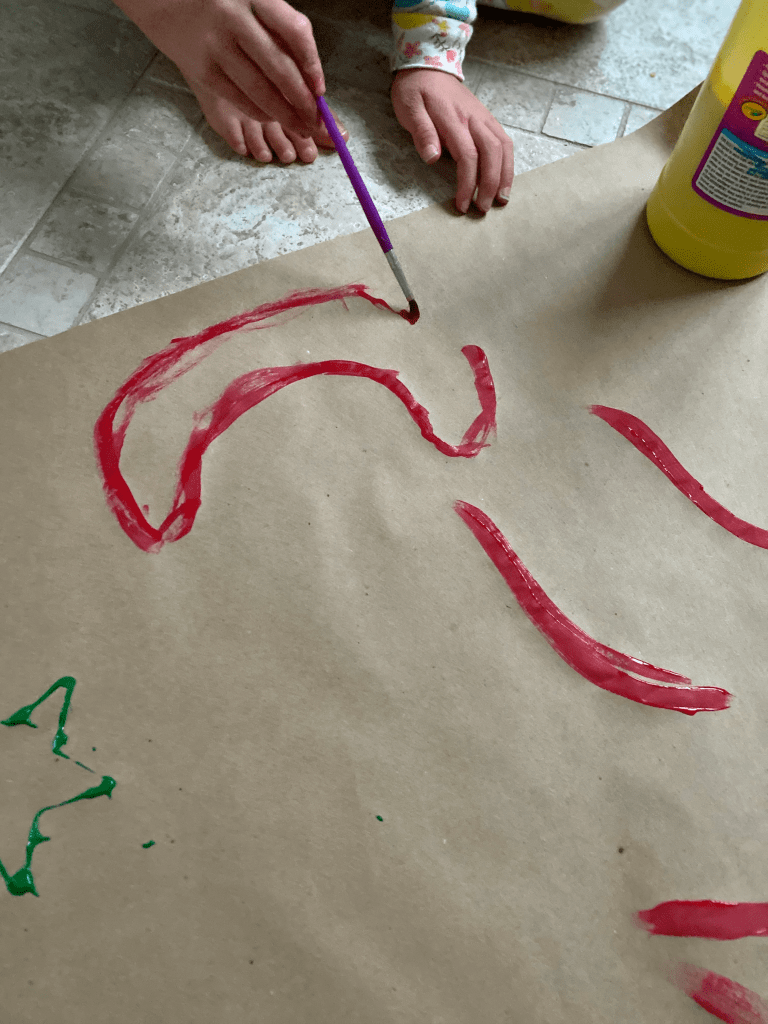
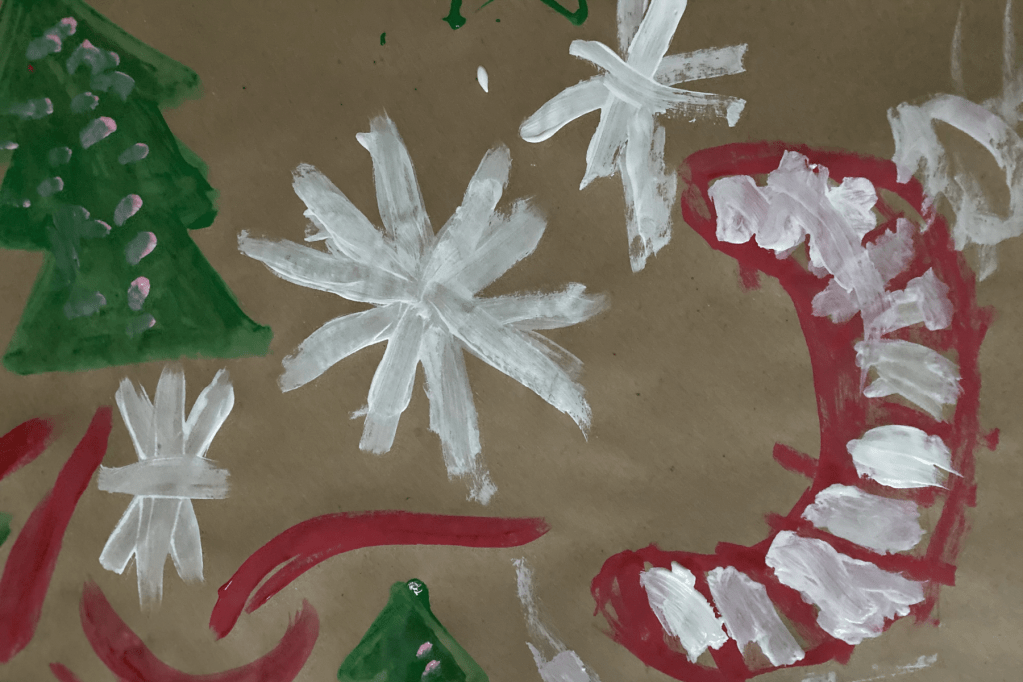
#1: Paintbrush: Allow your child’s imagination to go wild and paint whatever they want. Or suggest some Christmas images to draw & help them. There are lots of “how to draw” handouts online- just google to find them. It all depends on what look you want on your wrapping paper. Place paint on a paper plate, get a water cup and brushes to use- all set to go!
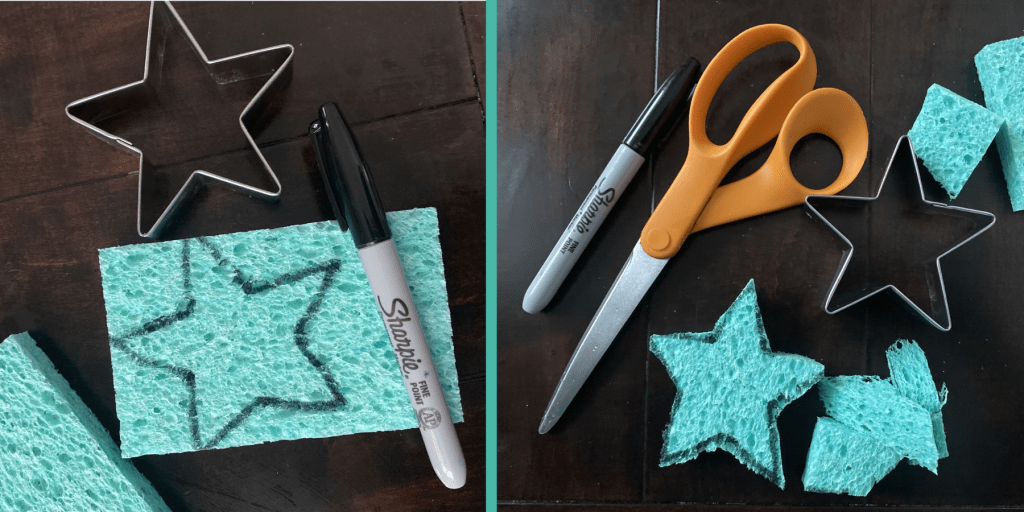
#2: Sponges: Place a cookie cutter on top of the sponge. On the inside or outside of the cookie cutter, trace with a washable marker. You will now have the image from the cookie cutter outlined on your sponge. Cut out.
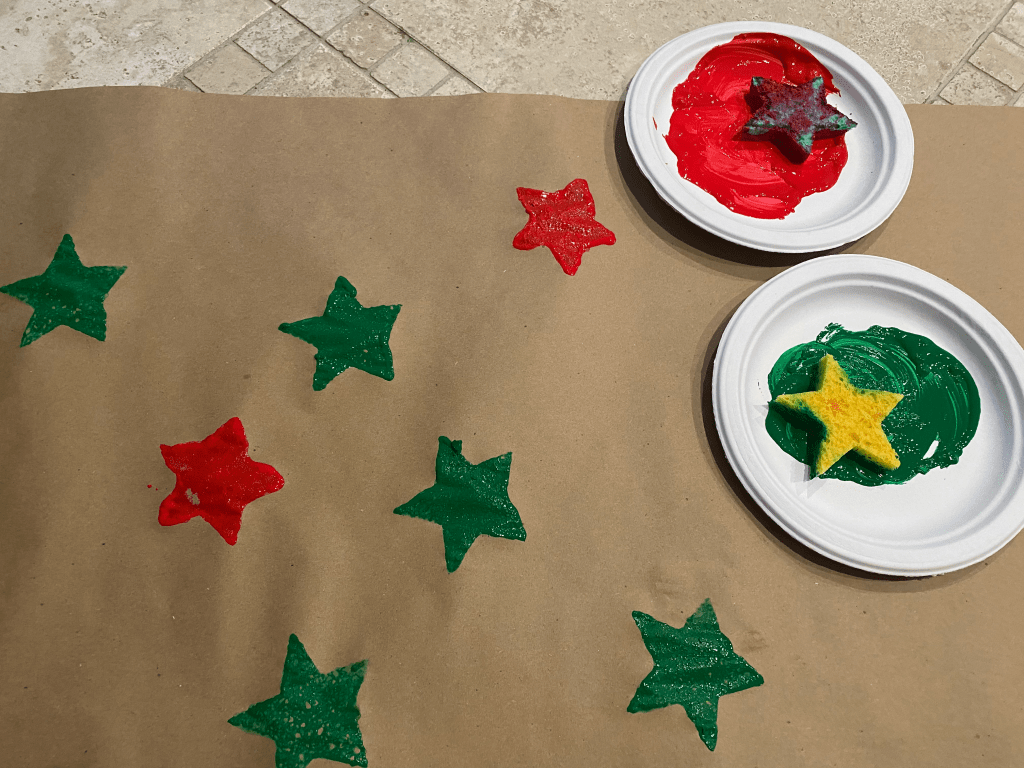
Put each color of paint you are using on a separate plate. Make sure paint is evenly spread out on the plate. Press sponge in the paint. Then place sponge on the kraft paper and press it down firmly (to make sure paint comes off). Continue this process until done. Let dry!

#3: Cookie Cutters: Put each color of paint you are using on a separate plate. Make sure paint is evenly spread out on the plate. Press cookie cutter int the paint and then immediately onto the kraft paper. Continue this process until done. Let dry!

Notes:
- If you want to get babies involved, have them make prints of their hands or feet on the kraft paper.
- If you want to stay less messy, use stickers and crayons/markers. You could also trace the cookie cutters with markers to create Christmas images.
- Use paper plates- easy clean up!
- Let your kids help wrap gifts too! My daughter loved helping. She would give me the supplies I needed when I asked her for them. Her favorite was giving me tape. If multiple children, each could have a job- cut paper, tape, fold.
- Gift Tags– I cut out a few stars to use, then made a small hole for the string to go through with a hole punch.
Happy creating & gifting!
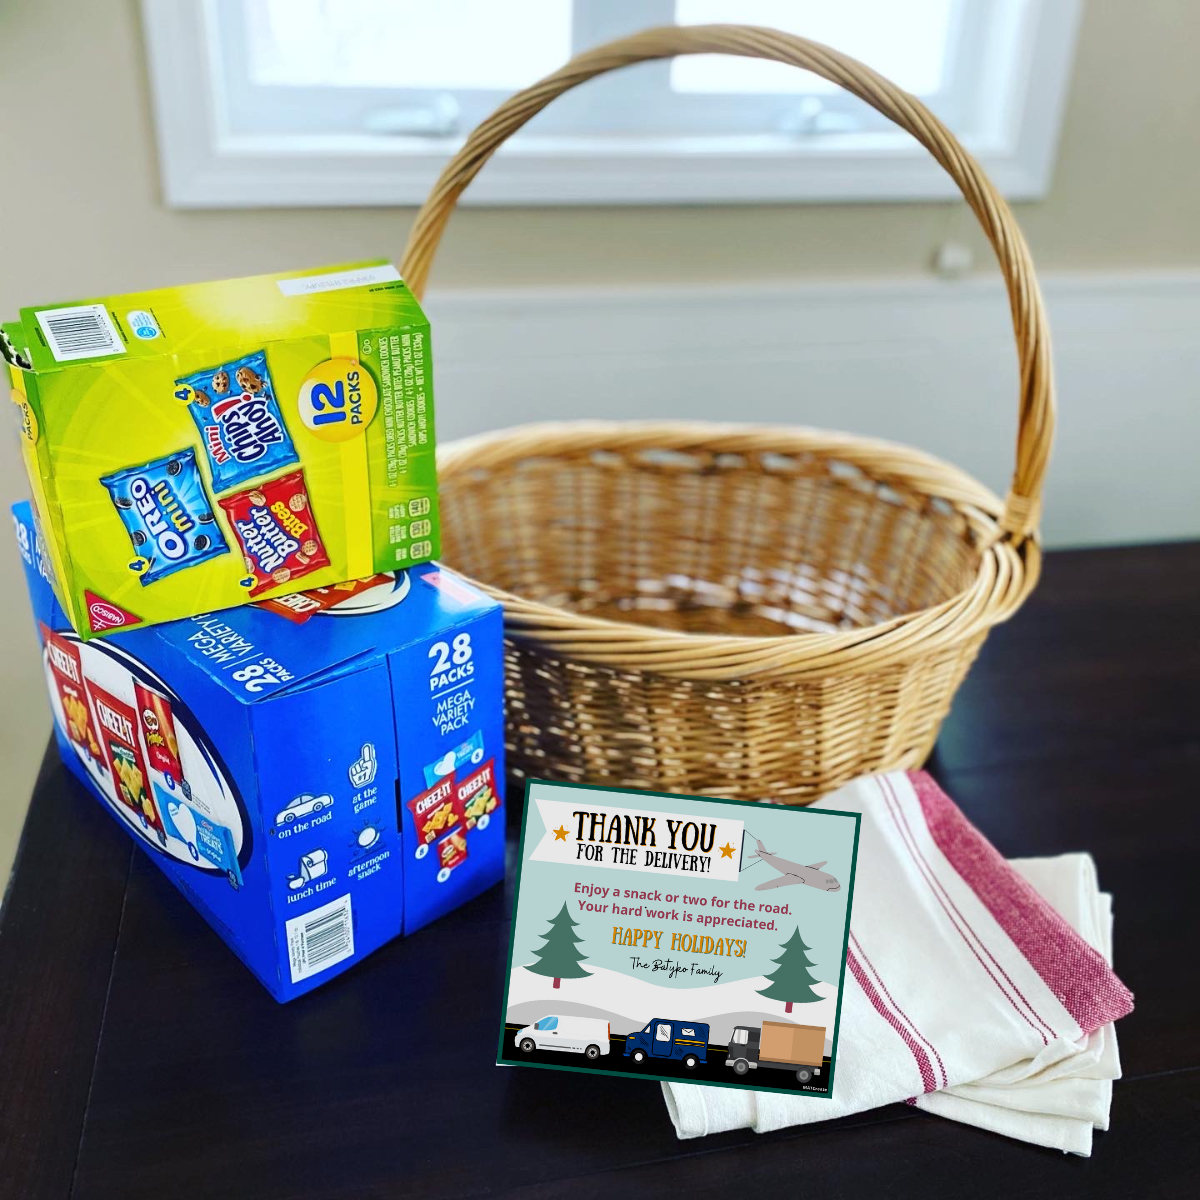
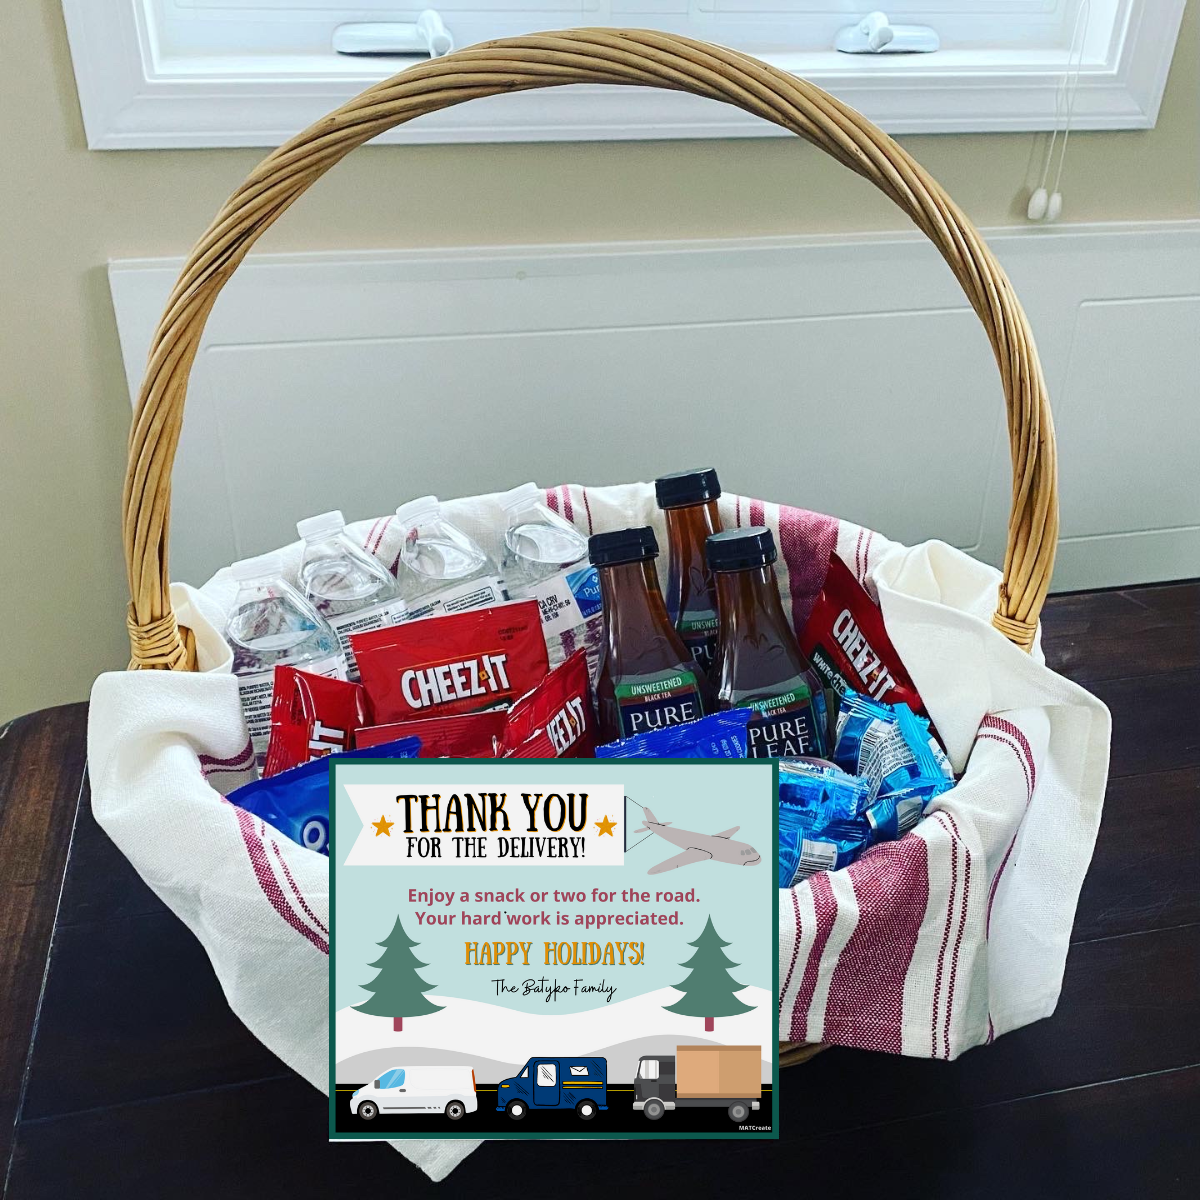
SPECIAL DELIVERIES THANK YOU

Thank the hard working delivery drivers who have been bringing packages to your house. This year we are more thankful for them than ever! They have saved us so many trips out to the store. They really are super heroes- working long hours and in many different weather elements.
To show your appreciation- print the below document (two options), sign your family’s name (optional), then place with some goodies in a basket. Let them enjoy! Make sure to refill your basket!
Supplies:
- basket or container
- printable thank you card (sign yourself or personalized)
- cardstock (printer)
- assortment of prepackaged food & drinks
- dish towel or fabric (optional)
Notes:
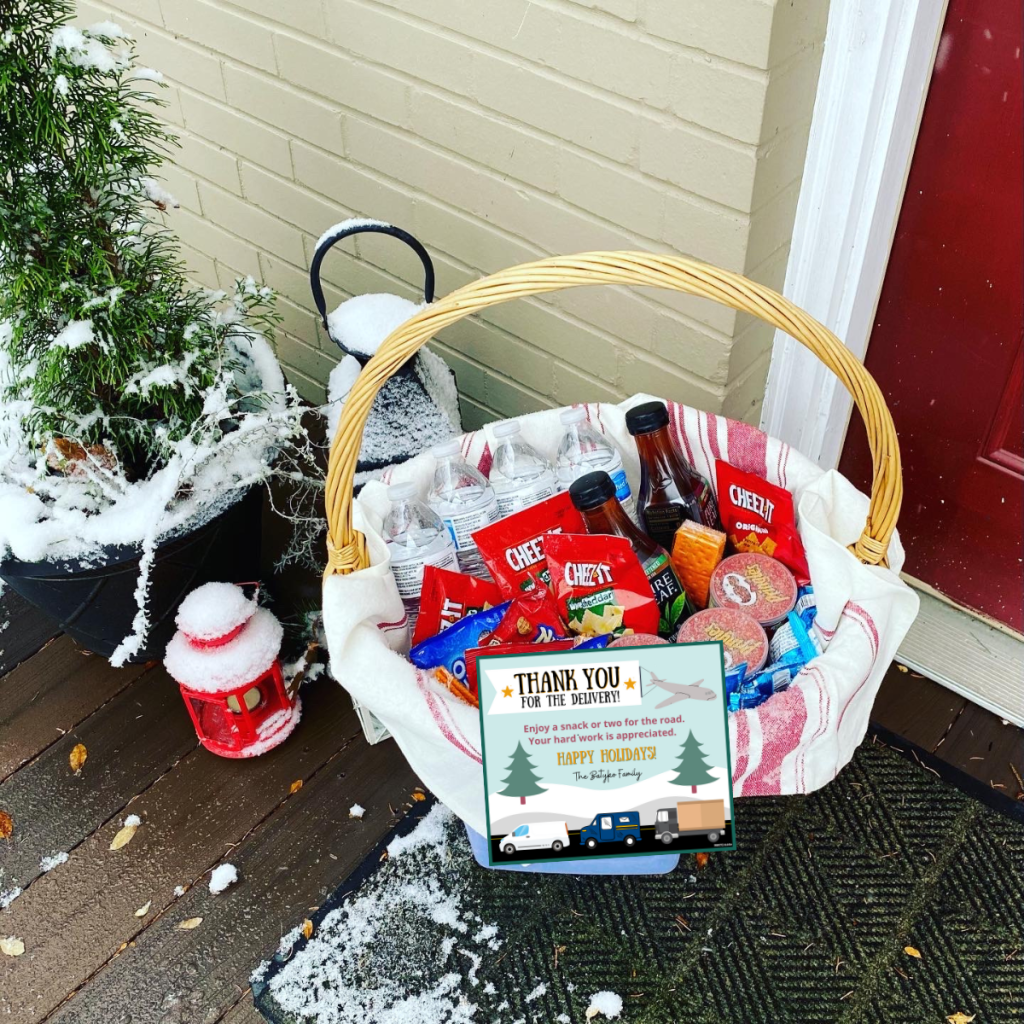
- Thank you sign – laminate or place in a clear page protector if outside elements can get to it. Rain or snow on it will make the ink run.
- If you live in the woods with multiple animals, bring in the basket in every night. Last year we woke up one morning & everything was gone from our basket except for the water bottles. We later found all of the snack wrappers in the woods. The raccoons had a feast!
- I placed our basket on top of a container, so that it isn’t as far a reach down for them to get something out.
Happy Thanking!
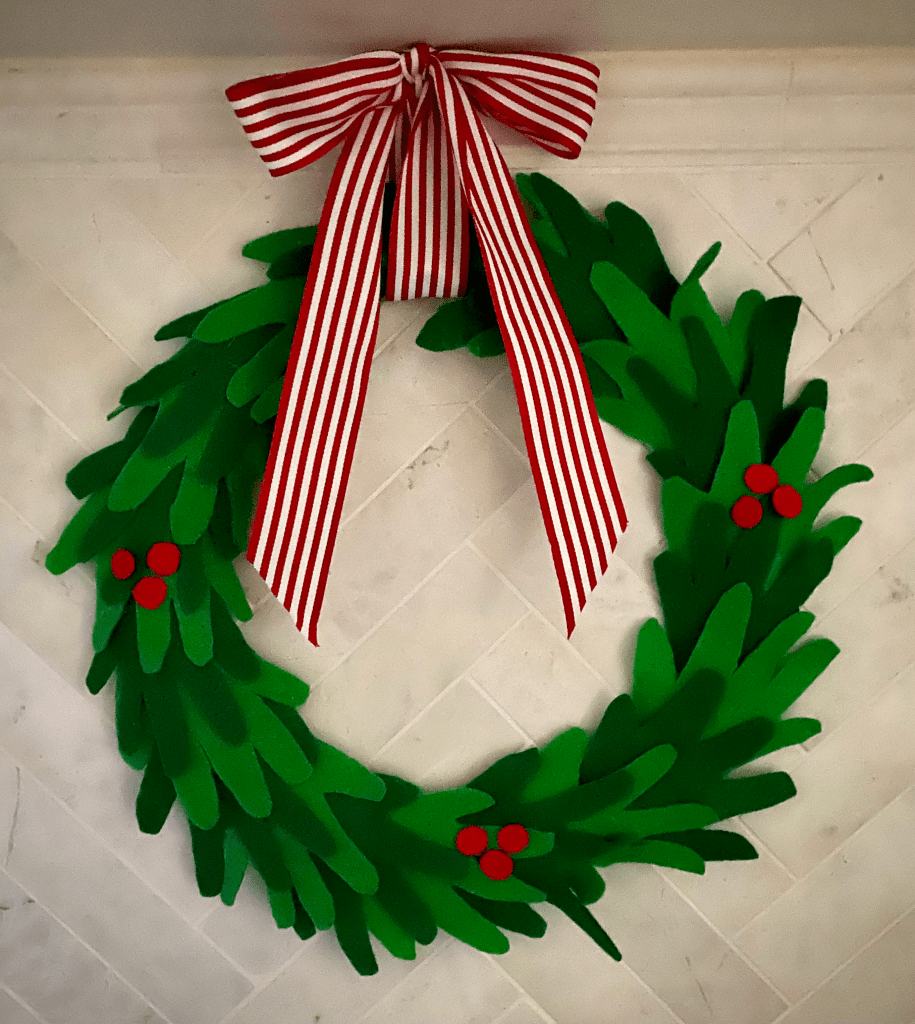
HANDPRINT FELT WREATH

Those little hands won’t stay little forever. Make a felt handprint wreath to cherish year after year at Christmas. This would be a great personal gift for grandparents as well or other family members.
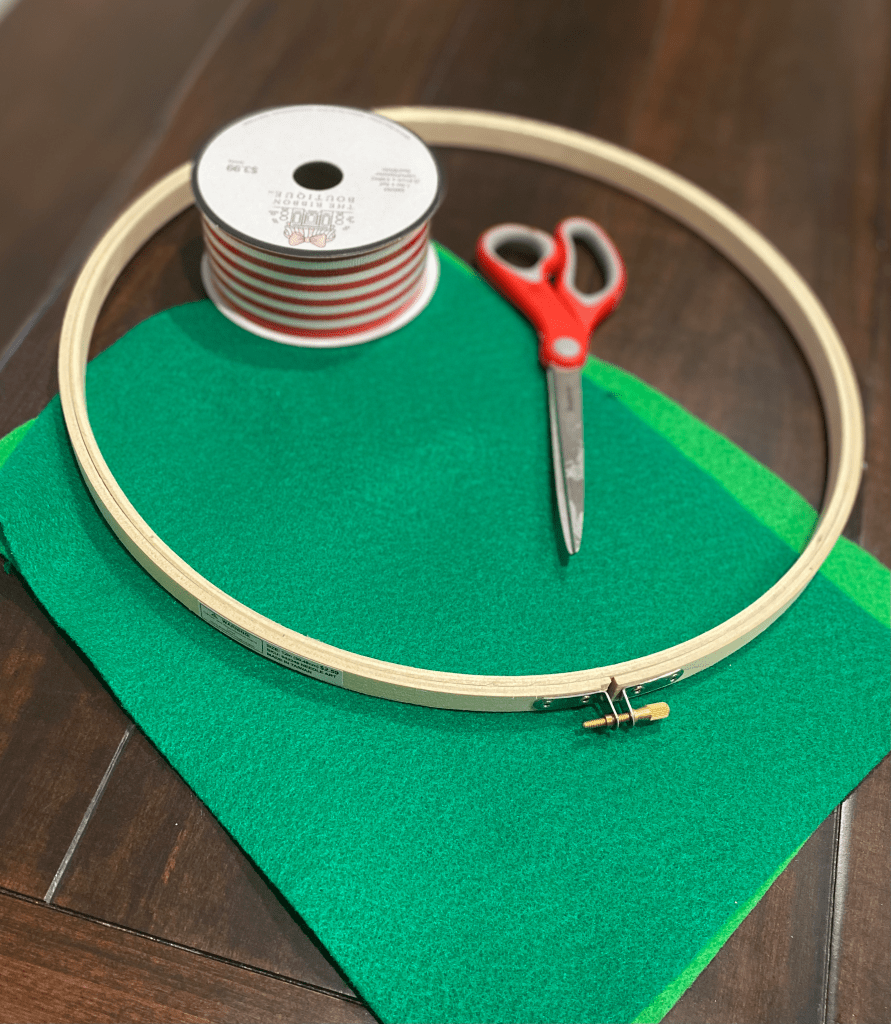
Materials:
- green felt- 2 colors (create contrast)
- red felt (berries)
- embroidery hoop
- ribbon
- hot glue gun
- scissors
- markers
To Make:
Notes: Embroidery hoops come in multiple sizes. Make sure to buy enough felt for the wreath. You can get about 4 hands at the least on one sheet. I was able to get 4 handprints out of one sheet of felt from my 5 year old. My hoop had a 12 inch diameter. I used 3 sheets of felt- 2 different variations of green (6 sheets total). The best place to buy supplies is a craft store. I found all of my supplies easily at Hobby Lobby.
1.) Fold felt in half, and then half again. Trace child’s hand. Cut out. Repeat multiple times until enough to go around the circle/hoop.


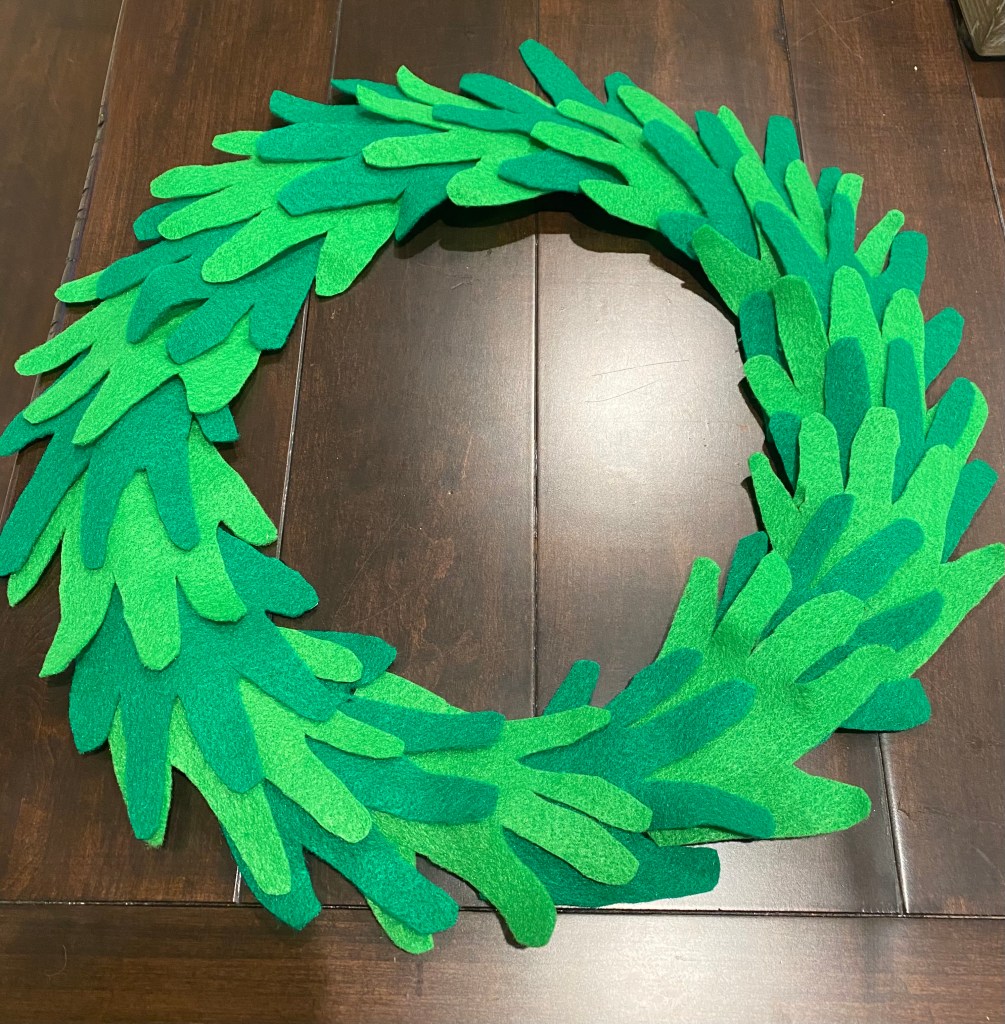

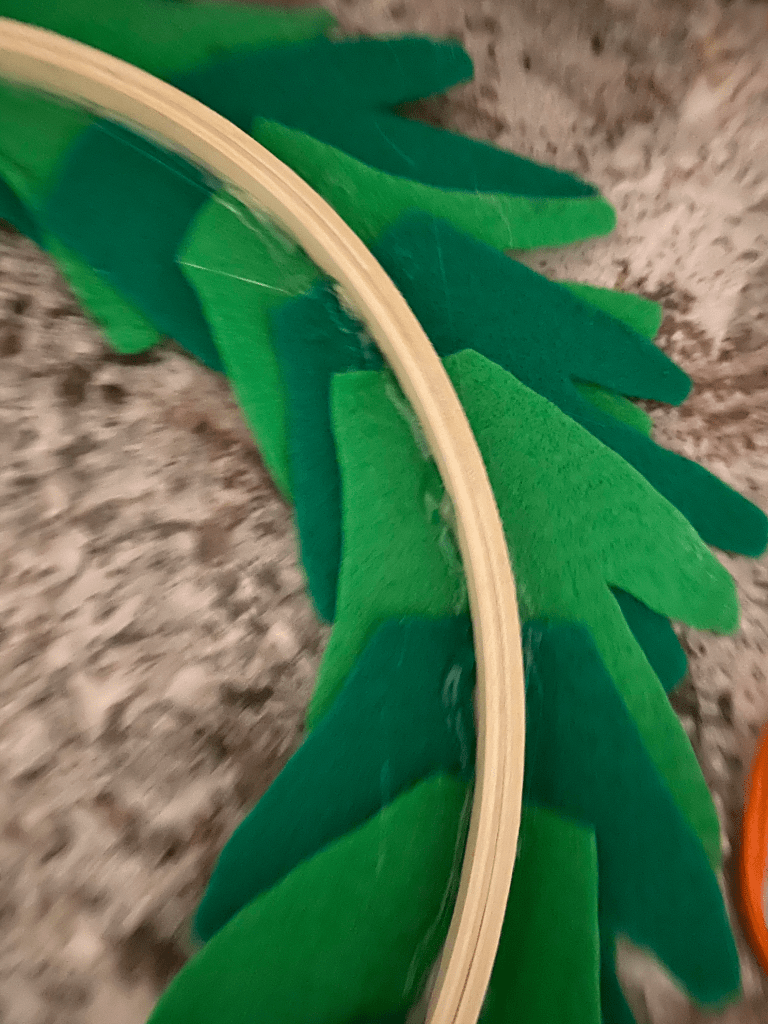
2.) Place felt hands evenly surrounding the hoop. Lift one at a time and glue. Once palms of hands glued, glue fingers that overlap in the middle (not sides).
3.) Optional- To make it more secure, flip over and on back between felt and hoop add additional glue on both sides.
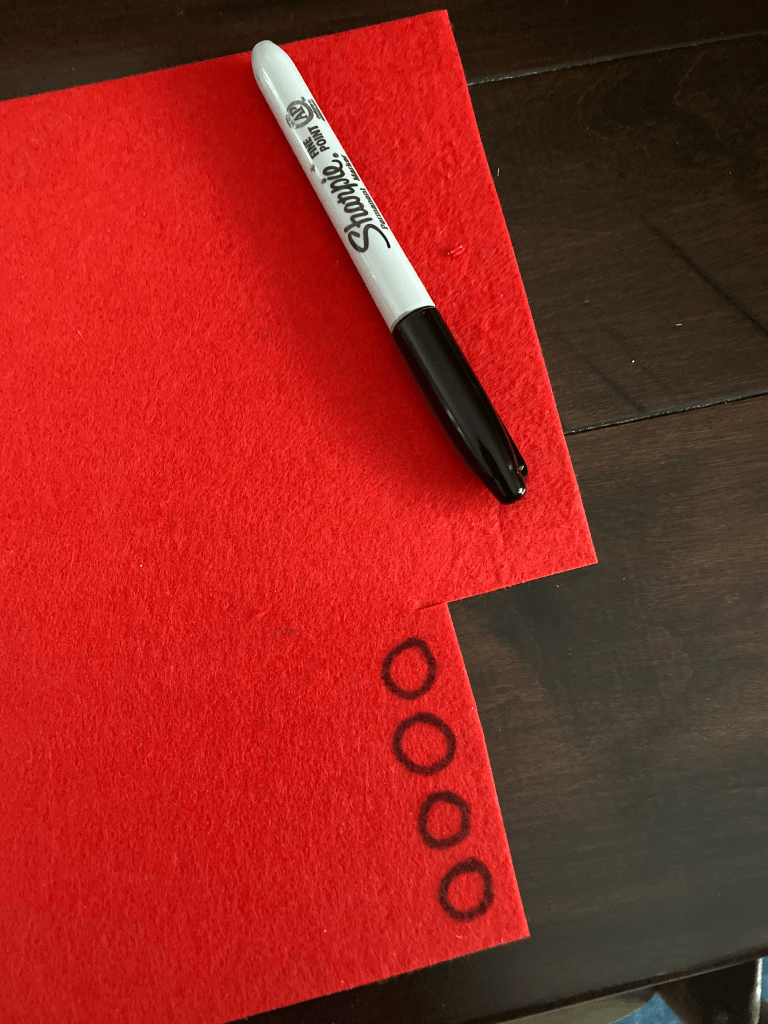
4.) Berries– on the a red sheet of felt, draw 9 little circles to look like berries. If you want them the same size/multiples/done quick, fold felt multiple times, draw circle on top and then cut out.
5.) Ribbon- add ribbon to hang. You can make a bow at the top or leave plain. See examples below. Enjoy for years to come!

Happy Decorating!
GRATITUDE SCAVENGER HUNT

November is a great month to reflect on what you are grateful for, now more than ever with your kids.
Kids love scavenger hunts. This one is unique because they aren’t looking for physical objects. This hunt involves lots of thinking and reflecting. We all take so much for granted- completing this is a great reminder of the small wonderful things in our lives.
Materials:
- Grateful Scavenger Hunt handout (choose one based on child’s age/ability)
- white cardstock
- printer
- markers/crayons/colored pencils
- pencil
For younger children, complete the scavenger hunt with your child/children by going on a walk through your house and finding the answers, then draw them in the boxes. For older children, sit together and have them explain their answers as they complete the scavenger hunt.
This is a fun activity you can do year after year. After completing, compare with previous years to see how your answers have changed.
Happy Hunting!
THANKFUL BANNER

November is a great month to recognize what you are thankful for especially since “Thanks”giving is this month. Create a banner to display in your house to show what you are thankful for! The process of making is just as important as the finished product.
Complete the banner in one day or spread it out over several days.
Materials:
- banner template
- paper (colored or white)
- scissors
- string, yarn, twine (to hang up)
- markers or crayons
- photos, magazines, clip art (optional)
- hole punch
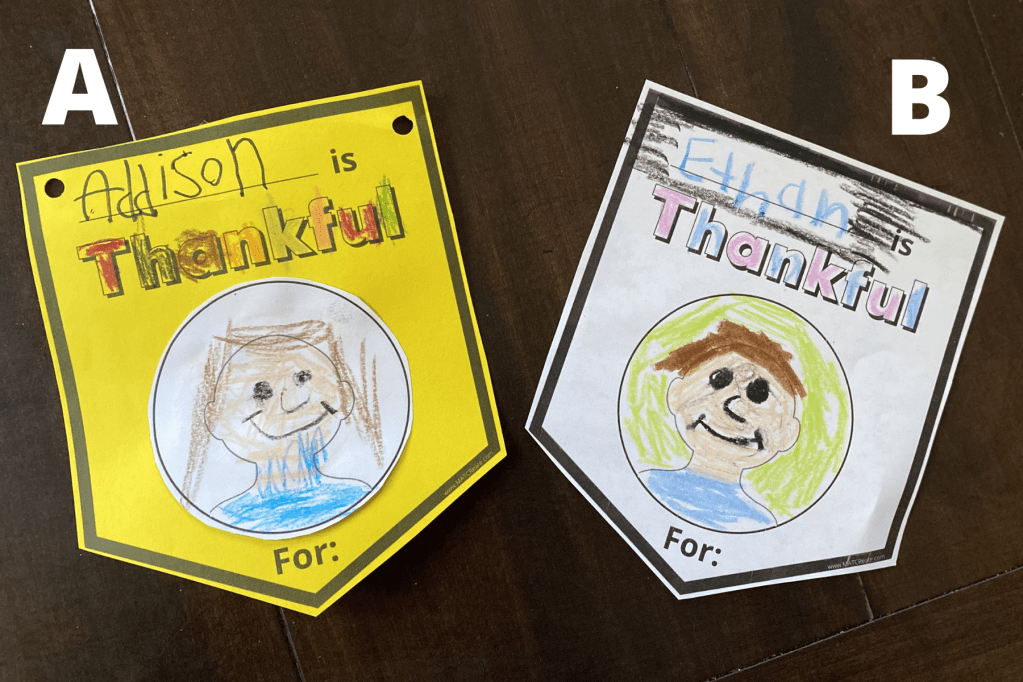
Two options for printing: Option #1: Print templates on white paper. Option #2: Print template on colored paper and circle template on white paper (to place on top). See examples below. Illustrations will show up better on a white circle background. There are two first page templates below- one child (is) or multiple children (are), depending on if one child making or multiple.
Steps:
1.) Decide if printing on color/white paper (A) or just white paper (B). See difference below. Print.
2.) Start by completing the first page (self portrait). Have children write their name at the top. If younger, write their name for them. Then complete the self portrait. If multiple children, each child draws a portrait of themselves inside the circle. *Ahead of time with a pencil, lightly divide up the circle into sections, one for each child.
3.) What does it mean to be thankful? Give examples of what you are thankful for first, then ask your child. There is no wrong answers- just creative answers!
4.) On top of the template, have your child write one thing they are thankful for (or you write it). Then have them draw a picture of it below. Your child can also cut pictures out of magazines, clipart (colored images or black & white, then color in), or use photos. See option below:

5.) Repeat until banner is complete. It’s up to you/child how long your banner is.
6.) With a hole punch, punch two holes on each end (see example). Then slide the string through holes to create the banner. No hole punch? Tape the string to the back- center top on each sheet.
7.) Hang up! Let people enjoy your artwork & appreciate what you are thankful for!
Notes:
- Want to paint it? Use watercolors to add color, print templates on white cardstock. Draw pictures first with crayons, then paint on top.
- Save the banner until next year or take a photo of it. Then compare from last year to this year what you are thankful for.


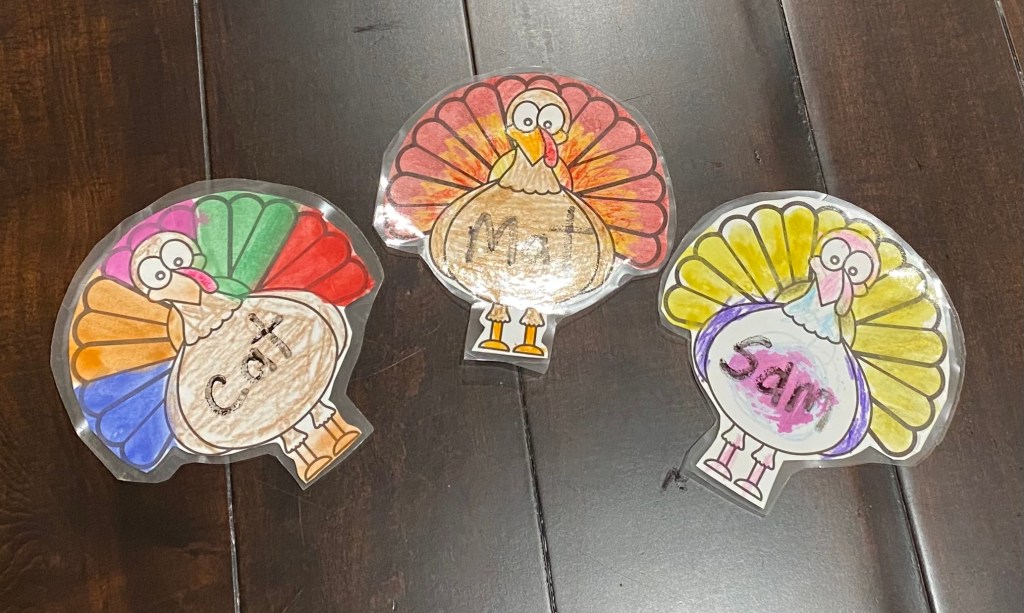

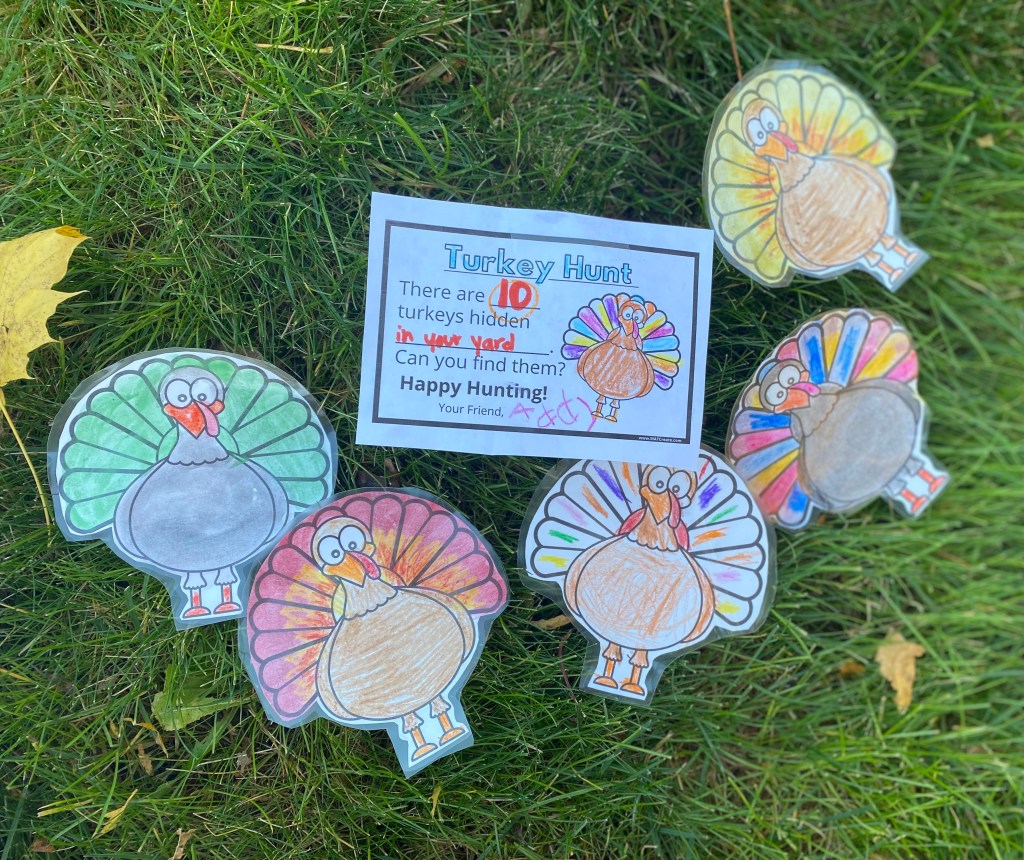
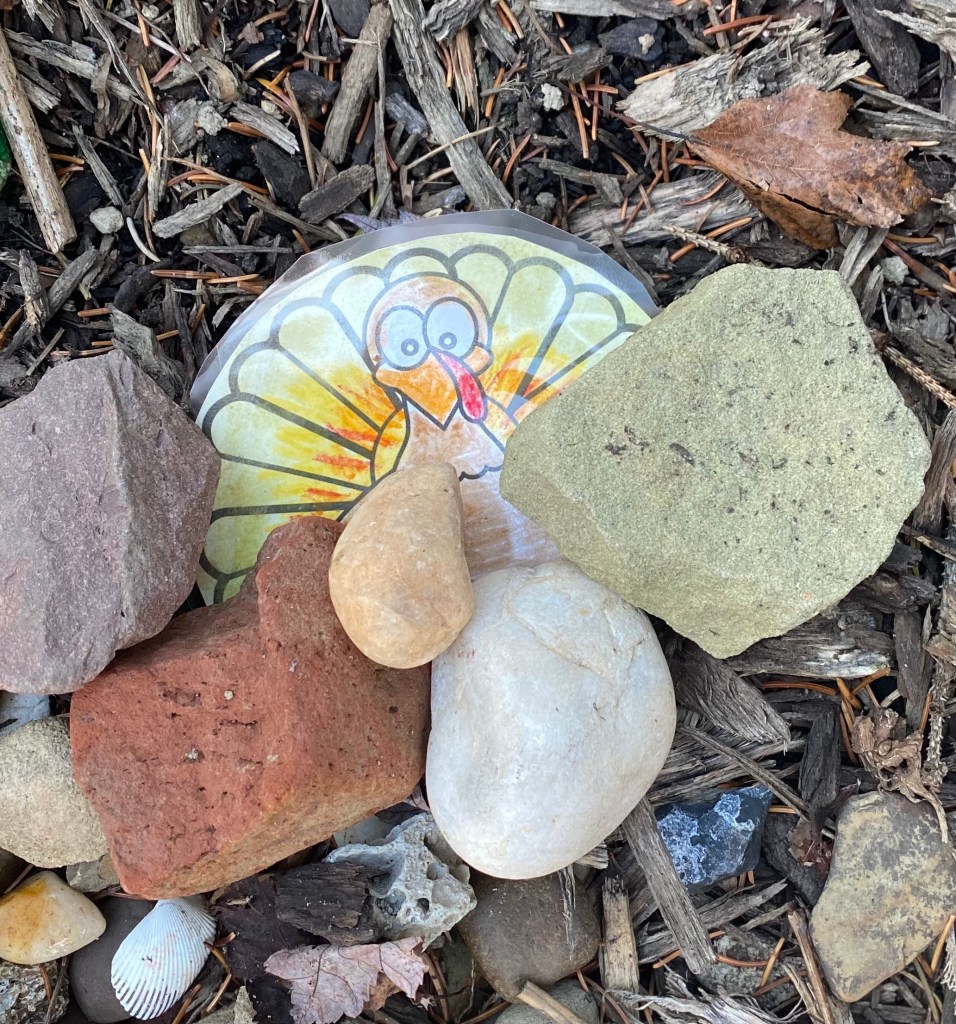
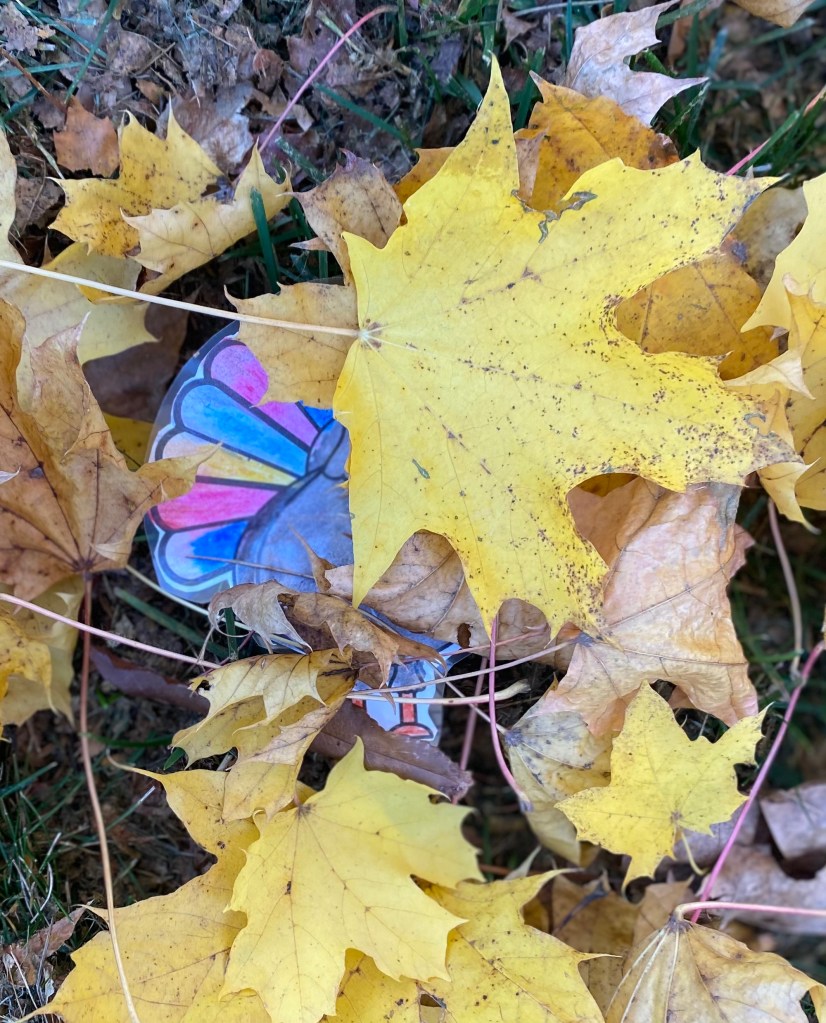
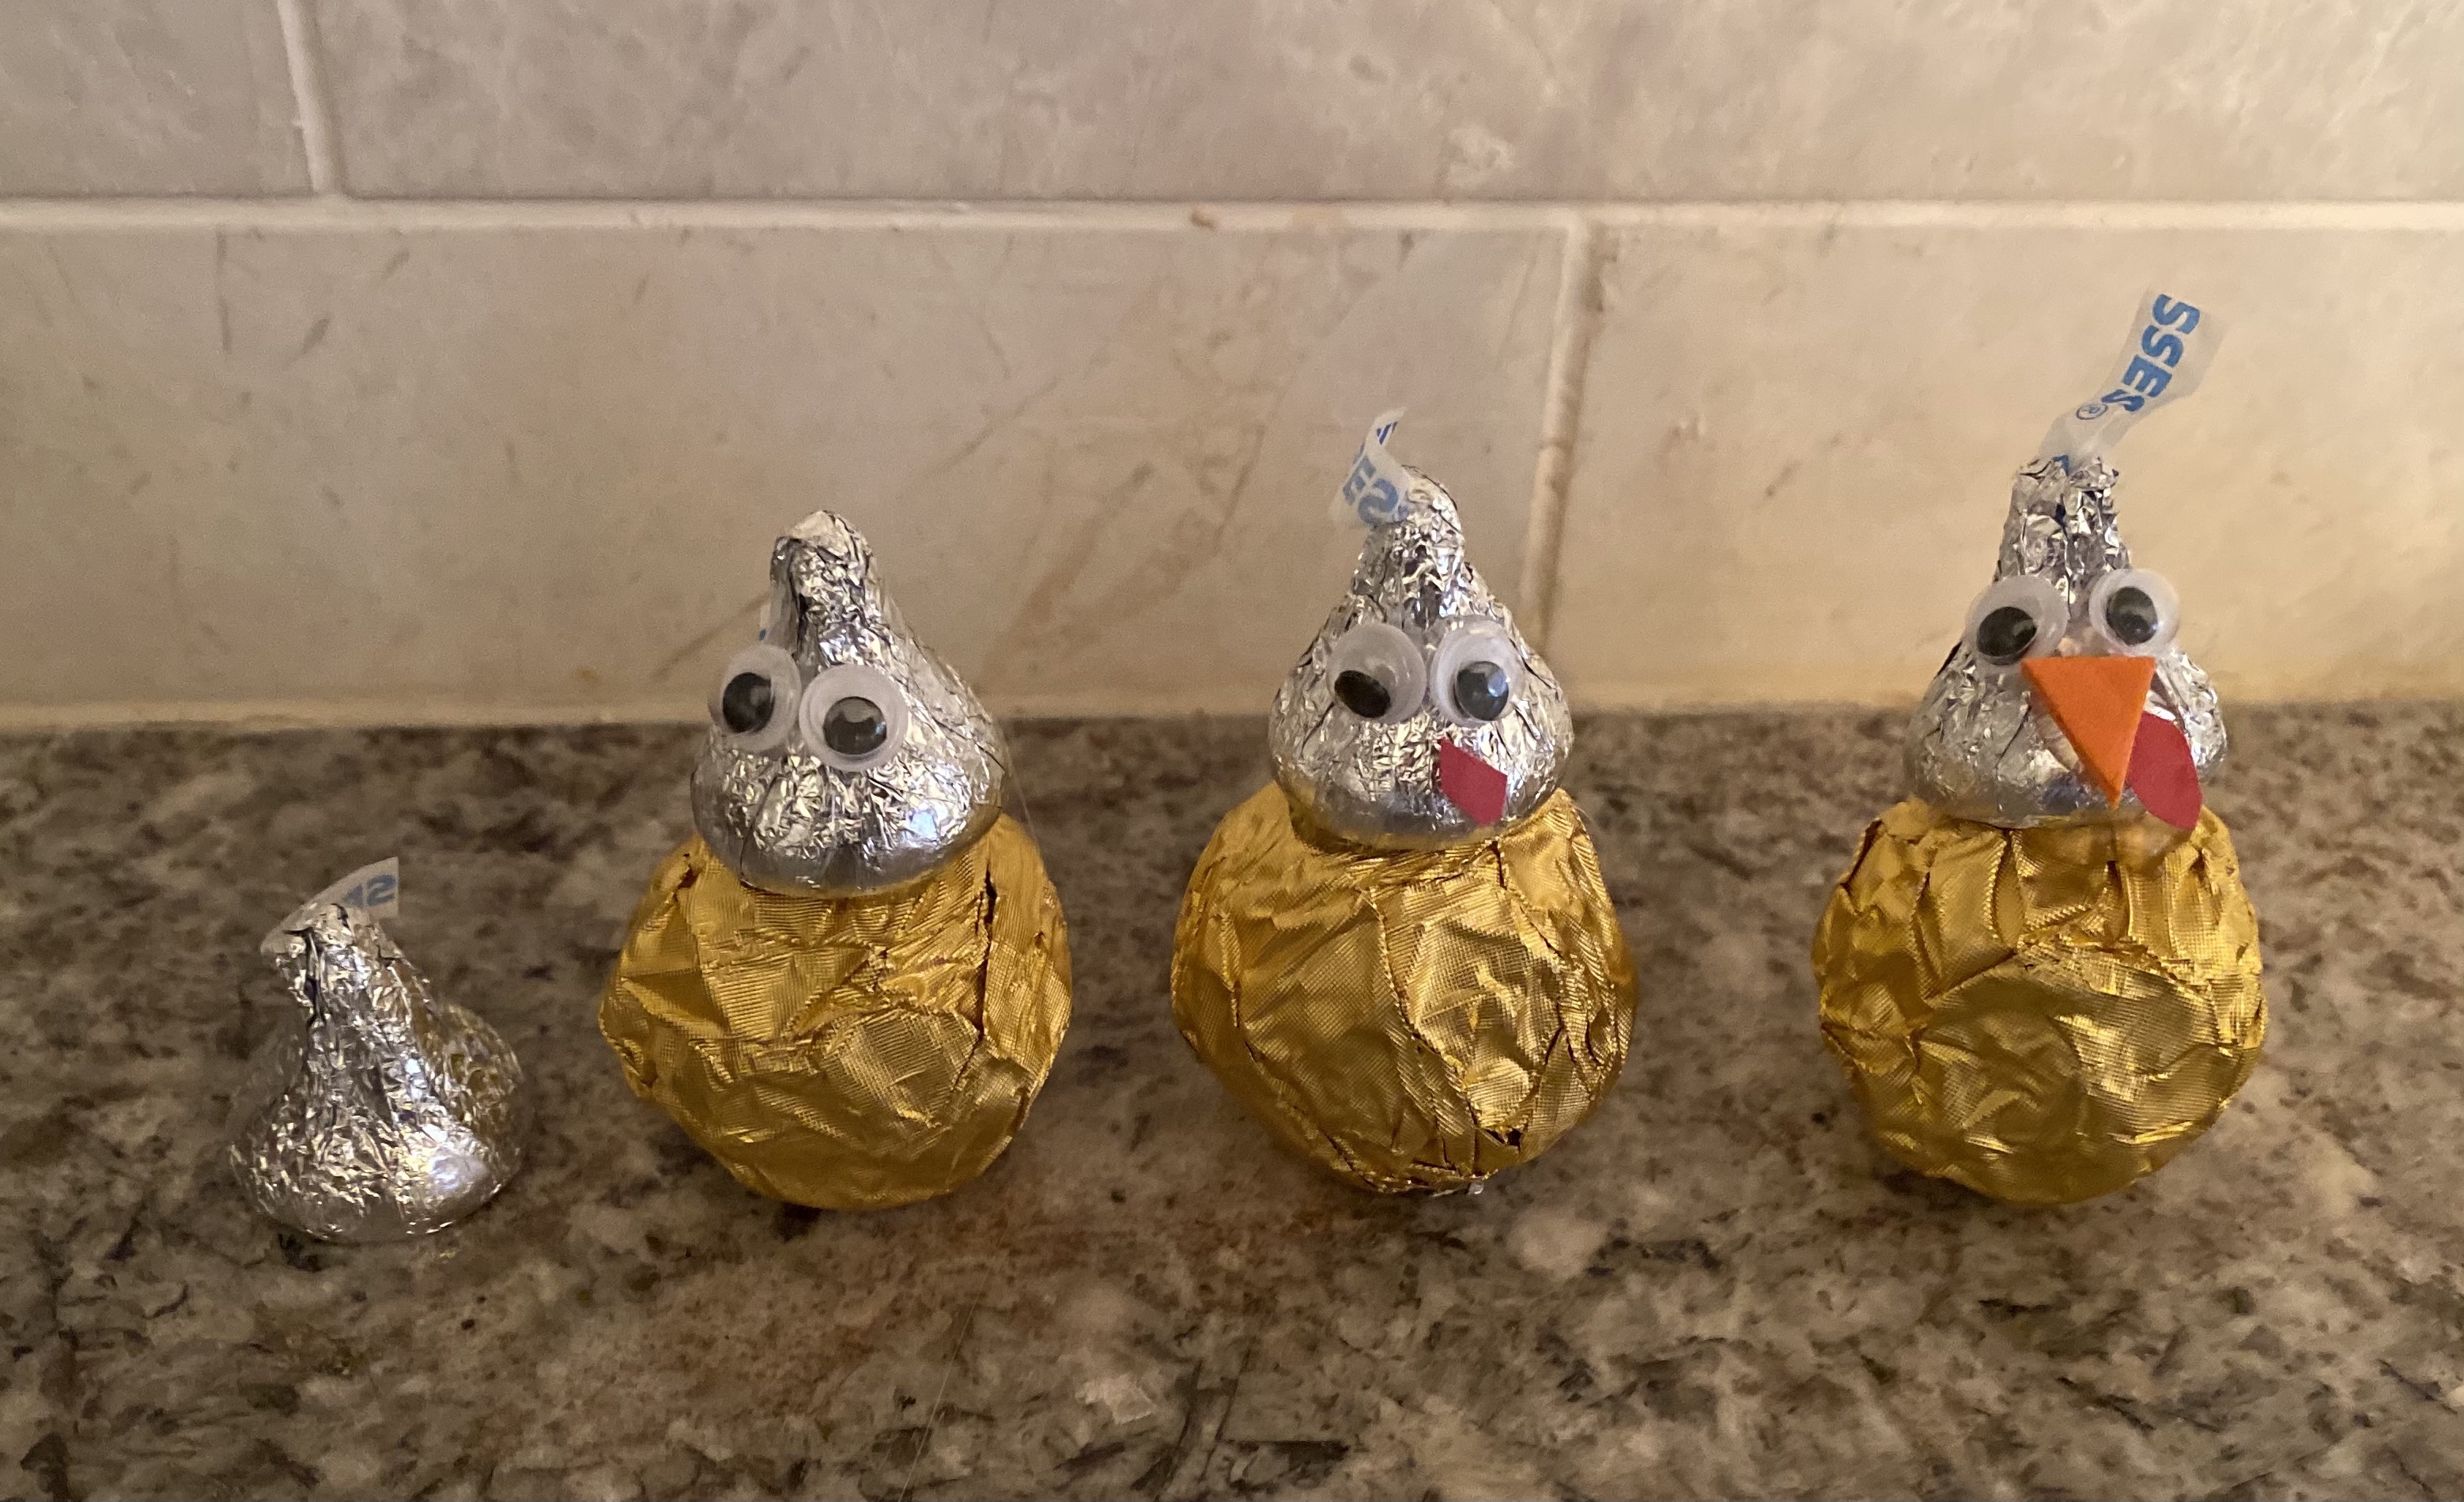
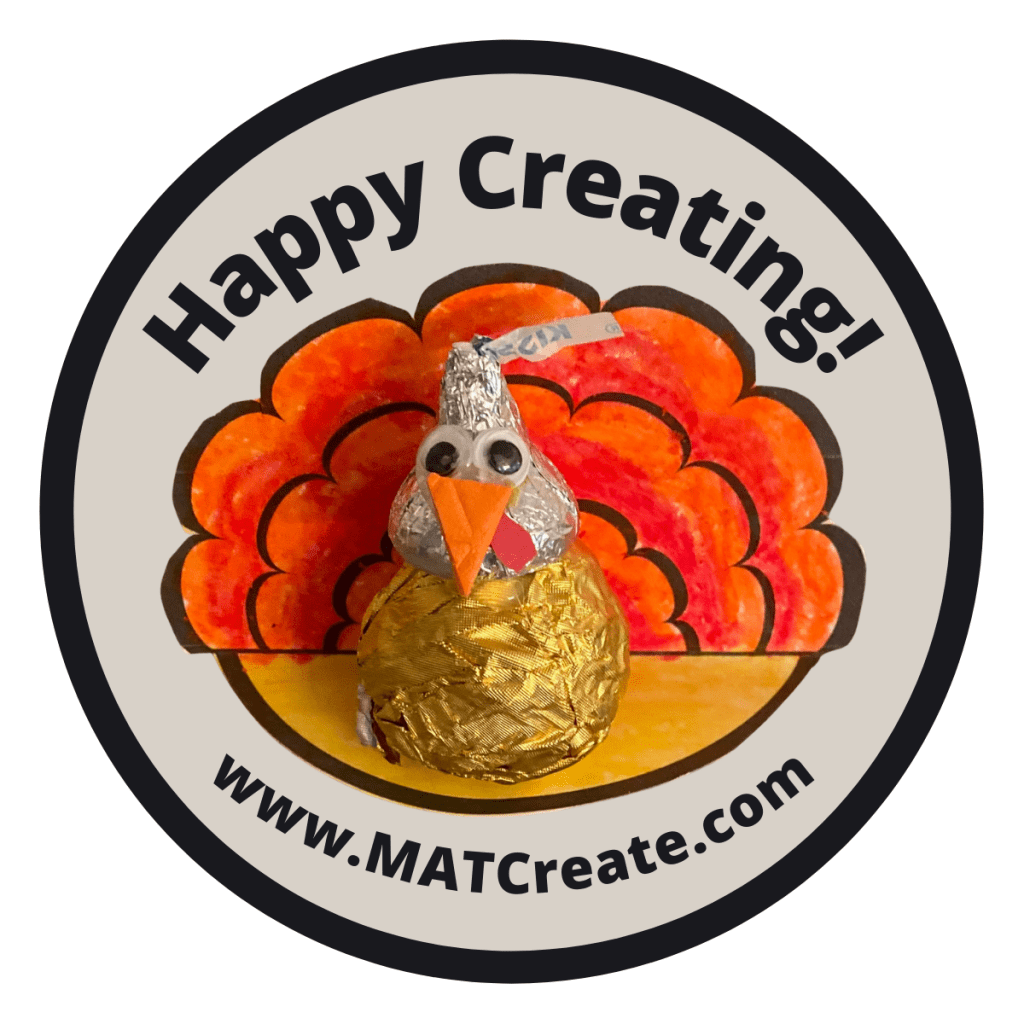
CHOCOLATE TURKEY CRAFT

Need favors, name tags, or decorations for Thanksgiving? Want something your child/children can help make? This turkey craft is for you!
Materials:
- Hershey kiss milk chocolates
- Ferrero Rocher Fine Hazelnut Chocolates (remove small sticker and brown liner carefully)
- glue dots or hot glue gun/glue sticks
- orange foam sheet or orange construction paper
- googly eyes
- red construction paper
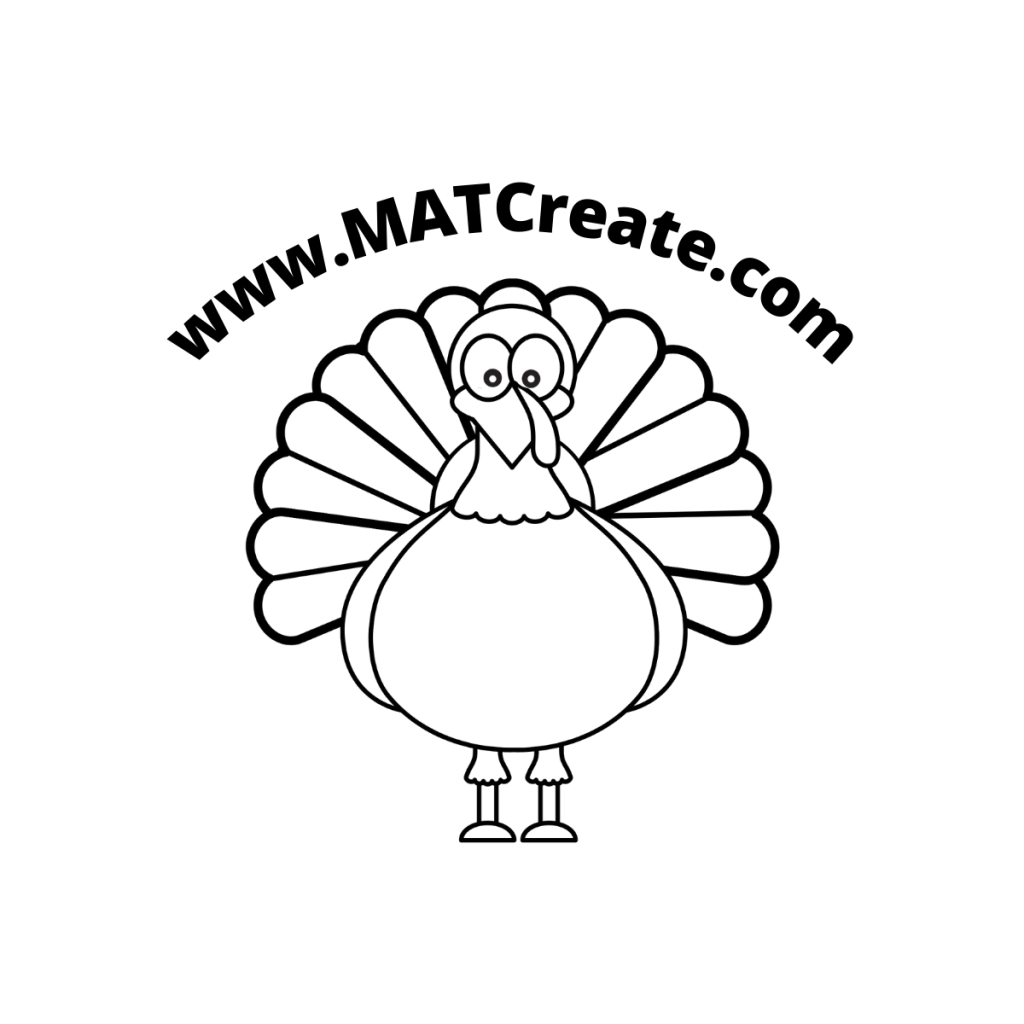
- Turkey Feather Template
- cardstock (to use in printer)
- markers / crayons / watercolors
- scissors
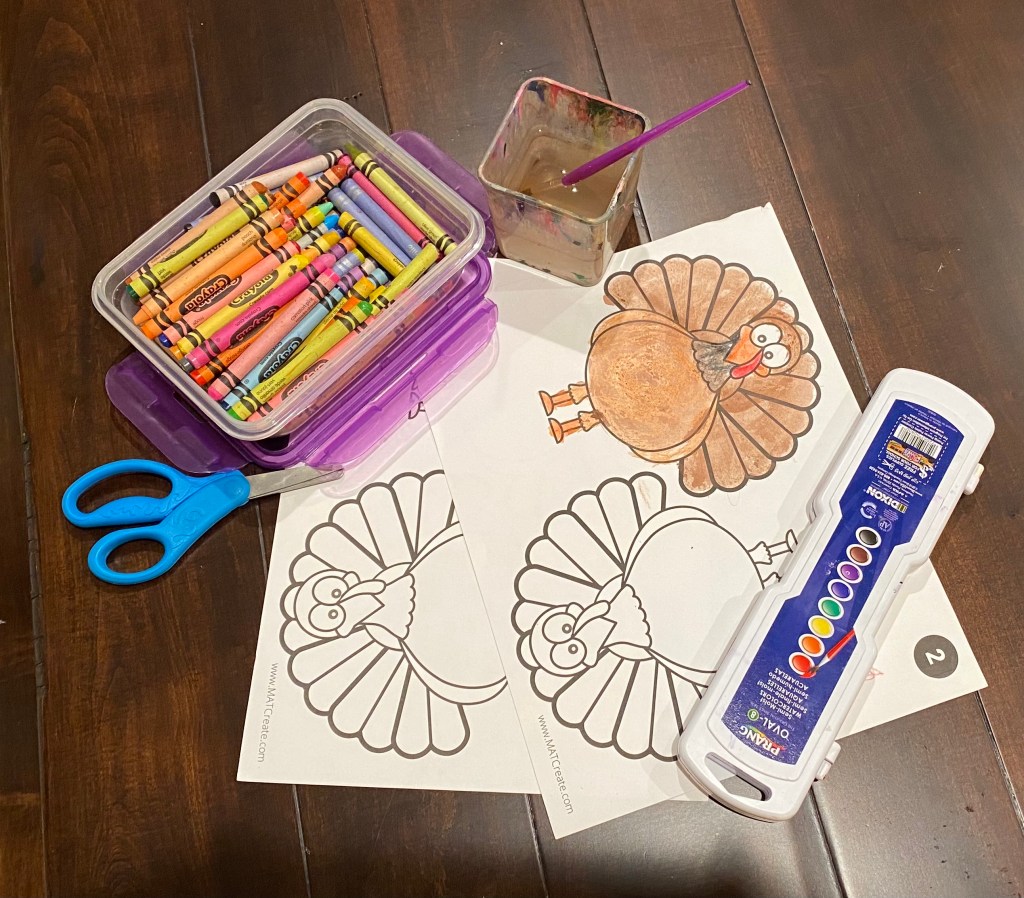
Process:
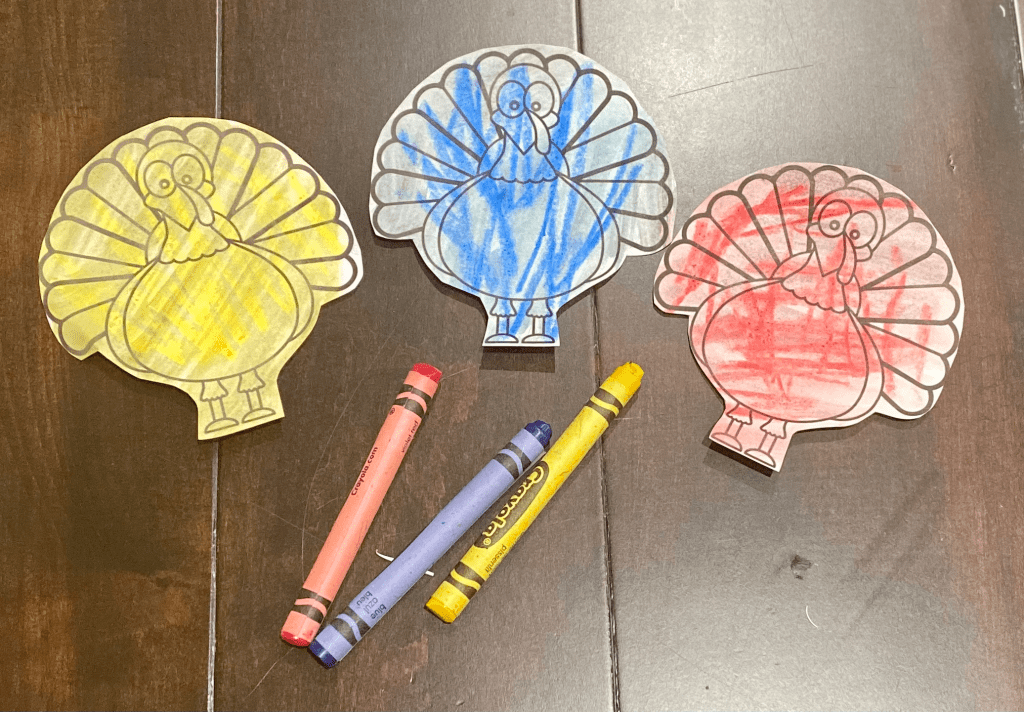
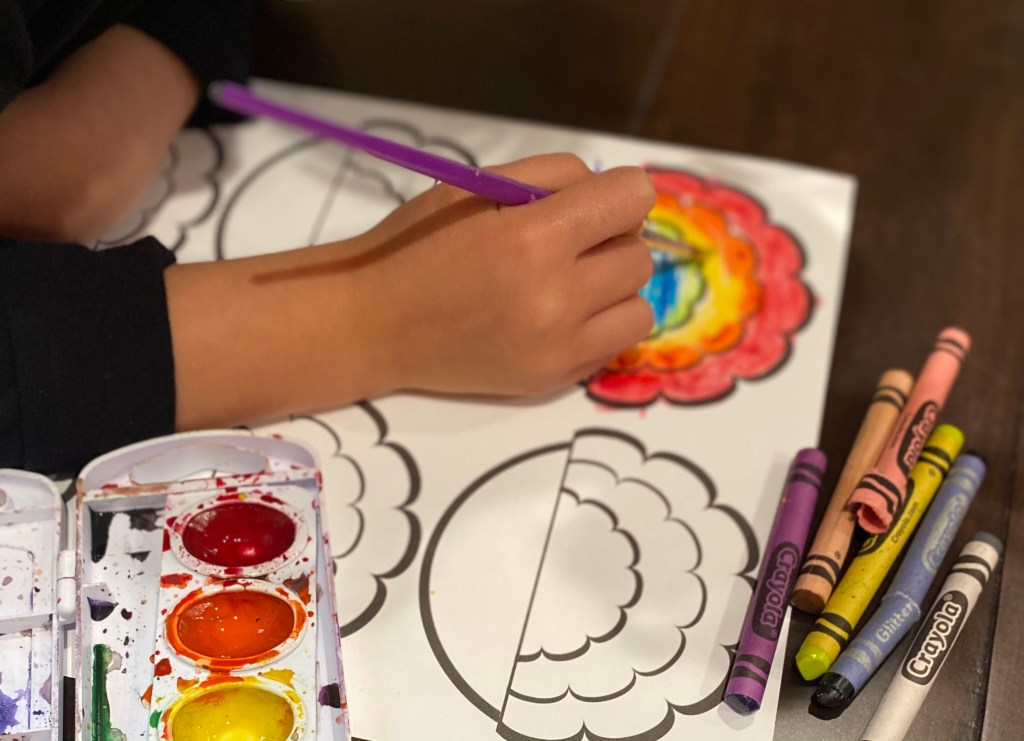
1.) Making the Feathers: (kids)
Print templates. Have your child/children color in the turkey feathers and base. They can use any of the mediums above. For ours we used crayons, and then went over on top with watercolors. Let dry. Then cut out. Fold on solid horizontal line.
2.) Making the Bodies: (adult/older children)
Cut out the beaks from the orange foam (triangles). Then cut out the goblets from red construction paper (oval shape).
Place all materials out in front of you that are needed before beginning to create. With the hot glue or glue dots, make/use two small dots for the eyes, place eyes on top. Then make one big dot below eyes and attach the goblet first, then beak. Once the head is complete, attach the head (Hershey Kiss) to the body (Ferrero chocolate). Lastly, add a small glue dot to the bottom of the body and attach to the paper template base.

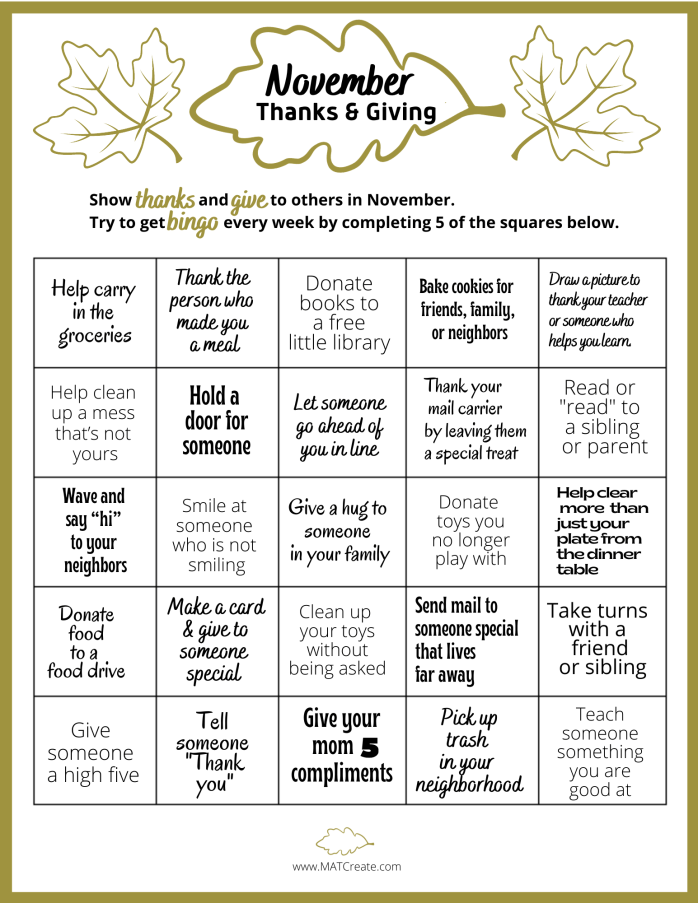
THANKS & GIVING BINGO

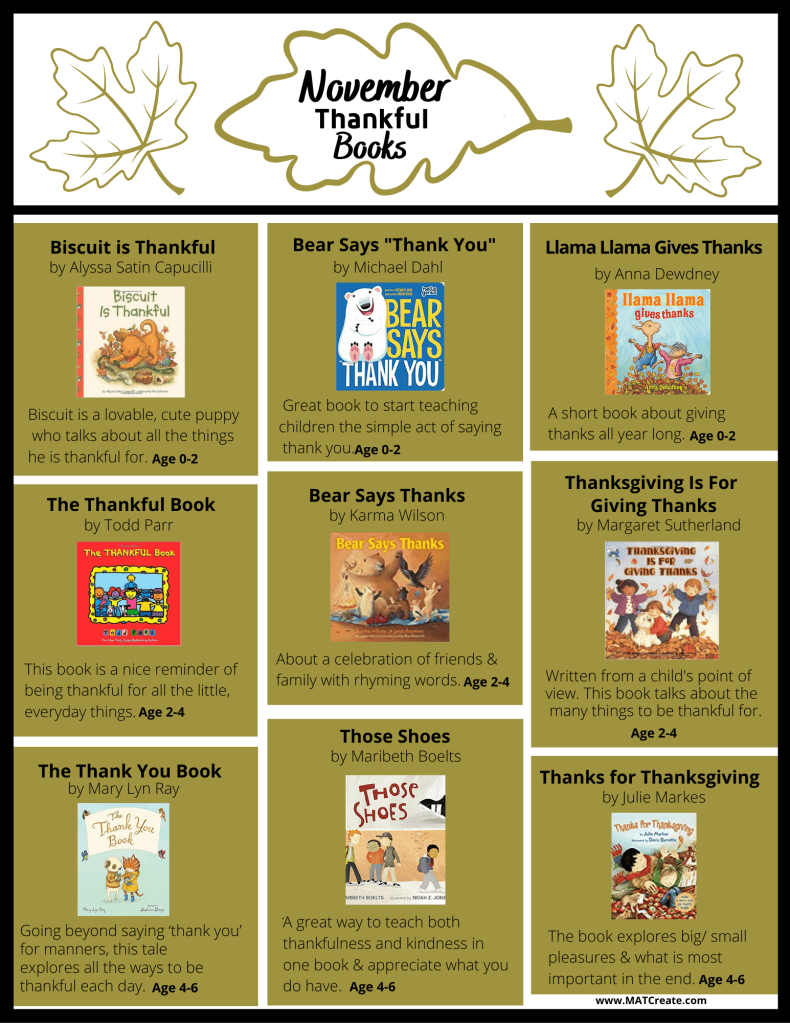
Its always a good time to show thankfulness and appreciation to others by giving, especially in a month where you celebrate “Thanks-Giving”. I have also included a list below for ages up to 6 with books that have the message of giving & thankfulness.
I want to instill these traits in my daughter, so I try to do them myself as often as possible. I created this bingo game to celebrate the month of November and to have her exhibit these traits throughout the month. At least once a week we’ll read or watch a book too.
Hang up in your kitchen or keep in your child’s room. Every morning talk about which activity you could do. Your child will love making a difference and seeing people’s responses to their actions.
Notes:
- To mark off the activities completed on the calendar, simply have your child draw a picture on top of the square, use a sticker, or a simple “X”.
- Check out your local library for the books listed above, download on a kindle (free through your local library), or watch a vide of someone reading the books on youtube.
Have a great month of Thanks & Giving!

ELF ON THE SHELF COUNTDOWN

Who else is excited for Elf on the Shelf to come? Make a countdown until the big day he/she arrives!
We are Elf on the Shelf crazy at our house. The anticipation of him coming has my daughter full of excitement. Instead of her continuing to ask me everyday how long until he comes, we made a countdown. Its fun, educational, and interactive!

Materials:
- Countdown Templates
- printer
- scissors
- cardstock
- crayons/colored pencils/markers
- black marker
- green & red construction paper
- stapler
- Optional: tape, Post-it Notes, laminate sheets or laminator
Steps:
1.) Printing Templates: Depending on which elf you have (girl or boy), print that template. Then decide if your child/children are going to write out the numbers on the stars or use the already written out numbered stars. Print a total of 2 pages (countdown & stars)
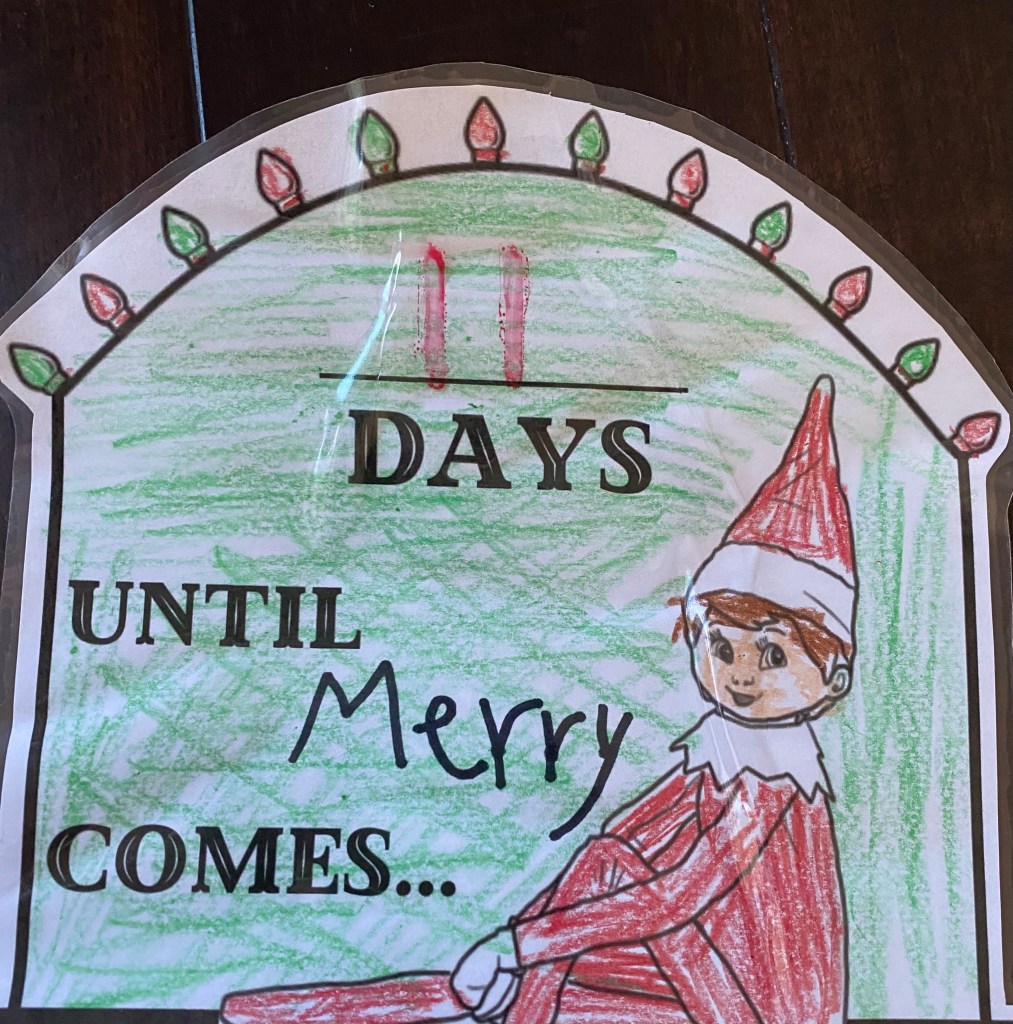
2.) Elf Name: Next to “until” write your Elf’s name in a dark color so it shows up after coloring (we used a black sharpie).
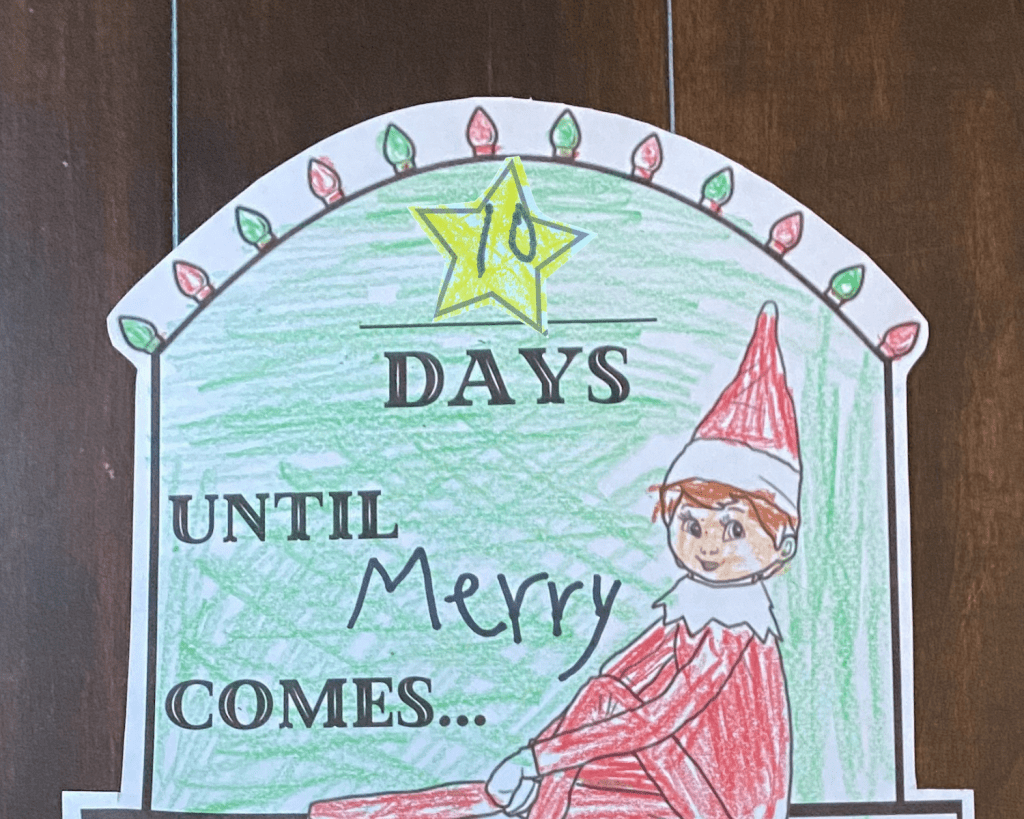
3.) Color! Choose what medium from the list above you want to use. Then color in the countdown & stars. Label stars with numbers if you chose the unlabeled template.
4.) Cut out & laminate! Cut out the countdown template and then laminate. The purpose of the lamination is so your child/children can write the number of days left on the chain (above line) every day after they pull one piece of the chain off. If you don’t want to laminate, simple use post it notes or tape a sheet of paper with the number on there.
If you don’t want to make a chain, you can use the stars and tape a star everyday where the number goes, instead of writing it.

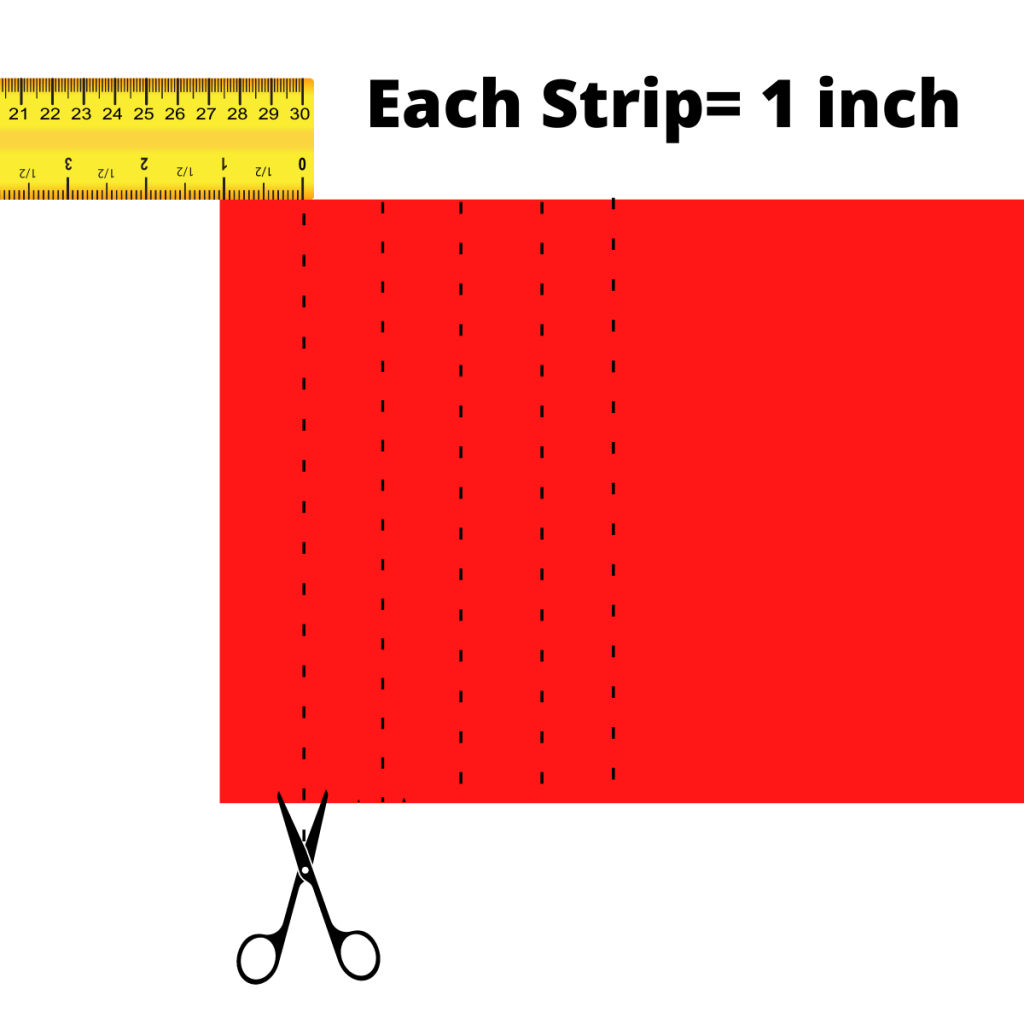
5.) Make the chain. Cut the red construction paper horizontally. See image below. Repeat with the green. You will need one strip for each day on the countdown. Putting the chain together: make an AB pattern with the red and green paper. Start by stapling the first circle (link) together, then place the next circle inside of it and repeat until done. You need one link for each day on the countdown.
6.) Add stars. This is optional. I added this part to help review/write numbers and to be more decorative. On top of the staples, with double side tape I attached the stars. Make sure the stars are going in the right direction (not upside down). Start at the top of the chain with #1 and work your way down.
7.) Attach together. Attach the chain to the countdown base with a staple. You can put it anywhere on the rectangle below the elf.
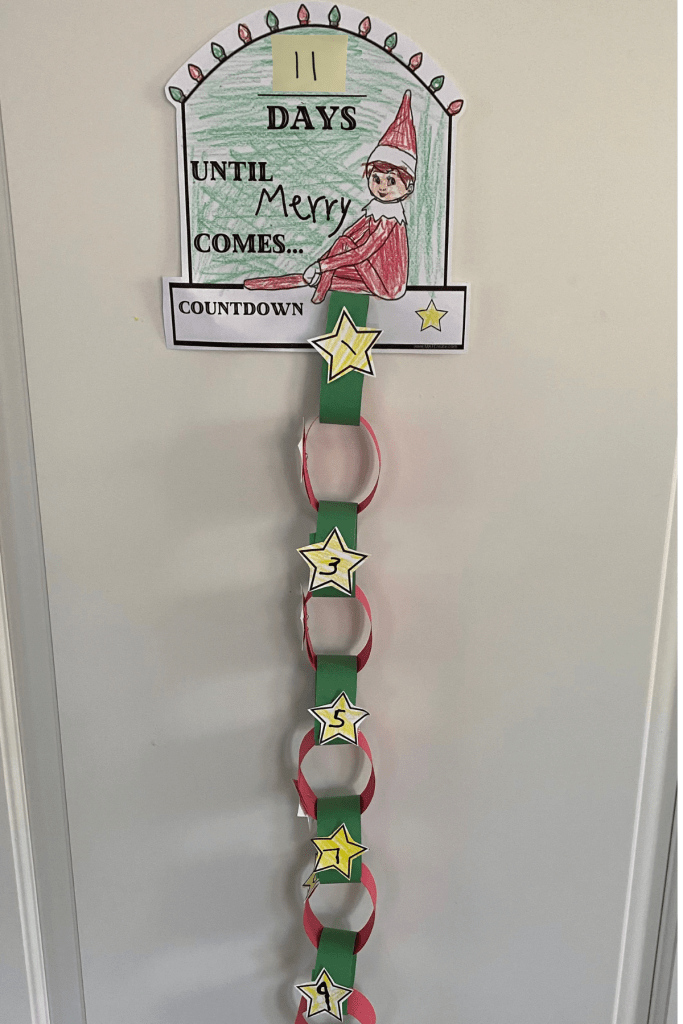
8.) Let the countdown begin! Pull off a piece of the chain. Then write how many days are left above (see options in step #4).
