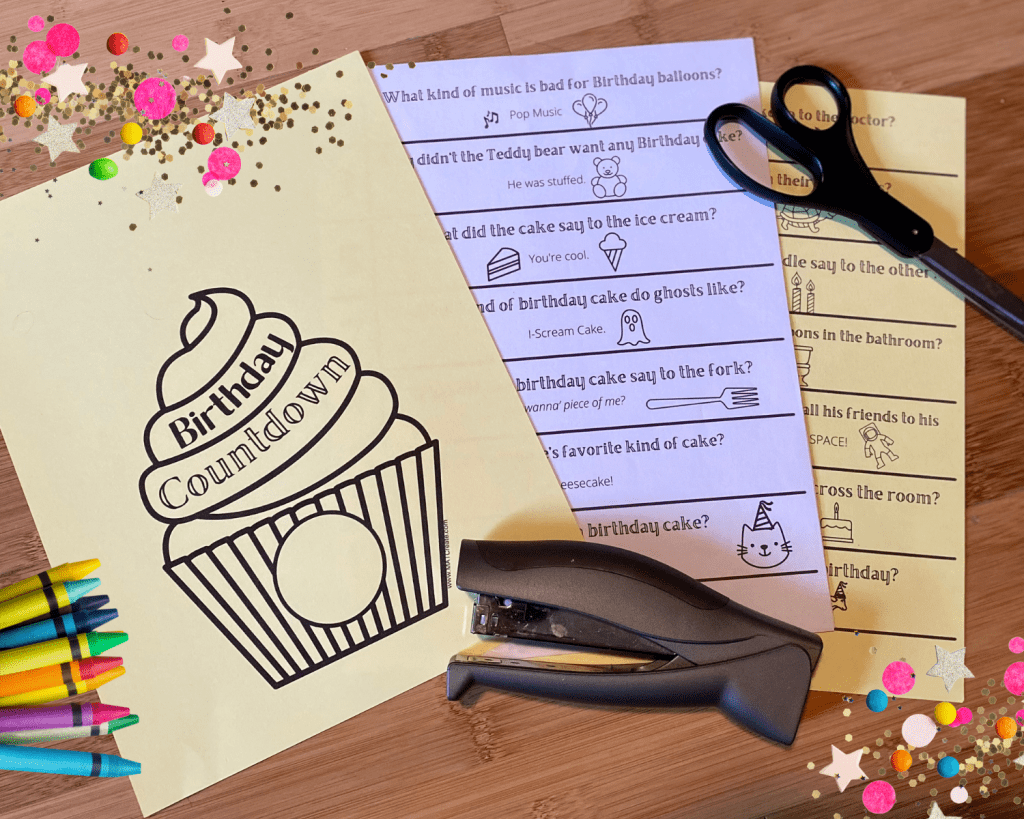
BIRTHDAY JOKEs COUNTDOWN

Countdown until the big day for two weeks. Pull a chain and read a joke each day! Enjoy this fun interactive full of laughter countdown! Who doesn’t love birthdays and jokes?!?
Materials:
- Cupcake template & Joke Chain
- cardstock (color or white)
- printer
- scissors
- stapler
- watercolors, crayons, markers (optional)
To Make:
1.) Print. Before printing out the templates, decide how you are going to decorate it and what paper you need. I recommend cardstock vs regular paper because more sturdy. Decorating has lots of possibilities.
For my chain example I used glitter cardstock and yellow cardstock.
2.) Cut out. Cut out the cupcake. Then, for the chain, cut on the solid black lines between each joke (making strips)
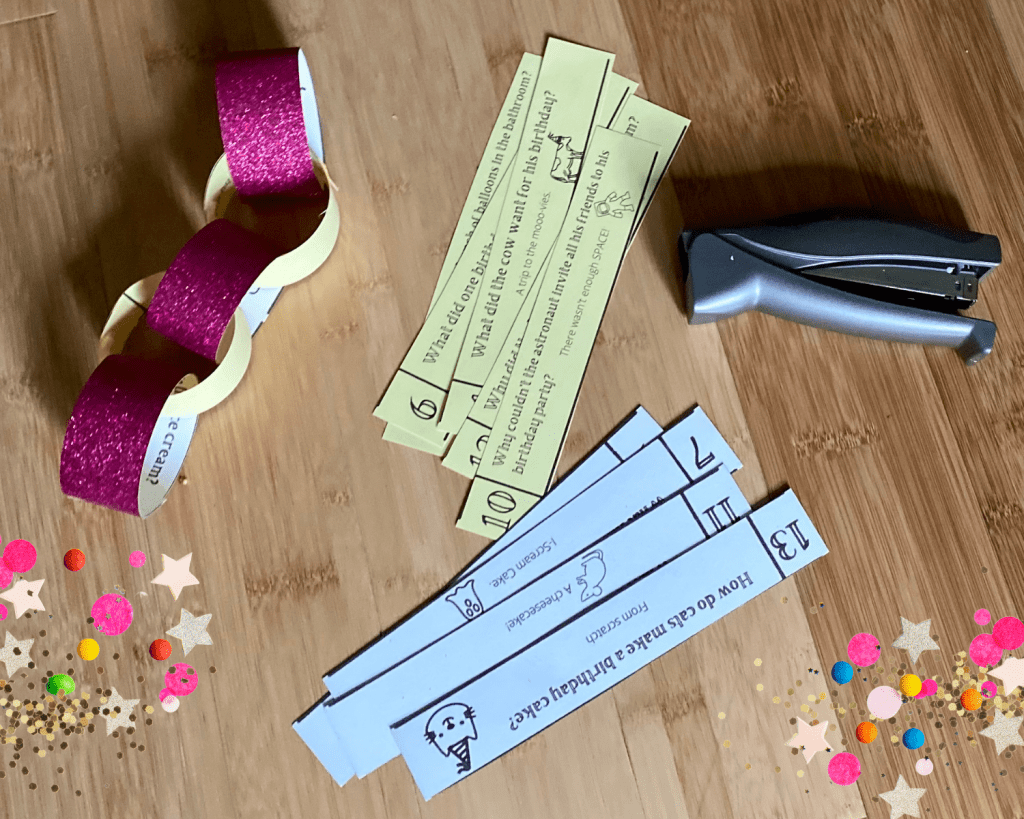
3.) Decorate/personalize. Paint with watercolors, color with markers or crayons, add stickers, or just let plain. Let your child decide! Add the age they will be in the circle box.
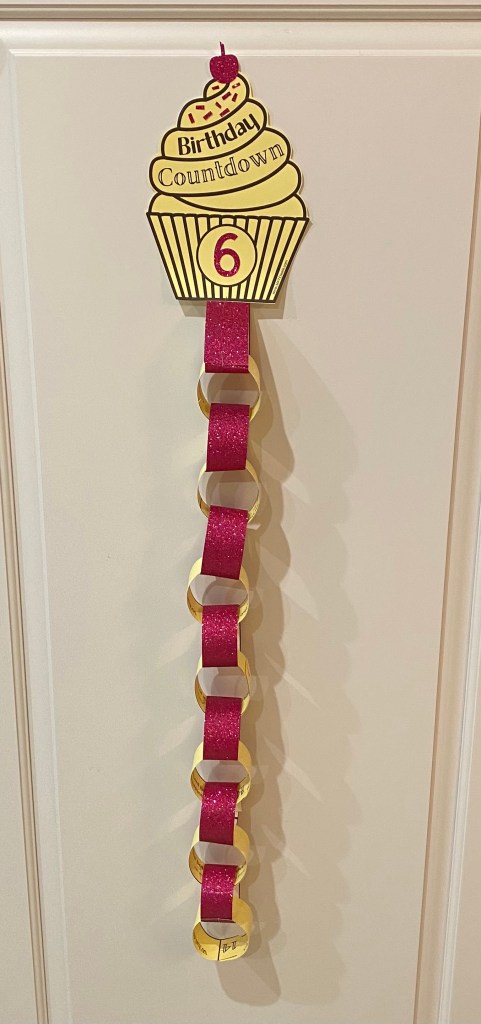
4.) Make Chain. Bend the first joke (day #1) into a circle and staple. Then attach day #2 joke by doing the same thing, except putting through day #1 first. Continue in order until done.
5.) Attach. Attach the chain (day #1 joke) to the cupcake center bottom by stapling (see finished example below).
Let the fun begin! 14 days before their birthday start the countdown! Enjoy!
Happy creating, laughing, & celebrating!
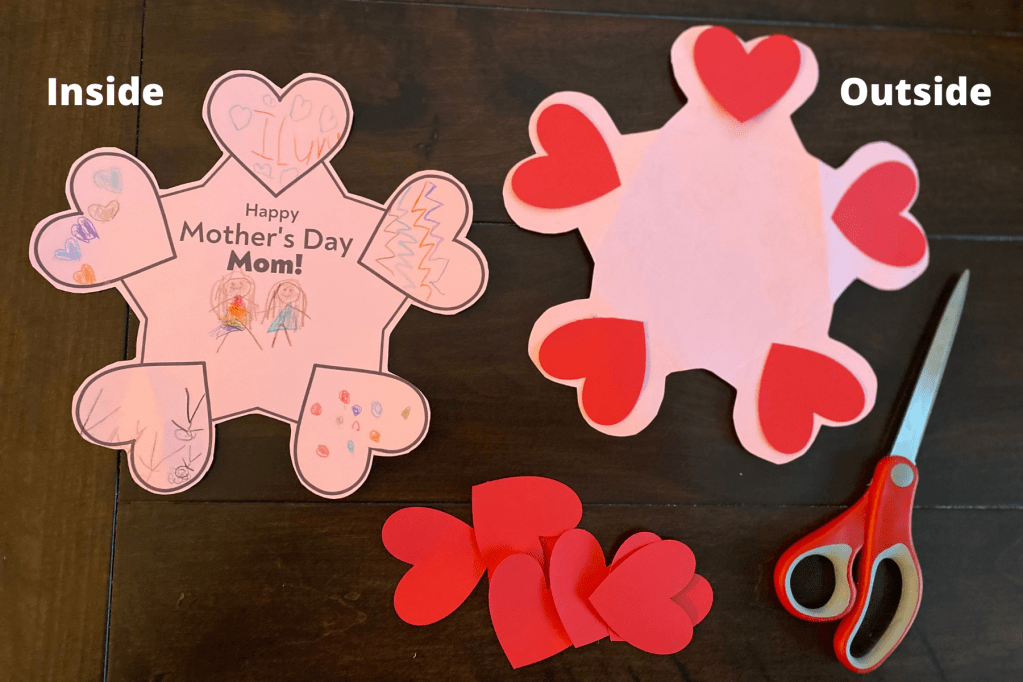
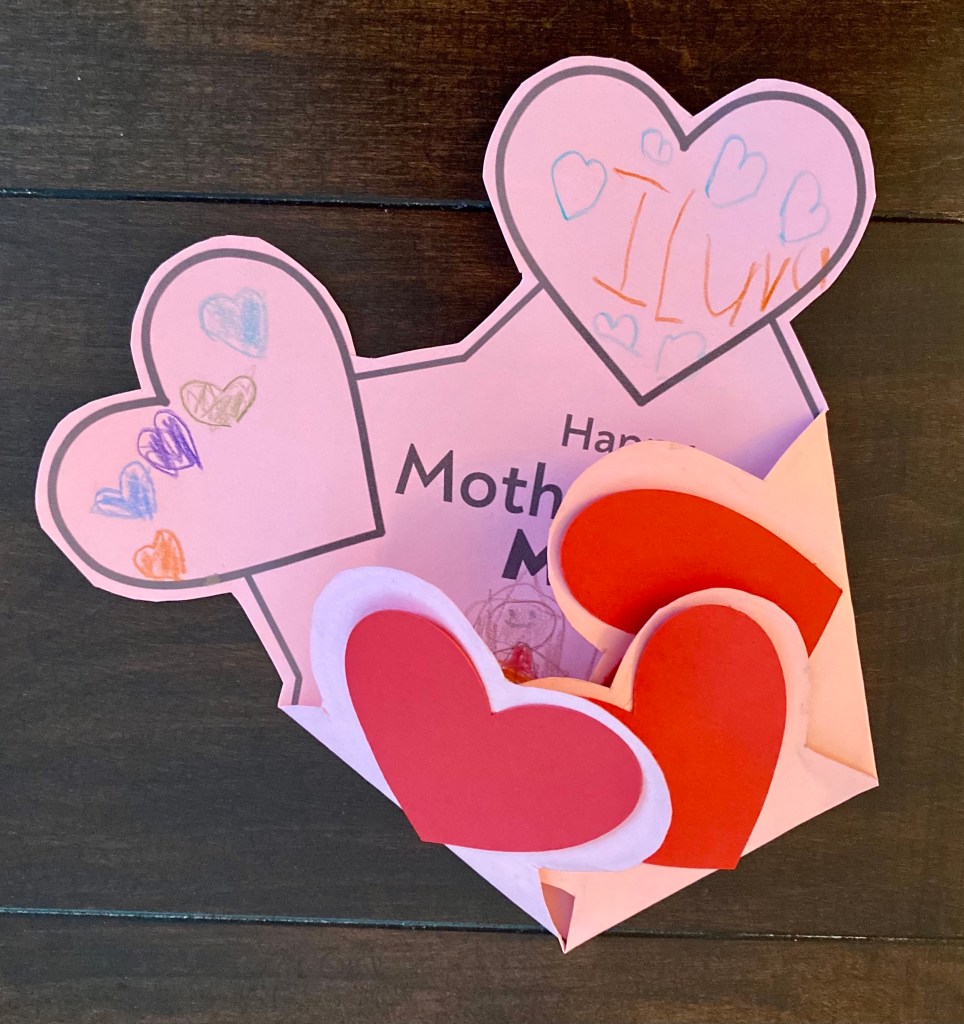
MOTHER’S DAY EXPLOSION CARD

Materials:
- Card templates (Mom/Grandma/Blank)
- colored cardstock (2 different colors)
- printer
- scissors
- glue
- markers/colored pencils/crayons
To Make:
1.) Print out the templates. Use two different colors of cardstock (example is done with red/pink cardstock).
2.) Cut out card template and 5 hearts. For both, cut right outside the lines, not on the lines.
In the example, they drew pictures on the inside hearts, but you could instead place hearts there. If doing that, cut out 10 hearts (look same as back side).
3.) In the center of the card (below “Happy Mother’s Day”), have your child draw a picture of their Mom/Grandma or a picture with them and their Mom/Grandma. If too young, have them decorate the inside of the card- can use crayons, stickers or stamps too.
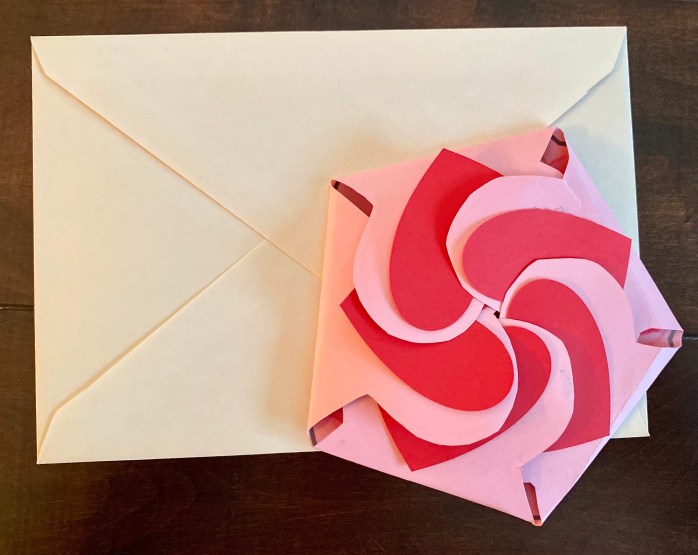
4.) Attach hearts with glue on the back side of the card. Put glue on the template (outline) side. Let dry.
5.) Fold one side at a time- to make a pentagon (see below).
To create the explosion card- Fold one heart down and then place the next heart down on top, continue until all hearts are folded down. Then, tuck the last heart under the first folded heart.
Happy Gifting!

MOTHER’S DAY HANDPRINT POEM

Once it’s May, you know Mother’s Day is soon here. Celebrate that special Mother in your life by making this adorable keepsake. Those little hands won’t stay little forever and she can cherish them along with this cute poem. Only a few materials required & most you should already have.
Materials:
- Handprint Poem Template
- marker (to sign child’s name and year)
- white cardstock
- printer (can print in color or black & white)
- Frame– for size 8 x10 photo
- tempera paint (washable) – your choice of color
- paper plate
- paint brush (optional)

Process:
1.) Print out the template. Have child sign name or you sign their name and year in center heart.
2.) Choose what color paint you want. Make sure it is tempera, so that it will easily wash out of clothes or surfaces.
3.) Review with child that you are placing their hand in paint and have them practice with a clean hand first where you want them to make the handprints.
*Do this activity close to a sink or have lots of wet wipes nearby.
Option #1: Place paint on paper plate and spread out. Then place child’s hand in paint. Lift up to make sure completely covered. If not, place hand back on plate where paint is and press down to cover that area. Then place child’s hand down on template and press down on hand. Slowly lift up and then clean hand immediately. Repeat for second hand.
Option #2: Cover child’s hand in paint (one at a time) with a paintbrush. Then have the child place on template. Clean hand and repeat for second hand.
- Since the paint is out you can always have extra paper and let them finger paint or paint with a brush for more added fun.
4.) Let dry. Once dry place in frame.
Happy Gifting!
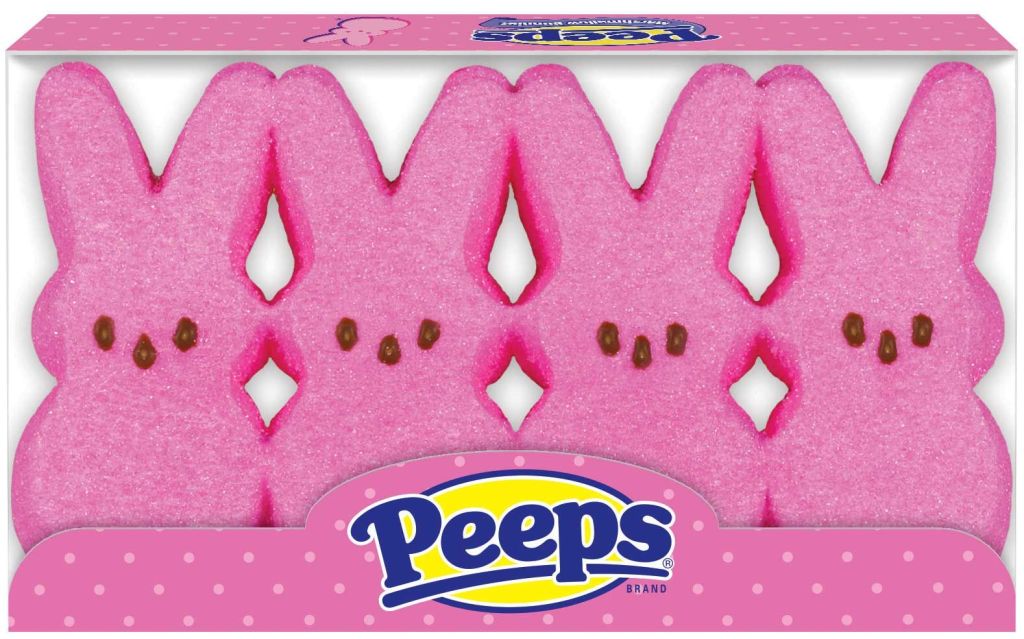
BUNNY PEEP EXPERIMENTS

Anyone else give in when their kids begged you to buy Peep Marshmallows? Try out these engaging sugar free STEM experiments. Once complete, have a bunny peep as a reward.
Materials:
- Bunny Peep Marshmallows (at least a 4 pack)
- Experiment Handout
- Peep in Disguise Handout
- pencil, crayons, or markers
- regular marshmallows
- ruler
- objects/toys ( find in home/ for measuring)
- paper (2 sheets)
- bowl
- water- 1 cup
- juice- 1/2 cup (orange or tomato work best)
Process:
Part I: Bunny Peep in Disguise
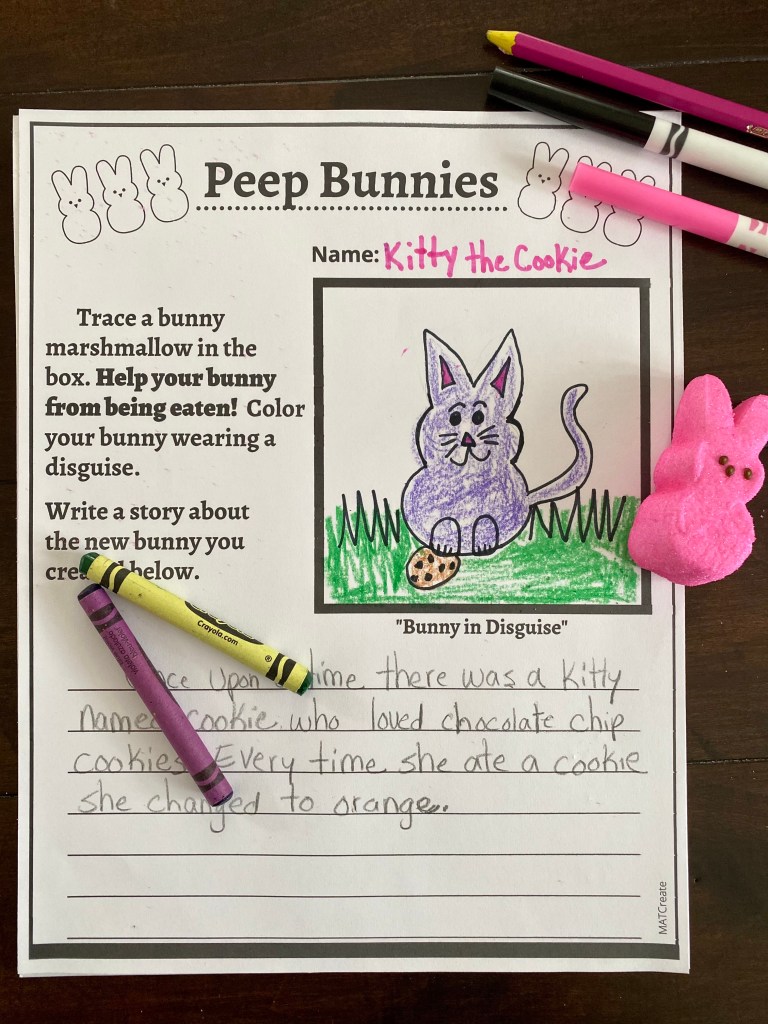
Everyone loves to eat Peep Marshmallows. Help them not get eaten by making a disguise for them. Trace the Peep to get the outline. Then let the creativity begin.
Once done, write a story about your peep and why you chose that disguise. Peep’s new name? Lives? Who hiding from? favorite food? friends? Endless possibilities for your story.
If child is too young to write, have an adult write the story down as they are telling it.
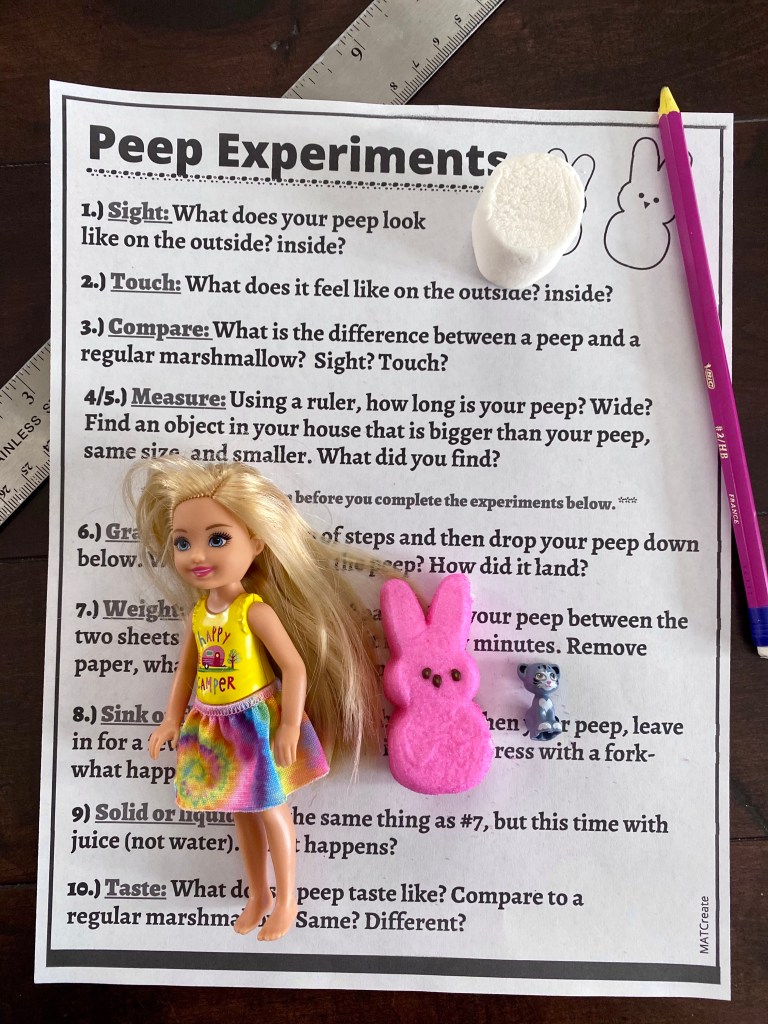
Part II: Experiments Handout
The activities will need to be parent or teacher lead. Have all of the supplies ready before you begin. You can do all of the activities, or only the ones that would interest your child/children. No need to write the answers down on the handout. Answers should be all verbal from child to parent/teacher.
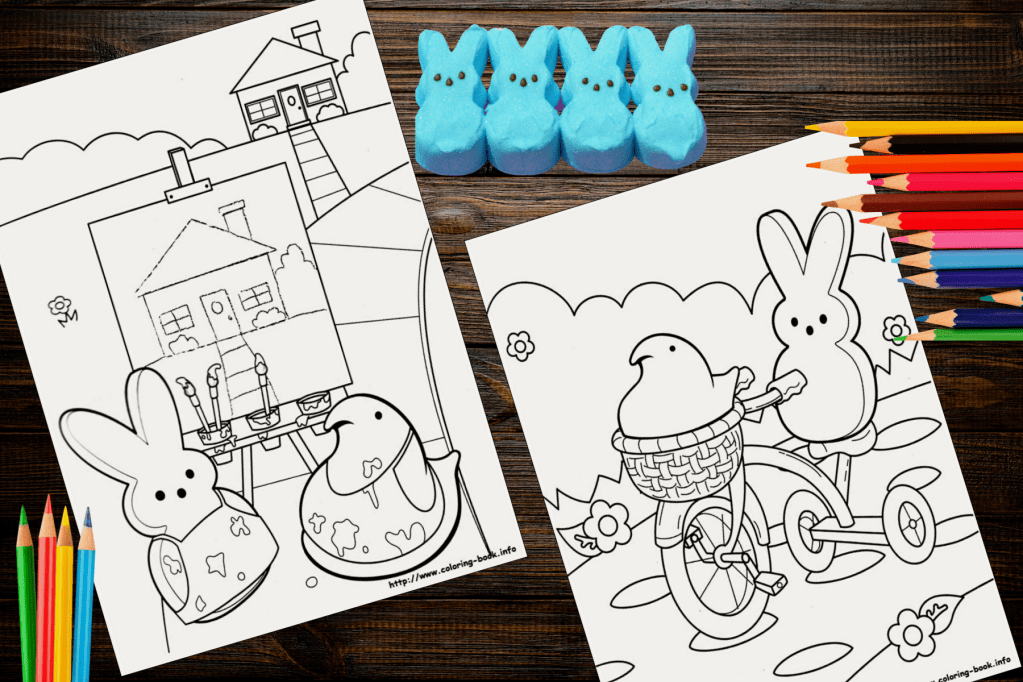
Here are some cute coloring pages of bunny and peep marshmallows.
Happy Experimenting!

Jelly Bean Activities

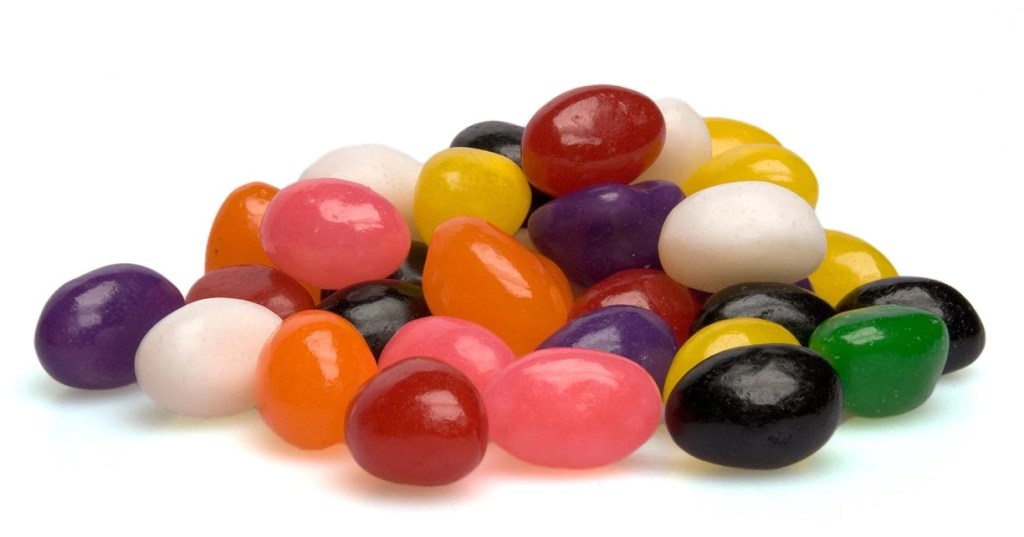
Before you eat all of those jelly beans- have some fun! Kids love using manipulatives they can eat once done. These activities are free and only a few materials needed for a few hours of educational entertainment.
Materials:
- Jelly beans
- Jelly Bean Activities Handout
- printer
- bowl or cupcake liner (for jellybeans)
- Coins- Penny, Nickel, Dime
- markers or crayons
Procedure:
The activities are geared for age 3+. Complete as many as you want below.

I. Graphing
1-Write each color of jelly bean in a box below.
2– Place your jelly beans in the row next to their color.
3– Move them one by one and color the jelly bean under them.
4– Count to see how many of each color you have and write the answer at the end of the row.
5-Complete questions below.
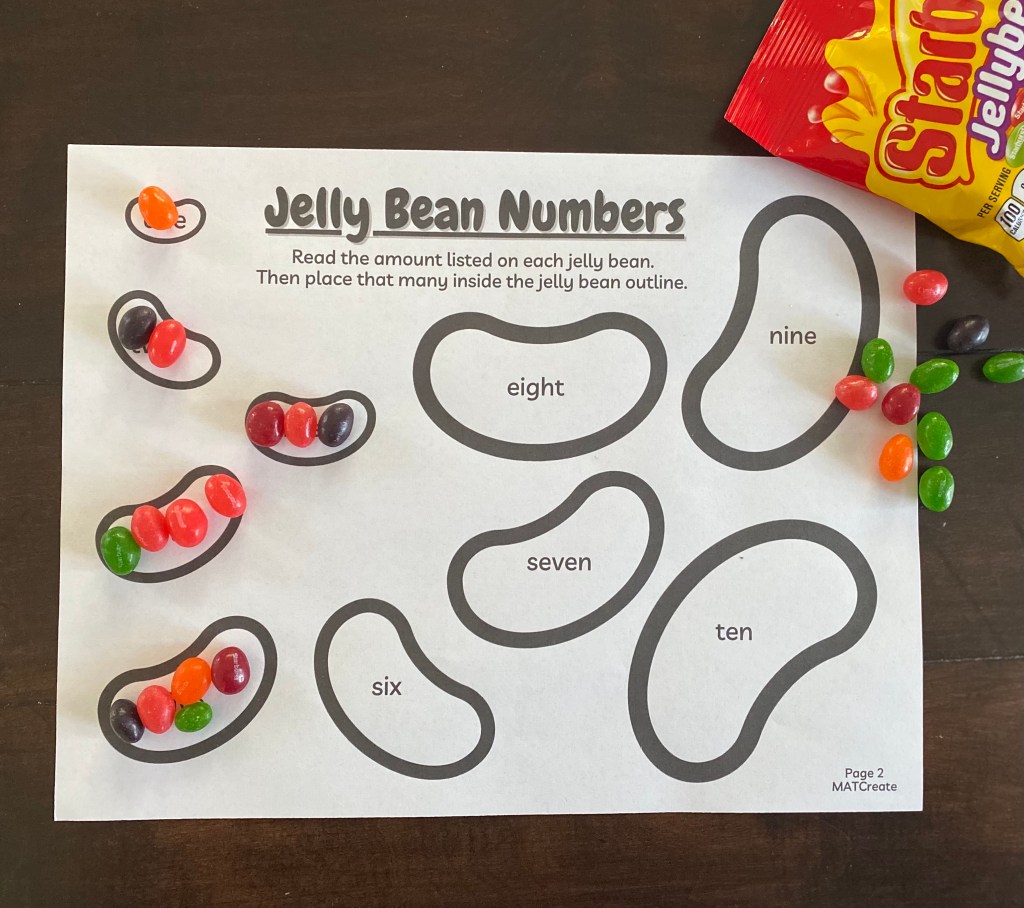
II. Numbers
Have your child read aloud the numbers, or an adult read them aloud. Then, place the word amount in each jelly bean.

III. Estimating
Guess how many jelly beans will fit into the 4 jelly bean outlines. Then, find out the answer by placing jelly beans inside the outlines. Make sure not to go outside of the outline.
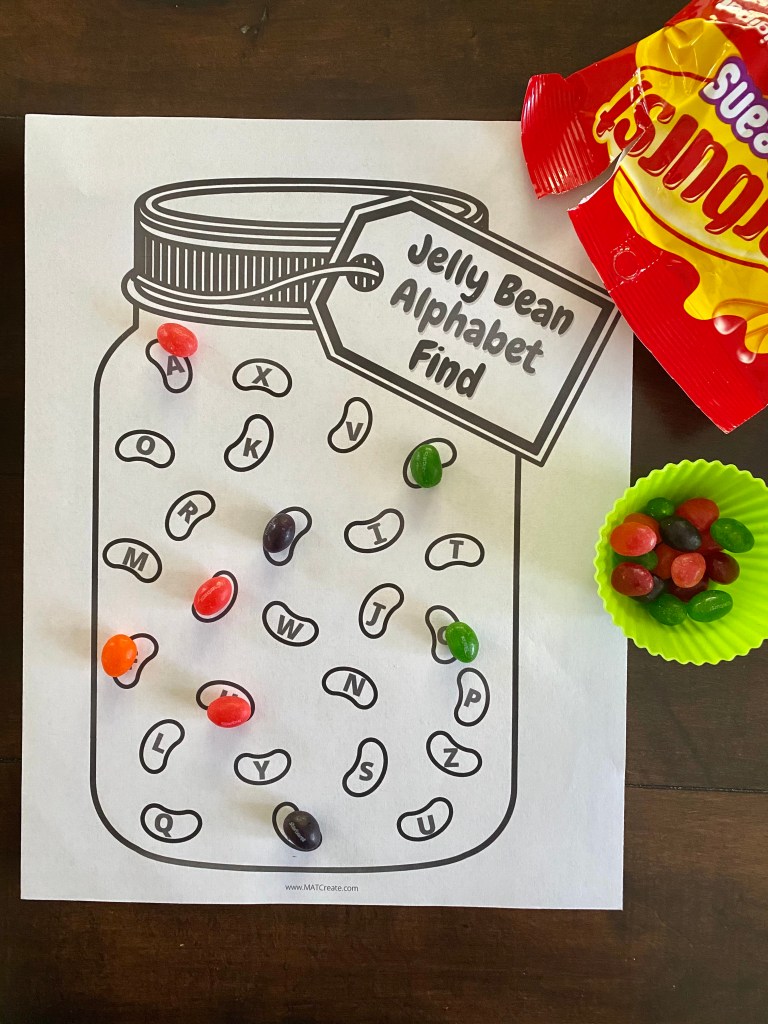
IV. Can You Find?
1- Alphabet Find- Start at the beginning of the alphabet and find the 26 letters. Place a real jelly bean on each letter after you say it.
2- Number Find 1-20- Start counting and stop at 20. As you are counting, cover the number up with an actual jelly bean.
3- Count by 5’s & 10’s- Count by 5’s, starting at 5. Cover the numbers as you go with a real jelly bean. Or count by 10’s, starting at 10, stopping at 100.
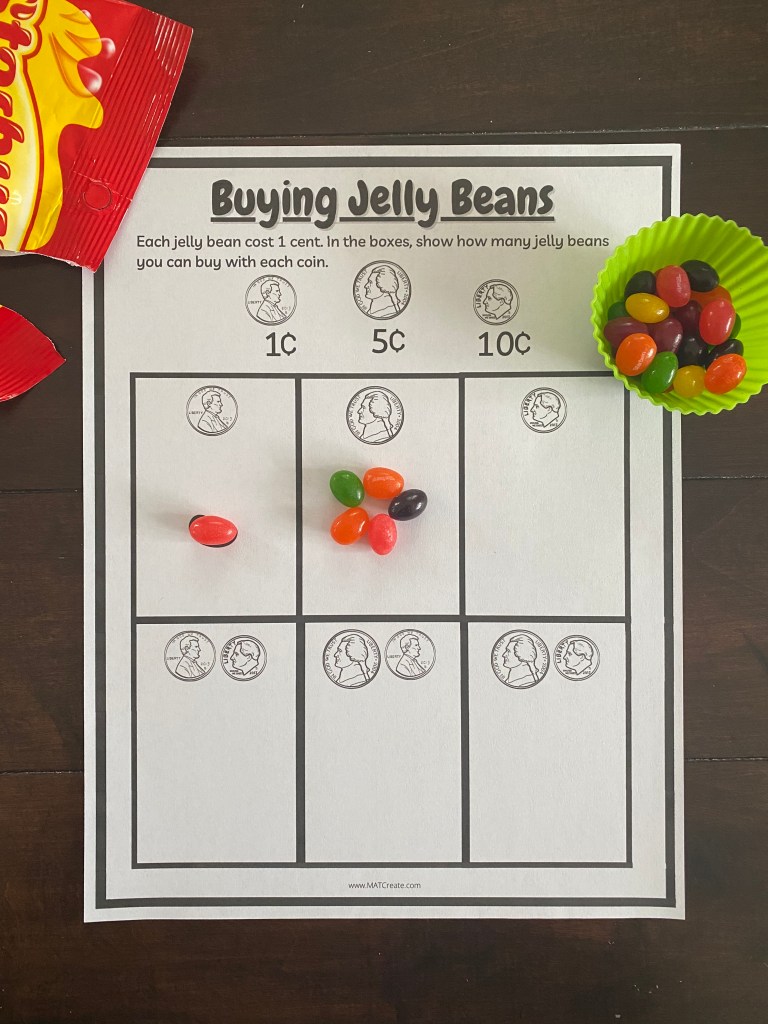
V. Buying Jelly Beans
How much is each coin worth? One jelly bean cost one cent. In each box, show how many jelly beans you can buy.
VI. Addition
1- Write your addition problems below the line in each jelly bean outline.
2- Use the big jelly beans to help you add. Make the first number in your addition problem in the first big jelly bean. Then make the second number in your problem in the second big jelly bean. Then add them together by counting. Write answer inside jelly bean to complete the addition problem.


VII. Subtraction
1- Write subtraction problems inside the jelly beans.
2- Place the first number of your subtraction problem in the jar, then take away the second number of your problem. How many are left in the jar is your answer.
Hope you had fun with your jelly beans! Enjoy some as a treat now!
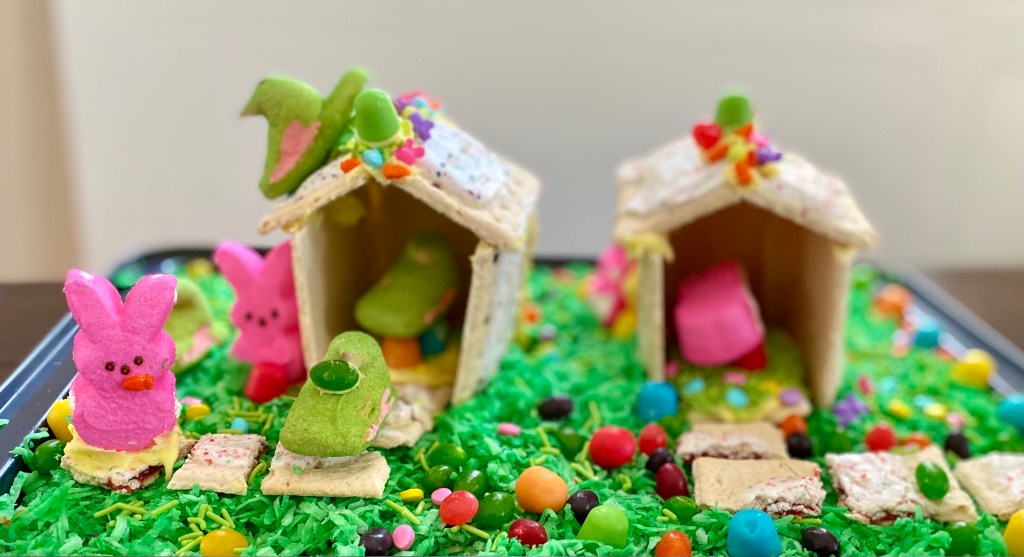
PEEP VILLAGE

You know Easter is coming when you see the Peep Marshmallows on the shelf. They aren’t just for eating! Every Peep needs a house and friends to be with. Create a little Peep village! We’ve always done this project before Easter, but after would be just as much fun and the candy would be on sale!
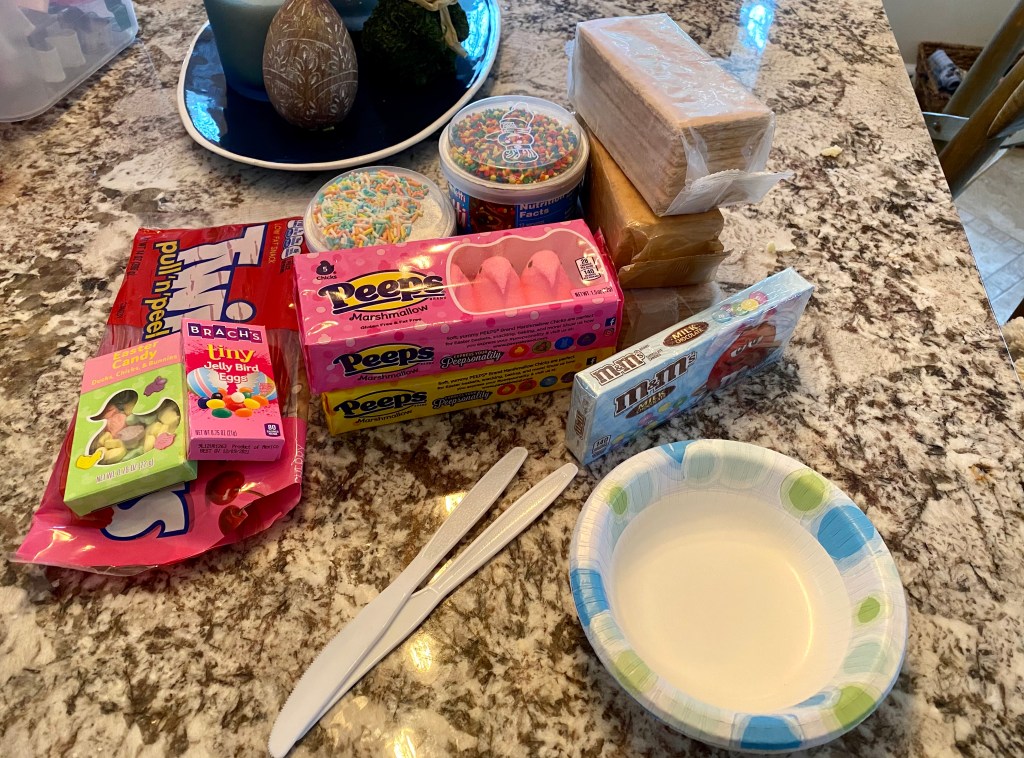
Materials:
- Peep Marshmallows
- graham crackers or Pop Tarts
- icing (bought or homemade)
- food coloring
- jelly beans
- assorted candy
- bowls (for candy)
- baking sheet
- plastic knife
Procedure:
Note: This is a 2 day process or needs to be done in parts, a few hours in between. On day #1- make the houses. Day #2 complete everything else. The houses are too flimsy and fall apart when you try to decorate in the same day. Unless you build the houses and wait a few hours until dry.
Before buying supplies: have older kids complete a sketch of what they want their village to look like. Then brainstorm what materials you need to make their sketch/ideas possible. For younger kids, just buy an assortment of materials and design your village as you go.
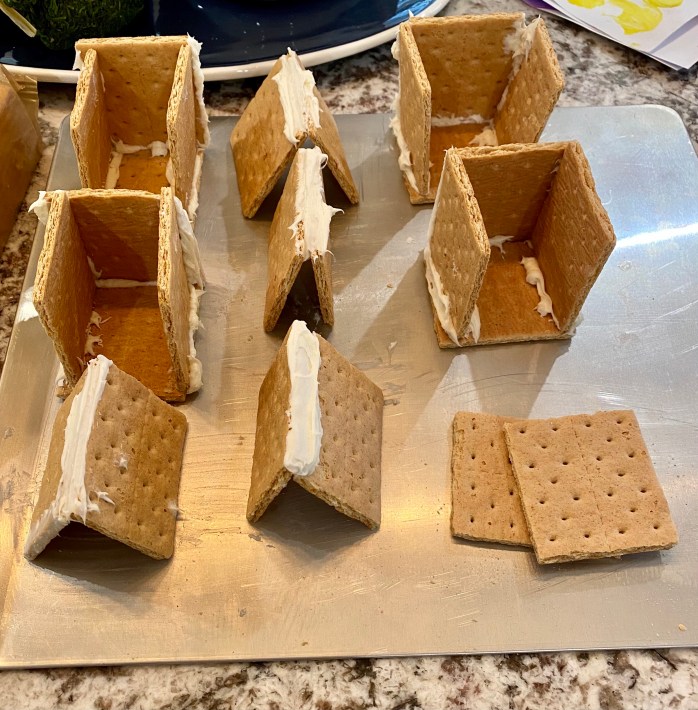
Day #1:
1.) Construct the houses! Using graham crackers and icing as glue. Our houses had 3 sides (2 sides and a back). The front was left open, so you can see inside. Complete the sides on the base (bottom) and the roof separate. Then on day #2 add the roof or after several hours on day #1. If using homemade icing, you want it to be thicker (see recipe above with crisco). We used store bought.
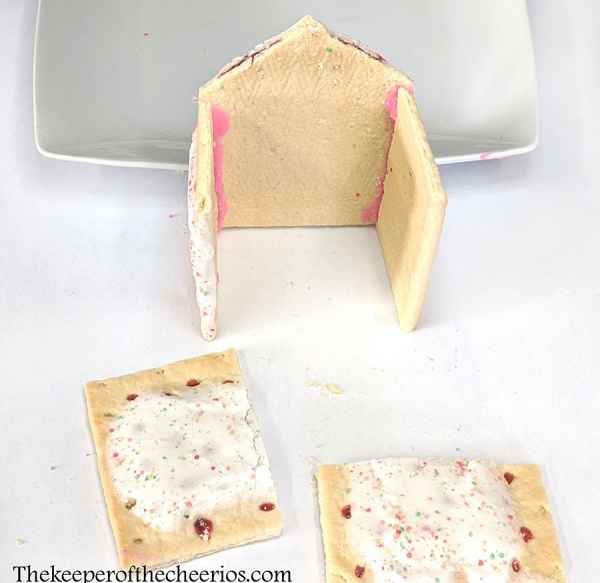
If using, Pop Tarts, here is a great video that explains how to make them. For ours, we used store bought icing. To complete the houses sooner, I used objects on each side of the house to hold them together, then removed once dry. I forgot to take a picture- so I used one from another blog.
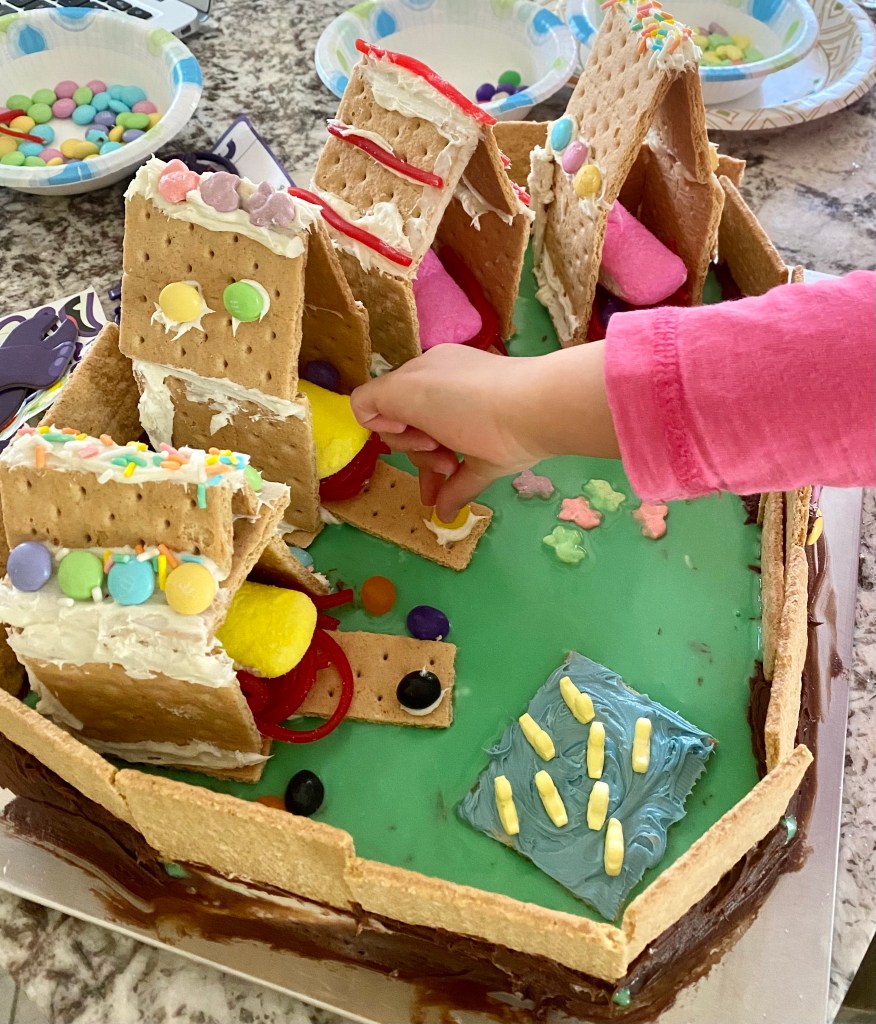
Day #2:
Let the decorating fun begin! Let your child’s imagination take over. Grab your sketches if you made any.
1.) Start by completing the peep houses, if you haven’t already attach the roofs. Then place them on the baking sheet.
Put candy in bowls (easy access and clean up).
Time to decorate your houses- inside and out! What else can go in your peep house? Nests! We used Twizzler Pull ‘N Peels to make our nests. If you wanted to make bird nest cookies – here is the recipe. Coconut would also work. Or you can buy premade chocolate nests.


2.) After the house are decorated, start creating the rest of the village.
We put up a graham cracker fence to protect the peeps. We also made a pond for our Sweet Tart ducks. I just added blue food dye to the icing we already had from building the houses.
For grass, I wanted it to be a thinner consistency, so I mixed powdered sugar with water and green food coloring. Or you could use coconut flakes.


3.) Create a story about your peep village! What are the peeps names? Who are their friends? Name of the village? Favorite activities to do in the village?
I loved the story that came out of this project just as much as making! My daughter built the wall to protect the Peeps from our dog eating them and the names she chose were very creative. Make sure to write down their story as they are telling it!
You can have your village on display only or allow your child to play with it once dry. After our village was complete, my daughter wanted to play with it, she move the peeps around and created different story lines. Luckily I took pictures first before she played with it.
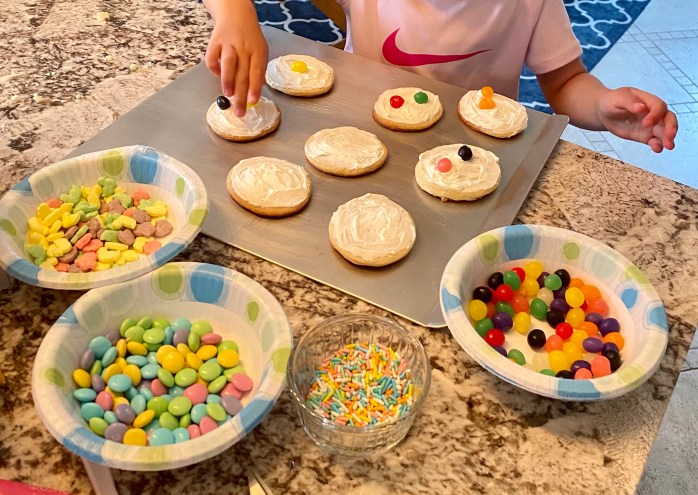
With the leftover candy we decorated sugar cookies. My daughter helped by making the dough into balls before we baked them. Then she iced and decorated them.
Happy creating & snacking!
EASTER BASKET IDEAS

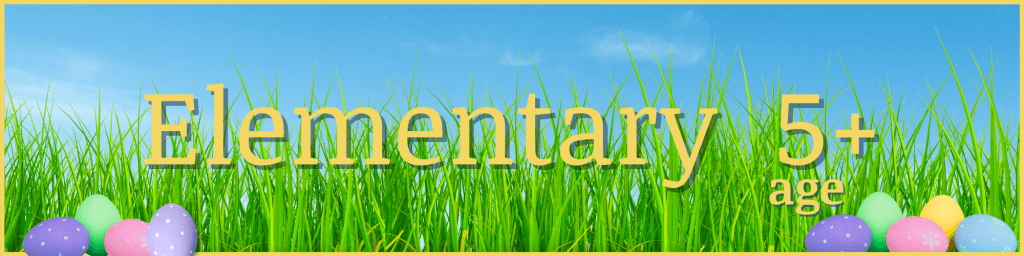
Easter will be here in no time! What should you put in their baskets? To avoid a sugar high, below are some non candy ideas. These toys won’t end up at the bottom of the toy bin & the activities provide hours of entertainment! They were all a big hit at our house or I’m purchasing for Easter this year! They’re organized by age- Baby, Toddler, and Elementary. Hope this saves you some time.
Amazon links are provided for each item. You obviously don’t need to buy them from Amazon, but in case you want link, click on the image or text below.
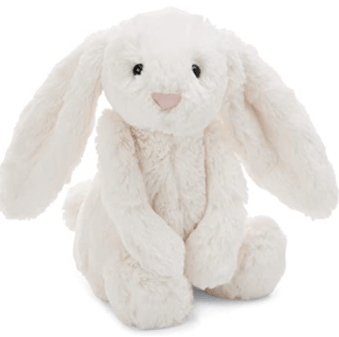
1.) Jellycat Stuffed Bunny– They are super soft and hold up well after being loved. I bought my daughter’s first one while pregnant, a bunny, and she still has it and loves it. Since then we’ve added to her collection. The bunnies come in lots of colors- pink, blue, gray & green. They also make a cute book to go along with the bunny.
2.) Indestructibles Basic Word Books– Baby Let’s Eat, Beach Baby, Baby Babble, Hello Farm, and Baby, Find the Shapes. These are amazing! I wish they had these when my daughter was little. She loved books and loved to chew on them just as much. These are great because you can’t ruin them and washable! I’ve bought a few for my nephew and they’re a big hit.

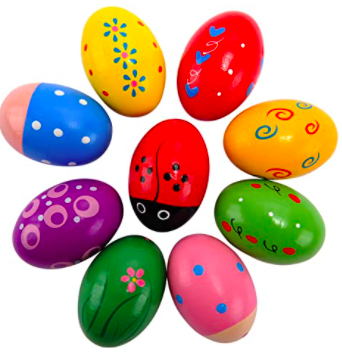
3.) Egg shakers– I loved watching my daughters reaction the first time she figured out how to shake them. Then, they were endless fun and entertainment. Made of wood and colorful designs, they’ll be sure to love! Non-toxic paint- just in case they go into a mouth.
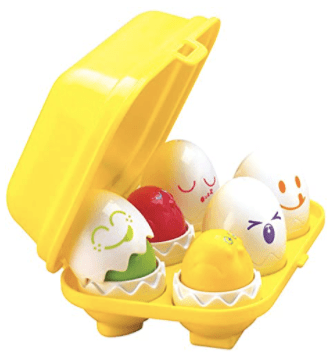
4.) Tomy Hide and Squeak Eggs: Crack open the eggs to find 6 colorful chicks. Press down on the chicks and they make a chirping sound. Then match up the shells and the shape on the base of the egg to put the back in the egg carton. Once my daughter was older she used them in her play kitchen too. Age 6 months +.
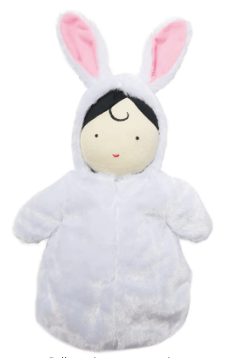
5.) Manhattan Toy Snuggle Baby Doll & Hooded Bunny Sleep Sack: These are great first baby dolls- because soft & embroidered features. Babies and bunnies collide with this super sweet doll. You can tuck the soft baby into it’s sleep sack or take out. Age 6+ months. There is a bear option too. We had the Stella Doll and my daughter loved it because she could give her a bottle or pacifier (magnetic).
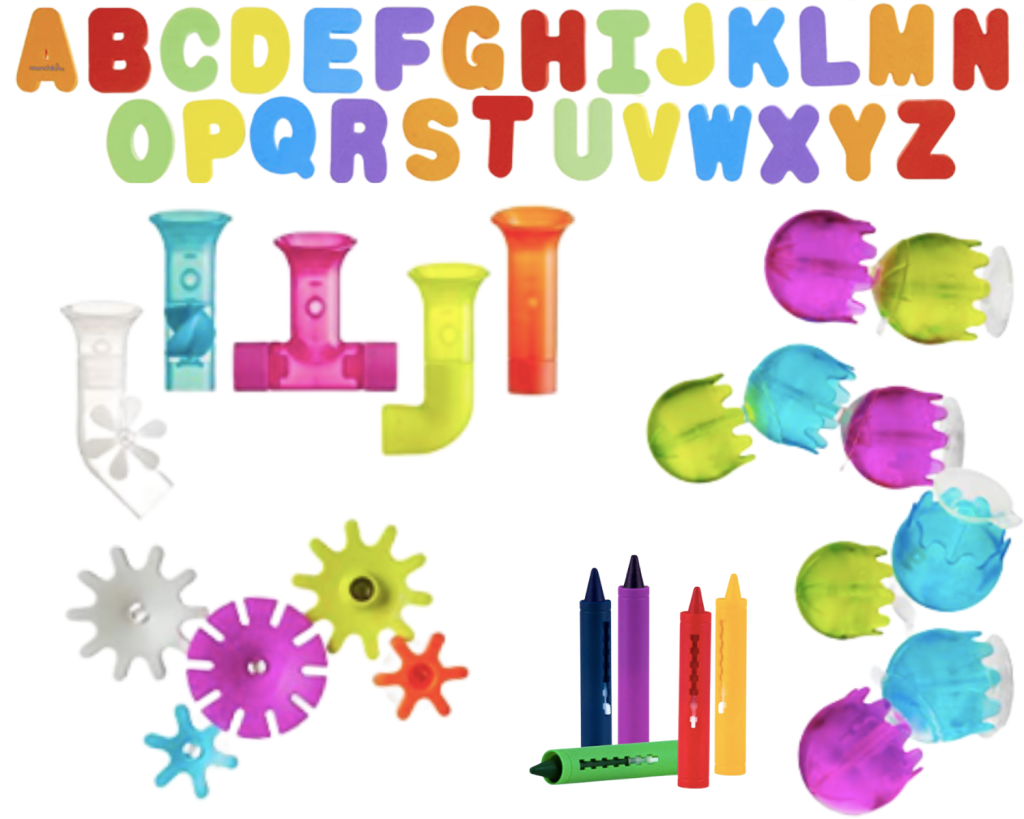
6.) Bath Toys: You can never have enough bath toys. At this age taking baths is a fun & exciting activity. We used these toys in our water table too. Water Gears with Building Bath Pipes, Suction Cup Jellies, Letters and numbers (great for introducing/identifying letters/numbers, then can use for spelling words once older). Bath crayons– let them decorate the tub & then wash away easily.

7.) First Egg Crayons: A great first crayon for kids (recommend age 12+ months) who are just starting to work on their grip. Buy some kraft paper and let them start exploring!
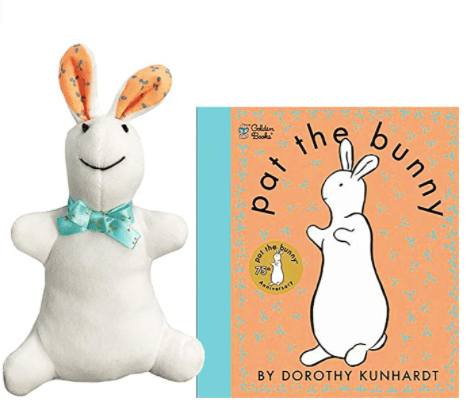
8.) Pat the Bunny, Book- My Sister got my daughter this book for her first Easter and she still loves it to this day. This classic touch and feel book is a must for all home libraries.
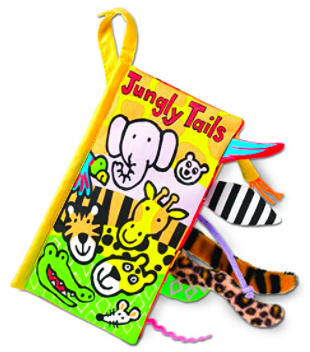
1.) Jellycat Soft Cloth Books: Unicorn Tails, Jungly Tails Farm Tails, Fluffy Tails, Garden Tails, & Puppy Tails. There are over 10 different book options. These soft, colorful, and squishy books are a huge hit with toddlers and babies. My daughter loved these. Great books to keep them occupied in a car seat, stroller, or during a diaper change.
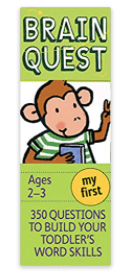
2.) My First Brain Quest– I remember these as a child and enjoyed them, so it was a no brainer to get for my daughter. The questions are in picture form and the adult does the asking. They help your child become familiar with everyday objects and animals. Much nicer than flash cards. Also have Brain Quest for Threes, Brain Quest for Preschool, and Brain Quest for Kindergarten. These are great to bring along to dinner or when waiting in lines for easy entertainment.
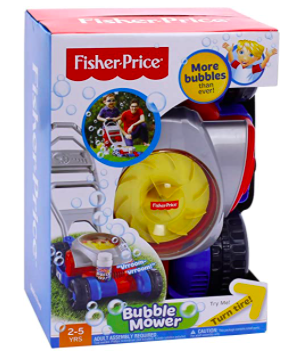
3.) Bubbles! What kid doesn’t love bubbles! My daughter loved “mowing” with this Bubble Mower. She also loves her bubble machine. Its worth buying a more expensive one, the cheaper ones break easily. We’ve been through several. If your kids want to be in control of the bubbles, this bubble gun is super fun. These no spill bubbles are great too!
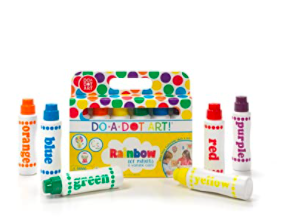
4.) Dot a Dot Markers and books: Paint without the mess. Simply push down on the marker and a circle of paint appears. Fun to use on their own or you can buy the books too. Great busy activity. Paint is washable. Books: Cute Animals- Rainbow Trail– Shapes and Numbers– Play & Learn ABC 123 & More – Sea Life – Cute Dinosaurs– Mighty Trucks
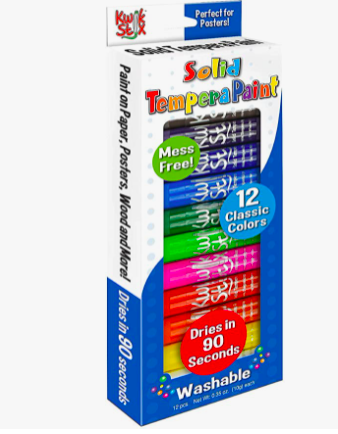
5.) Tempera Paint sticks: Another great way to paint without the big mess. Put out kraft paper and let them create! Washable, nontoxic, dries in 90 seconds.

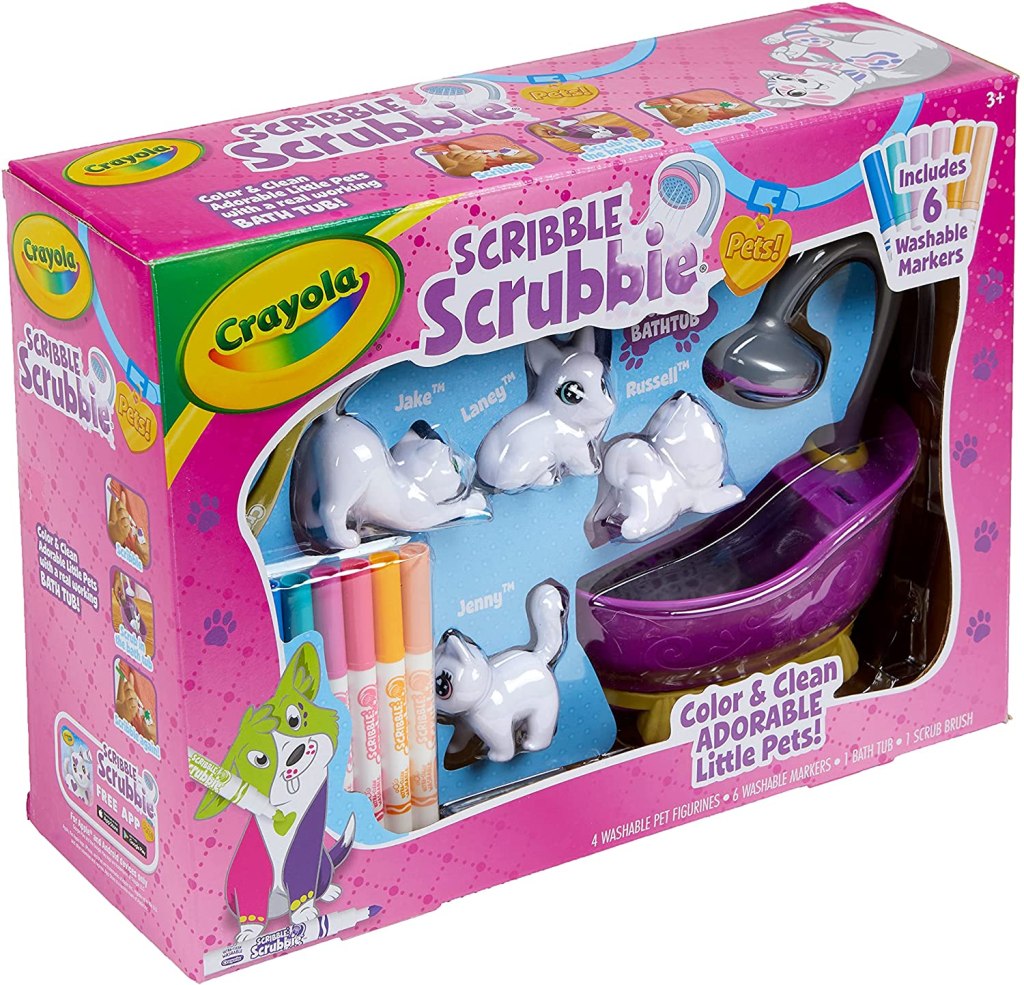
7.) Crayola Scribble Scrubbie Pets Color and customize your pets with washable markers, then wash them and start again. My daughter’s favorite part was putting the animals in the bathtub, turning on the shower, and then scrubbing them. To get super clean, throw in the dishwasher top rack.
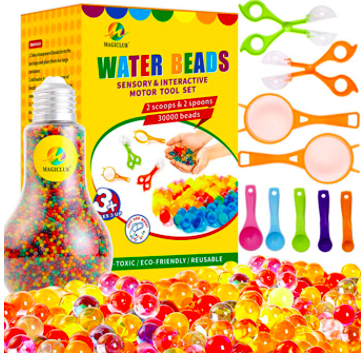
8.) Water Beads: Kids love everything about water beads- shape, texture, fun to watch grow. This kit is even more fun because it comes with special tools to make playing more fun. Bonus- the tools help fine motor development. Add some plastic animals in with the beads and have your child “save” them. They are nontoxic, ready in a few hours, can use for multiple days, and easy to store!
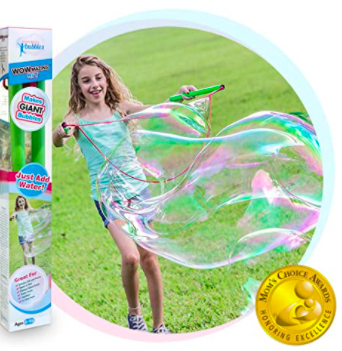
1.) Giant Bubble Wand: comes with a bubble solution. Place solution in a bucket and dip wand into it, pull out and run, a large bubble forms. Fun activity to do with a group of kids. We made them with our neighborhood and at a birthday party. Run out of bubble solution? Make your own.
2.) Tattoo Markers: Now it’s ok to draw on yourself! Draw, wash, repeat! Comes with stencils to make simple designs or make your own. Easily wash off. Warning- you will end up with tattoos as well.


3.) Scooter: Anything that lights up is a win in our house. This scooter is also foldable to throw in the car. Keep in your trunk to take on short walks. Comes in different colors too.
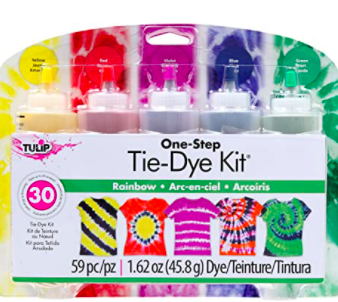
4.) Tie Dye Kit- Tie Dye is so popular right now! Grab an old white shirt, socks and let the fun begin. The process is as much fun as the end product. Kits with items to tie dye: Drawstring bag kit. * Be sure to wash separately whatever you make once on cold before you mix it with other clothes in the laundry.
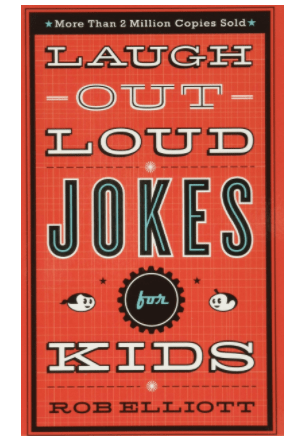
5.) Kids Joke Book These are great to pull out during a car ride or while dinner is being made. When my husband travels, we send him a joke a day video message. My daughter can’t read the jokes yet, but loves hearing them and repeating.
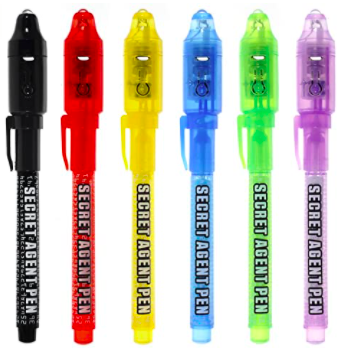
6.) Invisible Ink Pens– My daughter got these at a birthday party and loved them. Pair them with a notepad and let the secret messages begin! Warning- kids also like to draw on themselves and you with them! Great to bring out to dinner to entertain.
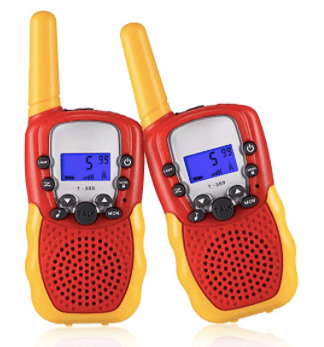
7.) Walkie Talkies– We have had lots of fun at our house inside with these and outside with the neighborhood kids. Very easy to use. Come in many different colors. Recommended age 4-14.
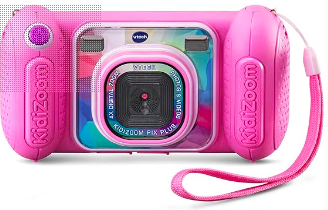
8.) VTech Camera This is not just a simple camera. Your kids can take photos and selfies using the color screen and instantly print black and white images. Includes templates to create comic strips, play money, greetings cards, and can play games on it too. *Parents can set daily time and printing limits or turn off games. Refill paper is inexpensive too.
Happy Easter!
Hope your child/children love their Easter baskets!
Note: MATCreate is a participant in the Amazon Services LLC Associates Program, an affiliate advertising program designed to provide a means for MATCreate to earn small fees at no cost to you by linking Amazon.com and affiliated sites. The small fees are then used for supplies to make more posts.
ST. PATRICK’S DAY TREAT BAG

Be a little Leprechaun and surprise your friends or family with a sweet St. Patrick’s Day gift. The Skittles represent a rainbow and Rolos are the gold at the end of the rainbow.
Materials:
- Treat Bag Labels
- white cardstock
- printer
- scissors
- clear bags
- Rolo candy
- mini skittles
- stapler/ tape
To Make:
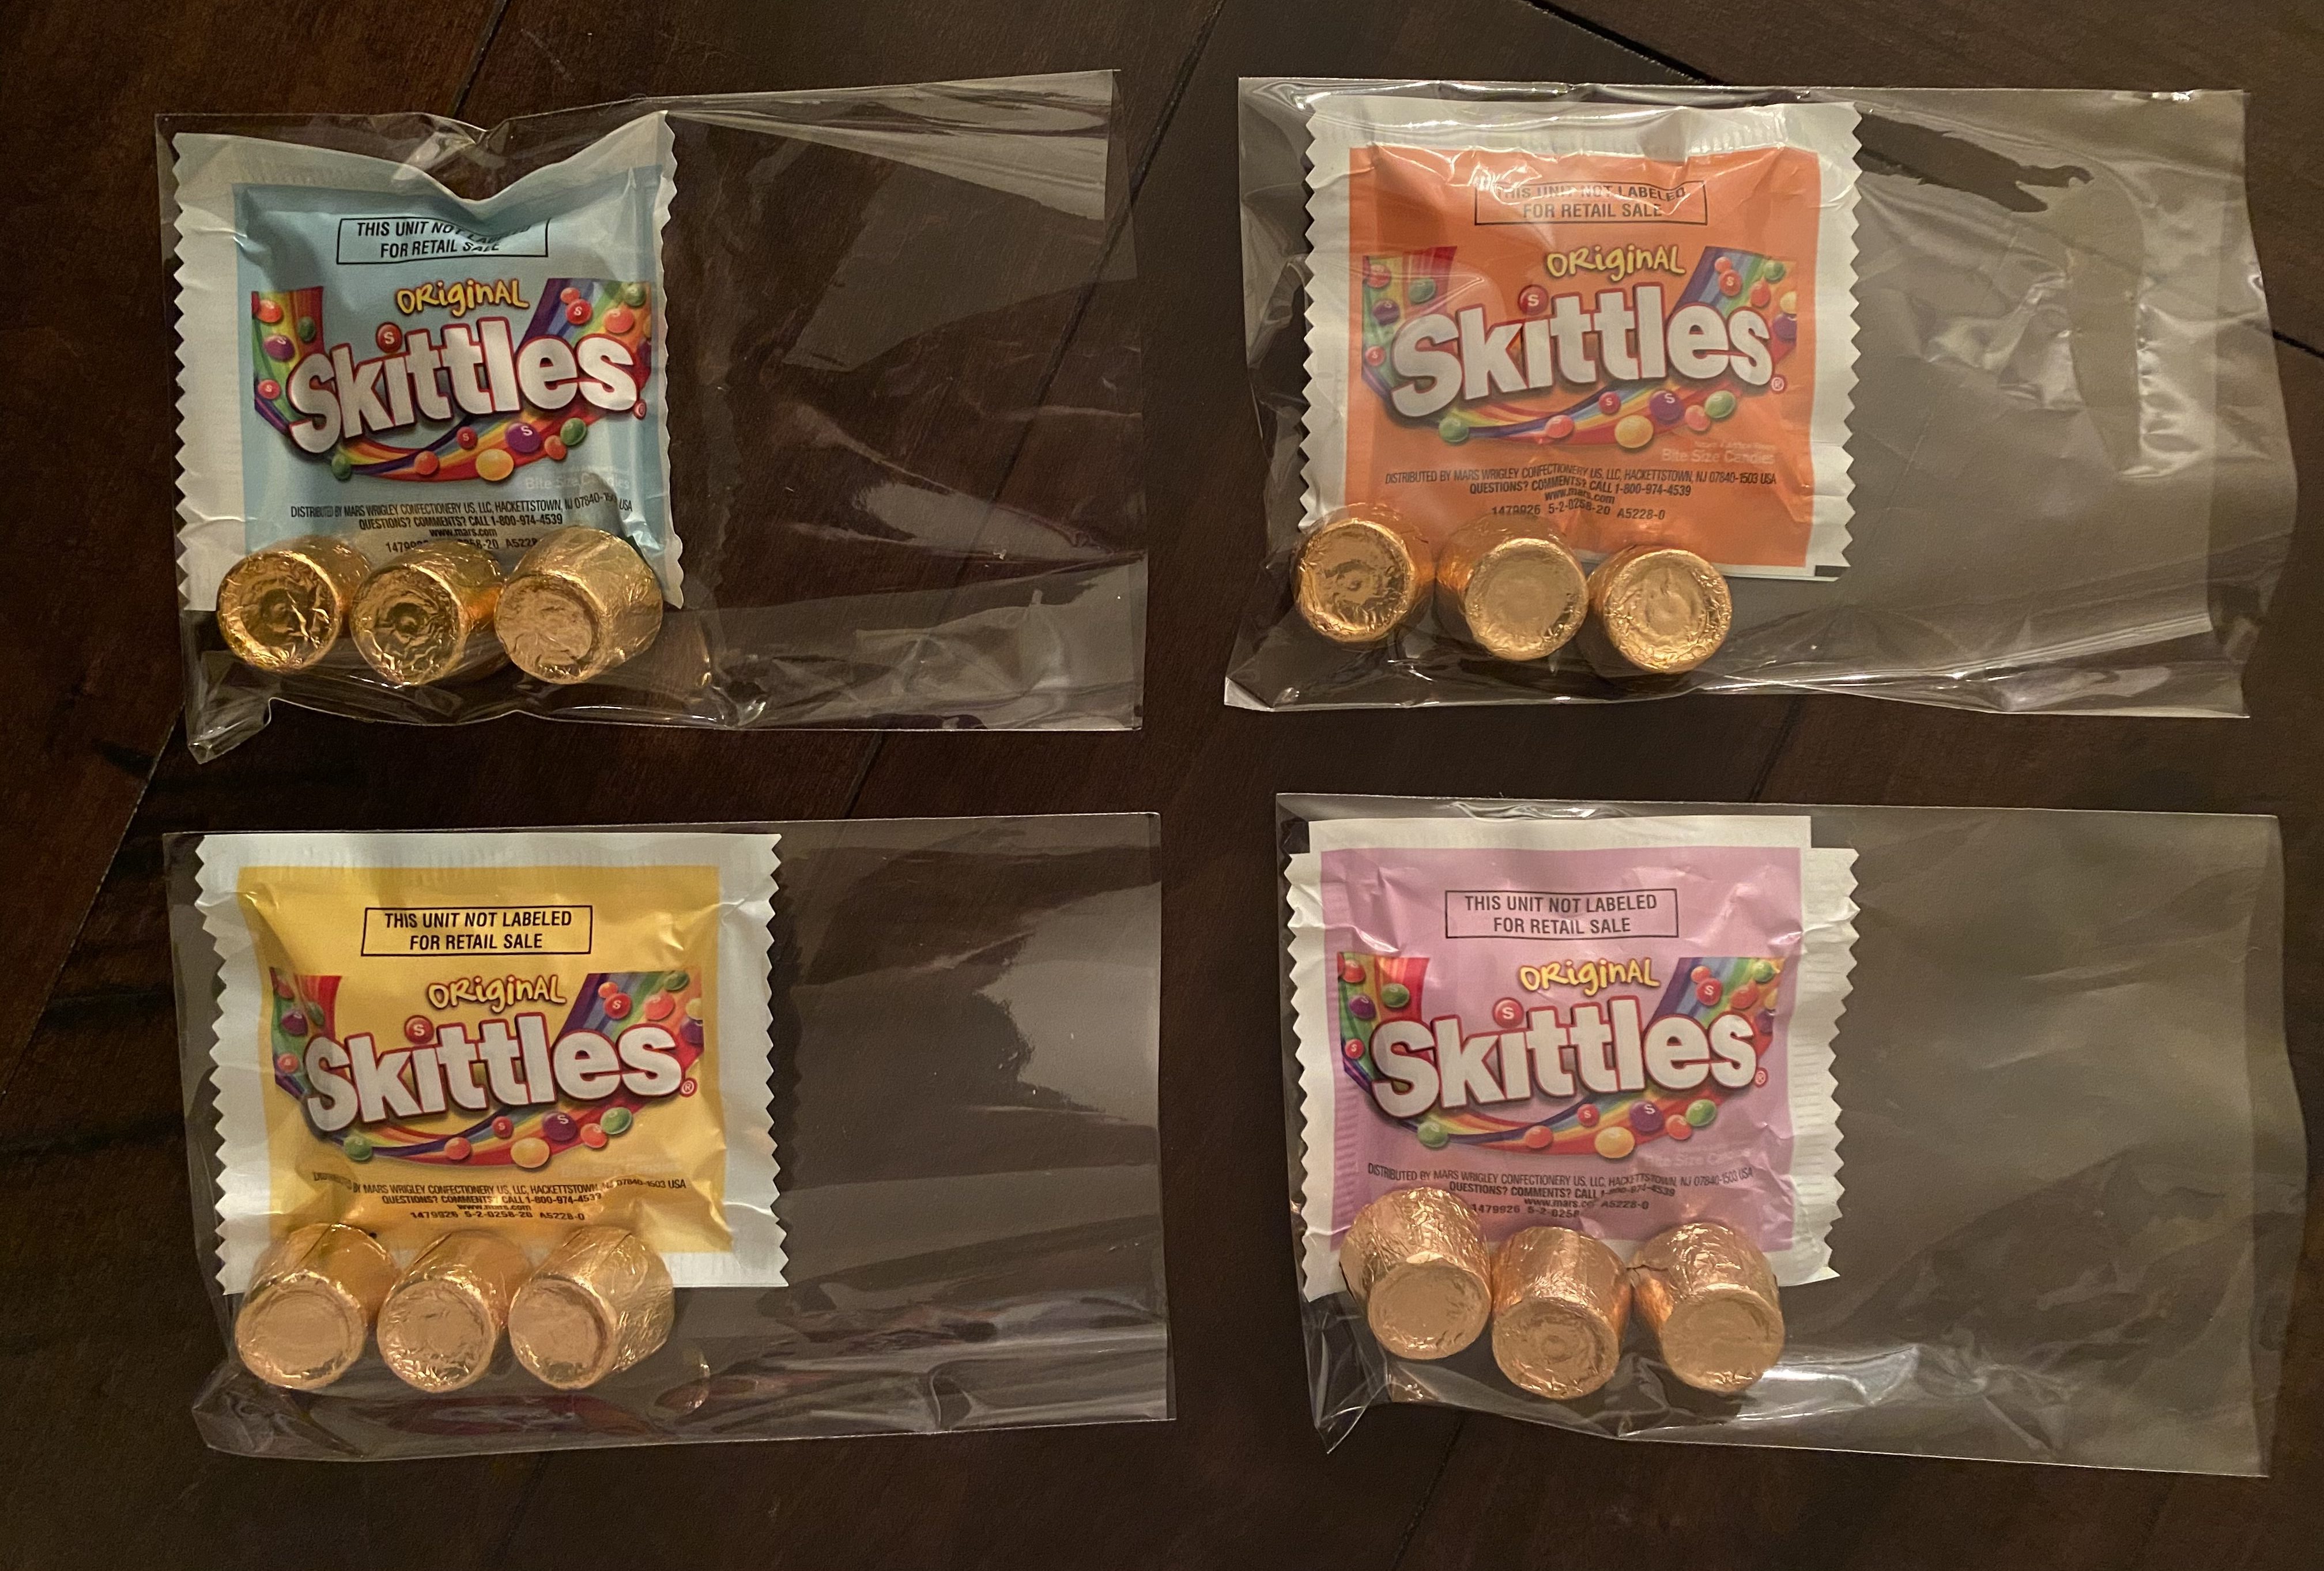
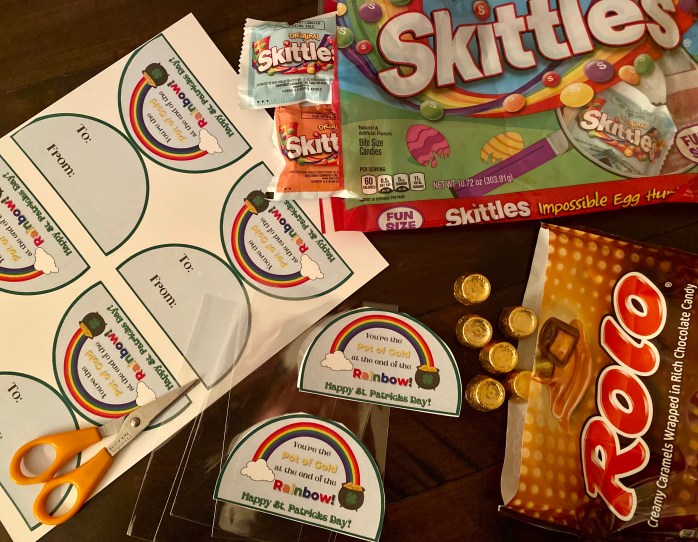
1.) Go shopping- get rolos (gold), mini skittles (rainbow), and clear plastic bags. I used 3 rolos per treat bag and one bag of skittles.
2.) Assemble the candy in the bags.
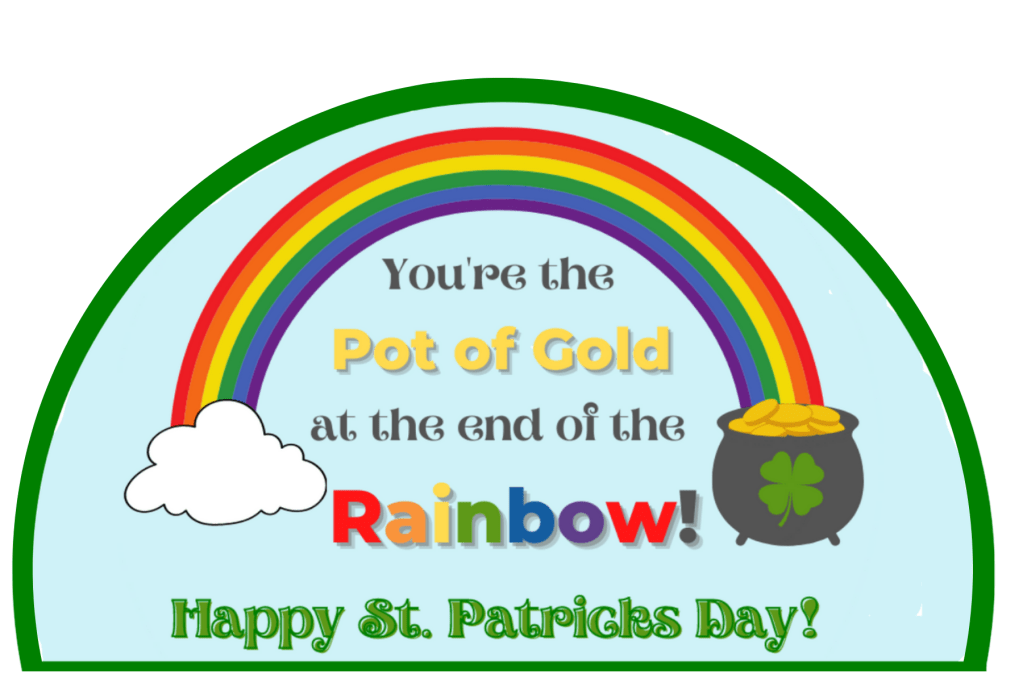
3.) Print out the template.
4.) Cut out the individual tags. Fold at the top of the labels (to form front/back). Or cut the top and bottom out separately and attach together with tape or glue.
5.) Staple label onto top of the bags. I folded the top of the bag into a triangle to fit inside label, then stapled. I also used double sided tape on the inside to keep the label together securely.
6.) Sign the gifters name on the back and who it is for.
7.) Be a Leprechaun and surprise your friends & family with a special treat! We are going to leave ours on friends/family members porches with some gold coins for a nice surprise.
Happy St. Patrick’s Day!
LUCKY TEACHER GIFT

Surprise your teacher with a little treat for St.Patrick’s Day! Let them know your family feels lucky for all they do for your child.
In our house we have been doing this for the last few years. Its’ a nice surprise because my daughter’s teachers weren’t expecting anything. Being a former teacher I know it’s important to show your appreciation.
Materials:
- tag template
- cardstock
- printer
- scissors
- hole punch (optional)
- curling ribbon
- gold coins or 4 leaf clover chocolates
- lottery tickets
- clear bags

To Make:
1.) Print out labels and cut out.
2.) With a hole punch, make a hole in the top center. No hole punch? Fold paper in half and cut a slit for the hole. Place string or ribbon through the hole.
3.) Place items bought ahead of time inside the bag (lottery tickets & candy).
4.) With the ribbon tie the top of the bag closed.
5.) Happy gifting! I’m sure they’ll appreciate it!
Happy St. Patrick’s Day! Who else are you lucky for?
CHARMS CEREAL ACTIVITIES

What cereal do you buy/eat in March? Lucky Charms of course! Have fun with your cereal before you eat it! Check out the activities below:
Materials:
- Charm Cereal Activities
- Lucky Charms Cereal (original) or Lucky Charms with Honey
- bowl
- pencil with eraser
- crayons/markers/colored pencils
- black maker (optional)
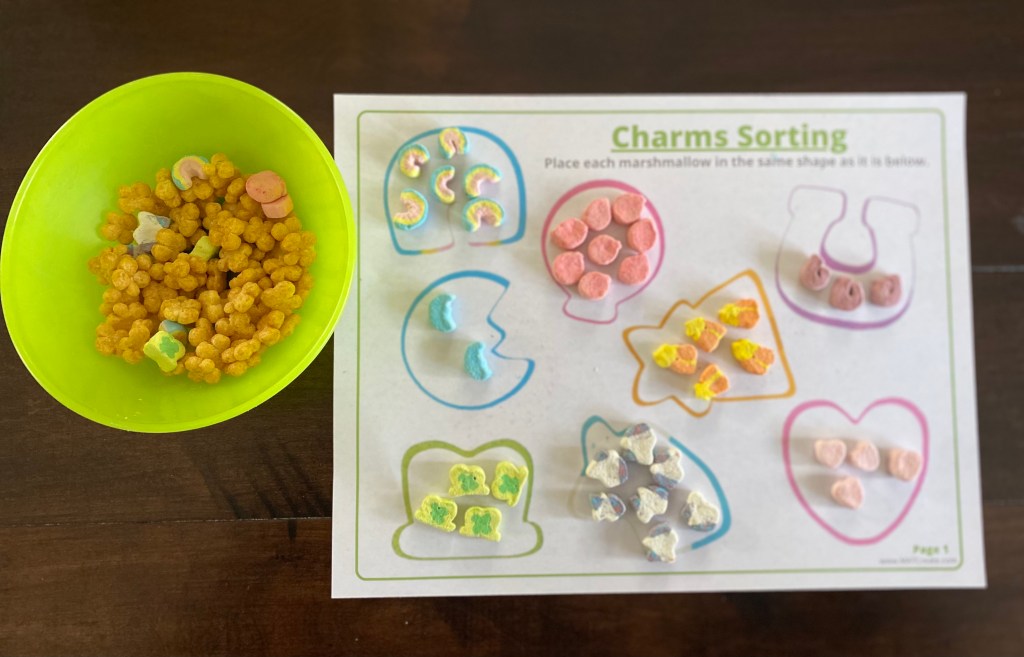
Sorting
Measure out about 2 cups of cereal. Place in a bowl. Have your child pick out the marshmallows and place on the correct picture.
Note: You may need to additional marshmallows to your bowl.
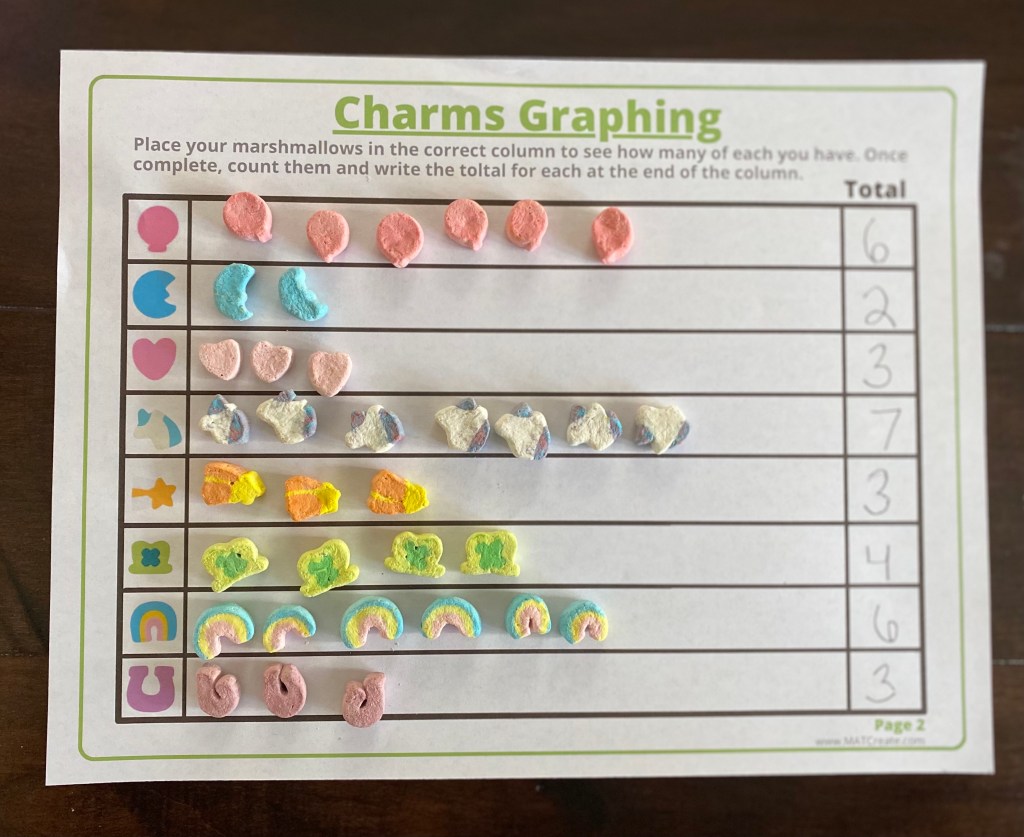
Graphing
Use the marshmallows from the sorting sheet. Place them on the graph in the row that matches. Once complete, add the total of each marshmallow and record at the end of the far right column.
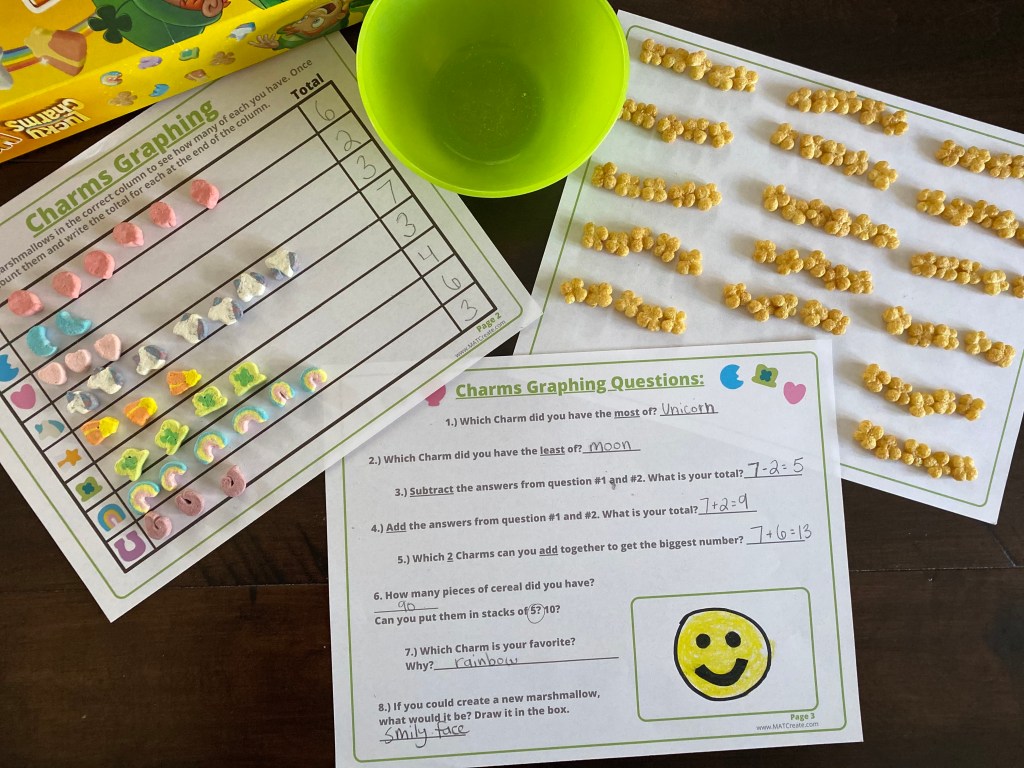
Questions
By looking at the graphing worksheet, answer the questions on page #3.
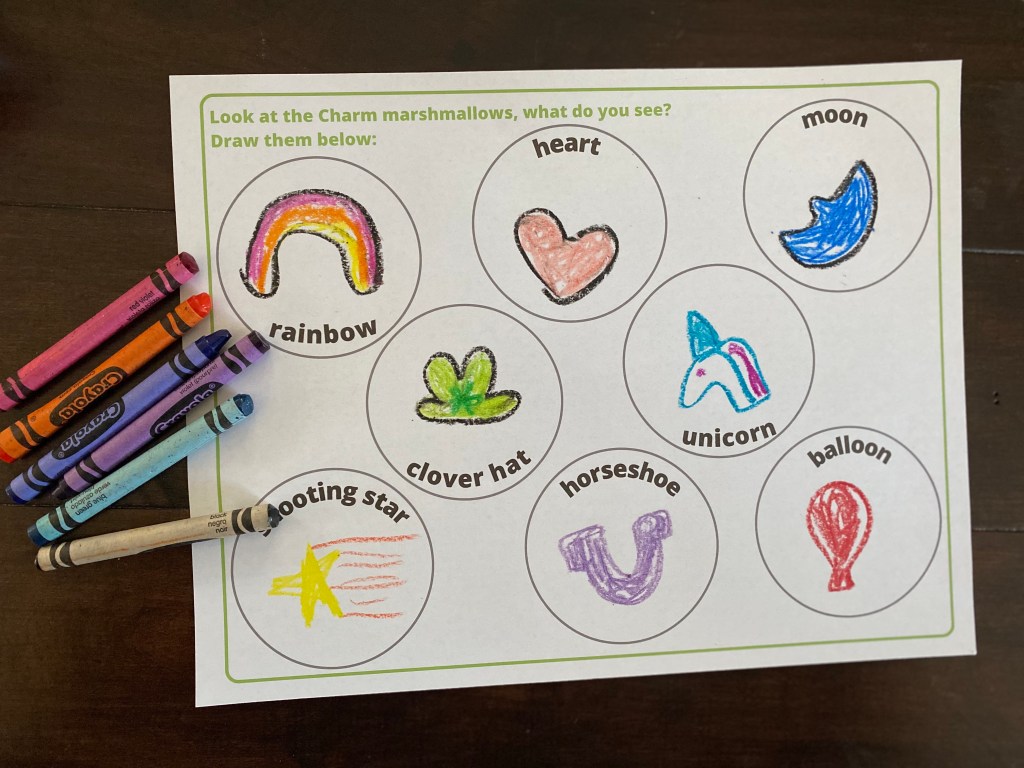
Drawing
Have your child look at each marshmallow and then try to draw it. Before beginning, talk about the different marshmallow shapes and colors. They can copy exactly or make their own unique version.
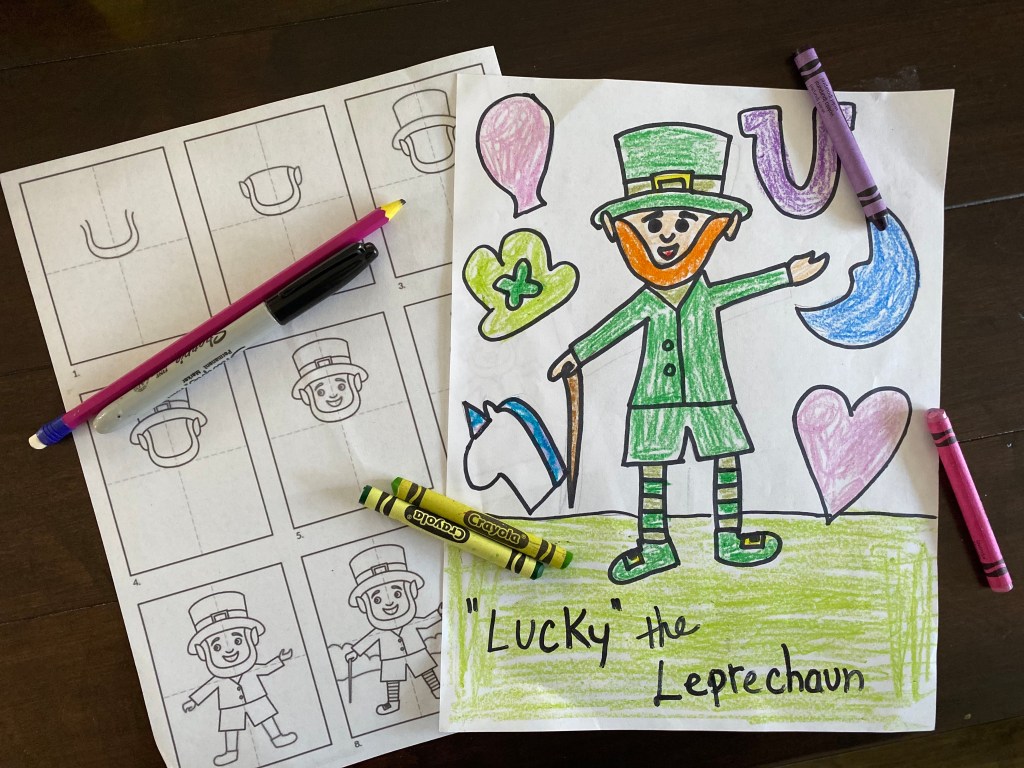
Draw a Leprechaun
The mascot of Lucky Charms, created in 1963, is Lucky the Leprechaun.
Use this handout to help your child draw a Leprechaun. Or watch a video- basic shape Leprechaun or a more challenging video for older kids here.
Every Leprechaun is unique, so your child’s doesn’t have to look just like the examples.
After the Leprechaun is complete, challenge your child to include some of the shapes from the marshmallows in their picture. Rainbow? Balloons? Moon? Falling star? Unicorn? Heart? Horseshoe? Hat?
Bonus Game: Have your child draw a lucky leprechaun and then cut out. Hide on St. Patrick’s Day and have them find it! *I took a picture of my daughters, printed the picture out, then cut out around it to create our little lucky Leprechaun.
Happy St. Patrick’s Day & snacking!
